FIRST,
A WORD
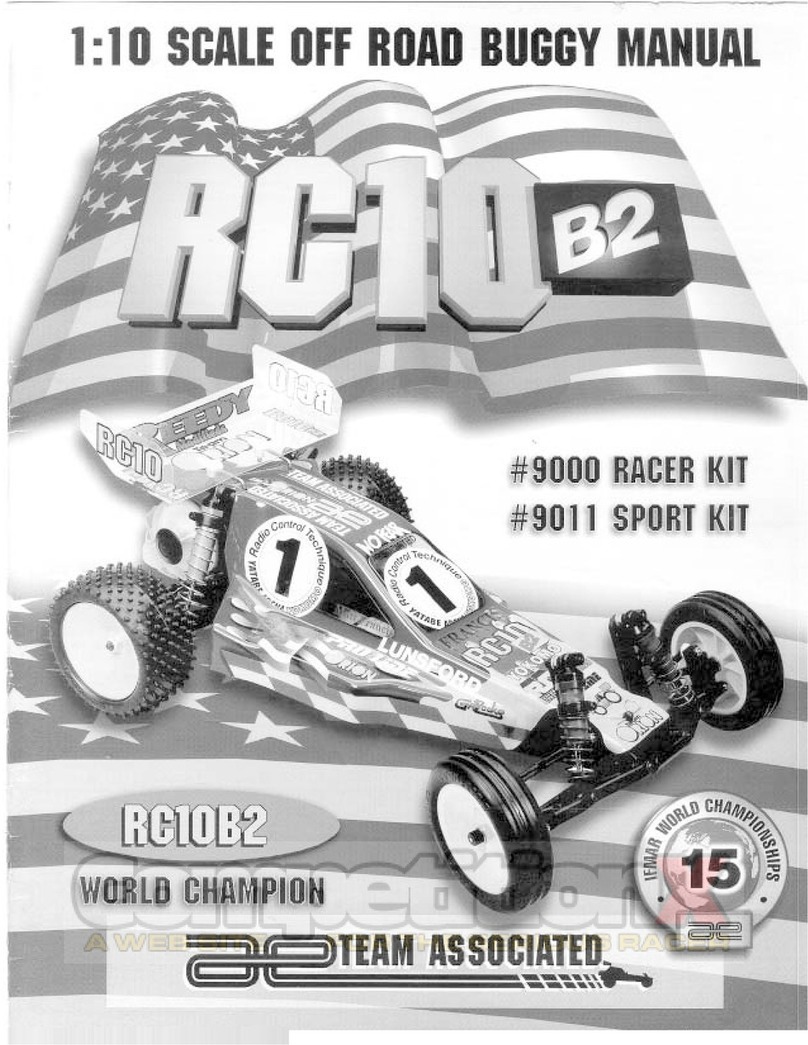
Team Associated's RC10 2WD
ca
r haswon three
IFMAR
WOR~D
CHAMPIONSH
IPS,
inclu
ding
the
1991
race 1n Detr
o1t,
MI. For Austra
li
a,
in 1989, we had devel-
oped
a totally new transmission called the STEALTH
transmission. This STEALTH tranny was also used in the
'91race in Detroit and is part ofour latest
RC
10,
th
eTEAM
~AR.
Out
of
the box, the TEAM CAR has already proven
1t
sthe best. Atthe 1990ROAR NATIONALSin Livermore,
Calif., it finished an impressive 1st, 2nd, and 3rd.
We
've used the same WORLD CHAMPIONSHIP-
winning design concepts
and
engineered a whole new
vehicle, the RC10T Truck. This is definitely not a conver-
sion kit, as you'll find out when assembling the truck. As
you
can
tell, we
did
use a few important parts from the
TEAM CAR. We used the
best
transmission in the worl
d-
-the STEALTH tranny. We used the best shocks in the
wor
ld
, our new, improved and hard anodized, Teflon-
coated race-winning sh
ocks
fromthe
TE
AMCAR. Wealso
used another
spee
d secret, our aluminum chassis. Our
Teamdrivers
h~ve
tested both the aluminum
and
graphite
cha~s1s
ex
~
ens1ve
ly
,
and
they've a
ll
learned that they're
gett
1n
g
the1r
best
lap times
wi
th the standard aluminum
chassis. Pages
two
and
th
reedetailallthetota
ll
y newparts
thatwererequired
to
buildournewchampionship-winning
RC10T.
.
Ro_ger
Curtis, Cliff Lett and Curtis Husting used
the1r
comb1ned design experience from the TEAM CAR to
design a truck that would handle like our TEAM CAR.
Although ROAR's racing truck class
is
called Monster
Truck, itwas easyto seethatwhatwas
ac
tuallyracedmore
closely resembled Stadium Trucks.
Anyone
who
has seen the Stadium Trucks race
know
how
exciting they are to watch. All sixteen races in
stadiums all arou
nd
the country are always sold out
proving their popularity. At
th
e race at the Los
Ange
l
e~
Co
l1
seum, the trucks climb all the way up to the top
of
the
bleachers, through the
pe
ristyle end, come charging out
throughanarchwayand thendownan unbelievablejump,
threetofourstories
ta
ll
,
to
the floor
of
theColiseum!It'sone
of
the
more
spectacular sights in truck racing, and the
reason we
depicted
this scene on the RC10T box cover.
Welookedatthe truckrules andfoundoutwhatwe
we~e
allowed to do, and then brought our design and
rac1ng expenencetodesign ourtruck. Curtis Husting built
three prototype trucks. Then Curtis and Cliff put in many
hours of track time fine tuning all the suspension points
before we were r
eady
to start building the truck.
. We still
hadn
't raced the truck in actual competi-
tionbeforewetookthethreetrucksto Floridafor theFlorida
WinterChampionships. Thiswould
be
our firstrace.There
were 450 en
tri
es with all the racing teams present. The all
new RC10T trucks finished 1st and 2nd, with Cliff Lett
winning and Butch Kloeber following in 2nd! It was an
page
4
incredible finish, justifying all our long hard work.
We
are
certainly very well pleased with the
RC
10T and
we
know
you will
be
too.
You'll find the photos in the instructions
so
easy
to
follow that you
may
be
tempted to
put
the tru
ck
together
fr
om
the photos alone. However, although you have the
best truck ki
t,
if you want the
bes
t COMPLETED model
race truck, then you will want to
pu
tit together
correctly-
byfollowingthese instructions. All that'srequired is
to
read
the few lines of text near each photo.
DON'T OPEN ANY
OF
THE PARTS BAGS UNTIL
THESE INSTRUCTIONS TELL YOU , otherwise you'
ll
get
the parts mixed
up
and then you will have trouble assem-
bling your truck.
While you are building the truck you will some-
times beworking withseveral parts
bags
atthesametime.
These
bags
are referred to
by
number in the instructions,
andyou will find a numberlabel on each
of
the main parts
bags. There are also more
bags
inside the main parts
bags: thesearenot
number
ed
and
belong
to the
bag
they
came out
of
.
Bagsand partswillstartmultiplyinglike rabbitsas
youbuild,
so
tryto keep the
bags
separa
t
e.
One
good
way
is
to use lar
ge
paper
plates
(picn
ic plates with partitions
arebest). Marktheplateswith
bag
numbersand
dump
the
parts into them. When the parts are used up, relabel the
plate for another bag. It's much easierto find the partyou
need if it's spread out where you can see i
t.
TOOLS. The
ki
tcontains theshockwrenchandall
the Allen wrenches you'll need,
but
youwill haveto supply
the following:
blade
#2 Phillips screwdriver (Associated #SP76)
A needle-nose pliers
A
hobby
knife, such as an X-acto with a pointed
A soldering iron (25 to 50 watts), and a small
amount
of
ROSIN (not acid) core 60/40 solder.
The kit can be assembledeven easier
if
you have
the following:
3/32"straight A
ll
en wrench
wi
th handle.Will make
installing the Allen screws much faster and easier (Asso-
ciated
#SP
73)
A
ru
ler with decimal inches
or
metric measure
A 3/16" nutdriverwill makeinstalling the ball ends
easier (Associated #SP86)
A 1/4" nut
dr
iver will speed
up
installing the 1/
4"
nuts (#SP85)
Socket or open-end wrench
Small screwdriver
Thread-locking compound
ZAP or Hot Stuff (cyanoacrylate adhesive)
Vise
Fi
le
Dri
ll
with #43 (2.3
mm)
bit
WARNING!
Do
notusea
pow
er
sc
rewdriver.They
