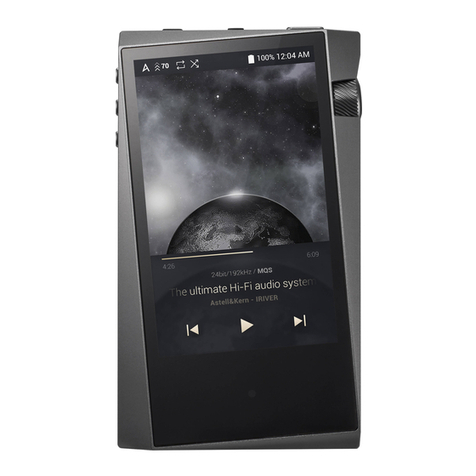
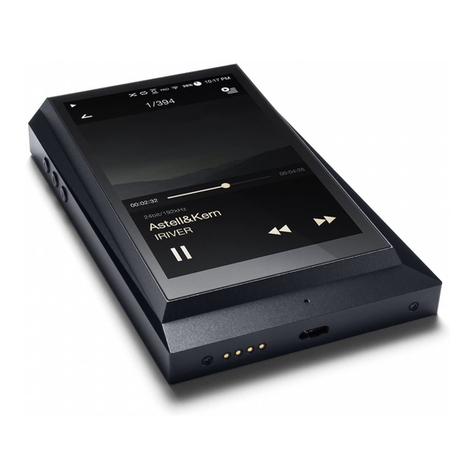
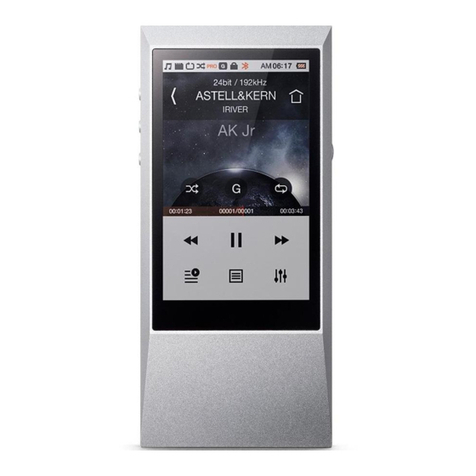
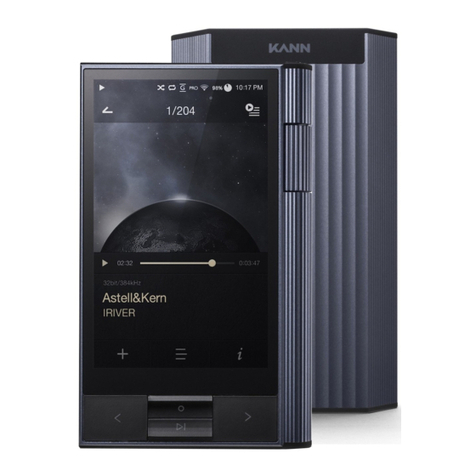
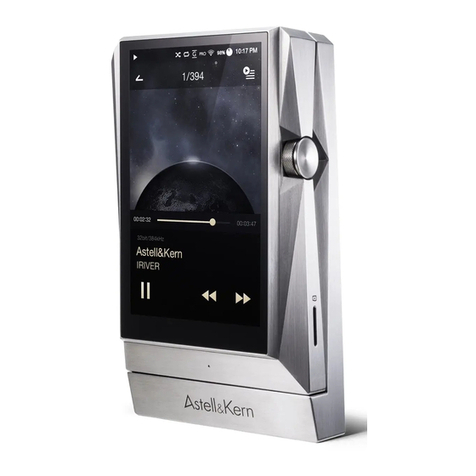
Astell & Kern IRIVER PPF31 User manual

PPF31
INSTRUCTIONBOOK
UserGuide

Package Contents Desc
ription of Each Part Po
wer Management Char
ging
Connections Firm
ware Upgrade
02
03
05
06
07
12
Getting Started _01
Basic Operations
Home Screen N
otification Bar
Purchasing Music from Store
AKCONNECT
Listening toMusic
Manage Playlist
USB DAC Installation
How to Use USB Audio
Automatic CDRipping
Using Bluetooth Setti
ngs
Connecting to Wi-Fi
Equalizer Setup
13
17
19
22
23
29
32
35
36
37
39
41
46
47
Using the Device _02
Safety cautions Troubl
eshooting Copyright C
ertifications Registere
d Trademarks Disclai
mers Specifications
50
52
53
54
54
54
55
Miscellaneous _03
CONTENTS

UserGuide
PPF31
Micro SD Card Slot Cover
Type-C USBCable
Protective Film: Protects the product’s screen.
Type-C USB Cable: Connects the product to the PCor
charges the product.
Quick Start Guide: It describes the basic method of using
the product.
Warranty Card: The warranty card is required for customer
services. Keep the warranty card for technical support.
User Guide: The User Guide can be downloaded from the
Astell&Kern website.
[http://www.astellnkern.com/ > Support > Download]. Micr
o SD Card Slot Cover: Protects the micro SD card slot wh
en not in use. It is installed on the product by default.
Contents may be changed without prior notice to improve the
performance or quality of the product.
Package
Contents
Protective Film Quick Start Guide
& WarrantyCard
The product does not include any micro USB cable.
Getting Started 2

engraved information may vary depending on the model.
UserGuide
Description The appearance of the product as well as the printed and
of Each
Part
LCD
Touchscreen
HomeButton
3.5mm Unbalanced Port: Connects to the earphones and the
headphones with 3.5mm unbalanced ports.
2.5mm Balanced Port: Connects to earphones and headphones
with 2.5mm balance ports for audio output.
Balanced Port for External Devices: Provides balanced output
when connected with an external device.
Micro SD Card Slot: Reads the files on the inserted micro SD card.
Type-C USB Port: Connect to a computer or recharge the device.
Power/Volume:Turn the wheel to adjust the volume of the sound.
Click: Turns the screen on and off.
Click and Hold - Turns the device on and off.
LCD Touchscreen: Display the screen, and touch it to start.
Next/FF
Previous/
Rewind
Replay/Pause Power/
Volume
3.5mm Unbalanced Port
microSDcard slot
2.5mm BalancedPort
Balanced Portfor
ExternalDevices
Type-C USBPort
Getting Started 3

UserGuide
Previous/Rewind:
Short press - Plays the previous song or restarts the song.
Long press - Rewinds.
Play/Pause: Short press - Plays/pauses.
Long press - Returns to the playback screen.
Next/FF: Short press - Plays the next music.
Long press - Fast-forwards.
Home Button: Returns to the home screen.
Getting Started 4

UserGuide
Resetting the device will not affect the stored data or time setting.
Do not use the reset function while the product is in use. Doing so
may corrupt the data on the device.
This device has an automatic timeout feature to save battery power.
The screen will turn off if there is no user input during the period
defined in [Menu - Power - Screen Timeout]. (See Page 45.)
Reset Function
1. In cases of unexpected device failure or freeze, press
[Power] for 12 seconds to force a shutdown.
The device can be restarted after a shutdown.
Turn the Screen On/Off
1. While the screen is on, press the [Power/Volume] to turn
off thescreen.
2. Press [Power/Volume] again to turn it on.
This device has an automatic shutdown feature to save battery po
wer. The device will turn off if there is no user input during the pe
riod defined in [Menu - Power - Automatic Shutdown] (See Page 4
5.)
Getting Started 5
Turning on/offPower
1. Long-press the [Power/Volume] to turn on the device.
2. While the device is on, long-press the [Power/Volume] to
shut down the device. A confirmation message will appear.
3. Press [Confirm] to turn off the device.
Power
Manage-
ment

UserGuide
Charging Time: Maximum 8 hours (Completely run-down and pow
er-off) Depending on the PC specifications, the charging process
may require turning on the PC.
When charging via PC connection, the charging time may vary dep
ending on whether the device is turned on or off.
Some PCs in power-saving mode may not charge the device.
The built-in battery will gradually lose capacity over time with rep
eated charging/running-down.
Do not use cables other than Type-C USB cable and micro USB ca
ble. Doing so may cause a malfunction.
Charging ViaPC
1. Connecting to PC via Type-C USB cable will also charge
theproduct.
Fast charging: Maximum 2 hours (Completely run-down, Power-off,
9V 1.67A adapter) / Normal charging: Maximum 2 hours (Complet
ely run-down, Power-off, 5V 2Aadapter)
A fast charger of 9V 1.67A may be used. Using a 12V adapter will not
charge the product and may causemalfunctions.
Getting Started 6
Charging ViaAdapter
1. Commercially available 9V 1.67A adapters may be used f
orcharging.
Charging

UserGuide
Connec-
tions
3.5mm UnbalancePort
1. Connect earphones or headphones to the 3.5mm
unbalanced port.
OR
Connect to the 2.5mm Balanced Port
1. Connect earphones and headphonesto the 2.5mm balance port.
OR
Balanced AudioDevice
1. Connect to an external audio device by using the Earphones
port and Balanced port in conjunction.
Earphones BalancedPort(LR)
Port (Ground)
Astell & Kern balanced cable (PEF12, PEF21) is not supported.
Getting Started 7

Mac users need to download and install the MTP program from the
Astell&Kern website. [http://www.astellnkern.com > Support > Do
wnload]
For an optimal connection, quit any unnecessary programs before
connecting the device to the computer.
Do not use cables other than the Type-C USB cable provided with the
product.
Windows XP users require Service Pack 2 and Windows Media Pla
yer 10 to be installed for the computer to recognize the USB device. Do
wnload Windows Media Player and required Service Packs from th
e Microsoft website.http://www.microsoft.com
UserGuide
Connecting to PC
1. Turn on the device and your PC.
2. Connecting the product to PC using Type-C USB cable will
follow the [Menu - USB Connection] settings.
Media Device (USB Drive): Transfer files from a PC to the
device.
DAC Input: Listen to music on a connected PC through
the device. (See Page 36.)
Disconnecting from theComputer
1. Disconnect the Type-C USB cable after the transfer
between the product and PC is completed.
Disconnecting the device from the computer during an operation (
e.g., file transfer) may corrupt data on the device.
Getting Started 8
UserGuide
Copy Files (Folders) to the Product
1. To copy files/folders from your computer, select the desired
files/folders and drag & drop them into the USB device.
Connect the Type-C USBcable correctly.
Turning off the product or disconnecting the Type-C USB cable while
copying or moving files/folders may cause serious damage to the
memory.
File transfer speeds may be affected by the computer and/or the OS
environment.
Getting Started 9

UserGuide
Delete Files (or Folders) from the Product
1. Right-click the desired file/folder, and then select [Delete].
2. Select [Yes] in the [Confirm File/Folder Deletion] window
to delete the selected files/folders.
Insert/Remove a Micro SD Card
1. Refer to the diagram and gently
insert a micro SD card into the
micro SD card slot.
2. To safely remove a micro SD
card, select [Safely remove SD
card] from the Notification Bar
or select [Dismount SD card]
from [Menu - System Informa
tion].
3. Gently press the micro SD card
to release it from the slot.
Getting Started 10

MaximumCapacity: 256GB
Notes on Inserting Micro SD Card
When inserting the micro SD card, do not use excessive force.
This may cause the productand the card to malfunction.
Do not repeatedly insert/remove the micro SD card.
If the card is improperly inserted, it may become immovable or
cause damage to the device.
Notes on removinga micro SD card
Be sure to safely dismount and remove the micro SD card from
the device. Not following the proper proceduremay corrupt data
and cause serious damage to the system.
Do not disconnect the micro SD card during use. Doing so may
damage the micro SD card, corrupt or delete data and cause the
device tomalfunction.
Notes on Using Micro SD Card
If the micro SD card is not recognized or is not functioning
properly, format the card, preferably in FAT32system.
Using cards other than the recommended micro SD card may
causemalfunctions.
A micro SD card is not included in the product package. Purchase
a micro SD card separately.
UserGuide
Recommended micro SD Cards
Micro SD: SanDisk, Transcend
Getting Started 11

User Guide
For Wi-Fi connections, see Page 47.
The firmware upgrade may not initialize if the battery level is too l
ow. (A minimum battery level of 50% is required.)
Moving to another screen during a file download will cancel the do
wnload.
Do not disconnect from the wireless network while downloading a f
irmware upgrade. Doing so may cause data corruption and/or dam
age to thesystem.
If an error occurs or the notice in the Notification Bar disappears d
uring an upgrade, download the firmware update again through [M
enu - Update - System Update].
Getting Started 12
Wi-Fi Update / OTA (Over-the-Air)
1. Connect to a wireless network.
2. When a new firmware version is available, the screen will
display a Firmware Update Guide window.
3. Select [Update] and choose the items for update.
4. Follow the on-screen instructions and proceed with the
firmware upgrade.
Firmware
Upgrade

UserGuide
Basic LCDTouchscreen
Operations 1. This device features an LCD touchscreen that allows you
to perform operations by touch.
Interact with the device by touching the screen to access
various features.
Toprevent damage to the screen, donot use a sharp object or exce
ssiveforce.
HomeScreen
Return to the Home Screen
1. Press [ ] to go to the Home Screen.
Using the Device 13

UserGuide
Menus
1. Touch and drag to the right and left in the home screen to
display menus.
Notification Bar
1. Touch and drag up and down on the home screen to display
the notification bar.
Using the Device 14

Play History
Title Text
Sub text
Title Text
Sub text
Title Text
Sub text
Title Text
Sub text
Title Text
Sub text
Title Text
Sub text
Title Text
Sub text
Title Text
Sub text
Title Text
Sub text
Now Playing
Title Text
Sub text
Title Text
Sub text
Title Text
Sub text
Title Text
Sub text
Title Text
Sub text
Title Text
Sub text
Title Text
Sub text
Title Text
Sub text
Title Text
UserGuide
View Current Playlist
1. Touch and drag right and left on the home screen to display
the currentplaylist.
View PastPlaylists
1. Touch and drag up and down on the home screen to display
previous playlists.
Using the Device 15

Now Playing
Title Text
Sub text
Title Text
Sub text
Title Text
Sub text
Title Text
Sub text
Title Text
Sub text
Title Text
Sub text
Title Text
Sub text
Title Text
Sub text
Title Text
UserGuide
Moving Up/Down on the List
1. Scroll through the list by dragging
up anddown.
Using the Device 16

UserGuide
Displays menus.
Displays current song information.
Indicates the song’s total duration.
Press to switch from elapsed time
to remaining time.
Song title information.
File name is displayed when
ID3Tag is unavailable.
Menus
Details
SongDuration
Current Album Goes to the album of the current
song.
Add to Playlist Add the selected song to the
playlist.
Title
1
2
3
4
5
6
9
Home
Screen 1
6
7
8
10
3
4
5
211
12
13
14
15
16
17
Using the Device 17

UserGuide
Displays the artist and the album.
Short press: Plays the previous
song.
Long press: Rewinds the current
song.
Display album covers. Press the
album cover to view the lyrics.
Shows the progress bar. Drag the
indicator to move to the desired
track time.
Indicates the song’s total duration.
Press to switch from elapsed time
to remaining time.
Press [ ] to set the play mode.
:Sequential playback.
:Shuffle playback.
Press [ ] to set the Repeat mode.
:Repeat the entire playlist.
:Repeat the current song.
:Cancel repeat.
Displays bit rate and sampling
frequency data.
Plays or pauses the current song.
Short press: Plays the next song.
Long press: Fast-forwards the c
urrent song.
Artist/Album
Previous/
Rewind
Playback Screen Displays the playback screen.
Album Cover
Progress Bar
Song Duration
Play Mode
Repeat Mode
Details
Play/Pause
Next/FF
7
8
9
10
11
12
13
14
15
16
17
Using the Device 18

UserGuide
00:00 15:24
16bit / 44.1kHz
Title
Artist / Album title
CD ripping connected
Clear
143
LineOut Balanced Out
DA C
Flicking
Notifi-
cation
Bar
11
12
13
1234567 8 9 10
14
Using the Device 19
Table of contents
Other Astell & Kern Media Player manuals

Astell & Kern
Astell & Kern AK380 User manual

Astell & Kern
Astell & Kern DPF11 User manual

Astell & Kern
Astell & Kern IRIVER AK Recorder User manual

Astell & Kern
Astell & Kern AK500N User manual

Astell & Kern
Astell & Kern AK Jr Operating instructions

Astell & Kern
Astell & Kern SR15 User manual

Astell & Kern
Astell & Kern KANN User manual

Astell & Kern
Astell & Kern AK300 User manual