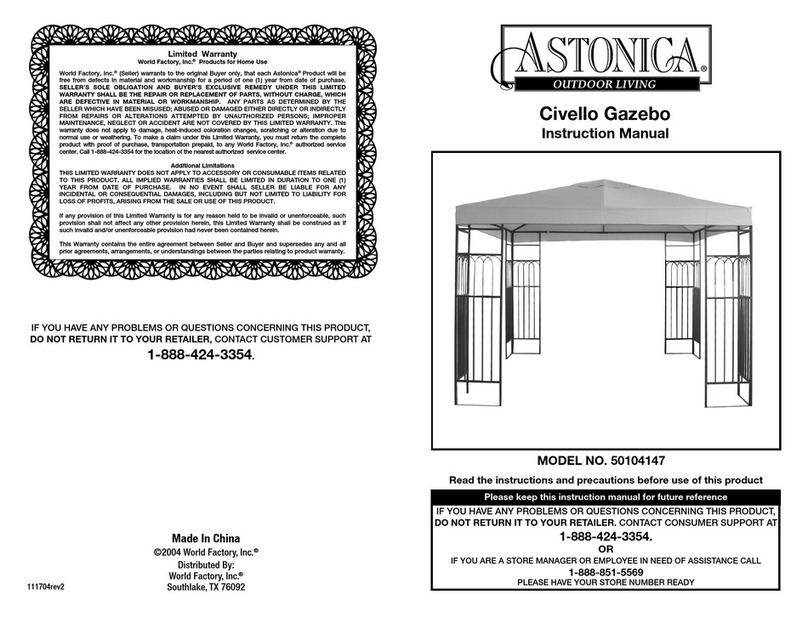
Astonica Party Pop-Up User manual

IF YOU HAVE ANY PROBLEMS OR QUESTIONS CONCERNING THIS PRODUCT,
DO NOT RETURN IT TO YOUR RETAILER, CONTACT CUSTOMER SERVICE AT
1-888-422-7800
051010rev2
Read the instructions and precautions before use of this product
Please keep this instruction manual for future reference
IF YOU HAVE ANY PROBLEMS OR QUESTIONS CONCERNING THIS PRODUCT,
DO NOT RETURN IT TO YOUR RETAILER, CONTACT CONSUMER SUPPORT AT
1-888-422-7800
OR
IF YOU ARE A STORE MANAGER OR EMPLOYEE IN NEED OF ASSISTANCE CALL
1-888-422-7800
PLEASE HAVE YOUR STORE NUMBER READY
®
Made in China
©2010 World Factory, Inc.
Distributed by:
World Factory, Inc.
Irving, TX 75063
Model No: 50104205
10' x 10' Party Pop-Up
Instruction Manual
Due to ongoing product development
the actual product or products may vary from
the illustrations or photos shown within this manual.
NOTE: This product is intended for residential, non-commercial use.
Limited Warranty
World Factory, Inc. Products for Home Use
World Factory, Inc. (Seller) warrants to the original Buyer only, that each Astonica Product will be free
from defects in material and workmanship for a period of one (1) year from date of purchase.
SELLER’S SOLE OBLIGATION AND BUYER’S EXCLUSIVE REMEDY UNDER THIS LIMITED
WARRANTY SHALL BE THE REPAIR OR REPLACEMENT OF PARTS, WITHOUT CHARGE, WHICH
ARE DEFECTIVE IN MATERIAL OR WORKMANSHIP. ANY PARTS AS DETERMINED BY THE
SELLER WHICH HAVE BEEN MISUSED; ABUSED OR DAMAGED EITHER DIRECTLY OR INDIRECTLY
FROM REPAIRS OR ALTERATIONS ATTEMPTED BY UNAUTHORIZED PERSONS; IMPROPER
MAINTENANCE, NEGLECT OR ACCIDENT ARE NOT COVERED BY THIS LIMITED WARRANTY. This
warranty does not apply to damage, heat-induced coloration changes, scratching or alteration due to
normal use or weathering. To make a claim under this Limited Warranty, you must return the complete
product with proof of purchase, transportation prepaid, to any World Factory, Inc. authorized service
center. Call 1-888-422-7800 for the location of the nearest authorized service center.
Additional Limitations
THIS LIMITED WARRANTY DOES NOT APPLY TO ACCESSORY OR CONSUMABLE ITEMS RELATED
TO THIS PRODUCT. ALL IMPLIED WARRANTIES SHALL BE LIMITED IN DURATION TO ONE (1) YEAR
FROM DATE OF PURCHASE. IN NO EVENT SHALL SELLER BE LIABLE FOR ANY INCIDENTAL OR
CONSEQUENTIAL DAMAGES, INCLUDING BUT NOT LIMITED TO LIABILITY FOR LOSS OF PROFITS,
ARISING FROM THE SALE OR USE OF THIS PRODUCT.
If any provision of this Limited Warranty is for any reason held to be invalid or unenforceable, such
provision shall not affect any other provision herein, this Limited Warranty shall be construed as if
such invalid and/or unenforceable provision had never been contained herein.
This warranty gives you special legal rights, and you may also have other rights which vary from state
to state.
This Warranty contains the entire agreement between Seller and Buyer and supersedes any and all
prior agreements, arrangements, or understandings between the parties relating to product warranty.

IF YOU HAVE ANY PROBLEMS OR QUESTIONS CONCERNING THIS PRODUCT,
DO NOT RETURN IT TO YOUR RETAILER. CONTACT CUSTOMER SERVICE AT
1-888-424-3354.
Carefully remove the contents from the package. If any parts are missing do not
attempt to use the product until they have been obtained and correctly installed.
PARTS & HARDWARE LIST
PART # DESCRIPTION QUANTITY
A Canopy Frame with Cover 10' x 10' x 8' 1
B Zippered Storage Bag 1
C Anchor Ropes 4
D Ground Stakes 8
14
A
B
C
D
WARNING: RISK OF PERSONAL INJURY OR DAMAGE TO PRODUCT. Do not use Jiffy Shade
Gazebo as a permanent structure. The Gazebo is to be used for temporary shelter only. Do not
leave the gazebo erected for extended periods of time.
1. Always secure your gazebo with stakes and anchor ropes.
2. Do not use your gazebo in gusty or high wind conditions.
3. Do not use your gazebo in heavy rains or thunderstorms.
4. Do not seek shelter from lightning under this gazebo.
5. Keep away from open flames.
CARE AND MAINTENANCE
Figure 9
1. Clean gazebo top cover and frame with mild non-detergent soap and water only.
2. Allow top cover and frame to dry completely before storage.
3. Check periodically for loose fasteners and tighten as necessary.
WARNING
KEEP ALL FLAME AND HEAT SOURCES AWAY FROM THE CANOPY FABRIC
Close Canopy Frame with Cover
CAUTION: Do not tug or pull canopy cover
and frame from side (area between corner
legs). Do not force canopy frame while
closing. Always close canopy by grasping
corner leg as described below:
1. (SEE FIGURE 9) Grasp one leg of canopy
frame (A). Move leg inward toward center.
Continue working around canopy, moving
each leg a little at a time until canopy
frame with cover is fully closed.
NOTE: Manufacture recommends
disassembly be preformed with the
help of assistants on each leg.
2. Store canopy (A), ground stakes (D), and
anchor ropes (C) in zippered bag (B)
until next use.
NOTE: This product is intended for residential, non-commercial use.
SAFETY INSTRUCTIONS
Figure 8
Close the Sliding Legs
1. (SEE FIGURE 8) Release the lower sliders
on each corner by depressing the push
"snap" buttons engaging the holes and
push down on the sliders.
Release the Sliding Legs
1. (SEE FIGURE 7) Working on any two
adjacent legs and with the help of an
assistant, lift the gazebo frame (A) and
depress the push "snap" buttons securing
the sliding inner and outer legs.
2. Lift (slide) the inner legs into the outer
legs fully.
3. Lower the gazebo legs to the ground.
Repeat for the other two legs.
Figure 7
Corner
Leg
Canopy
Side Area

Secure Inner Leg
1. (SEE FIGURE 3) Working on any two
adjacent legs, lift the gazebo frame (A)
and slide out the inner sliding legs until
the push "snap" button engages the
hole in the bottom of the outer leg.
2. Repeat for the other two legs.
Figure 3
Secure Lower Legs
1. (SEE FIGURE 2) Secure the lower sliders
on each corner by holding the top leg
down with one hand while moving the
slider up with the other until the push
"snap" button engages the hole in the
slider.
2. Repeat this process to secure all
four corners.
Figure 2
DISASSEMBLY INSTRUCTIONS
Remove Ground Stakes
1. (SEE FIGURE 6) Remove all ground
stakes (D) and anchor ropes (C)
securing gazebo (A).
2 3
Install Gazebo Ground Stakes
1. (SEE FIGURE 5) Secure the gazebo in
position by driving ground stakes (D)
through the foot of each of the legs.
2. Attach one end of the anchor ropes (C)
to the top corner "D" rings of the gazebo
and to a ground stake (D) in the other.
Unhook Leg Cover
1. (SEE FIGURE 6 & 7) Unhook the leg cover
fabric, lower end hooks from holes in
lower legs.
ASSEMBLY INSTRUCTIONS
CAUTION: Do not tug or pull canopy cover
and frame from side (area between corner
legs). Do not force canopy frame open.
Always open canopy by grasping corner leg
as described below:
Open Canopy Frame
1. (SEE FIGURE 1) Place the canopy frame
with cover (A) in center of area to be covered.
2. Grasp one leg of canopy frame (A). Move
leg outward, away from center. Continue
working around canopy, moving each leg
a little at a time until canopy frame with
cover is fully extended.
Figure 1
A
Corner
Leg
Canopy
Side Area
Secure Leg Cover Fabric
1. (SEE FIGURE 4) Secure the leg cover
fabrics' lower ends to the legs by
hooking the clip into the hole in the
bottom of the legs.
Figure 5
C
D
D
Figure 6
C
D
D
Figure 4
Other Astonica Outdoor Furnishing manuals
Popular Outdoor Furnishing manuals by other brands

Essential Garden
Essential Garden ARROW 780-02673097-8 owner's manual

Micasa
Micasa Molokini 408092300000 manual

Treasure Garden
Treasure Garden AG19 Assembly and operation instructions

PHI VILLA
PHI VILLA THD7-305-2401 Use and care guide

Belson Outdoors
Belson Outdoors CBPB-6A1B-SL instruction sheet

Rutland County
Rutland County FINCH Assembly instructions

Cuscini
Cuscini ABRI Step by step assembly instructions

MAISONS DU MONDE
MAISONS DU MONDE TILLANDSIA manual

Sunjoy
Sunjoy 810213850 instruction manual

Sunjoy
Sunjoy Villa Dining Table L-DN605SAL-T2 Assembly instructions

Sunjoy
Sunjoy A102001703 Assembly instruction

Crosley Furniture
Crosley Furniture PALM HARBOR CO7107-BR manual