manuals.online logo
Brands
  1. Home
  2. •
  3. Brands
  4. •
  5. Asus
  6. •
  7. Desktop
  8. •
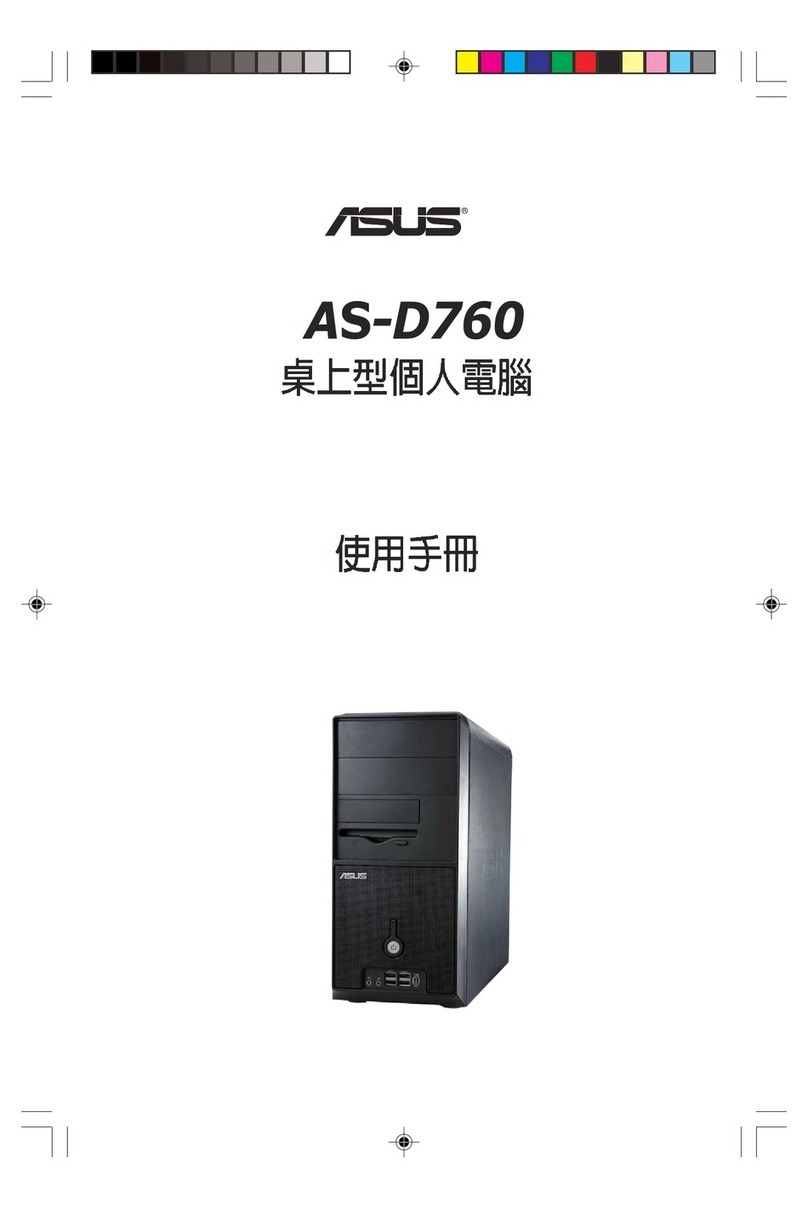
  9. Asus A9271 User manual

Asus A9271 User manual

Desktop PC Installation Guide
1
2
3
• Connectdevices.
• Menyambungkan
perangkat.
• เชื่อมต่ออุปกรณ
• A. Selectthesysteminputvoltage.
  Ifthevoltagesupplyinyourareais100-127V,setthevoltage 
selectorto115V.
  Ifthevoltagesupplyinyourareais200-240V,setthevoltage
selectorto230V.
 B. Connectoneendofthepowercordtothepowerconnector
andtheotherendtoawallpoweroutlet.
• A. Pilihteganganmasuksistem.
  JikateganganlistrikdiareaAnda100-127V,tetapkanpengatur
teganganke115V.
  JikateganganlistrikdiareaAnda200-240V,tetapkanpengatur
teganganke230V.
 B. Sambungkansalahsatuujungkabeldayakekonektordayadan
ujunglainnyakestopkontak.
• ก. เลือกแรงดันไฟฟ้าขาเข้าของระบบ
ถ้าแรงดันไฟฟ้าในพื้นที่ของคุณเป็น100-127Vให้ตั้งค่าตัวเลือก
แรงดันไฟฟ้าไปที่115V
 ถ้าแรงดันไฟฟ้าในพื้นที่ของคุณเป็น200-240Vให้ตั้งค่าตัวเลือก
แรงดันไฟฟ้าไปที่230V
 ข. เชื่อมต่อปลายข้างหนึ่งของสายไฟเข้ากับขั้วต่อเพา
เวอร์และปลายอีกด้านหนึ่งเข้ากับเต้าเสียบไฟฟ้า
ที่ผนัง
WARNING/ PERINGATAN/ คำ�เตือน/ تحذير / :
• Settingthevoltageselectorwrongmayseriouslydamageyoursystem.
•Kesalahansaatmenetapkanpengaturtegangandapatmenyebabkankerusakanserius
padasistem.
• การตั้งค่าตัวเลือกแรงดันไฟฟ้าผิดอาจทำาให้เกิดความเสียหายกับระบบของคุณอย่างรุนแรง
• Illustrationsareforreferenceonly.Actualproductspecicationsmayvary.
• Gambarhanyasebagaireferensi.Spesikasiprodukyangsebenarnyadapatberbeda
• ภาพสาธิตใช้สำาหรับการอ้างอิงเท่านั้นข้อมูลจำาเพาะผลิตภัณฑ์ที่แท้จริงอาจแตกต่างจากนี้
3.5inchdrivebay/Wadahdrive3,5inci/
ช่องใส่ไดรฟ์3.5นิ้ว/ /
Powerbutton/Tomboldaya/ปุ่มเพาเวอร์/
/
PowerLED/LEDDaya/LEDเพา
เวอร์/
/
 Microphoneport/Portmikrofon/พอร์ตไมโครโฟน/ /
 Headphoneport/Portheadphone/พอร์ตหูฟัง/ /
 USB2.0port/PortUSB2.0/พอร์ตUSB2.0/
/
 Resetbutton/Tombolaturulang/ปุ่มรีเซ็ต/
/
 5.25inchopticaldiskdrivebay/Wadahdrivedisk
optik5,25inc/ช่องเสียบออปติคัลดิสก์ไดรฟ์5.25
นิ้ว/ /
 USB3.0port/PortUSB3.0/พอร์ตUSB3.0/
/
 HDDLED/LEDHDD/LEDHDD/ /
• Pressthepowerbuttontoturnonthesystem.
• Tekantomboldayauntukmenghidupkansistem.
• กดปุ่มเพาเวอร์เพื่อเปิดระบบ
WARNING/ PERINGATAN/ คำ�เตือน/ تحذير:
• UseBM6875,BM6675/MD750andBP6375/SD750inenvironmentswithanambienttemperaturebetween5˚C
and40˚C.
 Openingsonthechassisareforventilation.DONOTblockorcovertheseopenings.
• GunakanBM6875,BM6675/MD750danBP6375/SD750dilokasidengansuhulingkunganantara5˚Cdan40˚C.
 Celahpadachassisadalahuntukventilasi.JANGANhalangiataututupicelahtersebut.
• ใช้BM6875,BM6675/MD750และBP6375/SD750ในสภาพแวดล้อมที่มีอุณหภูมิระหว่าง5˚Cถึง40˚C
 ช่องเปิดต่างๆบนตัวเครื่องใช้สำาหรับการระบายอากาศอย่าขวางกั้นหรือปิดช่องเปิดเหล่านี้
5˚C
BM6875,BM6675/MD750
BP6375/SD750
BP6375/SD750
BM6675/MD750
OUT
BM6875
OUT
BM6875
BP6375/SD750
BM6675/MD750
• ObtainadetailedUserManualfromyourWindows®desktoportheASUSsupportsiteathttp://support.asus.com.
• DapatkanPanduanPenggunasecararincidaridesktopWindows®atausitusdukunganASUSdihttp://support.asus.com
• รับคู่มือผู้ใช้อย่างละเอียดจากเดสก์ทอปWindows®หรือไซต์สนับสนุนASUSที่http://support.asus.com
.http://support.asus.com תבותכב ASUS לש הכימתה רתאמ וא ®Windows בשחמ לש הכימתה רתאמ שמתשמל טרופמ ךירדמ דרוה •
BM6675/MD750
BP6375/SD750
BM6675/MD750
BM6875
A9271 / Revised Edition V2 / April 2014
A9271_BM6875_BM6675_BP6375_QSG_V2.indd 1 4/17/2014 11:06:40 AM
15060-06J30100
opticaldiskdriveejectbutton/tombolpele-
pasdrivediskoptik/ปุ่มดีดออปติคัลดิสก์
ไดรฟ์ออก/ /
 Powerbutton/Tomboldaya/ปุ่มเพา
เวอร์/ /
 Microphoneport/Portmikrofon/พอร์ตไมโครโฟน/
/
 Headphoneport/Portheadphone/พอร์ต
หูฟัง/ /
 USB2.0port/PortUSB2.0/พอร์ตUSB2.0/
/
 5.25inchopticaldiskdrivebay/Wadahdrivedisk
optik5,25inc/ช่องเสียบออปติคัลดิสก์ไดรฟ์5.25
นิ้ว/ /
 USB3.0port/PortUSB3.0/พอร์ตUSB3.0/
/
 HDDLED/LEDHDD/LEDHDD/ /
opticaldiskdrivebay(empty)/tempatdrivediskoptik
(kosong)/
ช่องเสียบออปติคัลดิสก์ไดรฟ์(ว่าง)/
/
opticaldiskdriveejectbutton/tombol
pelepasdrivediskoptik/ปุ่มดีดออปติคัลดิสก์
ไดรฟ์ออก/ /
 Powerbutton/Tomboldaya/ปุ่มเพา
เวอร์/ /
 Microphoneport/Portmikrofon/พอร์ตไมโครโฟน/
/
 Headphoneport/Portheadphone/พอร์ตหูฟัง/
/
 USB2.0port/PortUSB2.0/พอร์ตUSB2.0/
/
 5.25inchopticaldiskdrivebay/Wadahdrivedisk
optik5,25inc/ช่องเสียบออปติคัลดิสก์ไดรฟ์5.25
นิ้ว/ /
 USB3.0port/PortUSB3.0/พอร์ตUSB3.0/
/
 HDDLED/LEDHDD/LEDHDD/ /
ENERGYSTARisajointprogramoftheU.S.EnvironmentalProtectionAgencyandtheU.S.DepartmentofEnergyhelping
usallsavemoneyandprotecttheenvironmentthroughenergyecientproductsandpractices.
AllASUSproductswiththeENERGYSTARlogocomplywiththeENERGYSTARstandard,andthepowermanagement
featureisenabledbydefault.Themonitorandcomputerareautomaticallysettosleepafter10and30minutesofuser
inactivity.Towakeyourcomputer,clickthemouseorpressanykeyonthekeyboard.
Pleasevisithttp://www.energy.gov/powermanagementfordetailinformationonpowermanagementanditsbenetstothe
environment.Inaddition,pleasevisithttp://www.energystar.govfordetailinformationontheENERGYSTARjointprogram.
*Note:EnergyStarisNOTsupportedonFreedosandLinux-basedproducts.
Safety information
• Beforeusingthisproduct,ensurethatallcablesarecorrectlyconnected.Ifyoudetectanycabledamage,contactyourretailer
immediately.
• Usethisproductonlywiththecorrectvoltageasinstructedbythemanufacturer.
• Toavoidshortcircuitsandfaultycontacts,keepscrapsofpaper,screws,andthreadsawayfromconnectors,slots,sockets,and
circuits.
• Beforeaddingorremovingdevicestoorfromthesystem,ensuretounplugitfromthepowersource.
• Thesystemcoversareelaboratelydesignedtoprotectusersfromscratches,butstillbecarefulwiththosesharptipsandedges.Put
onapairofglovesbeforeremovingorreplacingthesystemcovers.
• Ifyouencountertechnicalproblemswiththisproduct,e.g.thepowersupplyisbroken,contactaqualiedservicetechnicianor
yourretailer.DONOTservicethisproductyourself.
• Sebelummenggunakanprodukini,pastikanbahwasemuakabeltelahtersambungdenganbenar.JikaAndamenemukanadanya
kerusakan,segerahubungiagenAnda.
• Gunakanprodukinihanyadenganteganganyangbenarsesuaipetunjukprodusen.
• Untukmencegahhubunganaruspendekdankerusakankontak,jauhkanpotongankertas,sekrup,sertabenangdarikonektor,slot,
soket,maupunsirkuit.
• Sebelummenambahataumenghapusperangkatkeataudarisistem,pastikanAndatelahmelepaskannyadaricatudaya.
• Penutupsistemdirancangsecarakhususuntukmelindungipenggunadarigoresan.Namun,Andaharustetapberhati-hatiterha-
dapujungatautepianyangtajam.Gunakansarungtangansebelummemindahkanataumenggantipenutupsistem.
• JikaAndamengalamimasalahteknispadaproduk,misalnyacatudayarusak,hubungiteknisiservisberpengalamanatauagen
terdekat.JANGANperbaikisendiriprodukini.
• ก่อนการใช้ผลิตภัณฑ์นี้ให้แน่ใจว่าสายเคเบิลทั้งหมดเชื่อมต่ออย่างถูกต้องถ้าคุณพบความเสียหายใดๆให้ติดต่อตัวแทนจำาหน่าย
ทันที
• ใช้ผลิตภัณฑ์นี้ด้วยแรงดันไฟฟ้าที่ถูกต้องตามที่ระบุโดยผู้ผลิตเท่านั้น
• เพื่อหลีกเลี่ยงการลัดวงจรหรือการสัมผัสถูกขั้วที่ทำาให้เสียหายให้เก็บเศษกระดาษสกรูและเศษลวดต่างๆให้ห่างจากขั้วต่อสล็อต
ซ็อกเก็ตและแผงวงจร
• ก่อนที่จะเพิ่มหรือนำาอุปกรณ์เข้าหรือออกจากระบบให้แน่ใจว่าได้ถอดปลั๊กอุปกรณ์จากแหล่งจ่ายไฟ
• แม้ว่าฝาปิดของระบบได้รับการออกแบบด้วยความประณีตเพื่อป้องกันไม่ให้เกิดรอยขีดข่วนต่อผู้ใช้แต่ให้ใช้ความระมัดระวังบริเวณที่เป็น
ปลายแหลมและขอบที่มีคมสวมถุงมือก่อนที่คุณจะถอดหรือใส่ฝาปิดของระบบ
• ถ้าคุณมีปัญหาทางด้านเทคนิคกับผลิตภัณฑ์นี้เช่นแหล่งจ่ายไฟเสียโปรดติดต่อช่างเทคนิคบริการที่มีคุณสมบัติหรือร้านค้าที่คุณซื้อ
ผลิตภัณฑ์มาอย่าซ่อมแซมผลิตภัณฑ์นี้ด้วยตัวคุณเอง
BP6375/SD750
BM6875
India RoHS
is product complies with the India E-Waste (Management and Handling) Rule 2011 and prohibits use of lead, mercury,
hexavalent chromium, polybrominated biphenyls (PBBs), and polybrominated diphenyl ethers (PBDEs) in concentrations
exceeding 0.1% by weight in homogeneous materials and 0.01% by weight in homogeneous materials for cadmium, except for
the exemptions listed in Schedule-II of the Rule.
A9271_BM6875_BM6675_BP6375_QSG_V2.indd 2 4/17/2014 11:06:40 AM
Other Asus Desktop manuals

Asus PE200U Series User manual

Asus

Asus PE200U Series User manual

Asus EeeBox EB1502 User manual

Asus

Asus EeeBox EB1502 User manual

Asus PD500TE User manual

Asus

Asus PD500TE User manual

Asus Essentio CM1740 User manual

Asus

Asus Essentio CM1740 User manual

Asus P5V900 User manual

Asus

Asus P5V900 User manual

Asus A31BF User manual

Asus

Asus A31BF User manual

Asus CM1831-US-2AA User manual

Asus

Asus CM1831-US-2AA User manual

Asus VivoPC VM40B User manual

Asus

Asus VivoPC VM40B User manual

Asus D700MD User manual

Asus

Asus D700MD User manual

Asus ET2220IUTI User manual

Asus

Asus ET2220IUTI User manual

Asus BM6875 User manual

Asus

Asus BM6875 User manual

Asus G15DH-UK048T User manual

Asus

Asus G15DH-UK048T User manual

Asus P1-P5945G User manual

Asus

Asus P1-P5945G User manual

Asus T2-AH1 User manual

Asus

Asus T2-AH1 User manual

Asus AAEON BOXER-6405U User manual

Asus

Asus AAEON BOXER-6405U User manual

Asus BM5270 User manual

Asus

Asus BM5270 User manual

Asus K5130 User manual

Asus

Asus K5130 User manual

Asus Essentio CM1831 User manual

Asus

Asus Essentio CM1831 User manual

Asus S501ME User manual

Asus

Asus S501ME User manual

Asus EeeBox EB1505 User manual

Asus

Asus EeeBox EB1505 User manual

Asus ET2002 - Eee Top - 2 GB RAM User manual

Asus

Asus ET2002 - Eee Top - 2 GB RAM User manual

Asus PN62 User manual

Asus

Asus PN62 User manual

Asus V2-M3A3200 User manual

Asus

Asus V2-M3A3200 User manual

Asus Multimedia System S-presso User manual

Asus

Asus Multimedia System S-presso User manual

Popular Desktop manuals by other brands

HP A320m - Pavilion - 256 MB RAM manual

HP

HP A320m - Pavilion - 256 MB RAM manual

HP Pavilion u6200 - Desktop PC Troubleshooting

HP

HP Pavilion u6200 - Desktop PC Troubleshooting

Lenovo ThinkCentre M70z Uživatelská příručka

Lenovo

Lenovo ThinkCentre M70z Uživatelská příručka

Quanmax QDSP-2020 user guide

Quanmax

Quanmax QDSP-2020 user guide

Atari 600XL owner's guide

Atari

Atari 600XL owner's guide

Dell Vostro 260 owner's manual

Dell

Dell Vostro 260 owner's manual

Sintrones VBOX-3200 user manual

Sintrones

Sintrones VBOX-3200 user manual

Dell XPS 625 Setup guide

Dell

Dell XPS 625 Setup guide

Dell Precision T5600 Technical guidebook

Dell

Dell Precision T5600 Technical guidebook

Sun Microsystems SPARCstation 1+ installation guide

Sun Microsystems

Sun Microsystems SPARCstation 1+ installation guide

Toshiba T-Series T8500 Maintenance manual

Toshiba

Toshiba T-Series T8500 Maintenance manual

Radio Shack 1850 owner's manual

Radio Shack

Radio Shack 1850 owner's manual

Lenovo ThinkStation E20 Käyttöopas

Lenovo

Lenovo ThinkStation E20 Käyttöopas

KEPCO SUPERtrol II manual

KEPCO

KEPCO SUPERtrol II manual

IEI Technology WS-843A user manual

IEI Technology

IEI Technology WS-843A user manual

FIC GE3 user guide

FIC

FIC GE3 user guide

Mitsubishi Electric Apricot FT1200 Owner's handbook

Mitsubishi Electric

Mitsubishi Electric Apricot FT1200 Owner's handbook

HP ProDesk 490 G1 Quickspecs

HP

HP ProDesk 490 G1 Quickspecs

manuals.online logo
manuals.online logoBrands
  • About & Mission
  • Contact us
  • Privacy Policy
  • Terms and Conditions

Copyright 2025 Manuals.Online. All Rights Reserved.