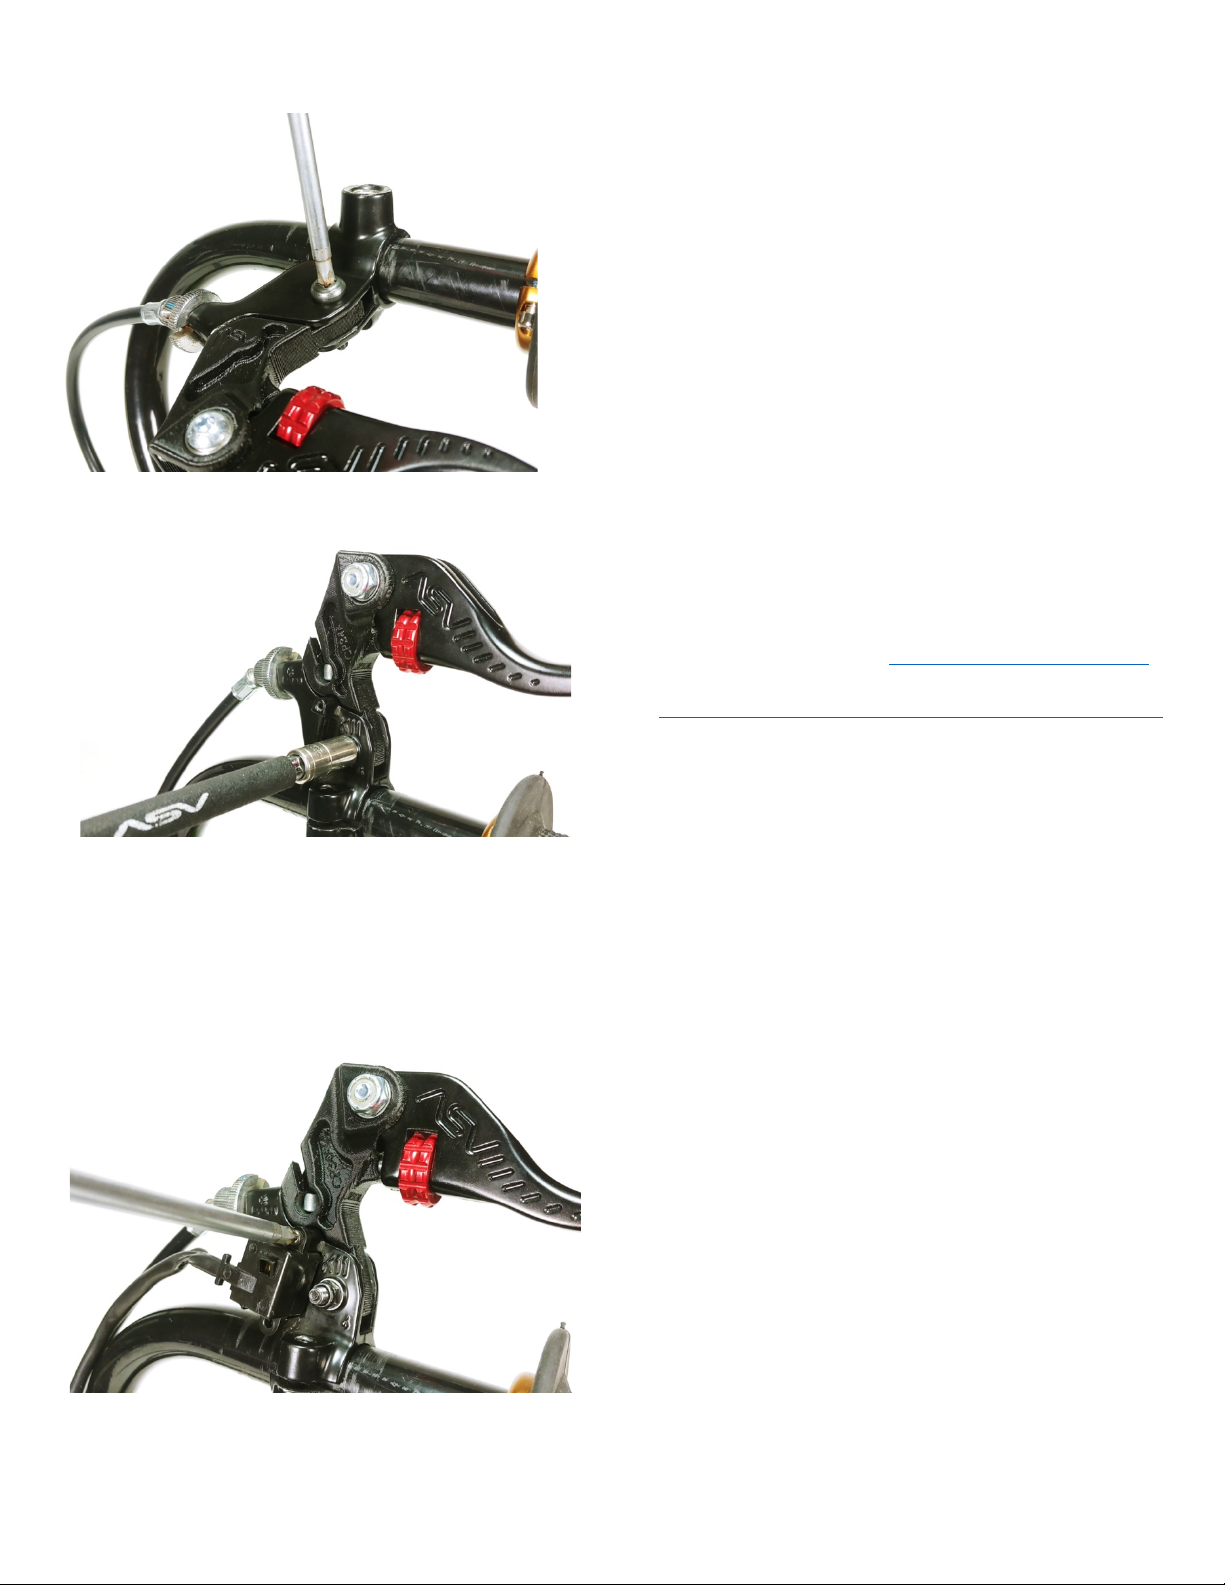
3: INSTALL THE ASV LEVER
3a) Guide the clutch barrel into the ASV lever and place the ASV
lever into the perch. Secure with the original pivot bolt.
3b) Secure the 8mm locknut on the underside of the lever
3c). Tighten the clutch cable adjuster by twisting the clutch cable
adjuster away from the perch. Extend just enough so that there is a
coin’s worth of space between the lever and the perch. This will allow
for cable expansion when it warms up during riding.
4: RE-INSTALL THE NEUTRAL KILL SWITCH
4a) IMPORTANT! Use a Philips screwdriver and the OEM screws to
re-install the neutral kill switch.
5: SETTING AND TESTING
5a) With the bike off, shift into first gear. Fully engage the clutch lever
and attempt to move the bike forwards and backwards manually. It
should move freely. Disengage the clutch lever and attempt to move
the bike again. This time, the bike should only move a foot or so before
stopping. If there is any issue at this stage, adjust the clutch cable until
the bike moves only when it should.
5b). With the bike in neutral, get into riding position and start the bike.
5c) Fully engage the clutch and shift to first gear. Keep the clutch fully
engaged. The bike should remain still. If the bike is moving forward,
put the bike back into neutral and try adjusting either the clutch cable or
reach adjust dial. Keep doing this until the bike remains still with the
clutch fully engaged.
5d) Use the reach adjust dials to set the levers to your desired reach.
Adjusting the reach will greatly affect brake and clutch engagement. Be
sure to test at slow speeds before riding normally.
Congratulations! You’ve successfully installed the ASV clutch lever on
your bike! If you have any questions, please reach out to us at our
contact info below.
Need help? Contact ASV!
Our techs are available Monday through Friday, 9am to 5pm PST
Register your ASV warranty at asvinventions.com!


