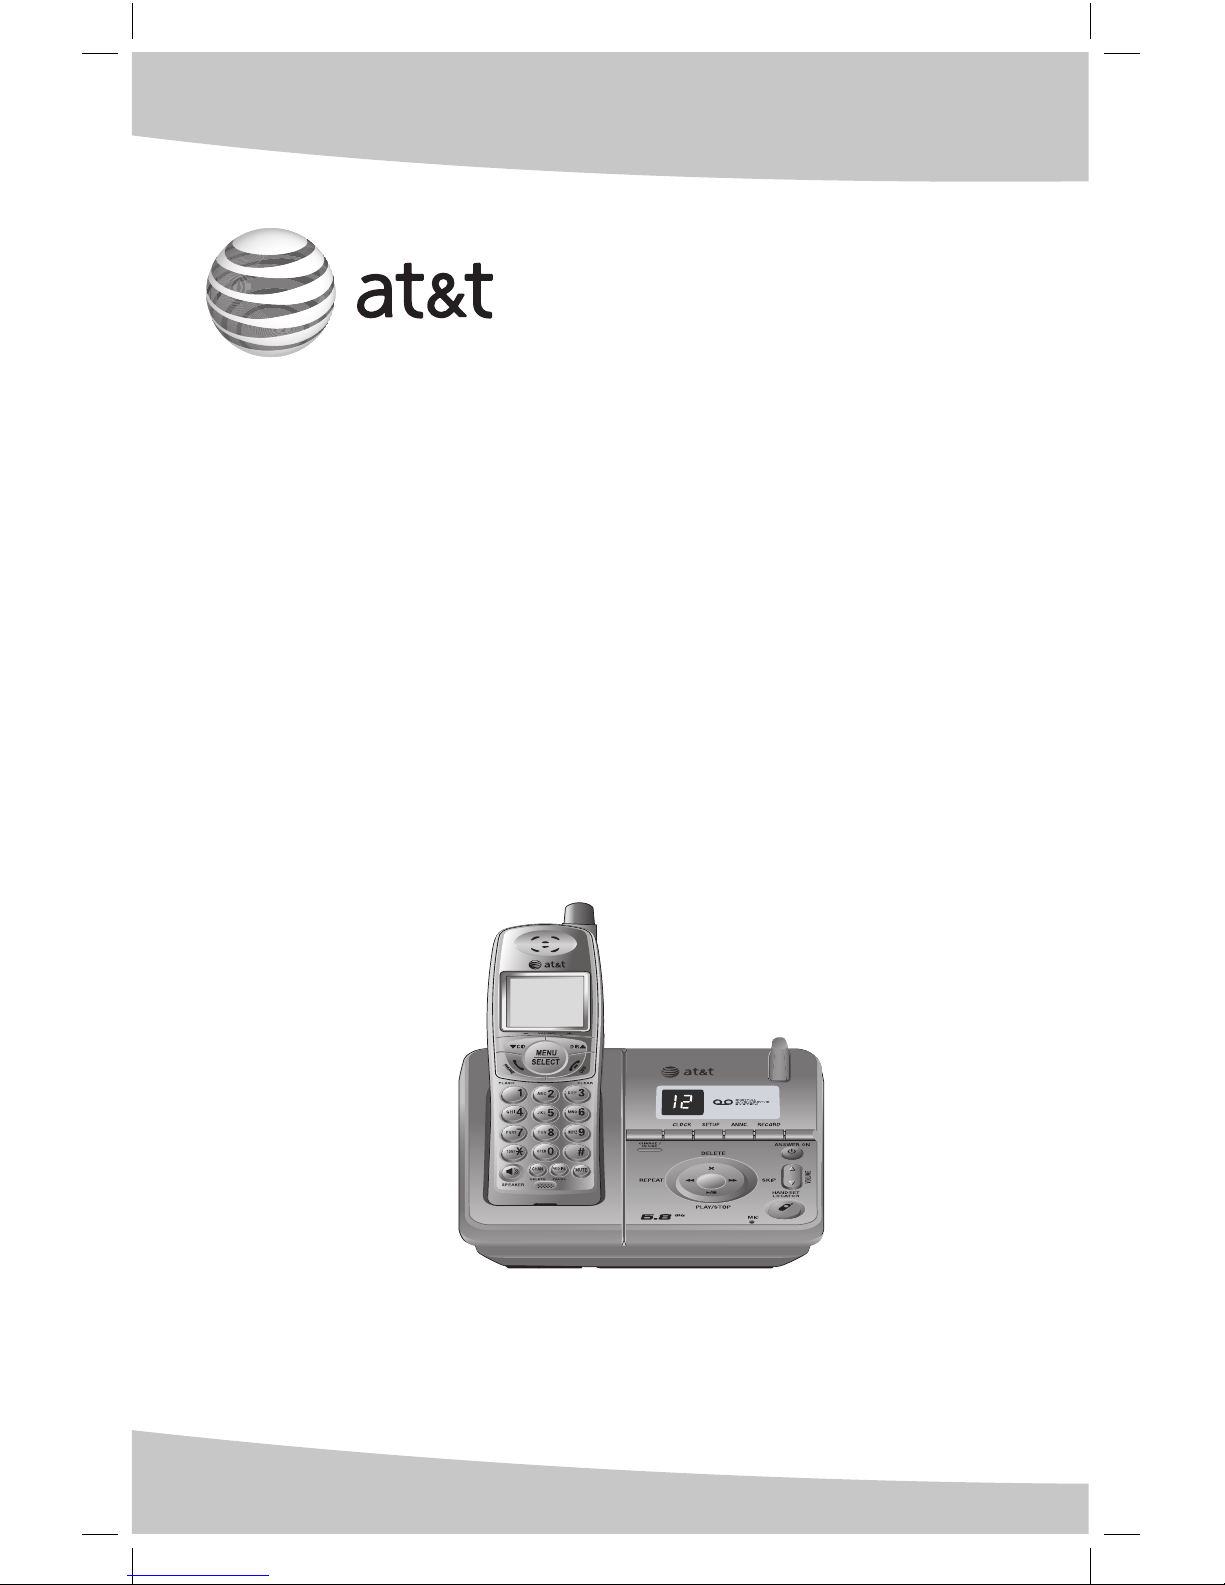
2
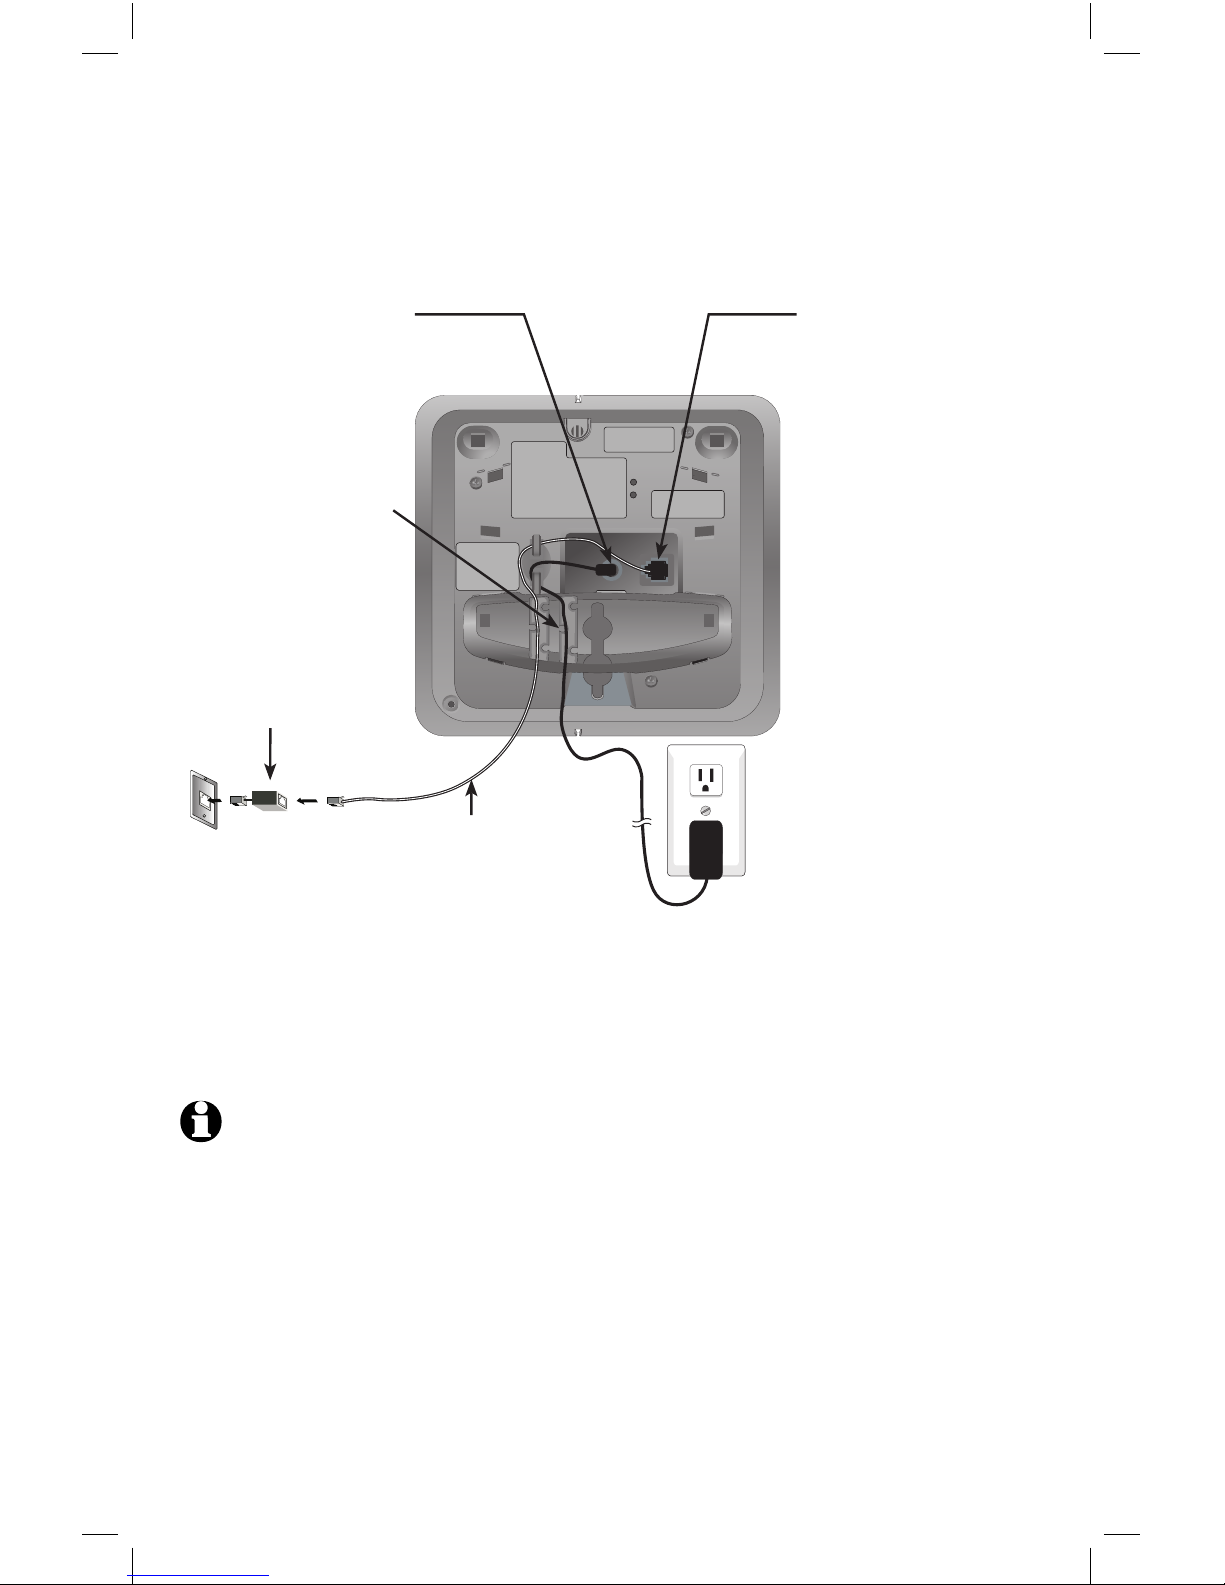
Getting started
DIR
/VOLUME+
While in a menu, press to scoll up.
When in idle mode, press to display
directory entries (page 21). While
entering names, press to advance
the cursor a space. During a call,
press DIR to increase listening
volume.
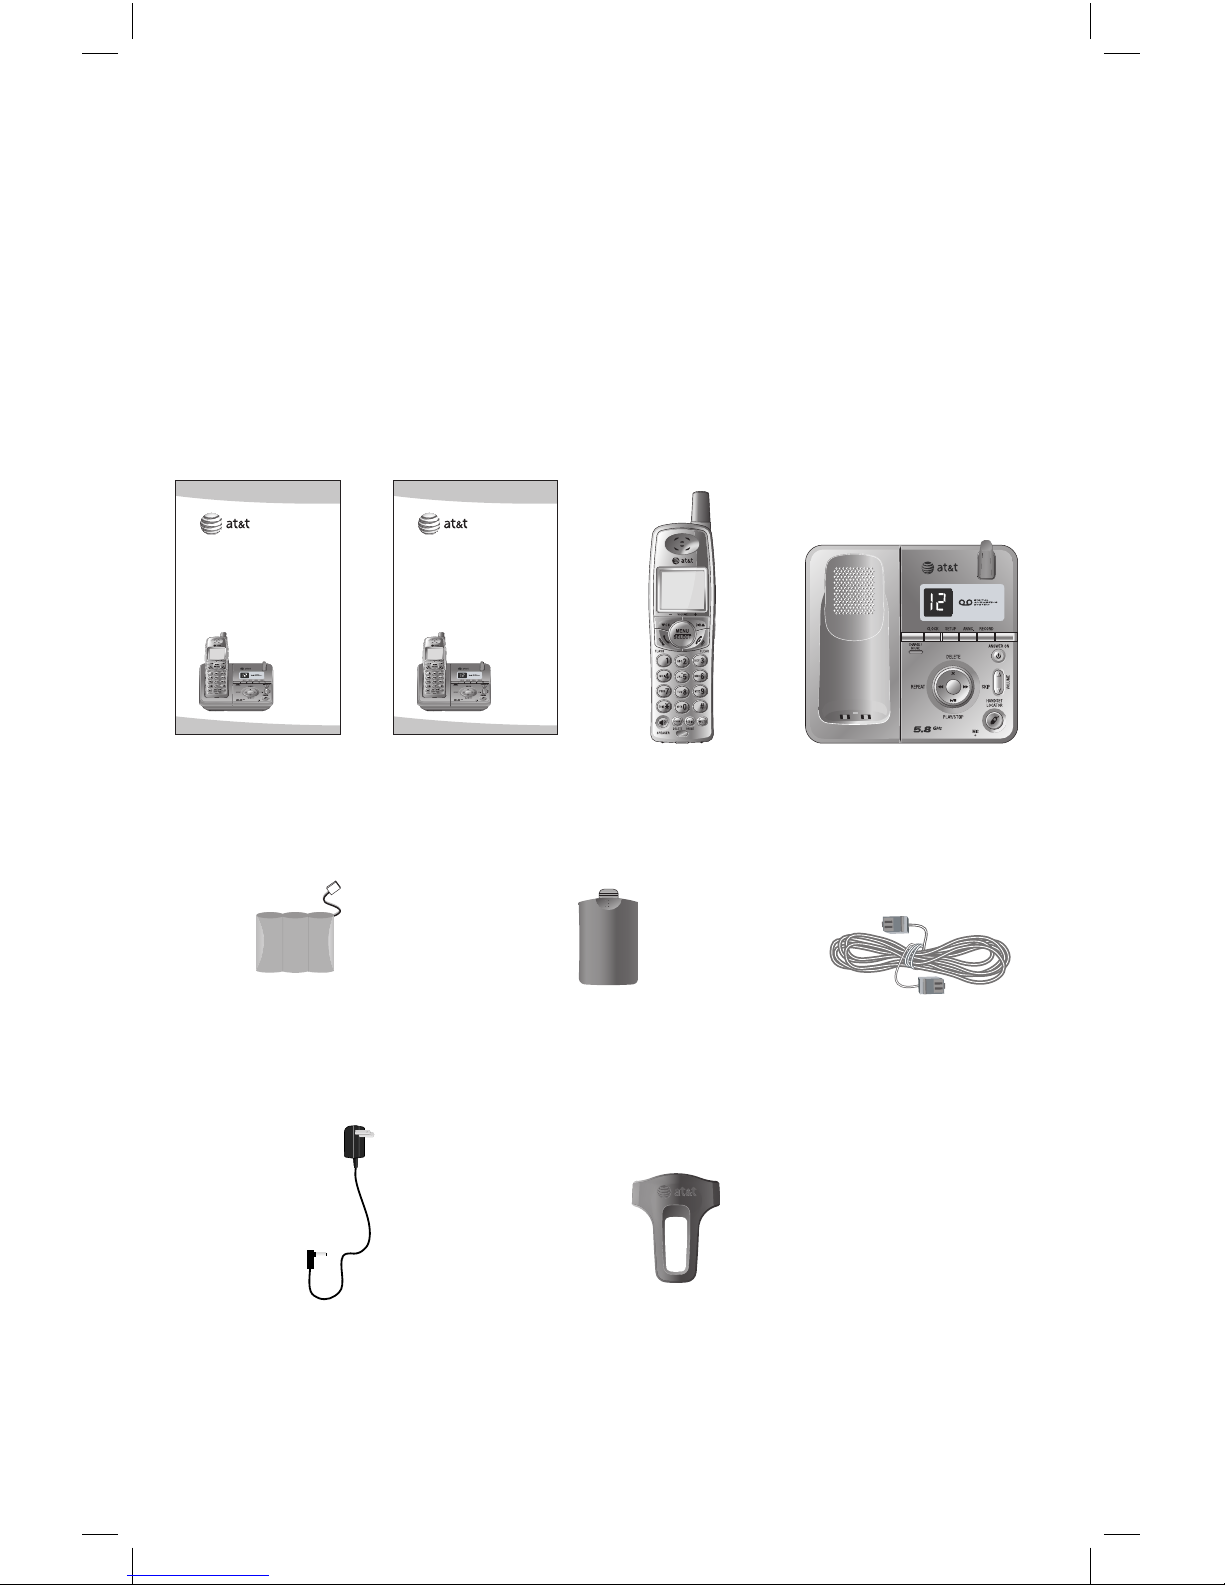
Quick reference guide
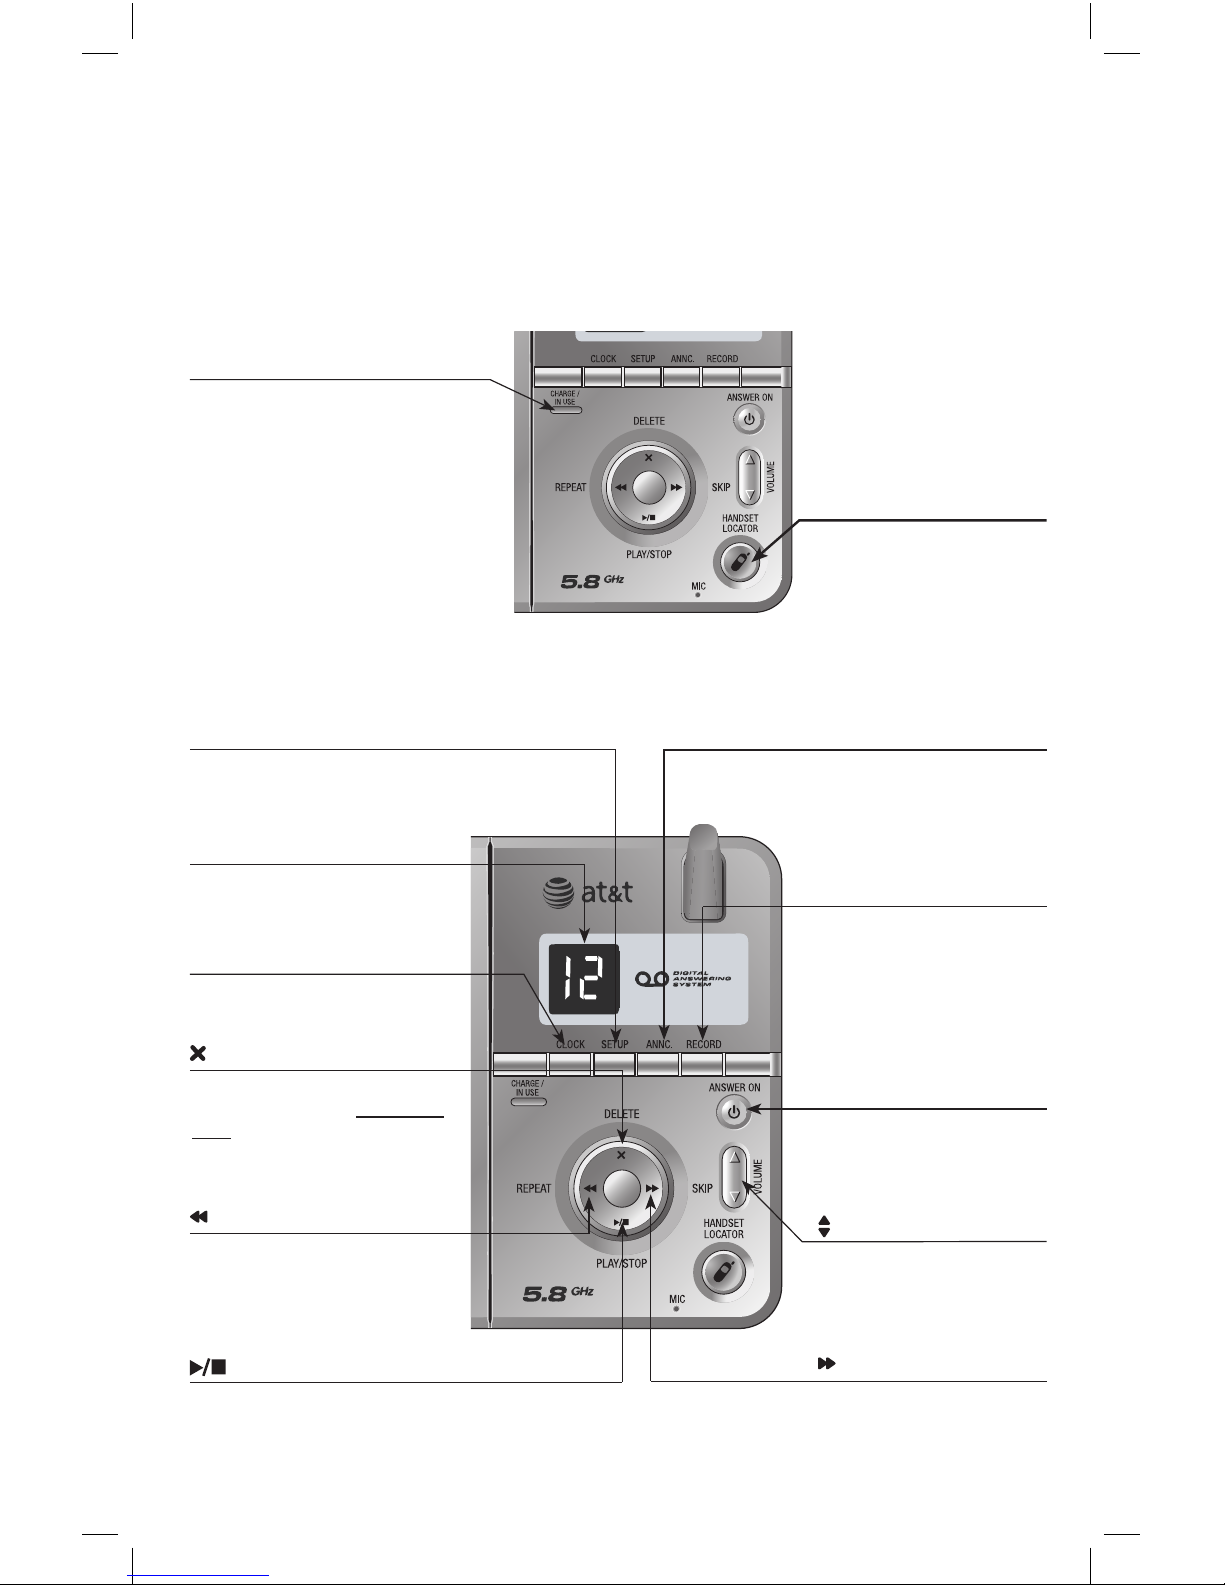
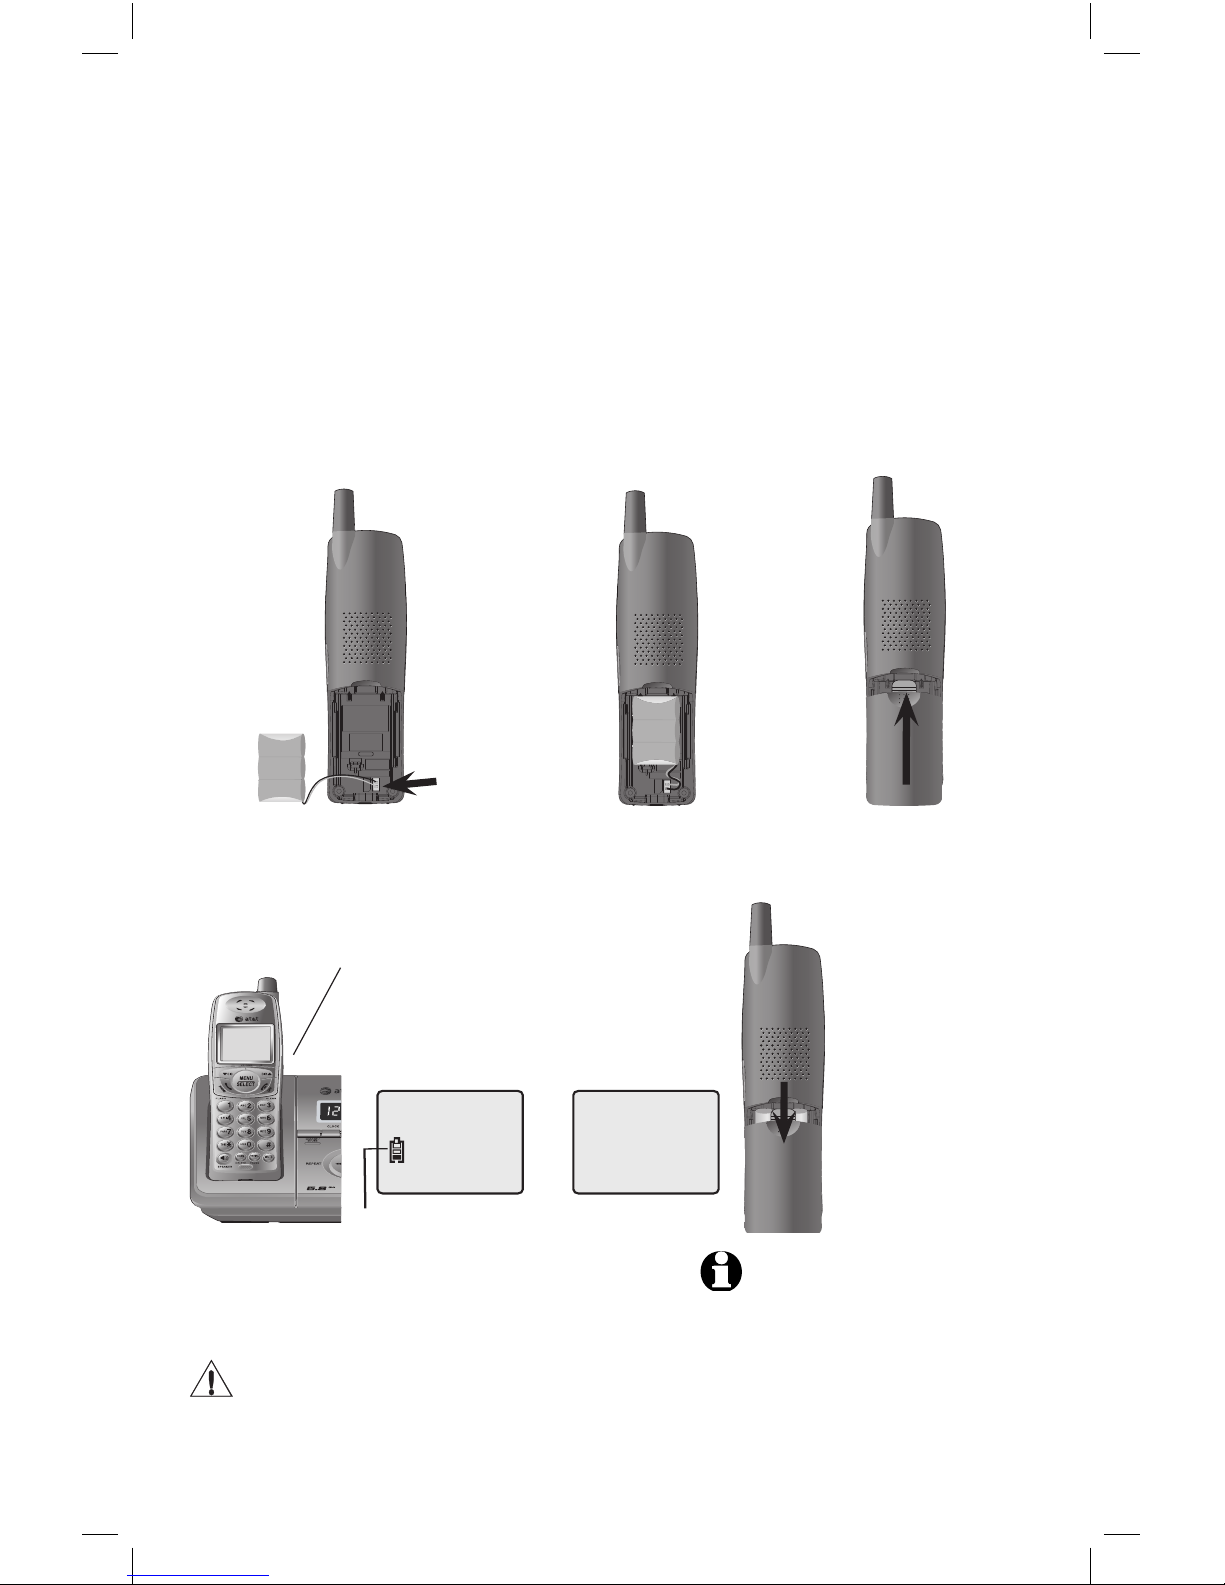
Cordless handset
SPEAKER
Press to activate handset speak-
erphone. Press again to resume
normal handset use (page 13).
CHAN/DELETE
When on a call, press
CHAN/DELETE
to scan for a clearer channel when
there is static or interference on
the line (page 16). When in caller
ID mode, press to delete the dis-
played caller ID entry (page 27), or
press and hold to delete all caller
ID entries (page 27).
PHONE/FLASH
Press to make or answer a call.
During a call, press to receive
an incoming call if call waiting is
activated (page 16).
MENU/SELECT
Press to display a menu or to con-
firm a command.
OFF/CLEAR
During a call, press to hang up.
While using menus, press to can-
cel an operation, or exit the menu
(page 12).
REDIAL/PAUSE
While in idle mode, press to display
last number called (page 14). While
dialing or entering numbers to the
directory, press to insert a four-sec-
ond dialing pause (page 20).
CID/
-VOLUME
While in a menu, press to scoll
down. When in idle mode,
press to display call log entries
(page 26). While entering names
or numbers, press to move the
cursor to the left. During a call,
press CID to decrease listening
volume.
Feature menu
Feature menu
DIRECTORY ..............Page 17
SPEED DIAL .............Page 18
RINGER ......................Page 12
DATE/TIME ............... Page 12
DIAL MODE .............. Page 11
LANGUAGE ..............Page 11
DIRECTORY
MUTE
While on a call, press to mute
microphone. Press again to resume
(page 16).
Using menus
Press
CID/-VOLUME
or
DIR /VOLUME+
to scroll through menu items.
Press MENU/SELECT to select or mod-
ify a highlighted item.
Press OFF/CLEAR to cancel an oper-
ation, or exit the menu display.