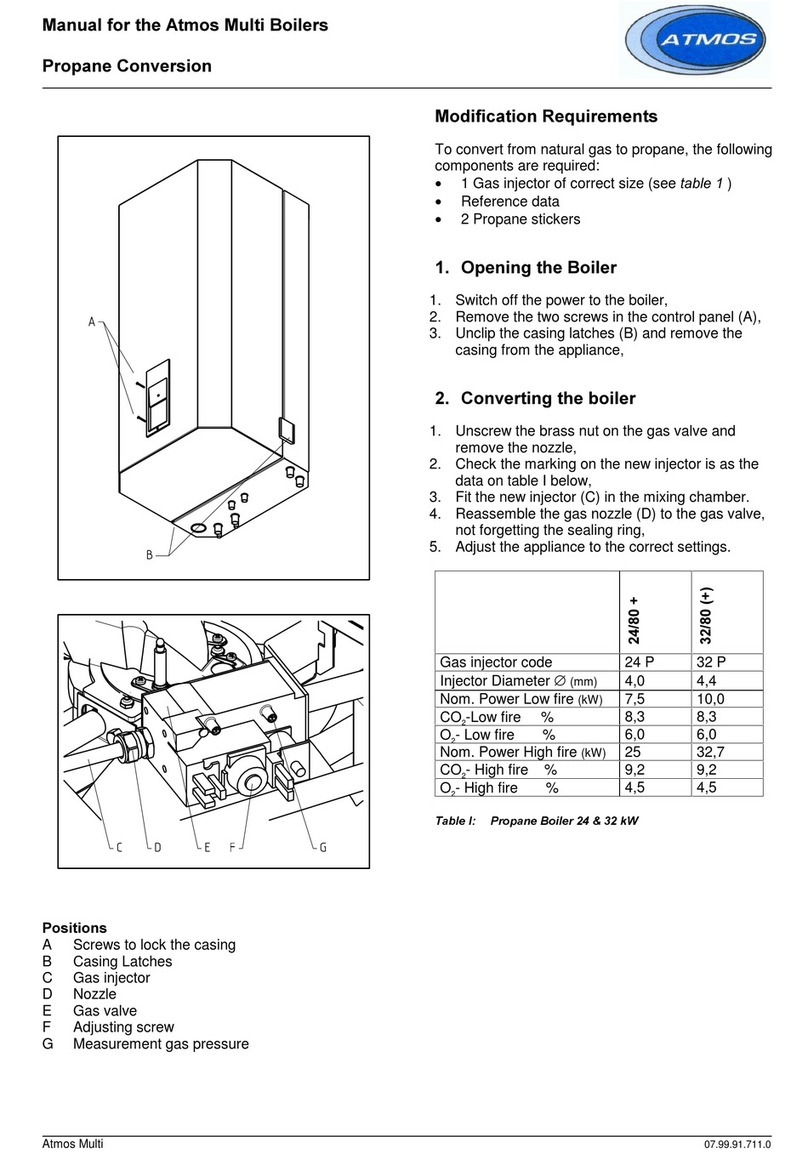
Atmos HE22 Operation instructions
Other Atmos Boiler manuals
Atmos
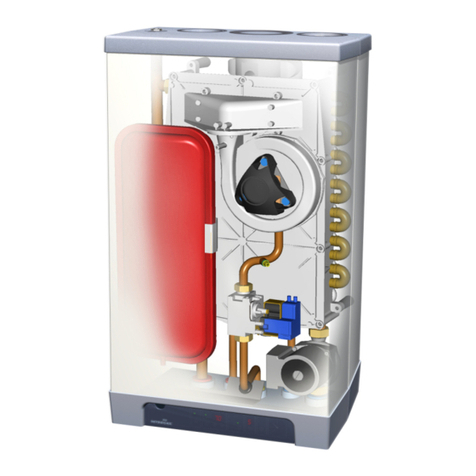
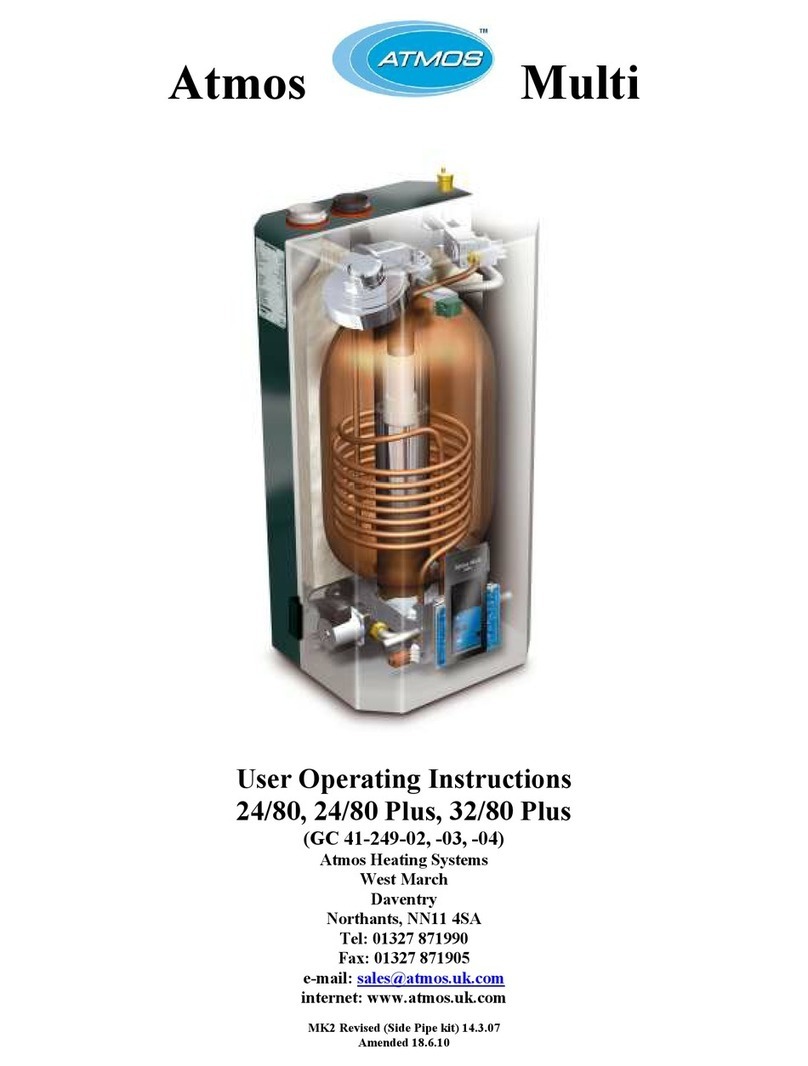
Atmos Multi 24/80 Operation instructions
Atmos
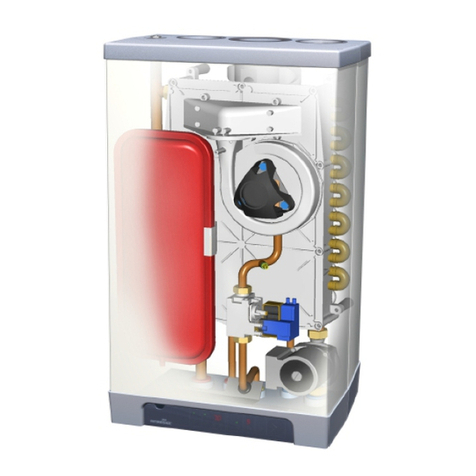
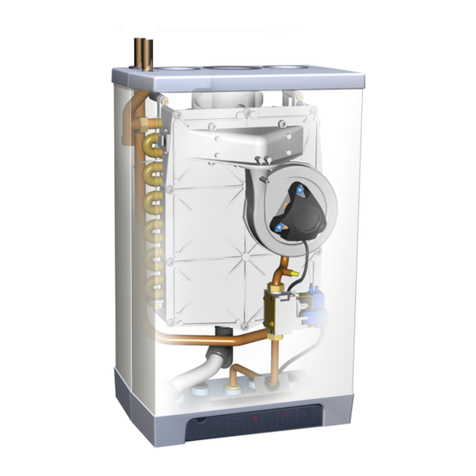
Atmos InterCombi HE32 Operation instructions
Atmos
Atmos HE22 Operation instructions

Atmos
Atmos HE22 Release note

Atmos
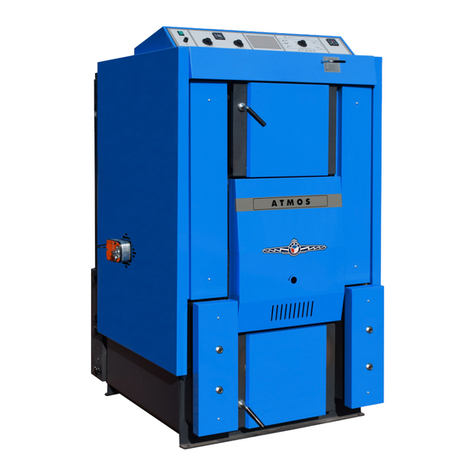
Atmos DC 60 GSX User manual
Atmos
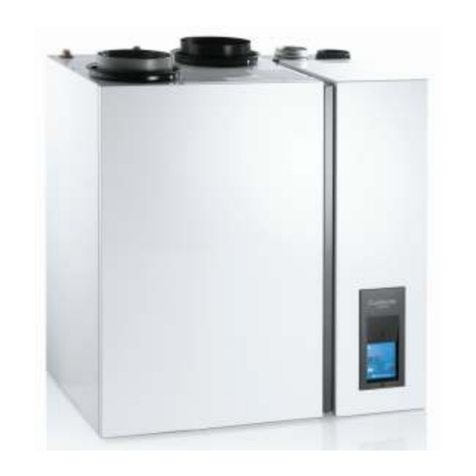
Atmos DC105S User manual
Atmos
Atmos CombinAir Manual

Atmos
Atmos DC15EP User manual
Atmos
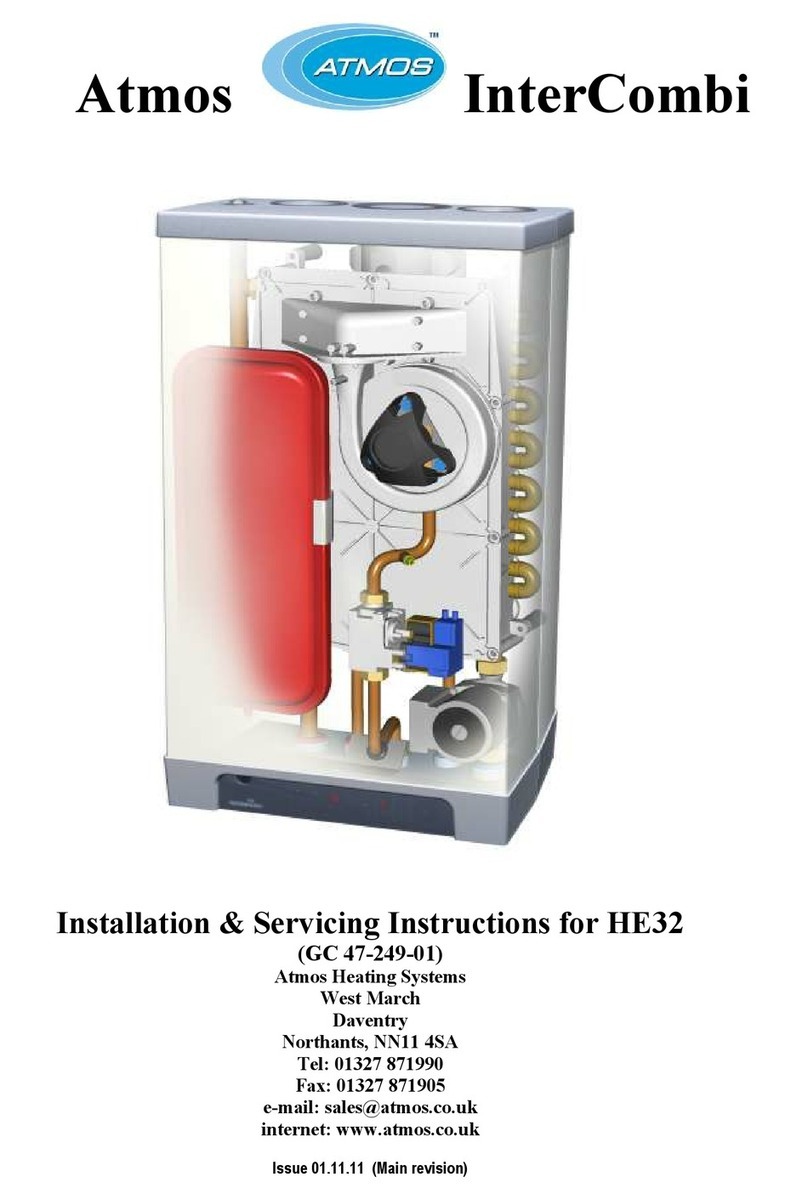
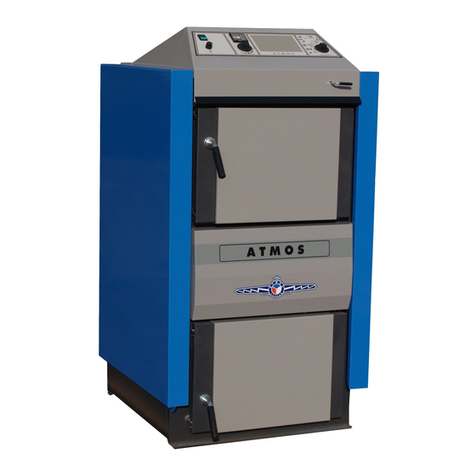
Atmos InterCombi HE32 Release note
Atmos
Atmos DC 18 S Manual

Atmos
Atmos DC18GD User manual

Atmos
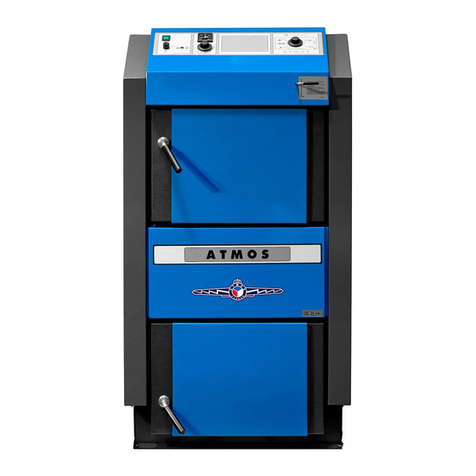
Atmos Multi Series Release note
Atmos
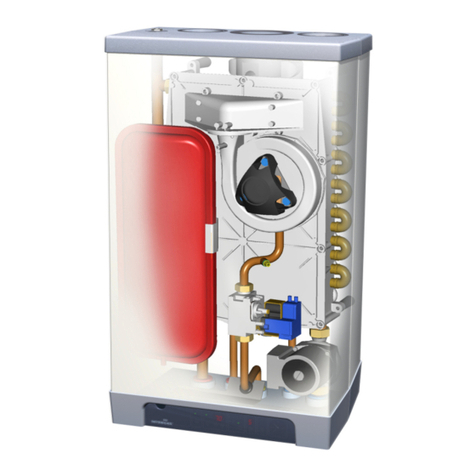
Atmos DC 15 User manual
Atmos
Atmos InterSystem HE26 Operation instructions

Atmos
Atmos Multi Series Release note

Atmos
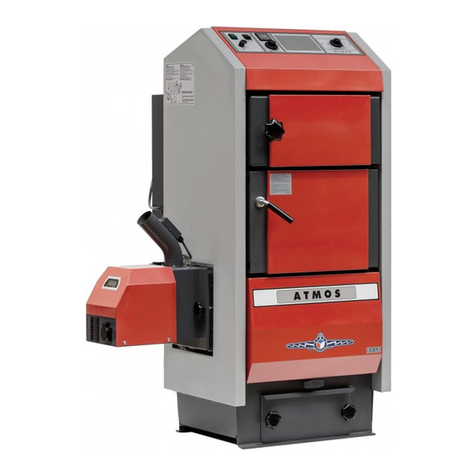
Atmos Multi Mk2 User manual
Atmos
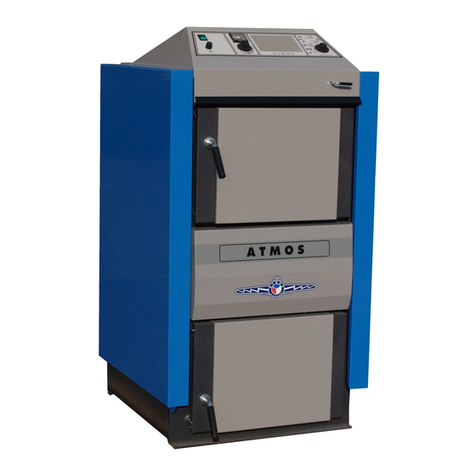
Atmos D15P User manual
Atmos
Atmos C15E User manual

Atmos
Atmos Coopra User manual

Atmos
Atmos D15PX User manual
Popular Boiler manuals by other brands
Beretta
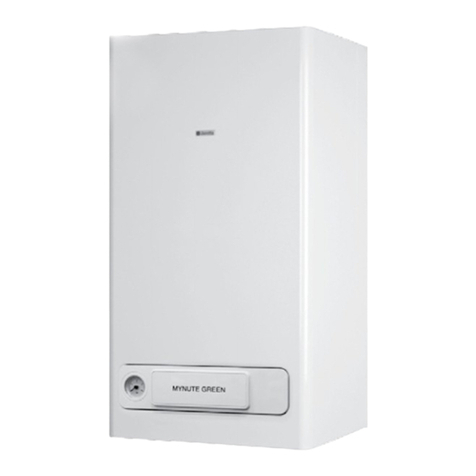
Beretta Mynute Green E 25 C.S.I. installer and user manual
Lochinvar
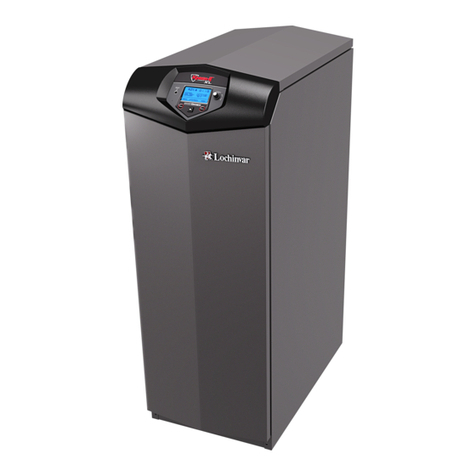
Lochinvar KnightXL KBN400 Installation & operation manual
Mixergy
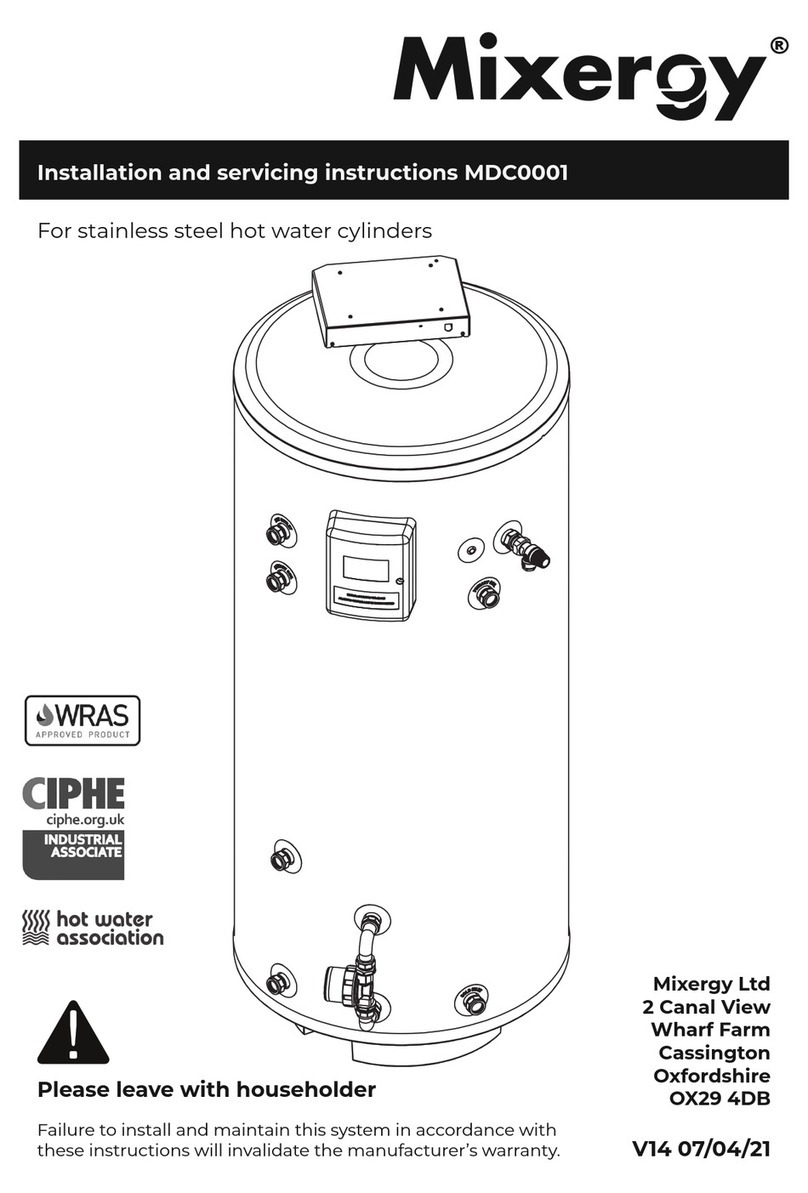
Mixergy 90 Installation and servicing instructions
Hamworthy
Hamworthy Sherborne Series Installation, commissioning and servicing instructions
Vaillant
Vaillant ECOmax VUW 236 EH Instructions for installation and servicing
Bosch
Bosch Jungers ELAFLUX ED 18-1 HE manual
Sime
Sime Dewy 30 HE FS Installation and servicing instructions
Ferroli
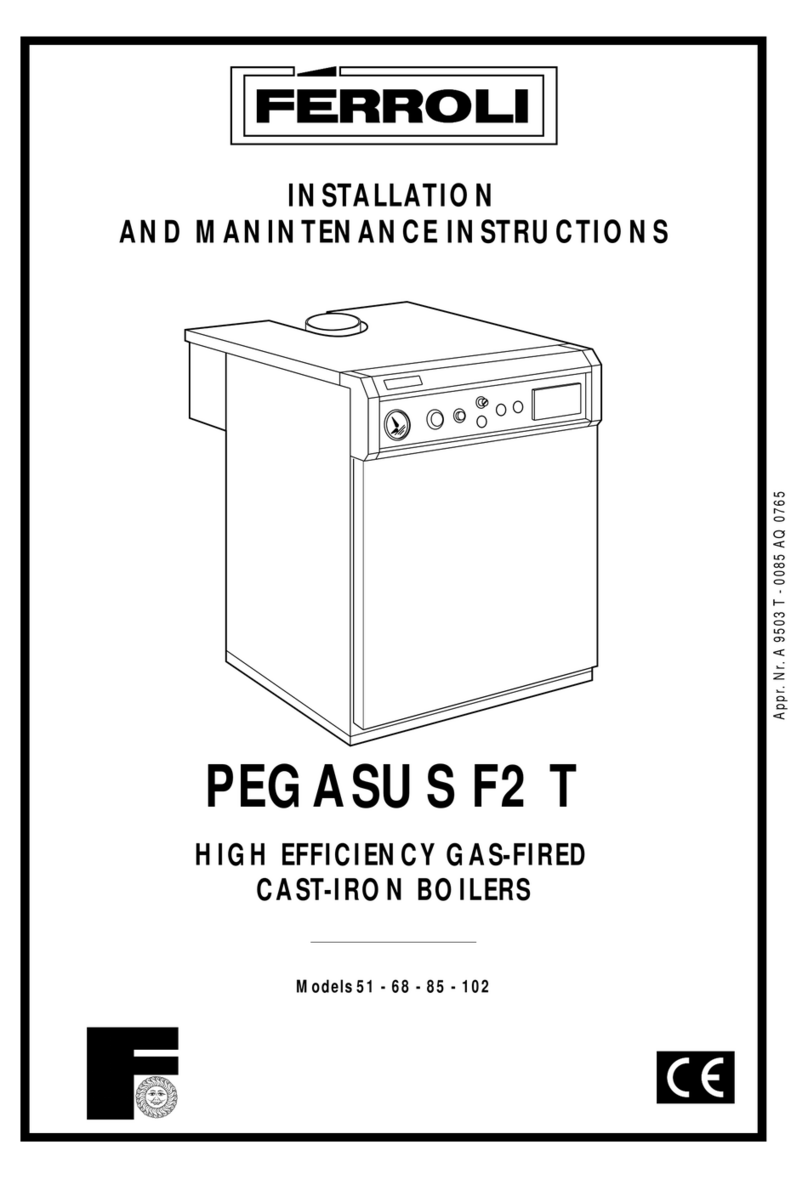
Ferroli PEGASUS F2 T Installation and manintenance instructions
Beretta
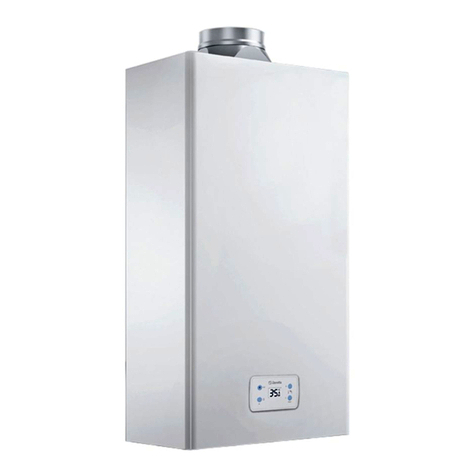
Beretta Idrabagno Lx manual
Malvern
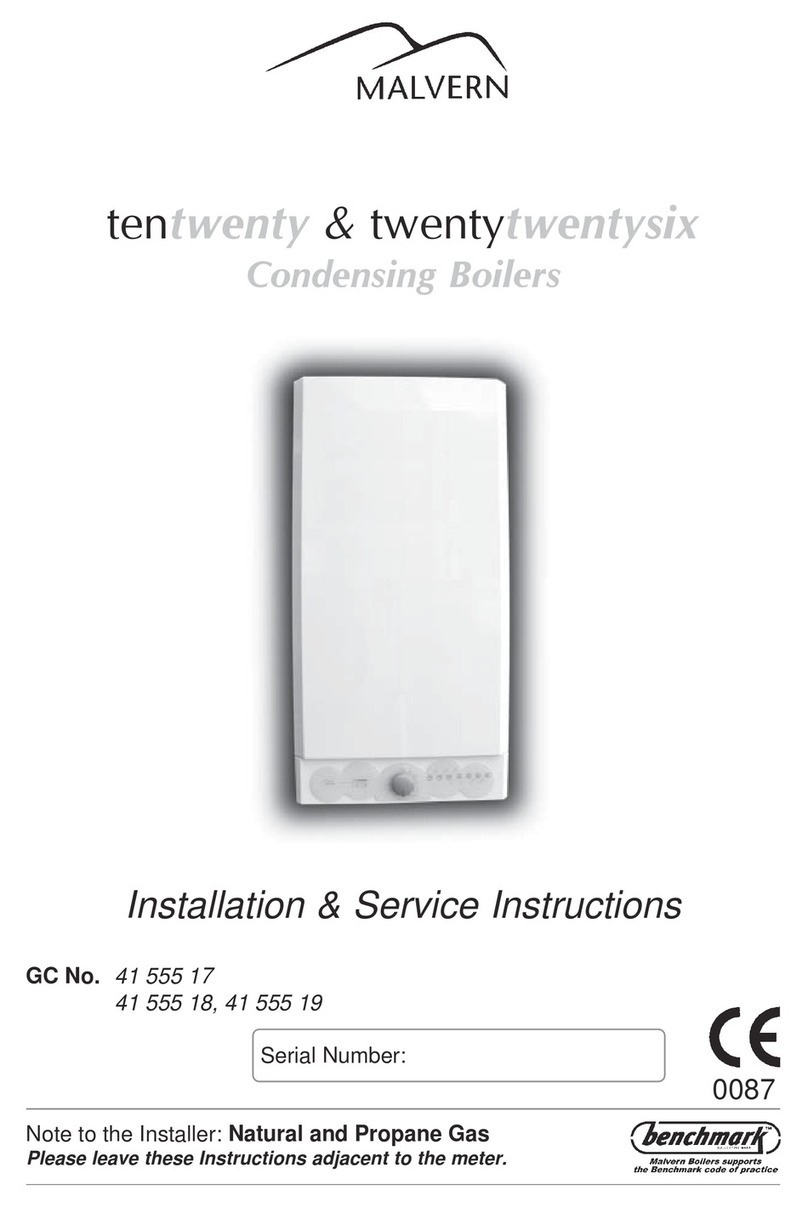
Malvern tentwenty Installation & service instructions

Fondital
Fondital Nova Florida DELFIS CTFS 24 AF DIDACTIC MANUAL
ECR
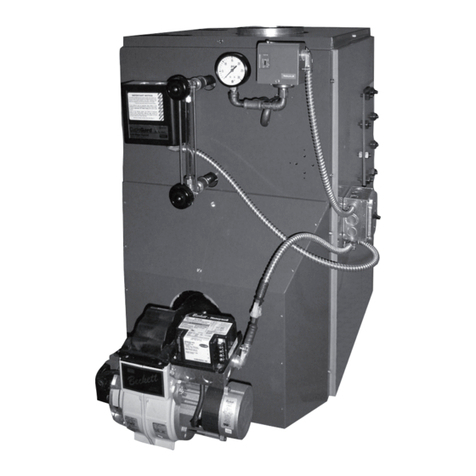
ECR UTICA STARFIRE 3 STEAM Installation, operation & maintenance manual
Super Hot
Super Hot BT Series Installation and service manual

Bosch
Bosch Worcester Greenstar 24 User instructions
IDEAL
IDEAL Concord CXA 40 user manual

U.S. Boiler Company
U.S. Boiler Company V13A RO/FO Installation, operating and service instructions

Viessmann
Viessmann VITOCROSSAL 300 Service instructions
Fondital
Fondital ITACA CH KR 45 Installation, use and maintenance


