MNL0033, BT-HT51, Rev A Page 2 of 2
OPERATION
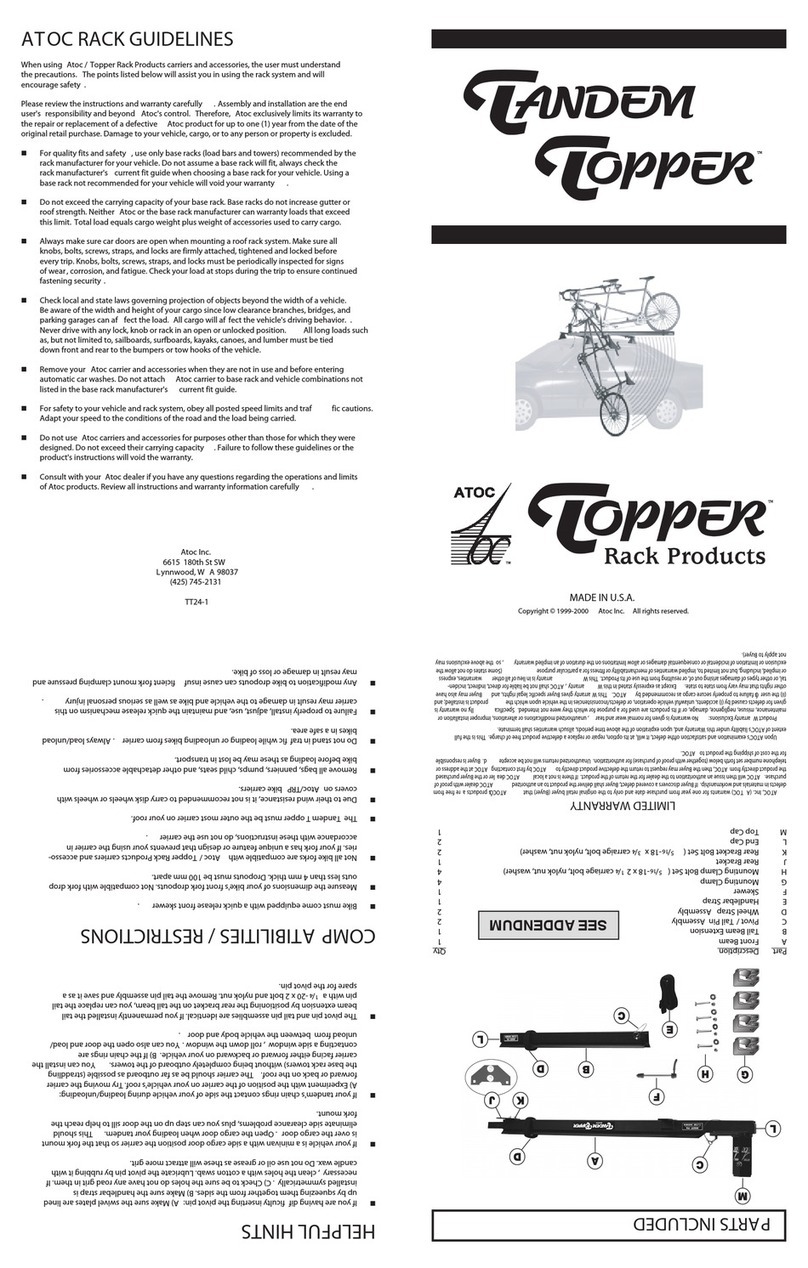
1) Remove all loose objects (such as pumps and water bottles) and recumbent bicycle seats, panniers, or
other items that would create excessive wind loading.
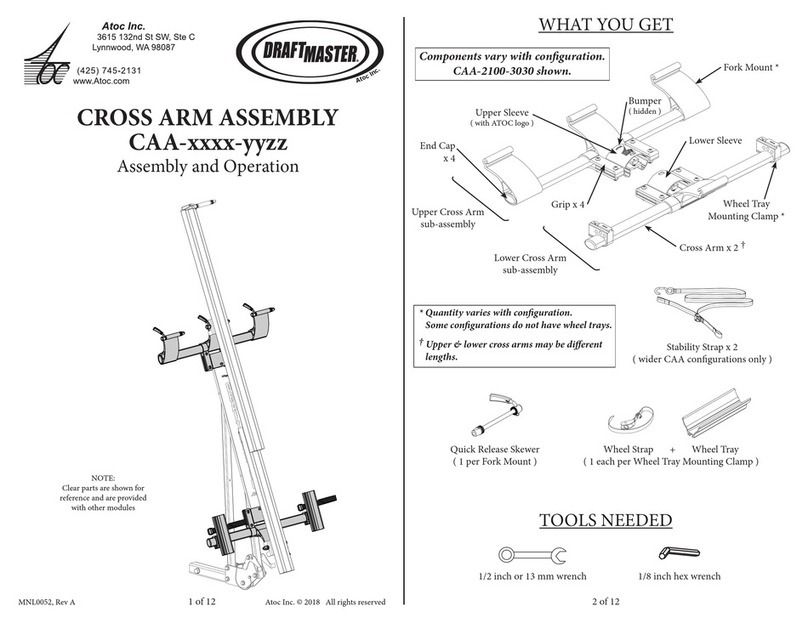
2) Make sure that the skewer is in the open position and unwrap the wheel strap.
3) Remove and stow the front wheel.
4) Insert your bicycle’s front fork onto the skewer assembly and the rear wheel in the wheel tray.
5) Tighten adjuster nut (opposite end of skewer from quick release lever) until firm hand pressure to is
required to close the skewer. Do not tighten the skewer by using the quick release lever as a wing nut.
CAUTION: Failure to use the skewer properly can result in the loss of your bicycle. A properly
adjusted skewer requires firm hand pressure to close. A rule of thumb is to close the
skewer with the palm or heel of your hand. The skewer should leave a distinct impression
on your hand. Do not tighten the skewer by using the lever as a wing nut. If there is any
question as to the proper use of the skewer, please consult your Atoc dealer.
5) Secure the rear wheel by wrapping the WheelCrow wheel strap around the wheel tray and rear wheel.
NOTE: Wrap the WheelCrow wheel strap around the Bike Topper when not in use to keep it
from sliding out of the wheel tray slot and becoming lost.
CAUTION: • Do not attempt to transport bicycles with disk wheels.
• Do not transport bicycles with baby seats, panniers, wheel covers, or full bike covers.
• Atoc strongly recommends that you remove all loose objects such as water bottles,
tire pumps, bags, etc. from your bicycle before transporting it.
LIMITED WARRANTY
ATOC, Inc. (ATOC) warrants for one year from purchase date and only to the original retail buyer (Buyer) that ATOC’s products are free from
defects in materials and workmanship. If Buyer discovers a covered defect, Buyer shall deliver the product to an authorized ATOC dealer with
proof of purchase. ATOC will then issue an authorization to the dealer for the return of the product. If there is not a local ATOC dealer or the
Buyer purchased the product directly from ATOC, then the Buyer may request to return the defective product directly to ATOC by first
contacting ATOC at the address or telephone number set forth below (together with proof of purchase) for authorization. Unauthorized returns
will not be accepted. Buyer is responsible for the cost of shipping the product to ATOC.
Upon ATOC’s examination and satisfaction of the defect, it will, at its option, repair or replace a defective product free of charge. This is the full
extent of ATOC’s liability under this Warranty and, upon expiration of the above time periods, all such warranties shall terminate.
Product Warranty Exclusions: No warranty is given for normal wear and tear, unauthorized modifications or alterations, improper installation
or maintenance, misuse, negligence, damage, or if its products are used for a purpose for which they were not intended. Specifically, no warranty
is given for defects caused by (i) accidents, unlawful vehicle operation, or defects/inconsistencies in the vehicle upon which the product is
installed; and (ii) the user’s failure to properly secure cargo as recommended by ATOC. This Warranty gives Buyer specific legal rights, and
Buyer may also have other rights that may vary from state to state. EXCEPT AS EXPRESSLY STATED IN THIS WARRANTY,ATOC SHALL NOT BE
LIABLE FOR DIRECT,INDIRECT,INCIDENTAL,OR OTHER TYPES OF DAMAGES ARISING OUT OF,OR RESULTING FROM THE USE OF ITS
PRODUCT.THIS WARRANTY IS IN LIEU OF ALL OTHER WARRANTIES,EXPRESS OR IMPLIED,INCLUDING,BUT NOT LIMITED TO,IMPLIED
WARRANTIES OF MERCHANTABILITY OR FITNESS FOR A PARTICULAR PURPOSE (Some states do not allow the exclusion or limitation of
incidental or consequential damages or allow limitations on the duration of an implied warranty, so the above exclusions may not apply to
Buyer).
Atoc Inc. / Topper Rack Products
3615 132nd St SW, Ste C
Lynnwood, WA 98087
(425) 745-2131
www.Atoc.com
Copyright 2010 Atoc Inc. All rights reserved.


