ATP Electronics Syncflex User manual

OWNER’S MANUAL
SYNC
SYNC
SYNC
For maximum effectiveness
and safety, please read this
Owner’s Manual and
view the Video before
using your SYNCFLEX™
u u u

A. Congratulations on purchasing your new SyncFlexTM ........................................................... 2
B. Equipment Warning Labels .................................................................................................... 3
C. Safety Instructions ................................................................................................................. 3
D. Product Specifications........................................................................................................... 4
E. Set Up .................................................................................................................................5-6
F. Connecting & Using Accessories........................................................................................... 7
I. How to Attach Handles................................................................................................... 7
II. How to Attach Ankle Cuffs.............................................................................................. 7
G. How to Exercise with your SyncFlexTM................................................................................... 8
I. Engaging Resistance ...................................................................................................... 8
II. Body Placement when Exercising ...............................................................................8-9
H. Inspecting your SyncFlexTM .................................................................................................. 10
I. Maintenance......................................................................................................................... 10
J. Folding, Storing & Carrying your SyncFlexTM ..................................................................11-12
K. Workout Record Sheet......................................................................................................... 13
L. Limited Warranty .................................................................................................................. 14
M. SyncFlexTM Parts List and Overview .................................................................................... 15
N. SyncFlexTM Exericse Program .....................................................................Inside Back Cover
SYNCFLEX™ OWNER’S MANUAL
TABLE OF CONTENTS

SYNCFLEX™ OWNER’S MANUAL
A. CONGRATULATIONS ON PURCHASING YOUR NEW SYNCFLEXTM
2
The SyncFlex™ is a new generation, compact exercise device that will enable you to quickly and easily
re-shape your entire body, burn off excess body fat and to be trimmer, firmer and healthier. With the
SyncFlex™, exercises are performed from a natural, standing position, allowing for unrestricted, single
and multi-joint exercises. Working out with the SyncFlex™ is enjoyable, energizing and gratifying. By
committing to a regular exercise routine, in less time than you might think, you can achieve the results
you’ve always wanted.
HOW IT WORKS
Unlike conventional forms of long, drawn out exercise, when working out with the SyncFlex™ your
workouts are shorter. There is much science proving that shorter bursts of exercising based on the
“wave” principle can produce significantly better results in less time than conventional steady state
exercises. Alternating between repeated, short bursts of higher intensity activity, followed by periods
of lower intensity to rest and recover, stimulates what is called the “afterburn” effect, meaning you
burn calories long after your workout is over, thereby accelerating overall fat loss. In short, with the
SyncFlex™ you can expect to achieve maximum results in minimum time.
SYNCFLEXTM DESIGNED TO DELIVER MAXIMUM RESULTS
Your SyncFlex™ comes complete with a selection of specially designed exercise programs aimed to
re-condition your body, build muscle and cardiovascular fitness and to reclaim your health and energy
levels. These programs are based on three, result-producing principles:
• Firstly,alternatingshortburstsofactiveexercisewithperiodsofrestandrecovery.
• Secondly,progressivelyincreasingtheintensityofyourworkoutovertime.
• Thirdly,creatingvarietyinyourworkoutroutinetopreventhittinga“tnessplateau”.
Before starting to exercise, it is important to carefully study this Owner’s Manual which explains,
step-by-step, all you need to know about:
• Medicalandsafetyprecautionstobeconsideredbeforestartingtoexercise.
• SettingupandusingyourSyncFlex™.
• Exercisingsafelyandeffectively.
• Selectingandimplementinganexerciseprogramsuitedtoyourneedsandobjectives.
Once you have a thorough grasp of the above, you can commit to making exercise an enjoyable part of
your life – a decision that can bring a lifetime of benefits – not only in the way you look and feel, but also
in restored energy, and the many health and fitness benefits that come from exercising regularly.

• Before beginning this or any exercise program, consult a physician or health professional, who
can assist you in planning a program appropriate for your age, physical condition and fitness level.
This is especially important if you are over age 35 or have pre-existing health problems.
• Do not overexert yourself. Stop exercising immediately and consult your doctor if you experience pain
or tightness in your chest, irregular heartbeat, shortness of breath, or if you feel faint, nauseous, or dizzy.
• The SyncFlex™ is designed for home use only. It is not intended for commercial or institutional use.
Use only as instructed.
• The SyncFlex™ is not intended for use by children. Keep your SyncFlex™ out of the reach of children.
Adult supervision is required whenever a child is near the SyncFlex™.
• Keep fingers, loose clothing, and hair away from moving parts.
• Inspect your SyncFlex™ before each use to ensure proper operation. Do not use the SyncFlex™
unless all moving parts, including the Resistance Bands, the Pulleys and the Handles are working properly.
Be sure the Strut and Lock Pins are securely locked in place. Replace Resistance Bands if they show any
signs of wear.
• Set up and use your SyncFlex™ on a solid, level and non-slip surface.
• Make sure that you have enough space around your SyncFlex™ to allow for free, unrestricted
exercise movements.
• Use only the accessory items recommended by the manufacturer.
• To avoid serious injury, always take care when getting on and off your SyncFlex™.
SYNCFLEX™ OWNER’S MANUAL uEQUIPMENT WARNING LABELS & SAFETY INSTRUCTIONS
WARNING LABEL 1 WARNING LABEL 4WARNING LABEL 2
WARNING LABEL 6
WARNING LABEL 3
WARNING LABEL 5 (2 Locations)
WARNING WARNINGWARNING
WARNING
WARNING
WARNING
Failure to read and follow the safety
instructions stated in the Owner’s
Manual and Video may result in
POSSIBLE SERIOUS INJURY OR
DEATH. KEEP CHILDREN AWAY.
Maximum user weight 375 lbs.
Replace this label if damaged,
illegible or removed. For household
use only. Call Customer Service at
1-800-895-8207 for replacement
label, manual, video or questions.
CRUSH HAZARD. Keep
hands clear during folding.
Make sure Lock Pin is locked
in place before beginning
exercises.
When performing standing
exercises, place feet firmly
on foot platform.
Before using, insert Strut
Pin through the hole on
the right side of the Strut.
Keep hands and feet away
from pulleys and moving parts.
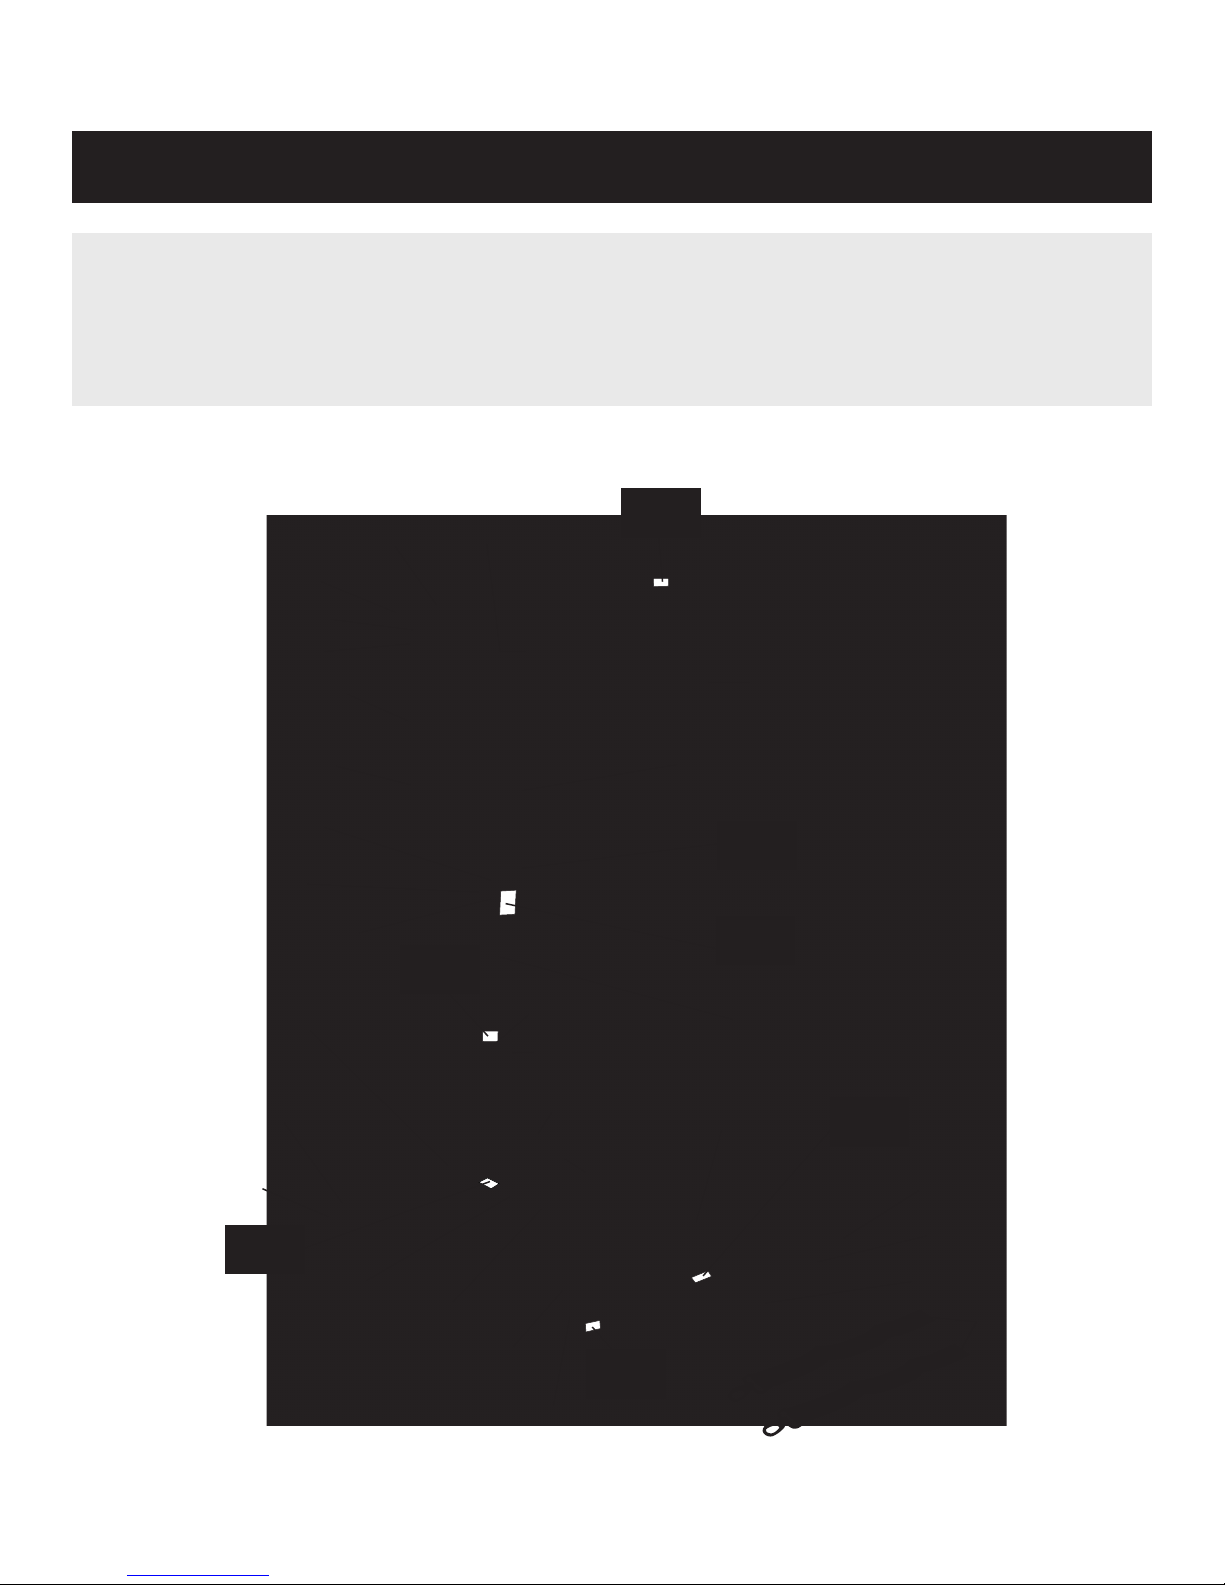
See page 4 for placement of the following warning labels on your unit.
B. EQUIPMENT WARNING LABELS
C. SAFETY INSTRUCTIONS
3

SYNCFLEX™ OWNER’S MANUAL uPRODUCT SPECIFICATIONS
APPROXIMATE LENGTH
Folded ...................................30”
In Use .................................33.5”
APPROXIMATE HEIGHT
Folded .....................................4”
In Use .................................48.5”
APPROXIMATE WIDTH
Folded ................................25.5”
In Use .................................25.5”
Weight........................... 25.7 lbs. Maximum User Weight.... 375 lbs.
D. PRODUCT SPECIFICATIONS
4
Includes: Workout DVD
WARNING
LABEL 1
WARNING
LABEL 2
WARNING
LABEL 3
WARNING
LABEL 4
WARNING
LABEL 5
WARNING
LABEL 5
WARNING
LABEL 6
Pulleys +
Pulley Cover +
Foot Platform
Upright Tube
Upper Tube Hole
(not visible)
Support Handle
Top Pulley Bar
End Caps +
Foot +
Foot +
Top Upright Tube
Pulleys +
Pulley Cover +
Threaded
Spacer
Frame
Bracket
Lock Pin
Bottom
Tube Hole
(not visible)
Grey Resistance Band +
Blue Resistance Band +
Strut
Strut
Pin
Handle +
Bridge Bar
Storage
Bracket
Pulleys +
Strut
Bracket
Foot Platform
+These parts are the
same on both the
left and right side
of the exerciser.
Ankle Cuffs
(Located on back of tube)
End Caps + End Caps +

SYNCFLEX™ OWNER’S MANUAL uSET UP
Your SyncFlex™ can be set up in 5 easy steps.
STEP 1 Remove your SyncFlex™ from the box
and place the Resistance Bands on
the sides.
STEP 2 Ensure that the Upper Tube Hole
is aligned with the hole in the
Threaded Spacer. Insert the Lock
Pin into the Threaded Spacer and
into the Upper Tube Hole. Do not
thread completely.
STEP 3 Lift the Top Pulley Bar to a vertical position (see A). Lift the Strut and place it into the Strut
Bracket (see B). Insert the Strut Pin through the Strut Bracket and the Strut (see C).
5
E. SET UP
A B C
WARNING
Before using, insert Strut Pin through the hole on the right side of the Strut.

SYNCFLEX™ OWNER’S MANUAL uSET UP
Setup of the SYNCFLEX™ is complete!
If you have questions about your SyncFlex™, please call Customer Service at
1-800-895-8207, Monday through Thursday, 8:30 am to 5:00 pm, EST.
Be sure to check out the instructional video which provides
valuable tips to get the most out of your SyncFlex™.
STEP 4 Stand on the Foot Platform. With one hand, pull the Lock Pin outwards while slightly lifting the
Top Pulley Bar with the other hand (see A). Then use both hands to grip the Top Pulley Bar and
slowly continue pulling upwards until the Lock Pin engages with the Bottom Tube Hole (you will
hear a click) (see B). Turn the Lock Pin clockwise to tighten (see C).
Once the Top Pulley Bar is fully
extended and the Lock Pin is secured,
check that the Resistance Bands are
aligned with one another and wrapped
around the corresponding Directional
Pulleys. Also, check that the Top
Pulleys are facing forward and the
Bottom Pulleys are facing upward.
(see D).
STEP 5 Lift the Foot Platform and fold out the
Support Handle. Place the Foot Platform
securely on the ground.
Important: Do not start exercising until
the Support Handle is folded out.
A
D
B C
6

SYNCFLEX™ OWNER’S MANUAL uCONNECTING & USING ACCESSORIES
Follow the instructions below on how to attach and use the accessories to your SyncFlex™.
The Handles are fitted with Handle Clips (shown).
Press the Handle Clip and hook onto one or more
of the O-rings attached to the Resistance Band(s)
end(s).
Thread the one end of the Ankle Cuff strap through the buckle of the Ankle Cuff (see A) and press the
male & female Velcro parts of the strap together (see B). To engage the Ankle Cuff, press the Ankle
Cuff Clip connected to the Ankle Cuff and hook on to the O-ring attached to the Resistance Band(s)
end(s) (see C).
I. HOW TO ATTACH HANDLES
II. HOW TO ATTACH ANKLE CUFFS
A B C
7
F. CONNECTING & USING ACCESSORIES

SYNCFLEX™ OWNER’S MANUAL uEXERCISING WITH YOUR SYNCFLEXTM
To get the best use out of your SyncFlex™, please study the information below:
I. ENGAGING RESISTANCE
• Foryourexercisetobeeffective,yourbodymustmoveagainstaresistanceforceorload
(“weight”). The resistance load is provided by a set of grey and blue Resistance Bands –
each fitted with O-rings and threaded through sets of Upper and Lower Pulleys. To engage
resistance, connect the Handles or Ankle Cuffs (or Handle Bar) Clips to the O-rings at the
ends of the Resistance Bands. Resistance is applied by pulling or pushing the Handles
or Ankle Cuffs.
• ByengagingdifferentcolorResistanceBandsand/orbyengagingdifferentcombinationsof
Resistance Bands, three levels of resistance can be obtained (see Resistance Table below).
II. BODY PLACEMENT WHEN EXERCISING
• Toexercise,standwithbothfeetontheFootPlatform
and clip the Handles or Ankle Cuffs to the Resistance
Band O-rings at either the Top or Bottom Pulleys (see the
ExerciseChartand/ortheExerciseDVDforwheretoclip
the Resistance Bands). Exercise movements are performed
by pulling or pushing the Handles or Ankle Cuffs.
• WhenexercisingusingtheHandles,standwithbothfeet
firmly on the Foot Platform, with your body weight evenly
distributed on the Foot Platform.
Resistance Table
RESISTANCE BAND(S)
ENGAGED
Grey
Blue
Grey + Blue
Light
Medium
Heavy
RESISTANCE
LOAD
8
G. HOW TO EXERCISE WITH YOUR SYNCFLEXTM
WARNING
When performing standing exercises, place feet firmly on foot platform.

•WhenusingtheAnkleCuffs,standwithbothfeetontheFootPlatformbeforeconnecting
the Ankle Cuffs to the ankles. When exercising with one leg, ensure that the other foot is
firmly positioned onto the Foot Platform (see A), while holding on to the Upper Pulley Bar
for stability (see B).
Important: Do not connect the Ankle Cuff(s) to the O-ring(s) until one or both feet are firmly
positioned on the Foot Platform. Before getting off the Foot Platform, first disconnect the
Ankle Cuff(s) from the O-ring(s).
• When engaging the Resistance Bands at the Top Pulleys,
and when exercising facing forward, the Back Supports on
the Top Pulley Bar can be used to support and stabilize your
body. As you gain in fitness, you should be able to exercise
without relying on the Back Supports for stability.
Note: When doing multi-joint exercises, do not lean against
the Back Supports as this will obstruct your body from
moving freely.
SYNCFLEX™ OWNER’S MANUAL uEXERCISING WITH YOUR SYNCFLEXTM
A B
9

Before using your SyncFlex™ for your workout session, be sure to make the following inspection:
• Checkthatthemachineisfullyopenedandsetupforexercising,andthatitispositionedona
solid, level surface with plenty of clearance on all sides to allow for exercise movements.
• CheckthattheStrutPinisfullyengagedwiththeStrutBracketontheBaseUprightTube.
• CheckthattheLockPinisfullyscrewedintotheThreadedSpacerontheBaseUprightTube.
• CheckthatthePulleysareattachedsecurelytotheLowerandUpperPulleyBars.
• CheckthattheResistanceBandsaretravelingcorrectlyinthePulleywheelgrooves.
• MakesuretheResistanceBand(s)issecurelyclippedontotheHandle(s)orAnkleCuff(s)or
Handle Bar Clip(s).
• ChecktheResistanceBandsforsignsofwearandtearandreplaceifnecessary.
SYNCFLEX™ OWNER’S MANUAL uINSPECTION & MAINTENANCE
Inspect your SyncFlex™ prior to each use.
Routine Maintenance
• TheSyncFlex™isintendedforindoor,homeuseonly.
• WipedownyourSyncFlex™aftereachusewithaclean,damp(notwet)cloth.Donotleavetowels
or workout clothing laying or hanging over your SyncFlex™.
• Periodicallycheckthefollowingpartsforsignsoffrayingorwear:TheResistanceBands,thePulleys
and Handles. If a part needs replacement, do not use your SyncFlex™ until it is repaired or replaced.
• IfaResistanceBandbecomesstretchedorworn,unscrewthePulleywheel,removetheResistance
Band and replace with a new Resistance Band. Then place the screw back into the Pulley wheel
and tighten.
• If a Pulley squeaks, spray silicone lubricant onto the Pulley shaft (not the Pulley wheel).
10
H. INSPECTING YOUR SYNCFLEXTM
I. MAINTENANCE

Step 1 Stand behind the SyncFlex™ and turn
the Lock Pin knob counter-clockwise to
partially unscrew it from the Threaded
Spacer on the Base Upright Tube (do
not unscrew fully).
SYNCFLEX™ OWNER’S MANUAL uFOLDING & STORAGE
To fold and store your SyncFlex™, proceed as follows:
Step 3 Remove the Strut Pin from the Strut Bracket (see A) and fold the Strut over the Foot
Platform (see B).
A B
Step 2 With one hand, pull the knob of the Lock Pin outward to disengage it from the Bottom Tube
Hole (see A). With the other hand, slide the Top Pulley Bar downward into the Foot Platform
Upright Tube until the Lock Pin engages with the Upper Tube Hole (listen for a “click” sound
when the Lock Pin engages) (see B).
A B
11
J. FOLDING, STORING & CARRYING YOUR SYNCFLEXTM

Step 4 With caution, and to avoid pinching
the fingers or the hand, slowly fold the
Foot Platform Upright Tube (with the
Top Pulley Bar Tube telescoped into it)
over the Foot Platform.
Step 6 Use the Ankle Cuffs to strap the
Resistance Bands neatly to the
Foot Platform Upright Tube (see A).
You may also clip the Handle and
remaining Ankle Cuff together
for storage (see B).
Step 7 Grip the Support Handle (see A)
and lift to move the SyncFlexTM
to a storage location (see B) such
as a closet, under a bed, behind a
door, or against a wall.
B
Step 5 Secure the Foot Platform Upright Tube
to the Bridge Bar by pushing the Strut
Pin through the holes in the Storage
Bracket and the Strut Bracket (see A).
Note: Ensure that the Strut Pin is
pushed through all 4 of the holes of
the Storage Bracket and the Strut
Bracket (see B).
B
B
SYNCFLEX™ OWNER’S MANUAL uFOLDING & STORAGE
A
A
A
12

13
SYNCFLEX™ OWNER’S MANUAL uWORKOUT RECORD SHEET
Use the Exercise Record Sheet below to manage and keep track of your progress over time. Before writing
on the sheet, we suggest that you print a master copy for future use and make copies for every workout
session. We suggest you keep these in an exercise diary or notebook. You will find it both informative and
motivational to look back at what you’ve done. Also, this information will help you to chart future fitness
goals as you progress.
Exercise Programs Keys
Ex No.: The exercise numbers to be performed at a heightened level of intensity, one after the
other, in the indicated order.
Int: The level of intensity and degree of exertion experienced while exercising:
Very Low, Low, Moderate, High, Very High.
Resist: The Resistance Band(s) engaged: Grey (Low); Blue (Medium); or Grey + Blue (High)
Allotted: The allotted time (e.g. 10, 15, 20, 25 or 30 seconds) to perform as many as possible
(AMAP) reps of an exercise.
Reps: The number of times repeating an exercise (reps) in the allotted time.
R&R: An interval of lower intensity to rest and recover after performing an exercise.
WARM-UP
WORKOUT
COOL DOWN
PROGRAM: NOTES:
Intensity Resistance Rest & Rec.Allotted AMAP
Date:
Ex. No.
K. WORKOUT RECORD SHEET

SYNCFLEX™ OWNER’S MANUAL uLIMITED WARRANTY
ATP Development, LLC warrants that under normal, personal, residential use, the SyncFlex™ is free from
defects in material or workmanship. Parts are warranted for one (1) year from the date of purchase.
ATP Development, LLC’s obligation under this warranty is limited to replacing the defective part(s); or at its
option, repairing or replacing (or refund in its sole discretion) the product. For service call 1-800-895-8207.
Warranty coverage is void for defects or damage caused by the use of unauthorized parts or service.
This warranty does not cover product damage attributable to misuse, abuse, neglect, accidents, unauthorized
alterations, failure to follow manufacturer’s direction for use or storage, improper maintenance, vandalism,
usage for commercial or rental purposes, or “ordinary wear and tear”. This warranty does not cover any
separately sold items, parts, or accessories.
There are no other warranties other than expressly set forth herein. Any implied warranty of merchantability
or fitness for a particular purpose is limited to the duration of this warranty. No agent or retailer of the
SyncFlex™ has authority to modify this warranty in any respect.
ATP DEVELOPMENT, LLC SHALL NOT BE HELD LIABLE FOR INDIRECT OR CONSEQUENTIAL
DAMAGES ARISING OUT OF USE OR PERFORMANCE OF THIS PRODUCT. These include – but are not
limited to – loss of use of the product; loss of time, enjoyment, or revenue; inconvenience; installation or
removal costs; or other incidental or consequential damages.
SOME STATES DO NOT ALLOW LIMITATIONS ON HOW LONG AN IMPLIED WARRANTY LASTS, OR
THE EXCLUSION OR LIMITATION OF INCIDENTAL OR CONSEQUENTIAL DAMAGES, SO THE ABOVE
LIMITATION MAY NOT APPLY TO YOU. This warranty gives you specific legal rights; you may also have
other rights which vary from state to state. This warranty is valid in the U.S. and Canada only.
SyncFlex™ is manufactured and distributed by ATP Development, LLC, SyncFlex™ Division.
CUSTOMER SERVICE QUESTIONS
If you have questions about your SyncFlexTM, please call Customer Service at 1-800-895-8207,
Monday through Thursday 8:30 am to 5:00 pm, EST.
ORDERING REPLACEMENT PARTS
When ordering parts, please contact our Parts Department, toll free at 1-800-895-8207,
Monday through Thursday, 8:30 am to 5:00 pm, EST.
IMPORTANT: You must have your serial number and this Owner’s Manual ready when calling for parts.
Serial #: ____________________________
PLEASE ALSO PROVIDE THE FOLLOWING INFORMATION:
1. Name, Mailing Address and Telephone Number
2. Date of Purchase
3. Where Product was Purchased
4. Model Number
5. Part Order Number and Description
14
L. LIMITED WARRANTY

15
SYNCFLEX™ OWNER’S MANUAL uPARTS LIST & OVERVIEW
M. SYNCFLEXTM PARTS LIST & OVERVIEW
SYNCFLEX SyncFlex™ 1
1 SYNCFOOT Foot Platform 1
2 SYNCUPTU Foot Platform Upright Tube 1
3 SYNCLKPN Lock Pin 1
4 SYNCSTRT Strut 1
5 SYNCSTPN Strut Pin 1
6 SYNCPL Pulleys 12
8 SYNCTPBR Top Pulley Bar 1
9 SYNCPLYC Pulley Cover 8
10 SYNCGRB Grey Resistance Band 2
11 SYNCBRB Blue Resistance Band 2
12 SYNCHNDL Handles 2
13 SYNCANKC Ankle Cuffs 2
14 SYNCACCP Ankle Cuff Clips 2
15 SYNCRBFT Foot 4
16 SYNCPLTC End Caps 6
SYNCDVD Workout DVD 1
SYNCEM Owner’s Manual 1
SYNCWLCT Wall Chart 1
ITEM # PART# DESCRIPTION QTY ITEM # PART# DESCRIPTION QTY
1
2
5 4
3
6
6
6
9
14
6
9
9
10
12
10
12
11
11
6
6
9
8
16
16
13
16
15
16
15 15
16
16
15

SYNCFLEX™ OWNER’S MANUAL uSYNCFLEX™ EXERCISE PROGRAM
Below are the Exercise Programs with exercise numbers and names (see Exercise Chart) to be performed in
the sequence as indicated.
Exercise Programs
N. SYNCFLEX™ EXERCISE PROGRAM
ComprehensiveStarter Extender Express
Warm-Up
Workout
Cool Down
Swimming Lower Body
1Bicep Curl
1Bicep Curl
1Bicep Curl
8Squats
8Squats
3Upright Row
9Chest Press
15 Arm Swing
12 Shoulder Press
7Back Extension
19 Squat/Front
Raise
6Bent Over Row
2Lateral Raise
21 Squat/Shoulder
Press
10 Flys
22 Squat/Chest
Press
30 Backstroke
17 Squat/Lateral
Raise
18 Squat/Upright
Row
19 Squat/Front
Raise
20 Body Roll
21 Squat/Shoulder
Press
22 Squat/Chest
Press
28 Squat/Butterfly
10 Flys
22 Squat/Chest
Press
27 Hip Flexion
4Front Raise
1Bicep Curl
1Bicep Curl
8Squats
4Front Raise
16 Squat/Bicep
Curl
1Bicep Curl
1Bicep Curl
8Squats
4Front Raise
16 Squat/Bicep
Curl
1Bicep Curl
1Bicep Curl
8Squats
4Front Raise
17 Squat/Lateral
Raise
1Bicep Curl
1Bicep Curl
8Squats
4Front Raise
23 Hip Extension
24 Hip Adductions
25 Hip Abductions
26 Leg Curl
3Upright Row
1 Bicep Curl
20 Body Roll
20 Body Roll
21 Squat/Shoulder
Press
28 Squat/Butterfly
11 Tricep
Extension
29 Crawl
21 Squat/Shoulder
Press
5Reverse Fly
28 Squat/Butterfly
8Squats
(Approx. 12 min) (Approx. 18 min) (Approx. 19 min) (Approx. 9 min) (Approx. 17 min) (Approx. 11 min)
8Squats 8Squats 8Squats 8Squats8 Squats

© 2018 ATP Development, LLC, SyncFlex Division. All rights reserved. Foreign Patents Pending.
No part of this booklet may be reproduced in any form, by any means,
electronic, mechanical or otherwise, without the express written consent of the copyright holder.
SYNCEM
DEDICATION TO QUALITY
We warrant this product to be free from all
defects in material and workmanship when used
according to the manufacturer’s instructions.
See Limited Warranty for details.
Save your sales receipt.
You may wish to staple into this manual.
Table of contents