Introduction
Multi-Zone Audio Matrix System
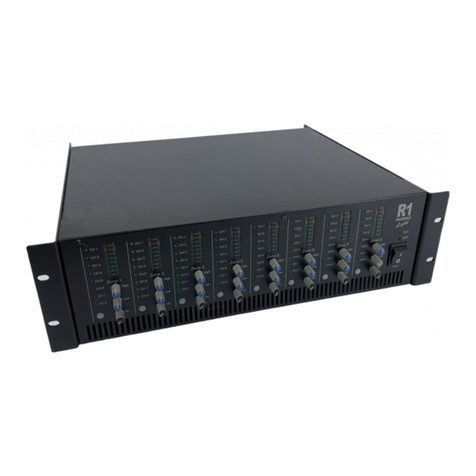
The R2 is a Multi-Zone audio distribution system which is a truly polyvalent solution for
commercial and residential applications, with the flexibility of a multizone router. It delivers
a comprehensive and expandable powerful solution for nearly every situation. With its
large number of extension modules and configuration modes, it provides a solution for an
uncountable amount of installations – large or small, simple or complex.
It is standard equipped with 8 analog line inputs and 8 analog line outputs, but the flexible
structure of the device makes it easy to extend this number to an appropriate solution for
each specific situation.
If desired, it is easy to cascade multiple R2’s with the fiber interconnection modules. This
makes it possible to transfer up to 8 stereo channels and to extend to an nearly unlimited
number of zones.
But it is much more than that, due to the extremely powerful DSP processor, it provides
greater flexibility, higher reliability and lower latency than any other amplifier of its kind.
Moreover, it ’s capable of doing complex calculations on the digital audio signals, which makes
it possible to integrate digital filters into the system and generate complex audio signals.
Every R2 is standard equipped with an integrated Ethernet control interface which makes it
possible to configure and control the R2 from any PC, laptop or PDA which is connected to
the internet. Just use your browser, go to the appropriate website and you have complete
control of the R2.
An optional touchscreen can be installed in the front of the amplifier and there are optional
wall control panels whereby the desired music source and volume can be selected for a
specific zone.
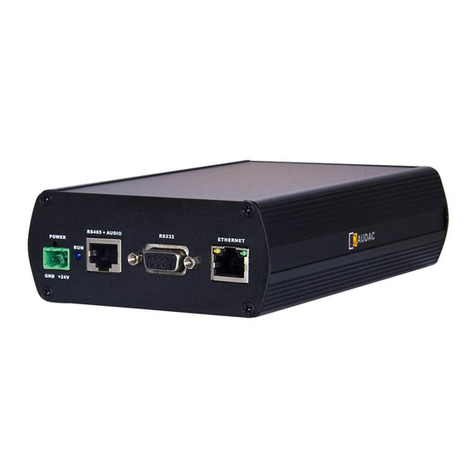
A RS232 interface is provided for configuration and control with peripherals from other
manufacturers which make use of an RS232 connection, like AMX, Crestron,… the control
commands are freely available which makes it easy to develop specific applications that
work in combination with the R2.
