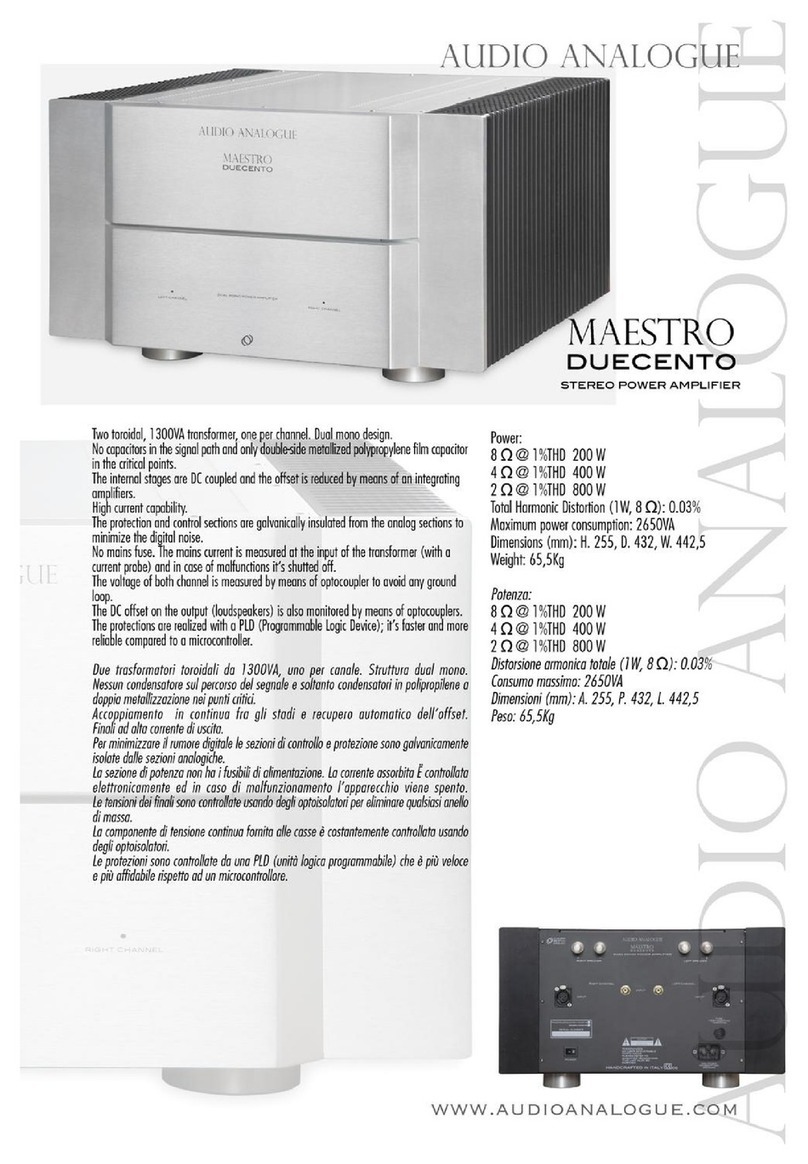
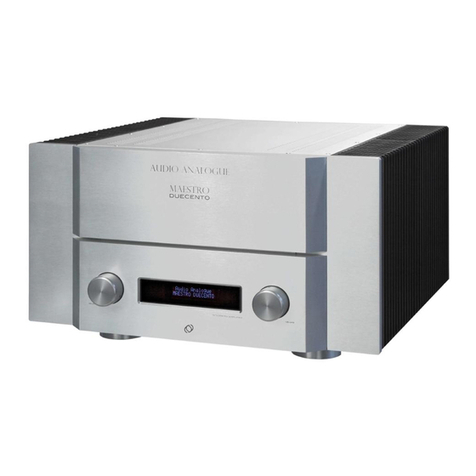
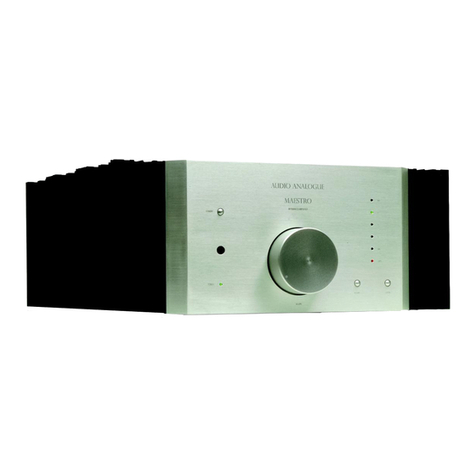
Where to place the MAESTRO DUECENTO integrated amplifier
MAESTRO DUECENTO is a high ower unit. After some hours of high volume o eration the unit tem erature can raise u to 45-50°C, be carefull!
Please locate the unit in a well-ventilated lace. In articular, you should leave at least 5 cm around and above the unit and avoid lacing it close to
heat sources (radiators, heaters, am lifiers, television sets).
Scelta del luogo in cui posizionare l’integrato MAESTRO DUECENTO
L’integrato MAESTRO DUECENTO è un apparecchio a alta potenza e quin i può scal are molto. Dopo qualche ora i funzionamento a alto
volume la sua temperatura può raggiungere i 45-50°C, fate attenzione!. Per questo motivo è consigliabile posizionarlo la ove sia garantita una
corretta circolazione ’aria. In particolare, è opportuno garantire uno spazio sufficiente attorno e sopra l’apparecchio (almeno 5 cm), e evitare
posizionamenti vicino a fonti i calore (termosifoni o stufe, lampa e alogene,, televisori).
Plugging and connecting
Before connecting the MAESTRO DUECENTO integrated am lifier to the sources, lease be sure that they’re all un lugged from wall outlets. First
of all, connect the sources to the MAESTRO DUECENTO in uts you want to use. Please use only high-quality cables with gold- lated connectors.
As the second ste , connect MAESTRO DUECENTO out uts to the s eakers’ cable.
At last, lug the ower cord into the MAESTRO DUECENTO inlet and into the wall outlet.
WARNING! MAESTRO DUECENTO HAS a power switch in the rear panel. To put the amplifier in stan -by you MUST place the rear panel switch in
position 1.
Collegamento dell’integrato
Prima i collegare il MAESTRO DUECENTO alle sorgenti au io, verificare che tutti gli apparecchi siano scollegati alla rete elettrica.
Per prima cosa, collegare le sorgenti au io agli ingressi el MAESTRO DUECENTO che si esi erano utilizzare. Utilizzare solo cavi ella migliore
qualità, terminati con connettori orati.
Quin i, collegare le uscite el MAESTRO DUECENTO ai iffusori.
Infine, collegare il cavo i alimentazione fornito in otazione al MAESTRO DUECENTO all’apposita vaschetta. La spina el cavo i alimentazione
an rà poi collegata a una presa i rete.
ATTENZIONE! Il MAESTRO DUECENTO E’ dotato di interruttore di rete, er metterlo in stand-by è necessario s ostare tale interruttore, osto sul
annello osteriore, in osizione 1.
Powering up MAESTRO DUECENTO
When you set the rear switch of MAESTRO DUECENTO in the osition “1”, the unit turns on in the STANDBY mode. When the front button is ke t
ressed for at least three seconds or when the “STBY” button on the remote control is ressed, the am lifier turns on. The am lifier will owers u
about in ten seconds. During ower u the rotection circuit check the status of the ower lines and the absence of a DC voltage on the s eaker
out uts; the central dis lay indicate “POWERING …”. You’ll hear some “click” inside the am lifier, this is absolutely normal! If nothing ha ens or if
an error message is dis layed, lease refer to the troubleshooting section of the resent manual. Even if it is safe to turn the unit off un lugging it
from the outlet when unused for long eriods of time or during lightning storms, it is ossible to leave it lugged when using it daily. To this ur ose,
lease ut the unit in the Stand-by mode (don’t use the rear switch). The am lifier is internally disconnected from the mains.
Accensione del MAESTRO DUECENTO
Porre nella posizione “1” il pulsante posteriore etermina la con izione Stan -by ell’amplificatore. Per accen ere l’apparecchio occorre tenere
premuto per almeno tre secon i il pulsante situato sotto il pannello frontale oppure premere il tasto “STBY” el telecoman o. L’unità impiega circa
ieci secon i per accen ersi. Durante la fase i accensione il circuito i protezione verifica lo stato i tutte le alimentazioni e l’assenza i tensione
continua sulle casse. Il isplay centrale in ica “POWERING…”. Si sentono egli scatti provenire all’interno ell’amplificatore, ciò è assolutamente
normale! Se invece non succe e niente oppure viene scritto un messaggio i errore fare riferimento alla sezione i risoluzione ei problemi i questo
manuale. Durante i temporali con fulmini o i lunghi perio i i inattività è consigliabile spegnere l’apparecchio e staccarlo alla presa a muro. Durante
i perio i i uso normale è consigliabile spegnere l’apparecchio tenen olo in stan -by (senza usare l’interruttore posteriore). L’amplificatore è
comunque sconnesso internamente alla rete elettrica.
Volume settings and silencing (mute)
The volume control on the front anel and the Vol+/Vol- buttons on the remote control change the general sound level. It means that the volume of
the two channels is changed identically. It is ossible to modify the relative level of each channel changing the balance o tion in the remote control
setu . The mute buttons on the remote control allows lowering the sound level to 0. This function is useful any time you have to suddenly lower the
volume, for exam le when you answer to a hone call or when talking with eo le or when changing CD in the layer. When the unit is muted, the
status is dis layed in the central dis lay. Mute deactivating will restore slowly the revious volume setting.
Regolazione del volume e silenziamento (mute)
La manopola el volume sul pannello frontale e i pulsanti Vol+/Vol- sul telecoman o agiscono sul livello generale i ascolto. Ciò significa che il
volume i entrambi i canali viene mo ificato ello stesso valore. E’ possibile eseguire un bilanciamento ei canali usan o l’opzione “balance” nel
menù i set-up el telecoman o.
Il pulsante i mute sul telecoman o permette i attenuare istantaneamente il livello i ascolto al valore 0. Questa funzione è utile qualora sia
improvvisamente necessario abbassare il volume i ascolto, per esempio per rispon ere al telefono o per parlare con qualcuno o ancora quan o si
esi era cambiare il CD nel lettore. Lo stato i muting ell’apparecchio viene in icato sul isplay centrale. La isattivazione el mute ripristinerà
lentamente il prece ente livello i ascolto.


