manuals.online logo
Brands
  1. Home
  2. •
  3. Brands
  4. •
  5. AUDIO TELEX
  6. •
  7. Amplifier
  8. •
  9. AUDIO TELEX ACM120 User manual

AUDIO TELEX ACM120 User manual

g
o
-
.f-,
o
=
l-
{-f
a
g
c
-
$
l-
o
AUililDililt@ ffitill
GOMMUNICATIONSPTYLTo
www.audiotelex.com
ACM6O
&
ACMI 20
Mixer Amplifiers 3
Quditv
E dorseil
"ffi,iH
Audio Telex Communications Pty Ltd
ACN 001345482 lncorporated in NSW
NSW & ACT QLD & NT vrc
149 Beaconsfield Street
Private Bag 149
Silverwater NSW 2128
Australia
Ph 02 9647 1411
Fax029648 3698
42 CommercialRoad
PO Box 871
Fortitude Valley QLD 4006
Ph 07 38521312
Fax 07 32521237
221277 Middleborough Road
Box HillVlC 3128
PO Box 151
Blackburn South VIC 3130
Ph 03 98907477
Fax 03 9890 7977
WA SA TAS
299 Fitzgerald Street
West Perth WA 6005
PO Box 404
North Perth WA 6906
Ph 08 92284222
Fax 08 92284233
Electronic Concepts Pty Ltd
76 George Street
Thebarton SA 5031
PO Box 7034 Hutt Street
Adelaide SA 5000
Ph 08 82349444
Fax 08 823494/-1
K W McOulloch Pty Ltd
54a Albert Road
MoonahTAS 7009
Ph 03 62286373
Fax 03 6278 1063
New Zealand
Unit B, 11 Piermark Drive
PO Box 512
Albany NZ 1331
Ph 09 4159426
Fax 09 415 9864
ACM60 Mixer Amplifier
ACM120 Mixer Amplifier
Product Description
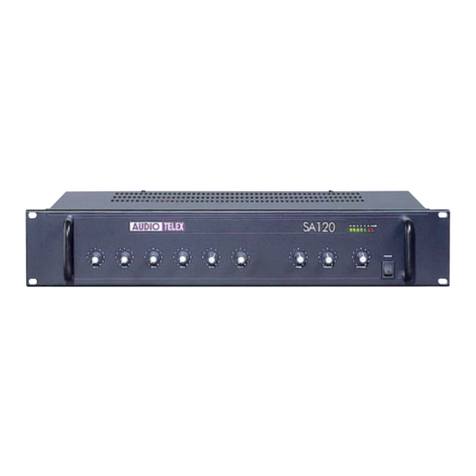
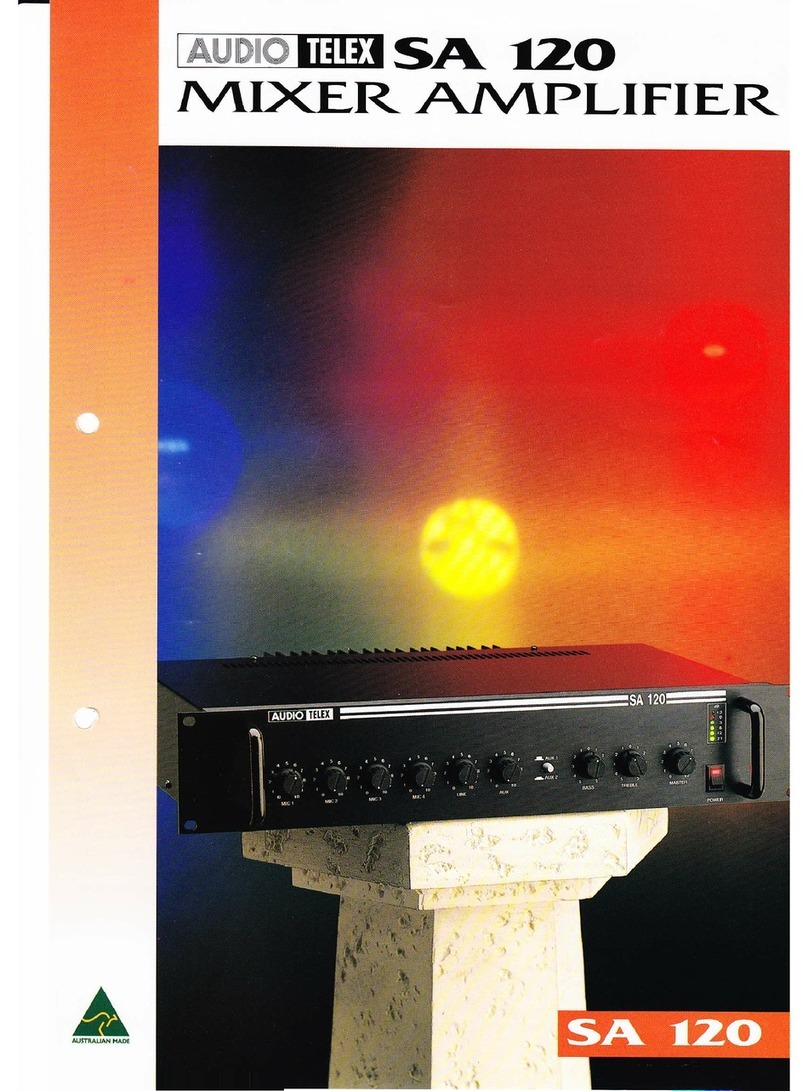
The ACM60 and ACMI2O mixer amplifiers are designed for commercial installations. Both models operate on240 VAC, 50Hz (or
110 VAC,60Hz with factory modification) and may be desk or rack mounted via an optional rack mount kit. Both amplifiers
incorporate a 6 zone 100 volt line speaker zone selector with all call. The ACM60 will deliver 60 watts into a load of 8 ohms, 70 or
100 volt line. The ACM120 will deliver 120 watts into a load of 4 or 8 ohms, 70 or 100 volt line. As standard, both models are self
standing and come with rubber feet. They may be stacked to a maximum of four units high.
Front Panel Controls
MUD-IOMET ACMI20
(ACM120 shown. The ACM60 has identical front panel features)
Dual Microphone/Line Gain Controls: The 4 dual mic/line input controls are labelled ch I through to Ch 4 and should
be adjusted to provide the required level mix for each individual channel. Start with the controls set to level 0 and tum the controls
clockwise until the desired mix level for each channel is reached.
BaSS COntfOl: Setting this control in the centre position will give an overall flat bass response. Adjusting the bass control in a
clockwise direction will provide up to 12 dB of bass boost @ 100 Hz. Adjusting the bass control in a counter-clockwise direction will
provide up to -12 dB of bass cut @ 100 Hz.
Tfeble GOntfOl: Setting this control in the centre position will give an overall flat treble response. Adjusting the treble control
in a clockwise direction will provide up to 9 dB of treble boost @ 10kHz. Adjusting the treble control in a counter-clockwise
direction will provide up to -9 dB of treble cut @ l0kJtz.
Master Output Control: This controls the overall output level of the amplifier depending on the levels set for rhe individual
input channels as detailed above. Start with the control set to level 0 and tum clockwise until the desired output level of the amplifier
is reached.
Page Chime Button: This allows the user to disable or enable the Pre-Announce Chime. This switch does not however
activate the chime. Activation is accomplished via the rear panel barrier strip (normally wired to a paging microphone). If the pre-
announce chime is connected to a paging microphone (meaning that it would be activated by the switch on the microphone), the Page
Chime switch on the front panel of the amplifier allows the user to disable the chime function for those occasions when it is not
wanted.
All Call BUttOn: When pressed, the All Call button will connect the 100 volt output of the amplifier to all 6 of the switched
outputs. Depressing this button again will disconnect the switched outputs. This switch is "push on-push off'and is non-interlocking.
Speaker Selector Switchesl These 6 black buttons are for switching the 100 volt output of the amplifier to any
combination of the 6 available speaker zones. The switches are o'push on-push off' and are non-interlocking (both with each other and
with the all-call button). The maximum capacity of each speaker zone is 60 watts so care should be taken to ensure that no individual
&
zone is loaded down with any more than 60 watts, always remembering that the total load for the ACM60 is 60 watts and for the
ACMI2O, 120 watts in total. Eg; It is possible on the ACM120, for example, to safely have one zone loaded with 60 watts and the
remaining five loaded with 12 watts each.
POWef BUttOn: This switch controls the switching of AC power to the amplifier. Rocking this switch upwards turns on AC
power to the amplifier while rocking the switch downwards turns power off to the amplifier. A red LED to the left on the switch will
indicate whether the amplifier is switched on or off.
Rear Panel Connections
AC FUSE
acM 60 2as8
Ail r20 4A 58
m6M
FT;T" ff;t ! : i i ;ililililil1ilililililililt1ilililililt
.i:.c3€lc3€l
L*l
(ACM120 shown. The ACM60 does not have a 4 ohm output)
3 Pin IEC Mains Power lnlet Theoperatingvoltageis240VAC @50Hzor ll0 vAC@60H2. TheACpowervottage
is factory set and not externally user adjustable. The inlet is equipped with an inbuilt AC fuse holder fitted with a 4 amp fuse
(ACMI20) or a 2 amp fuse (ACM60) plus a spare within the holder. Power consumption is 125 watts for the ACM60 and 250 watts
the ACMI20.
Please ensure that the mains power cord is disconnected before attempting to check or replace this fuse.
Direct OUtput Terminal Strip: The screw terminals on the left hand side of the strip allow access to the direct speaker
outputs of the amplifier. The screw terminals on the right hand side are for activation of the in-built 4 tone generator. Reading from
left to right the terminals are:
o Low Impedance Common (use with 4 or 8 ohms)
o 4 Ohms (not available on ACM60)
o 8 Ohms
r Constant Voltage Common (use with 70v or l00v)
t 70 Volt Line
r 100 Volt Line
' Spare
o Tone Generator Common (use with one of the 4 tones listed below)
r Pre-Announce Chime
r Alert Tone
. Bell Chime
o Evacuation Tone
Note: The minimum impedance (or maximum load) at 100 Volt line should be no less than 80 Ohms for the ACMI2O and no less
than 160 Ohms for the ACM60.
Switched Outputs Terminal Strip: Reading from left to right, these screw terminal pairs correspond to the switched 100
volt line outputs and are numbered 6 through I as indicated on the front panel of the amplifier. For each pair, the left hand terminal is
the 100 volt output and the right hand terminal is the common.
Phantom Power Button: This button enables or disables the 18 volts DC phantom power which is available on all
microphone inputs (XLR's). The "in" position indicates that phantom power is on for all mics. The "out" position means that phantom
power is switched offfor all mics. Phantom power is required for electret condenser microphones which require DC power to operate.
While some of these microphones can operate from an internal battery, having phantom power available on the amplifier eliminates
the need to regularly change batteries in the microphone. While phantom power is not required for the more common Dynamic
microphones, it will not damage them providing that they are balanced. Do not plug an unbalanced microphone in any amplifier or
mixer when phantom power is switched on.
Line OUtpUt The balanced XLR line level output provides a maximum of 700mV to allow for connection to up to 6 power
amplifiers. Simply run a balanced cable from the line out of the ACM60 or ACM120 to the line input of the power amplifier. Pin
connections are: pin #l-earth; pin #2-signal (high, +); pin #3-signal (low, -).
Tape Output RCA style phono output connectors provide a line level output with a maximum of 350mV into 10K Ohms which
is ideal for a connection to most standard tape recorders. This output is sourced before the master gain control and as such, the tape
output level is not influenced by the operation of the master gain control.
Active Balanced, XLR Sockets For The Microphone lnputs. The mic input sensitivity is lmv @ 200 ohms.
Pin connections are: pin #l-earth; pin #2-signal (high, +); pin #3-signal (low, -). Phantom power of +18 volts is available on all
microphone inputs. Reading from left to right across the rear panel, the connection are for microphone inputs 4, 3,2, & 1 respectively.
RCA Sockets For The Monaural Line Level lnputs. Line inputs 1,2 &3 have an input sensitivity of 75mv @47K
ohms. lnput 4 has an input sensitivity of 300mV @ 47K ohms making it suitable for high level inputs such as a CD player. Reading
from left to right across the rear panel, the connections are for inputs 4, 3,2, & 1 respectively.
Other Features
TOng GenefatOfS: Four separate tones are available from the in-built tone generator board. All four tones can be activated
individually via a contact closure cormected to the screw terminals on the rear of the amplifier. To activate the bell chime for example,
just run a pair of wires from the Tone generator common and the Bell terminal to an external switch. Activating the switch, or closing
the pair of wires, will activate the bell. When any tone is activated, all inputs (except for inputs one and two) will automatically mute.
To adjust the level of the tone generator, disconnect the power lead, remove the amplifier lid and locate the pot labeled R6. (located
behind the Bass adjustment pot). This pot adjusts the level for all 4 tones.
Tones available on the ACM60 and ACMI2O include:
o Evacuation Tone (to Australian Standard A52220.1.2)
o Alert Tone (to Australian Standard A52220.1.2)
o Bell Tone
r Pre Announce Chime
MUting: A VOX muting card is installed in the ACM60 and ACM120. This feature provides automatic muting of some channels
when others are active. It is normally used so that a paging microphone can have priority (by muting) over background music. VOX
muting is available from channels 1 and 2 meaning that any signal on channels I and 2 (mic or line) will mute charnels 3 & 4. The
muted channels will automatically ramp back up to normal volume when the signal on channels 1 and/or 2 is no longer active. The
amplifier ships with the VOX muting function enabled. To disable the VOX muting, disconnect the mains power lead and remove
the lid of the amplifier. Looking down from the front of the amplifier, a three position jumper (labeled JP2) is located just to the left
and behind the level pot for channel L To disable VOX muting, move the jumper to the middle and left pins. (Factory setting for VOX
enabled is the jumper on the middle and right pins).
Accessories:
Fuse Sizes: ACMRK: 19" rack mount kit
Mains ACM120,240 VAC: 4 Amperes Slow Blow
Mains ACM60, 240 VAC: 2 Amperes Slow Blow
Notes
The DC fuse is located on the circuit board. This is a feature of the ACM series amplifiers, which is equipped with a current limiting
circuit preventing excessive DC currents, thus eliminating the risk of blowing high tension fuses. In the unlikely event that the DC
fuse actuates, the output transistors should be checked, as it is probable that the amplifier has been subjected to very extreme
conditions.
This manual suits for next models

1

Other AUDIO TELEX Amplifier manuals

AUDIO TELEX DCM250 User manual

AUDIO TELEX

AUDIO TELEX DCM250 User manual

AUDIO TELEX DCM500 User manual

AUDIO TELEX

AUDIO TELEX DCM500 User manual

AUDIO TELEX SA60 User manual

AUDIO TELEX

AUDIO TELEX SA60 User manual

AUDIO TELEX DCM250 Operating and installation instructions

AUDIO TELEX

AUDIO TELEX DCM250 Operating and installation instructions

AUDIO TELEX DCM120 User manual

AUDIO TELEX

AUDIO TELEX DCM120 User manual

AUDIO TELEX ACM120 User manual

AUDIO TELEX

AUDIO TELEX ACM120 User manual

AUDIO TELEX TX250BA User manual

AUDIO TELEX

AUDIO TELEX TX250BA User manual

AUDIO TELEX ACM120R User manual

AUDIO TELEX

AUDIO TELEX ACM120R User manual

AUDIO TELEX ACM120 User manual

AUDIO TELEX

AUDIO TELEX ACM120 User manual

AUDIO TELEX ACM2150 User manual

AUDIO TELEX

AUDIO TELEX ACM2150 User manual

AUDIO TELEX 8383 User manual

AUDIO TELEX

AUDIO TELEX 8383 User manual

AUDIO TELEX SA250B User manual

AUDIO TELEX

AUDIO TELEX SA250B User manual

AUDIO TELEX ACM120XL User manual

AUDIO TELEX

AUDIO TELEX ACM120XL User manual

AUDIO TELEX PRO AUDIO TX300B User manual

AUDIO TELEX

AUDIO TELEX PRO AUDIO TX300B User manual

AUDIO TELEX 8842 User manual

AUDIO TELEX

AUDIO TELEX 8842 User manual

AUDIO TELEX SA120 User manual

AUDIO TELEX

AUDIO TELEX SA120 User manual

AUDIO TELEX IC30 User manual

AUDIO TELEX

AUDIO TELEX IC30 User manual

AUDIO TELEX AT120-3 User manual

AUDIO TELEX

AUDIO TELEX AT120-3 User manual

AUDIO TELEX SA120 - BROCHURE 2 User manual

AUDIO TELEX

AUDIO TELEX SA120 - BROCHURE 2 User manual

AUDIO TELEX SA120-1 User manual

AUDIO TELEX

AUDIO TELEX SA120-1 User manual

AUDIO TELEX TX3028 Operating and installation instructions

AUDIO TELEX

AUDIO TELEX TX3028 Operating and installation instructions

AUDIO TELEX AT250B User manual

AUDIO TELEX

AUDIO TELEX AT250B User manual

AUDIO TELEX TX30 User manual

AUDIO TELEX

AUDIO TELEX TX30 User manual

AUDIO TELEX SA120 User manual

AUDIO TELEX

AUDIO TELEX SA120 User manual

Popular Amplifier manuals by other brands

Audio Note MEISHU Phone Owner's Information

Audio Note

Audio Note MEISHU Phone Owner's Information

Fishman AURA PRO RETAIL user guide

Fishman

Fishman AURA PRO RETAIL user guide

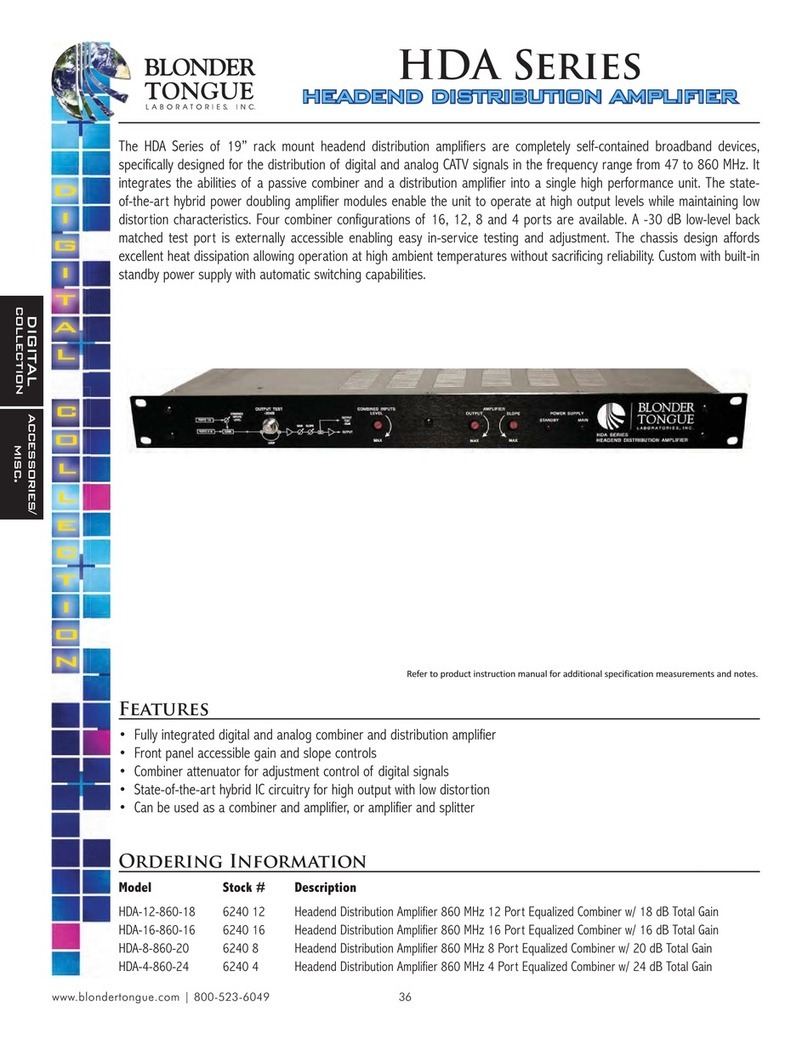
Blonder tongue hda series Specifications

Blonder tongue

Blonder tongue hda series Specifications

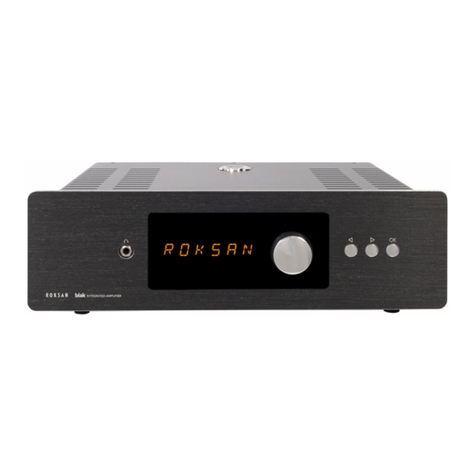
Roksan Audio Blak manual

Roksan Audio

Roksan Audio Blak manual

Margules U280sc 25th user manual

Margules

Margules U280sc 25th user manual

RCA Symphonix Series user guide

RCA

RCA Symphonix Series user guide

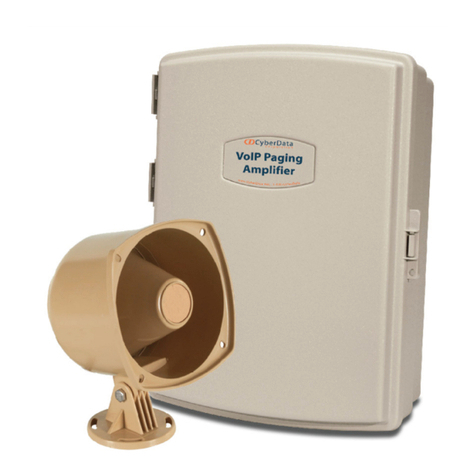
CyberData InformaCast Enabled 011406 Installation quick reference

CyberData

CyberData InformaCast Enabled 011406 Installation quick reference

ADS PQ20.2 owner's manual

ADS

ADS PQ20.2 owner's manual

Electro-Voice 7300 owner's manual

Electro-Voice

Electro-Voice 7300 owner's manual

JBL 5306 Technical manual

JBL

JBL 5306 Technical manual

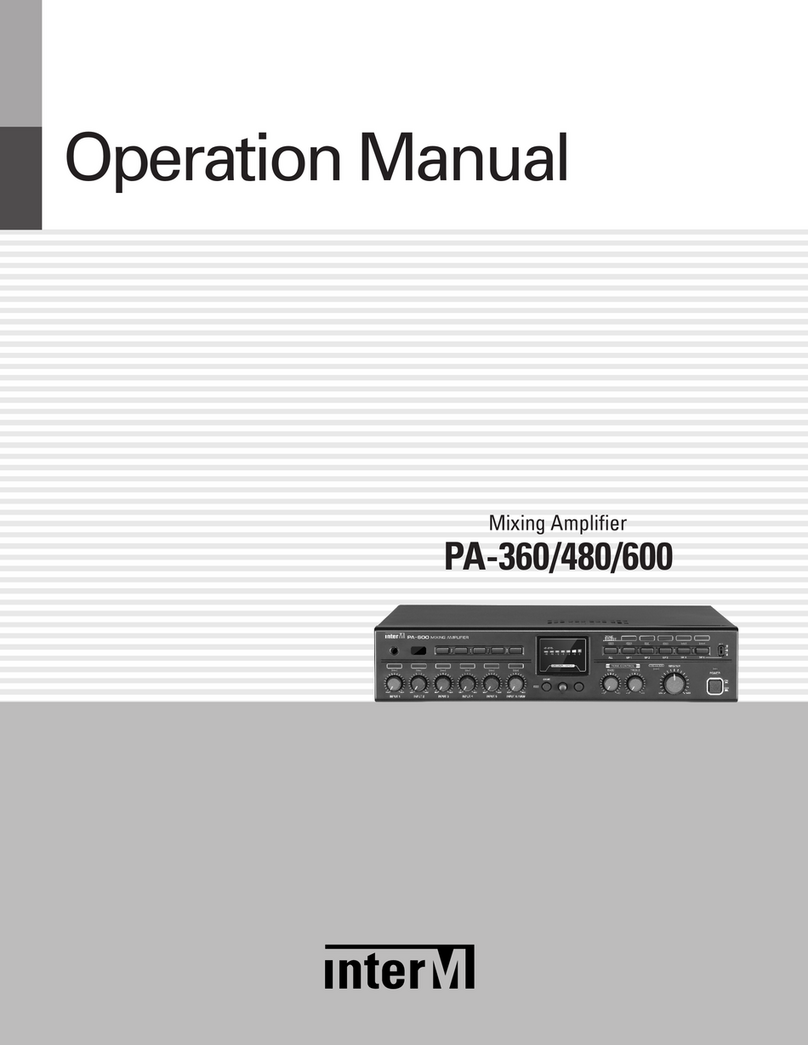
Inter-m PA-360 Operation manual

Inter-m

Inter-m PA-360 Operation manual

Crate DXJ112 Operation guide

Crate

Crate DXJ112 Operation guide

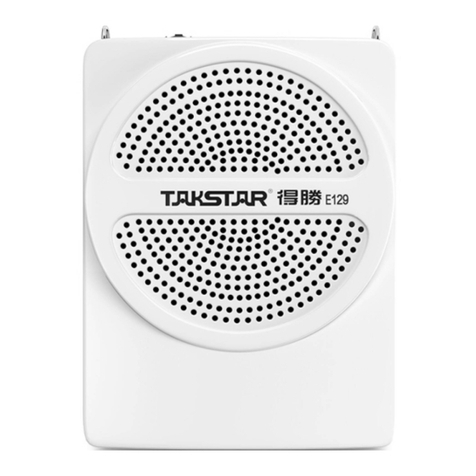
Takstar E129 quick start guide

Takstar

Takstar E129 quick start guide

Perreaux 4004A Specification sheet

Perreaux

Perreaux 4004A Specification sheet

Mojotone CANYON Series instruction manual

Mojotone

Mojotone CANYON Series instruction manual

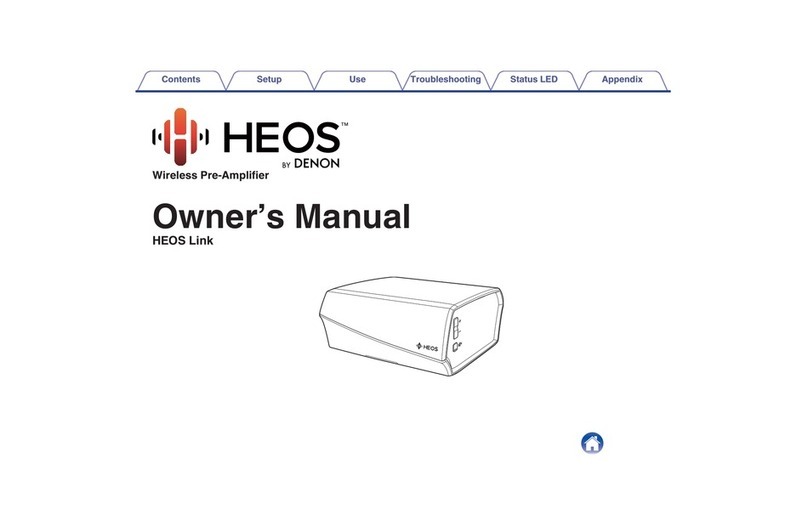
Denon HEOS LINK owner's manual

Denon

Denon HEOS LINK owner's manual

Kitronik 2143 Build instructions

Kitronik

Kitronik 2143 Build instructions

JL Audio iM700/5 owner's manual

JL Audio

JL Audio iM700/5 owner's manual

manuals.online logo
manuals.online logoBrands
  • About & Mission
  • Contact us
  • Privacy Policy
  • Terms and Conditions

Copyright 2025 Manuals.Online. All Rights Reserved.