manuals.online logo
Brands
  1. Home
  2. •
  3. Brands
  4. •
  5. AudioCodes
  6. •
  7. Adapter
  8. •
  9. AudioCodes MewdiaPack MP-202 User manual

AudioCodes MewdiaPack MP-202 User manual

1Before Installing
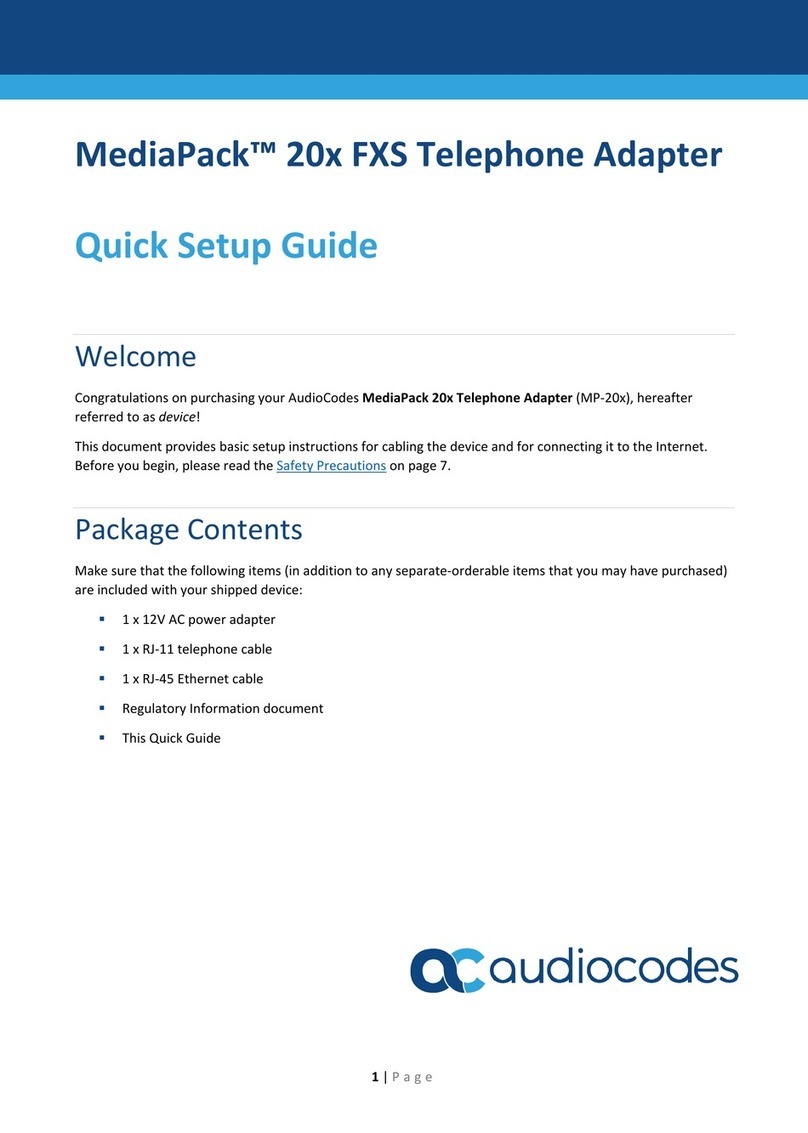
Congratulations on purchasing your AudioCodes MP-202 FXS Telephone
Adapter. Before you begin using the device, make sure that the following
items are included in the shipped box:
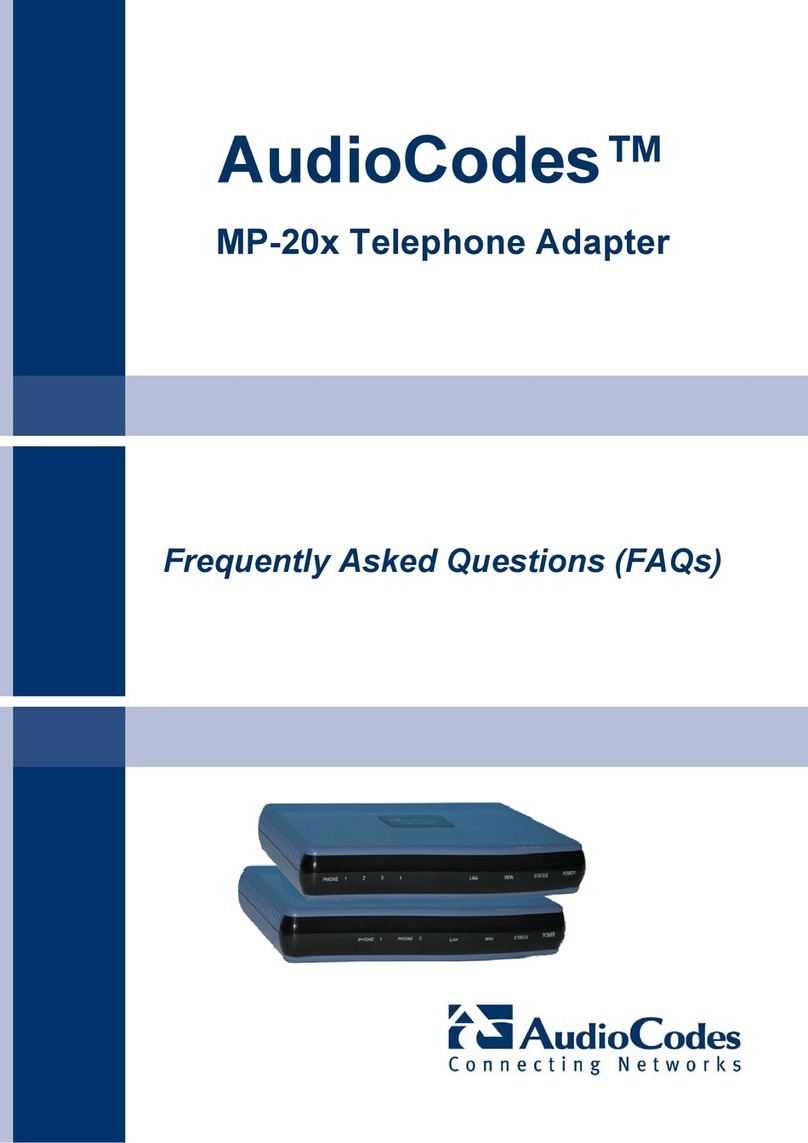
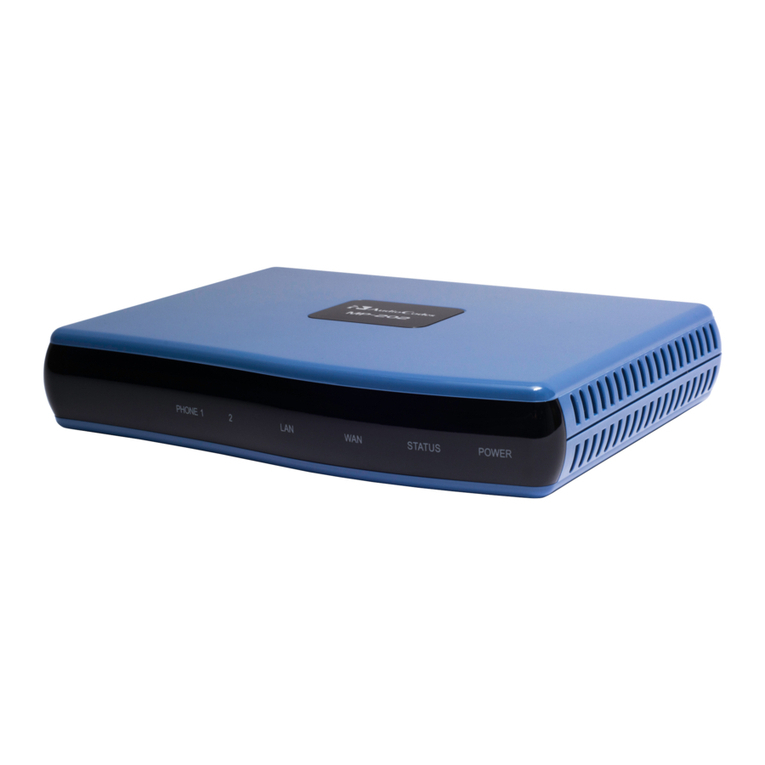
AudioCodes' MP-202 FXS Telephone Adapter
A 12V AC/DC power cord adaptor (use only supplied)
You'll also need (not supplied by AudioCodes):
A broadband Internet connection (e.g., Cable or DSL modem)
Analog telephones
A personal computer
RJ-11 telephone cables
Two RJ-45 Ethernet cables
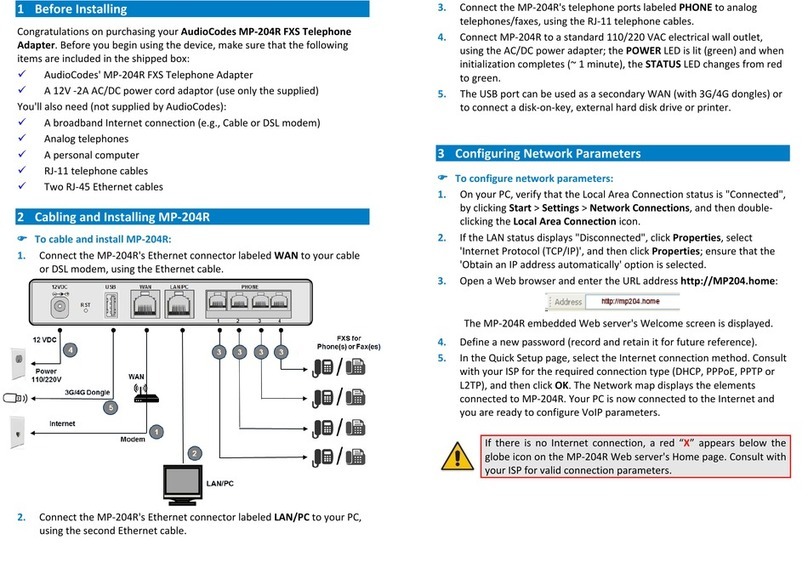
2Cabling and Installing MP-202

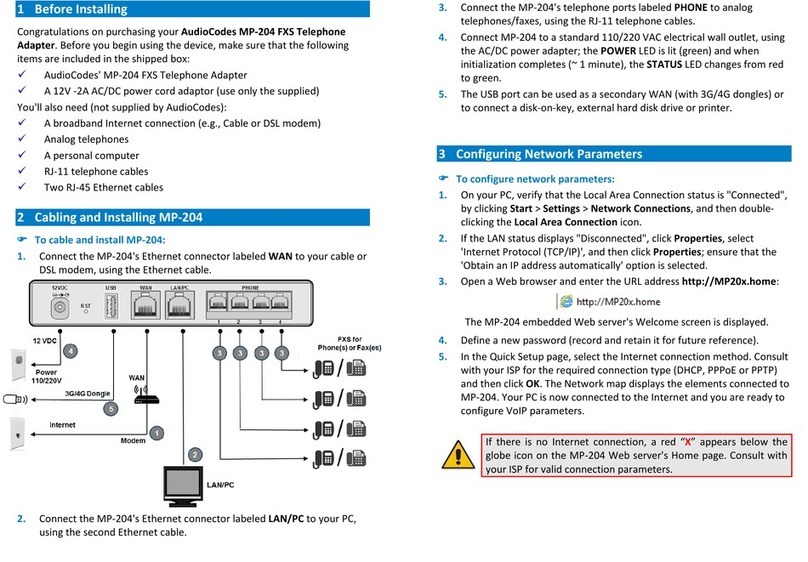
To cable and install MP-202:
1. Connect the MP-202's Ethernet connector labeled WAN to your cable or
DSL modem, using the Ethernet cable.
2. Connect the MP-202's Ethernet connector labeled LAN/PC to your PC,
using the second Ethernet cable.
3. Connect the MP-202's telephone ports labeled PHONE to analog
telephones, using the RJ-11 telephone cables.
4. Connect MP-202 to a standard 110/220 VAC electrical wall outlet, using
the AC/DC power adapter; the POWER LED is lit (green) and when
initialization completes (~ 1 minute), the STATUS LED changes from red
to green.
3Configuring Network Parameters

To configure network parameters:
1. On your PC, verify that the Local Area Connection status is "Connected",
by clicking Start > Settings > Network Connections, and then double-
clicking the Local Area Connection icon.
2. If the LAN status is "Disconnected", click Properties, select 'Internet
Protocol (TCP/IP)', and then click Properties; ensure that the 'Obtain an
IP address automatically' option is selected.
3. Open a Web browser and enter the URL address http://MP20x.home
(or http://MP202.home):
The MP-202 embedded Web server's 'Welcome' screen is displayed.
4. Define a new password (record and retain it for future reference).
5. In the Quick Setup page, select the Internet connection method. Consult
with your ISP for the required connection type (DHCP, PPPoE, PPTP or
L2TP), and then click OK. The Network map displays the elements
connected to MP-202. Your PC is now connected to the Internet and you
are ready to configure VoIP parameters.
If there is no Internet connection, a red "X" appears below the
globe icon on the MP-202 Web server'
s Home page. Consult with
your ISP for valid connection parameters.
4Configuring VoIP Parameters
To
make VoIP calls, register with an ISP and obtain the account
and SIP proxy information.

To configure VoIP parameters:
1. From the menu bar in the left pane, click Voice Over IP; the Voice Over
IP page opens in the right pane.
2. Click the Line Settings tab, select check boxes only of lines that are
connected to telephones (clear those not connected), and click Apply.
3. Click the Action icon corresponding to your FXS telephone lines, and
then in the Line Settings page, configure the parameters with values
provided by your ISP.
4. Click the Signaling Protocol tab and then select the 'Use SIP Proxy' check
box. In the 'Proxy IP Address or Host Name' field, enter the ISP's proxy IP
address or host name as provided by your ISP. Click OK to complete the
VoIP configuration.
To verify successful registration to the Proxy server, ensure that
the PHONE LEDs flash green, or in the Voice over IP tab (System
Monitoring menu), the entry 'SIP Registration' displays
"Registered" for the configured FXS lines.
5. Pick up the phone receiver and listen for the dial tone; you're now ready
to make an outgoing VoIP call.
Notice Information
This Quick Guide describes the quick setup for MP-202 Telephone Adapter model.
Information contained in this document is believed to be accurate and reliable at the time of
printing. However, due to ongoing product improvements and revisions, AudioCodes cannot
guarantee accuracy of printed material after the Date Published nor can it accept
responsibility for errors or omissions. Updates to this document and other documents as well
as software updates can be viewed by registered customers on AudioCodes' Web site at
www.audiocodes.com/downloads.
© Copyright 2016 AudioCodes Ltd. All rights reserved.
This document is subject to change without notice.
Date Published: June-14-2016 Document #: LTRT-18722
International Headquarters
1 Hayarden Street, Airport City, Lod 7019900
P.O. Box 255, Ben Gurion Airport, Israel, 7019900
Tel: +972-3-976-4000 Fax: +972-3-976-4040
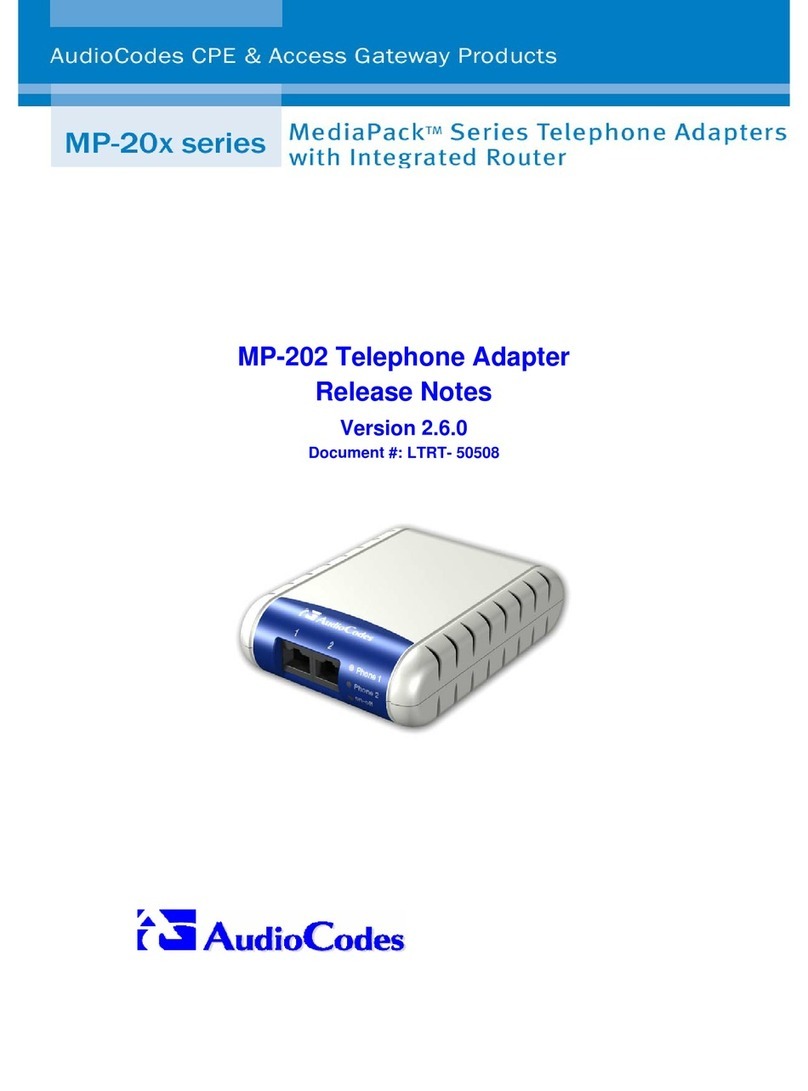
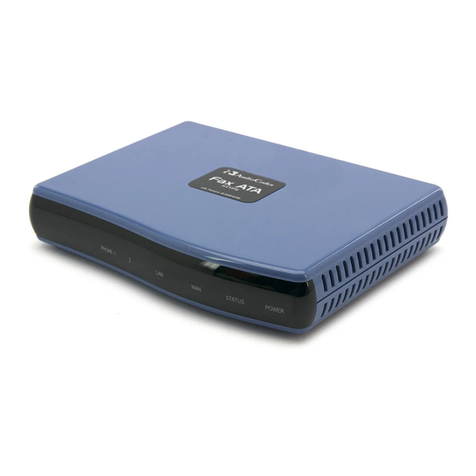
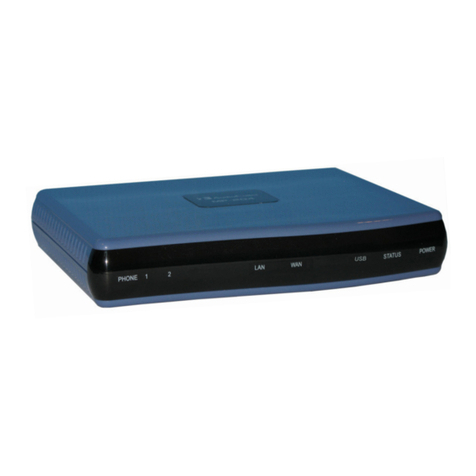
AudioCodes MP-202 FXS Telephone Adapter
MP-202
Quick Installation Guide

Other manuals for MewdiaPack MP-202

4

Other AudioCodes Adapter manuals

AudioCodes IPitimi LTRT-042-HTTPSFAX User manual

AudioCodes

AudioCodes IPitimi LTRT-042-HTTPSFAX User manual

AudioCodes MediaPack 20 Series User manual

AudioCodes

AudioCodes MediaPack 20 Series User manual

AudioCodes MewdiaPack MP-202 User manual

AudioCodes

AudioCodes MewdiaPack MP-202 User manual

AudioCodes MP-204D User manual

AudioCodes

AudioCodes MP-204D User manual

AudioCodes MewdiaPack MP-202 User manual

AudioCodes

AudioCodes MewdiaPack MP-202 User manual

AudioCodes MP-20 Series User manual

AudioCodes

AudioCodes MP-20 Series User manual

AudioCodes MP-204 User manual

AudioCodes

AudioCodes MP-204 User manual

AudioCodes MP-20 Series User manual

AudioCodes

AudioCodes MP-20 Series User manual

AudioCodes MediaPack MP-202B User manual

AudioCodes

AudioCodes MediaPack MP-202B User manual

AudioCodes MewdiaPack MP-202 User manual

AudioCodes

AudioCodes MewdiaPack MP-202 User manual

AudioCodes MP-20 Series Instruction Manual

AudioCodes

AudioCodes MP-20 Series Instruction Manual

AudioCodes MP-20 Series User manual

AudioCodes

AudioCodes MP-20 Series User manual

AudioCodes MP-20x User manual

AudioCodes

AudioCodes MP-20x User manual

AudioCodes MP-20 Series How to use

AudioCodes

AudioCodes MP-20 Series How to use

AudioCodes MewdiaPack MP-202 How to use

AudioCodes

AudioCodes MewdiaPack MP-202 How to use

Popular Adapter manuals by other brands

Retro 7-bit Rys MKII user guide

Retro 7-bit

Retro 7-bit Rys MKII user guide

OYEN DIGITAL Lync quick start guide

OYEN DIGITAL

OYEN DIGITAL Lync quick start guide

TP-Link TL-PA2030 Quick installation guide

TP-Link

TP-Link TL-PA2030 Quick installation guide

Belkin CONNECT AVC006 manual

Belkin

Belkin CONNECT AVC006 manual

TP-Link TL-WN721N user guide

TP-Link

TP-Link TL-WN721N user guide

Edimax EU-4206 Quick installation guide

Edimax

Edimax EU-4206 Quick installation guide

Tektronix TCA-VPI50 instructions

Tektronix

Tektronix TCA-VPI50 instructions

National Instruments 1483R USER GUIDE AND SPECIFICATIONS

National Instruments

National Instruments 1483R USER GUIDE AND SPECIFICATIONS

Cisco Small Business SPA8800 quick start guide

Cisco

Cisco Small Business SPA8800 quick start guide

Asus USB-N13 user manual

Asus

Asus USB-N13 user manual

Connective Peripherals USB2-F-5001 quick start guide

Connective Peripherals

Connective Peripherals USB2-F-5001 quick start guide

Omega OMG-USB-SER-4 user guide

Omega

Omega OMG-USB-SER-4 user guide

Club CSV-2302 user guide

Club

Club CSV-2302 user guide

Intertec Data Systems ISOPASS quick start guide

Intertec Data Systems

Intertec Data Systems ISOPASS quick start guide

ATEN cs533 user manual

ATEN

ATEN cs533 user manual

ATOMI Smart AC Adaptor user manual

ATOMI

ATOMI Smart AC Adaptor user manual

Cornelius P/N 629088756 installation instructions

Cornelius

Cornelius P/N 629088756 installation instructions

Sonnet Solo 10G quick start guide

Sonnet

Sonnet Solo 10G quick start guide

manuals.online logo
manuals.online logoBrands
  • About & Mission
  • Contact us
  • Privacy Policy
  • Terms and Conditions

Copyright 2025 Manuals.Online. All Rights Reserved.