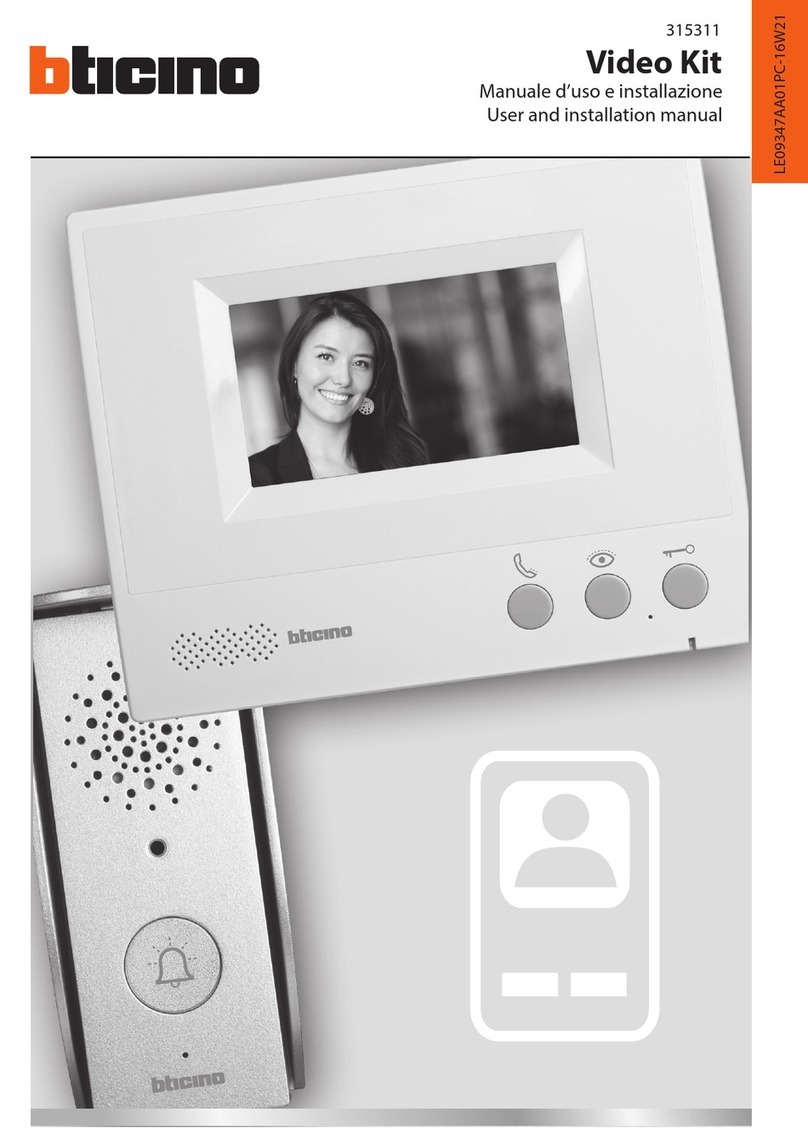
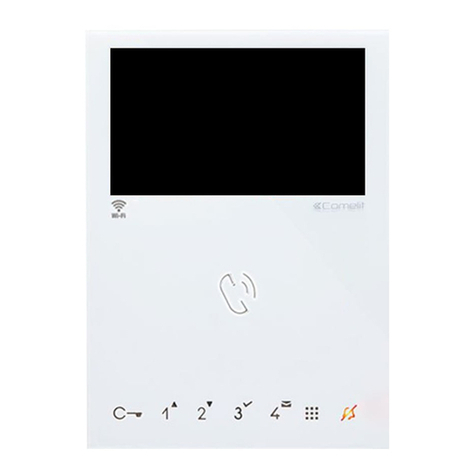
AUSKAY Villa System User manual

Installation and Operation Manual
Indoor Monitor
Villa System
Super Apartment System
Standard Apartment System

This operating manual includes three systems:
1. Villa System
2. Standard Apartment System
3. Super Apartment System
As per your product, please read the content marked
with Arrow Label.
Arrow Label’s Icon:
Important Instruction
★

Extra camera
Mute
Hands-free
Monitoring
Unlocking
Calling
Mute LED
1
Speaker
Volume adjuster
Contrast adjuster
Brightness adjuster
Icon Exegesis
Hands-free
Monitoring
Unlocking
Brightness
Contrast
Volume
Calling
Picture
Icons
Mute
Extra camera
Microphone
Screen
Power LED
Villa System

When a visitor presses
the call button of the
outdoor panel, the indoor
monitor will ring. At the
same time, the visitor’s
Answering
image will appear on the display screen of the
indoor monitor. You can press button to talk
with the visitor.
Basic Function
Technology Parameter
Operation
1. Monitor the entrance.
2. Remote control unlock.
3. Internal intercom between indoor monitors.
4. Mute the ringtone for 8 hours.
5. Can max. connect 2 pcs extra cameras.
6.Connect with telephone module, so that your outdoor panel
can have intercom with telephone(optional).
1. Screen: 3.5/ 4'' LCD.
2. Operating temperature: -10~+55℃.
3. Working voltage: DC18V.
4. Rated power: 7.2W
5. Standby power consumption: 0.9W
6. Talking mode: hands-free.
7. Talking time: 1 minute.
2
Villa System

3
At standby mode, press button to monitor the entrance,
press it again to exit the monitoring. During the monitoring,
you can press button to intercom with the outdoor panel.
Monitoring
During the calling/monitoring/intercom between indoor
monitor and outdoor panel, by pressing button.
Unlocking
At standby mode press button to enter the mute mode,
the indoor monitor ringtone will be muted for 8 hours
confirmed by a lighting LED. After 8 hours, the indoor
monitor will auto return to normal mode. During the mute
status, press button to back to normal mode and the
mute LED will be turn off. When in “mute mode”, if there
comes a call, the mute LED flashing and the indoor monitor
displays video image from outdoor panel.
Mute the ringtone
At standby mode, press button for 1 time, the LCD will
display the video monitored by extra camera 1;
Press the button again, the LCD will display the video
monitored by extra camera 2;
Press the button at the 3rd time will exit the monitoring.
Cameras
Villa System

If you’ve installed more than 1pc indoor monitor in your flat,
you can have internal intercom.
At standby mode, press button then press button to
call, other indoor monitors will ring. The called indoor
monitor can answer the call by pressing button.
Internal Calling
Package Contents
1. 1pc indoor monitor 2. 1pc metal
mounting bracket
3. 2pcs screws
5.Ipc adapter
4.1pc 4C cable,
2 pcs 5C cables.
4
Villa System

5
System Configuration
This system can connect maximum 6 pcs indoor
monitors and 2 pcs outdoor panels(with isolator
module).
Indoor monitor 2
Outdoor panel 2
To next indoor monitor
Isolator
module
Camera 1
Camera 2
Camera 1
Camera 2
Outdoor panel 1
Indoor monitor 1
Adapter
Telephone
Module
(optional)
To AC wall outlet
To AC wall outlet
Telephone
RJ11
Villa System

Outdoor Panel
System Diagram
4.Green CH2
3.Yellow GND
2.Black GND
1.Red CH1
Camera 2
Camera 1
1.Red V+
2.Black GND
3.Yellow VIDEO
4.Green AUDIO
Indoor Monitor
6
1.Indoor monitor connect with outdoor panel, two
extra cameras and the next indoor monitor.
1.Red V+
2.Black GND
3.Yellow VIDEO
5.Brown DATA
4.Green AUDIO
Next Indoor Monitor
S1:Ringback tone switch
Function:
Visitor will hear the ringback
tone from the outdoor panel when
the S1 switch at “ON” position.
S2:Video switch
Function:
when the video is unstable or the
wiring is too long, turn it to “ON”
position to improve video quality
from outdoor panel (the default
setting is “OFF”).
Villa System

1.Red V+
2.Black GND
3.Yellow VIDEO
5.Brown DATA
4.Green AUDIO
Indoor Monitor
1.Orange&White V+
2.Orange +18V
3.Green&White GND
5.Blue&White NC
6.Green Audio
7.Brown&White GND
8.Brown DATA
4.Blue NC
2 . I nd oo r m on it o r c o n n e ct wi th te le ph o n e
module(optional).
To telephone module(CAT 5e)
7
Note:
Socket 1 and socket 2 have the same feature for
connection.
Socket 1
Socket 2
Villa System

18
Installation
2. Fix up the iron mounting bracket according to the position of the two holes.
1. Choose a proper location to drill two holes on the wall.
50cm
150cm
Installation

19
4. Pull downward the indoor monitor to complete the installation.
3. Connect the cable to the socket of the indoor monitor, then hang it on the
bracket.
Indoor Monitor
Installation

20
Maintenance of devices
1. Keep the clearance of the surface and use soft dry cloth to clean the dust of the
product.
2. Please turn off the power of indoor unit when clean the indoor device.
3. If there is hard dirty which cannot be cleaned with dry cloth, please use the soft towel
dipped in the neutral diluted detergent to clean the machine and then clear it with dry
cloth.
4. Do not use benzene, thinner or organic solvents such as gasoline to clean, these
solvents may cause damage to the machine casing or the surface of machine and
change colors.
Matters need to be noticed
1. Read the instructions in this handbook carefully. Be sure to keep it for future reference.
2. Be sure to use only the supplied AC adapter and that your power source matches the
rating listed for it. If you are not sure, check with your dealer or with your local power
company.
3. Avoid strong hits or shocks. Do not use the AC adapter if it is has received any hard
knocks or looks damaged in any way; immediately contact an authorised service center.
4. The product should be placed where is stable, windy, air-dry, non-sunshine, non strong
magnetic and non dusty.
5. Don’t clean the surface with chemicals but with soft and clean dry cloth.
6. Don’t press several buttons at the same time.
7. The outdoor and indoor unit must be matched with appointed specified models and
cannot match with others that are not our products.
8. Don’t disassemble the machine without authorization, if the need for fault repair, please
contact the distributors or the company’s tech-supporting department.
Notes
This manual suits for next models
2
Table of contents
