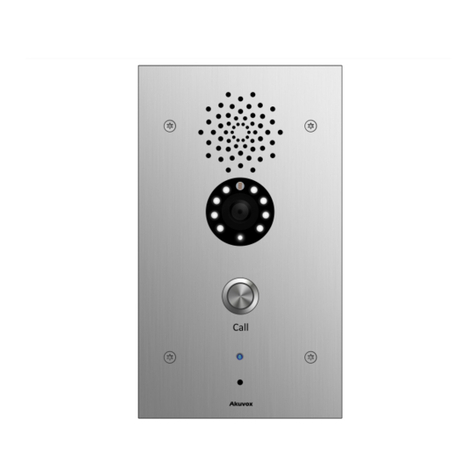
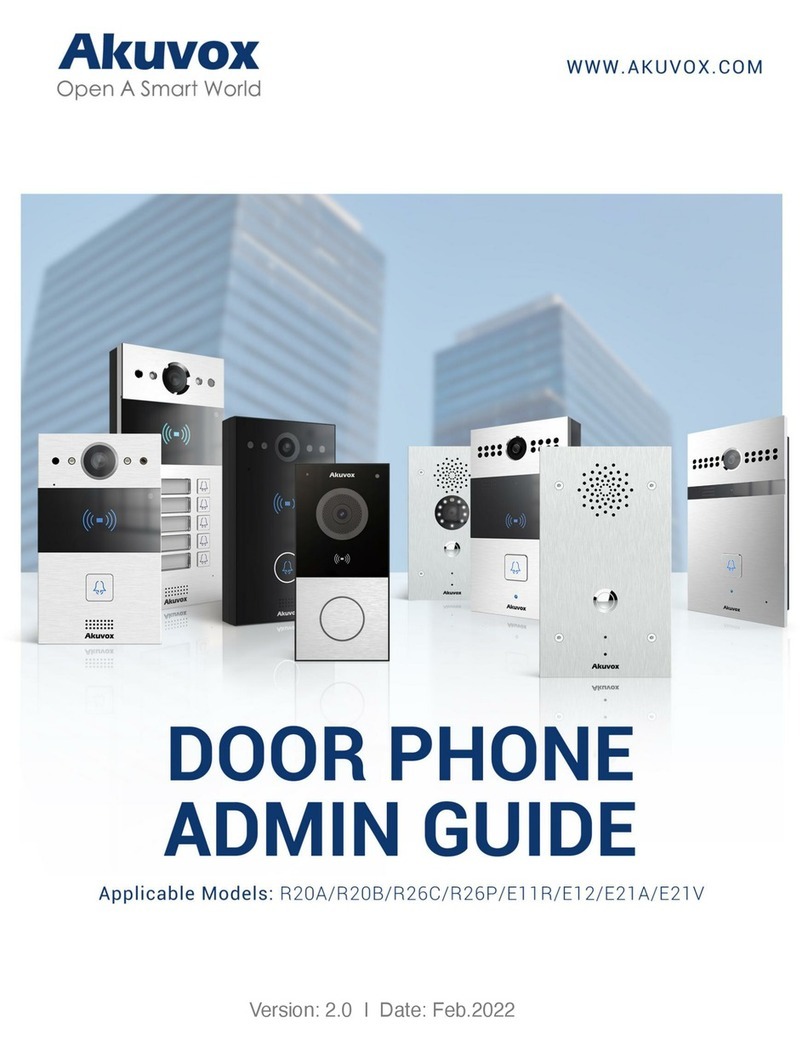
Akuvox E10S User manual

1
E10S Secondary Entry Phone

Content
1 Production Overview........................................................................3
1.1 Production Description......................................................................................3
1.2 Dimension..........................................................................................................5
1.3 Connector.......................................................................................................... 5
1.4 Installation......................................................................................................... 6
2 Basic Function...................................................................................8
2.1 Make a call.........................................................................................................8
2.2 Monitor..............................................................................................................8
3 Configuration....................................................................................9
3.1 Web login...........................................................................................................9
3.1.1 Obtaining IP address................................................................................9
3.1.2 Login the web.......................................................................................... 9
3.2 Status-Basic..................................................................................................... 10
3.3 Intercom- Basic................................................................................................ 11
3.4 Intercom-Advanced......................................................................................... 12
3.5 Network-Basic................................................................................................. 16
3.6 Network-Advanced..........................................................................................17
3.7 Phone-Time/Lang............................................................................................ 18
3.8 Phone-Call Feature.......................................................................................... 19
3.9 Phone-Voice.................................................................................................... 20
3.10 Phone-Call Log............................................................................................... 21
3.11 Upgrade-Basic............................................................................................... 22
3.12 Upgrade-Advanced........................................................................................23
3.13 Security-Basic................................................................................................ 24

3
1 Production Overview
1.1 Production Description
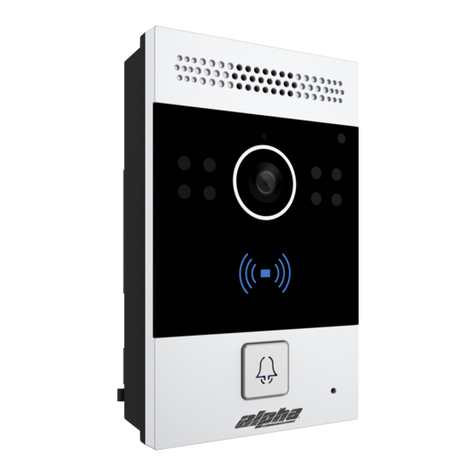
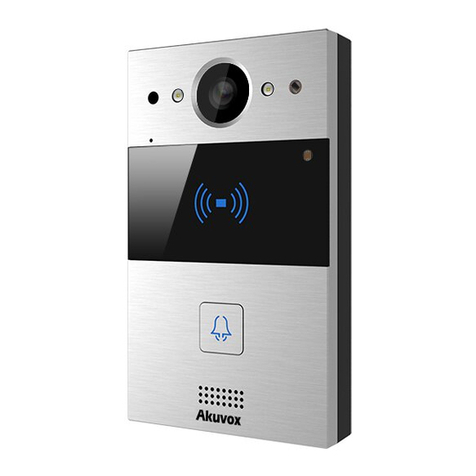
E10S is a smart SIP-based secondary entry phone. It can be connected with Akuvox
indoor phone for unlock and monitor. It is more convenient and safe for residents to
check the visitor identity through E10S. E10S is often applicable in villas , apartments.
FCC Caution:
Any Changes or modifications not expressly approved by the party responsible for
compliance could void the user's authority to operate the equipment.
This device complies with part 15 of the FCC Rules. Operation is subject to the
following two conditions: (1) This device may not cause harmful interference, and (2)
this device must accept any interference received, including interference that may
cause undesired operation.
Note: This equipment has been tested and found to comply with the limits for a Class
B digital device, pursuant to part 15 of the FCC Rules. These limits are designed to

4
provide reasonable protection against harmful interference in a residential
installation. This equipment generates, uses and can radiate radio frequency energy
and, if not installed and used in accordance with the instructions, may cause
harmful interference to radio communications. However, there is no guarantee that
interference will not occur in a particular installation. If this equipment does cause
harmful interference to radio or television reception, which can be determined by
turning the equipment off and on, the user is encouraged to try to correct the
interference by one or more of the following measures:
—Reorient or relocate the receiving antenna.
—Increase the separation between the equipment and receiver.
—Connect the equipment into an outlet on a circuit different from that to which the
receiver is connected.
—Consult the dealer or an experienced radio/TV technician for help.
Specific Absorption Rate (SAR) information
SAR tests are conducted using standard operating positions accepted by the FCC with
the device transmitting at its highest certified power level in all tested frequency
bands, although the SAR is determined at the highest certified power level, the
actual SAR level of the device while operating can be well below the maximum value.
Before a new product is a available for sale to the public, it must be tested and
certified to the FCC that it does not exceed the exposure limit established by the FCC,
tests for each phone are performed in positions and locations as required by the FCC.
For headset, this part has been tested and meets the FCC RF exposure guidelines
when used with an accessory designated for this product or when used with an
accessory that contains no metal.
For baseband, this equipment complies with FCC radiation exposure limits set forth
for an uncontrolled environment .This equipment should be installed and operated
with minimum distance 20cm between the radiator& your body.
5
1.2 Dimension
1Mic
2LED
3Key Light 1
4Indicator Light
5Button
6Preformed hole
7Camera
8Key Light 2
9Infrared sensor
10 Loudspeaker
1.3 Connector
Note: Akuvox IT81 indoor phone can also provide power for E10S through Ethernet port.
Power supply
Ethernet port

6
1.4 Installation
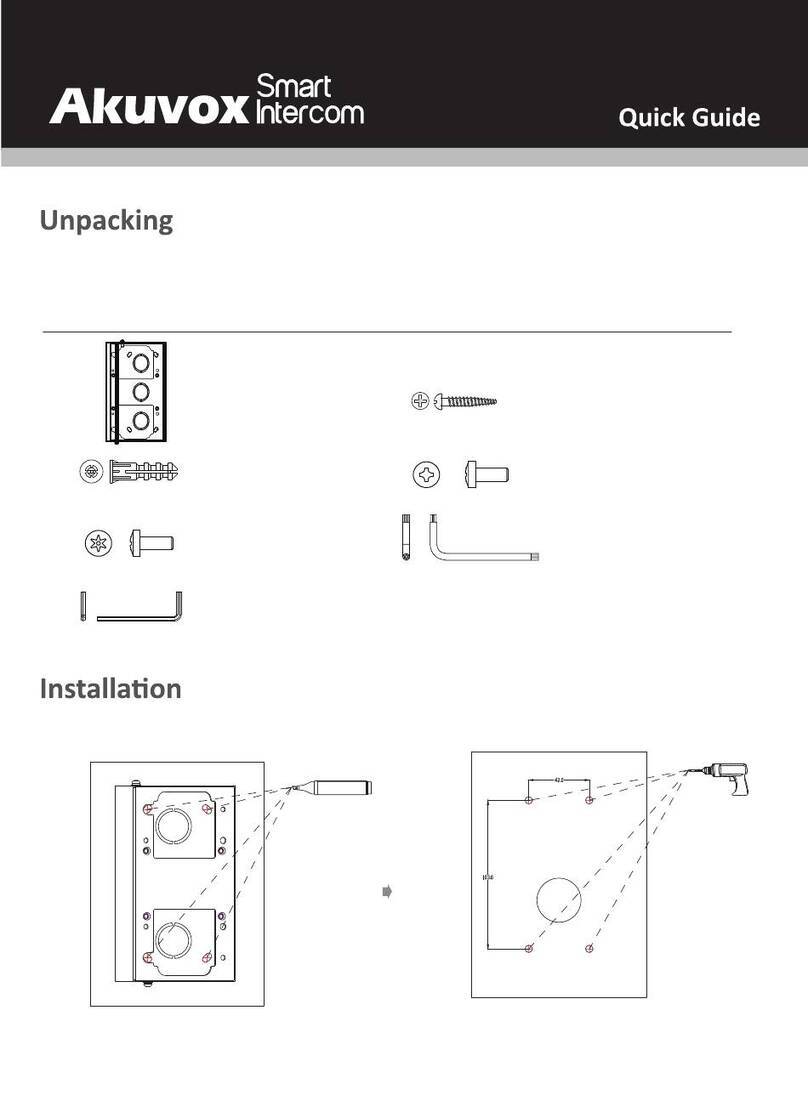
1. Use screws 2 to fix the mainboard into the 86 embedded box of the wall.( the
screw of length: 10mm,diameter:4mm)
2. Use screw 1(M2.5X5) Lock the surface at the mainboard.
Warning :
1. To protect the product from crashing, knocking or shaking.
2. Please don't place the E10S under the sun, high temperature, snow or chemical
corrosion or dust.
3. Please install the E10S in a good visual level. (about 160cm)
4. Please cut down the power if you find the product is not working properly.
5. If the stairway phone is broken, you should cut down the power immediately
and check for fault. Otherwise call the customer service manager to help.
6. Please protect the IC card from water and broken, antimagnetic.

7

8
2 Basic Function
2.1 Make a call
Once you setup push button number(please refer to chapter Intercom- Basic) , press
it to call the indoor phone. After the call is answered, the LED and Key light will turn
up. Resident can pickup the call in video or audio mode .
2.2 Monitor
Users can press Monitor button in indoor phone to get the live video from E10S any
time.

9
3 Configuration
3.1 Web login
3.1.1 Obtaining IP address
Hold the call button about 5s, the phone will announce its IP. Press again to stop.
3.1.2 Login the web
Open a Web Browser, enter the corresponding IP address. Then, type the default
user name and password to log in. The default User Name and Password are as
below:
User name: admin
Password: admin
3.2 Status-Basic

10
Status, including product information, network information and Account information,
can be viewed from Status -> Basic.
Sections Description
Product Information To display the device’s information such as Model name,
MAC address (IP device’s physical address), Firmware version
and Hardware firmware.
Network Information To display the device’s Networking status(LAN Port),such as
Port Type(which could be DHCP/Static/PPPoE), Link Status, IP
Address, Subnet Mask, Gateway, Primary DNS server,
Secondary DNS server, Primary NTP server and Secondary
NTP server(NTP server is used to synchronize time from
INTERNET automatically).
Account Information To display device’s Account information and Registration
status (account username, registered server’s address,
Register result).
3.3 Intercom- Basic

11
Sections Description
SIP Account To display and configure the specific Account settings.
Status: To display register result.
Display Name: Which is sent to the other call party for
display.
Register Name: Allocated by SIP server provider, used for
authentication.
User Name: Allocated by your SIP server provide, used
for authentication.
Password: Used for authorization.
SIP Server 1 To display and configure Primary SIP server settings.
Server IP: SIP server address, it could be an URL or IP
address.
Registration Period: The registration will expire after
Registration period, the IP phone will re-register
automatically within registration period.
SIP Server 2 To display and configure Secondary SIP server settings.
This is for redundancy, if registering to Primary SIP server
fails, the IP phone will go to Secondary SIP server for

12
registering.
Note: Secondary SIP server is used for redundancy, it can be
left blank if there is not redundancy SIP server in user’s
environment.
Outbound Proxy Server To display and configure Outbound Proxy server settings.
An outbound proxy server is used to receive all initiating
request messages and route them to the designated SIP
server.
Note: If configured, all SIP request messages from the IP
phone will be sent to the outbound proxy server forcefully.
Transport Type To display and configure Transport type for SIP message
UDP: UDP is an unreliable but very efficient transport
layer protocol.
TCP: Reliable but less-efficient transport layer protocol.
TLS: Secured and Reliable transport layer protocol.
DNS-SRV: A DNS RR for specifying the location of
services.
NAT To display and configure NAT(Net Address Translator)
settings.
STUN: Short for Simple Traversal of UDP over NATS, a
solution to solve NAT issues.
Note: By default, NAT is disabled.
3.4 Intercom-Advanced

13

14
Sections Description
SIP Account To display current Account settings or to select which account
to display.
Codecs To display and configure available/unavailable codecs list.
Codec means coder-decoder which is used to transfer analog
signal to digital signal or vice versa.
Familiar codecs are PCMU(G711U), PCMA(G711A), G722
(wide-bandth codecs), G729 and so on.
Video Codec To configure the video quality
Codec Name: The default video codec is H264.
Codec Resolution: It can support QCIF, CIF, VGA, 4CIF,
720P.
Codec Bitrate: The lowest bitrate is 128, the highest
bitrate is 2048.
Codec payload: From 90-119.
Subscribe To display and configure MWI, BLF, ACD subscription settings.
MWI: Message Waiting Indicator which is used to
indicate whether there is unread new voice message.
BLF: BLF is short for Busy Lamp Field which is used to
monitor the designated extension status.
ACD: Automatic Call Distribution is often used in offices
for customer service, such as call center. The setting
here is to negotiate with the server about expire time of
ACD subscription.
DTMF To display and configure DTMF settings.
Type: Support Inband,Info, RFC2833 or their
combination.
How To Notify DTMF: Only available when DTMF Type is
Info.
DTMF Payload: To configure payload type for DTMF.
Note: By default, DTMF type is RFC2833 which is the
standard. Type Inband uses inband frequency to indicate
DTMF tone which is most used to be compatible to
traditional telephone server. Type Info use SIP Info message
to indicate DTMF message.
Call To display and configure call-related features.
Max Local SIP Port: To configure maximum local sip port
for designated account.
Min Local SIP Port: To configure minimum local sip port
for designated account.
Caller ID Header: To configure which Caller ID format to
fetch for displaying on Phone UI.
Auto Answer: If enabled, IP phone will be
auto-answered when there is an incoming call for

15
designated account.
Ringtones: Choose the ringtone for each account.
Provisioning Response ACK: 100% reliability for all
provisional messages, this means it will send ACK every
time the IP phone receives a provisional SIP message
from SIP server.
User=phone: If enabled, IP phone will send user=phone
within SIP message.
PTime: Interval time between two consecutive RTP
packets.
Anonymous Call: If enabled, all outgoing call for the
designated account will be anonymous number.
Anonymous Call Rejection: If enabled, all incoming
anonymous-out call for the designated account will be
rejected.
Is escape non Ascii character: To transfer the symbol to
Ascii character.
Missed Call Log: To display the miss call log.
Prevent SIP Hacking: Enable to prevent SIP from hacking.
Session Timer To display or configure session timer settings.
Active: To enable or disable this feature, If enable, the
on going call will be disconnected automatically once
the session expired unless it’s been refreshed by UAC or
UAS.
Session Expire: Configure session expire time.
Session Refresher: To configure who should be response
for refreshing a session.
Note: UAC means User Agent Client, here stands for IP
phone. UAS means User Agent Server, here stands for SIP
server.
BLF List To display or configure BLF List URI address.
BLF List URI: BLF List is short for Busy Lamp Field List.
BLFList PickUp Code: To set the BLF pick up code.
BLFList BargeIn Code : To set the BLF barge in code.
Encryption To enable or disabled SRTP feature.
Voice Encryption(SRTP): If enabled, all audio signal
(technically speaking it’s RTP streams) will be encrypted
for more security.
NAT To display NAT-related settings.
UDP Keep Alive message: If enabled, IP phone will send
UDP keep-alive message periodically to router to keep
NAT port alive.
UDP Alive Msg Interval: Keepalive message interval.
Rport: Remote Port, if enabled, it will add Remote Port

16
into outgoing SIP message for designated account.
User Agent One can customize User Agent field in the SIP message; If
user agent is set to specific value, user could see the
information from PCAP. If user agent is not set by default,
user could see the company name, model number and
firmware version from PCAP
3.5 Network-Basic
Sections Description
LAN Port To display and configure LAN Port settings.
DHCP: If selected, IP phone will get IP address, Subnet
Mask, Default Gateway and DNS server address from
DHCP server automatically.
Static IP: If selected, you have to set IP address, Subnet
Mask, Default Gateway and DNS server manually.

17
3.6 Network-Advanced
Sections Description
Local RTP To display and configure Local RTP settings.
Max RTP Port: Determine the maximum port that RTP
stream can use.
Starting RTP Port: Determine the minimum port that RTP
stream can use.

18
3.7 Phone-Time/Lang
Sections Description
NTP To configure NTP server related settings.
Time Zone: To select local Time Zone for NTP server.
Primary Server: To configure primary NTP server
address.
Secondary Server: To configure secondary NTP server
address, it takes effect if primary NTP server is
unreachable.
Update interval: To configure interval between two
consecutive NTP requests.
Note: NTP, Network Time Protocol is used to automatically
synchronized local time with INTERNET time, since NTP
server only response GMT time, so that you need to specify
the Time Zone for IP phone to decide the local time.

19
3.8 Phone-Call Feature
Sections Description
Mode
Mode: Select the desired mode.
DND DND (Do Not Disturb) allows IP phones to ignore any
incoming calls.
Return Code when DND: Determine what response code
should be sent back to server when there is an incoming
call if DND on.
DND On Code: The Code used to turn on DND on
server’s side, if configured, IP phone will send a SIP
message to server to turn on DND on server side if you
press DND when DND is off.
DND Off Code: The Code used to turn off DND on
server’s side, if configured, IP phone will send a SIP
message to server to turn off DND on server side if you
press DND when DND is on.
Intercom Intercom allows user to establish a call directly with the
callee.
Active: To enable or disable Intercom feature.
Intercom Mute: If enabled, once the call established, the

20
3.9 Phone-Voice
Sections Description
Mic Volume To configure Microphone volume , from 1-15. 12 by default.
Speaker Volume To configure Speaker Volume,from 1-15,12 by default.
callee will be muted.
Others
Return Code When Refuse: Allows user to assign specific
code as return code to SIP server when an incoming call
is rejected.
Auto Answer Delay: To configure delay time before an
incoming call is automatically answered.
Auto Answer Mode: To set video or audio mode for auto
answer by default.
Direct IP: Direct IP call without SIP proxy.
Table of contents
Other Akuvox Intercom System manuals

Akuvox
Akuvox C313X User manual

Akuvox
Akuvox R26B User manual

Akuvox
Akuvox R27 series User manual

Akuvox
Akuvox R26 Manual

Akuvox
Akuvox X915S User manual

Akuvox
Akuvox IT82 Series Manual

Akuvox
Akuvox C313 Series User manual

Akuvox
Akuvox R27A User manual

Akuvox
Akuvox R26C User manual

Akuvox
Akuvox X916S Assembly instructions