1300 663 868 | enquiries@aussietraveller.com.au | aussietraveller.com.au
BRISBANE SHOWROOM: 11-15 Oasis Court, Clontarf QLD 4019 | MELBOURNE SHOWROOM: 235 Barry Road, Campbellfield VIC 3061
MAINTENANCE
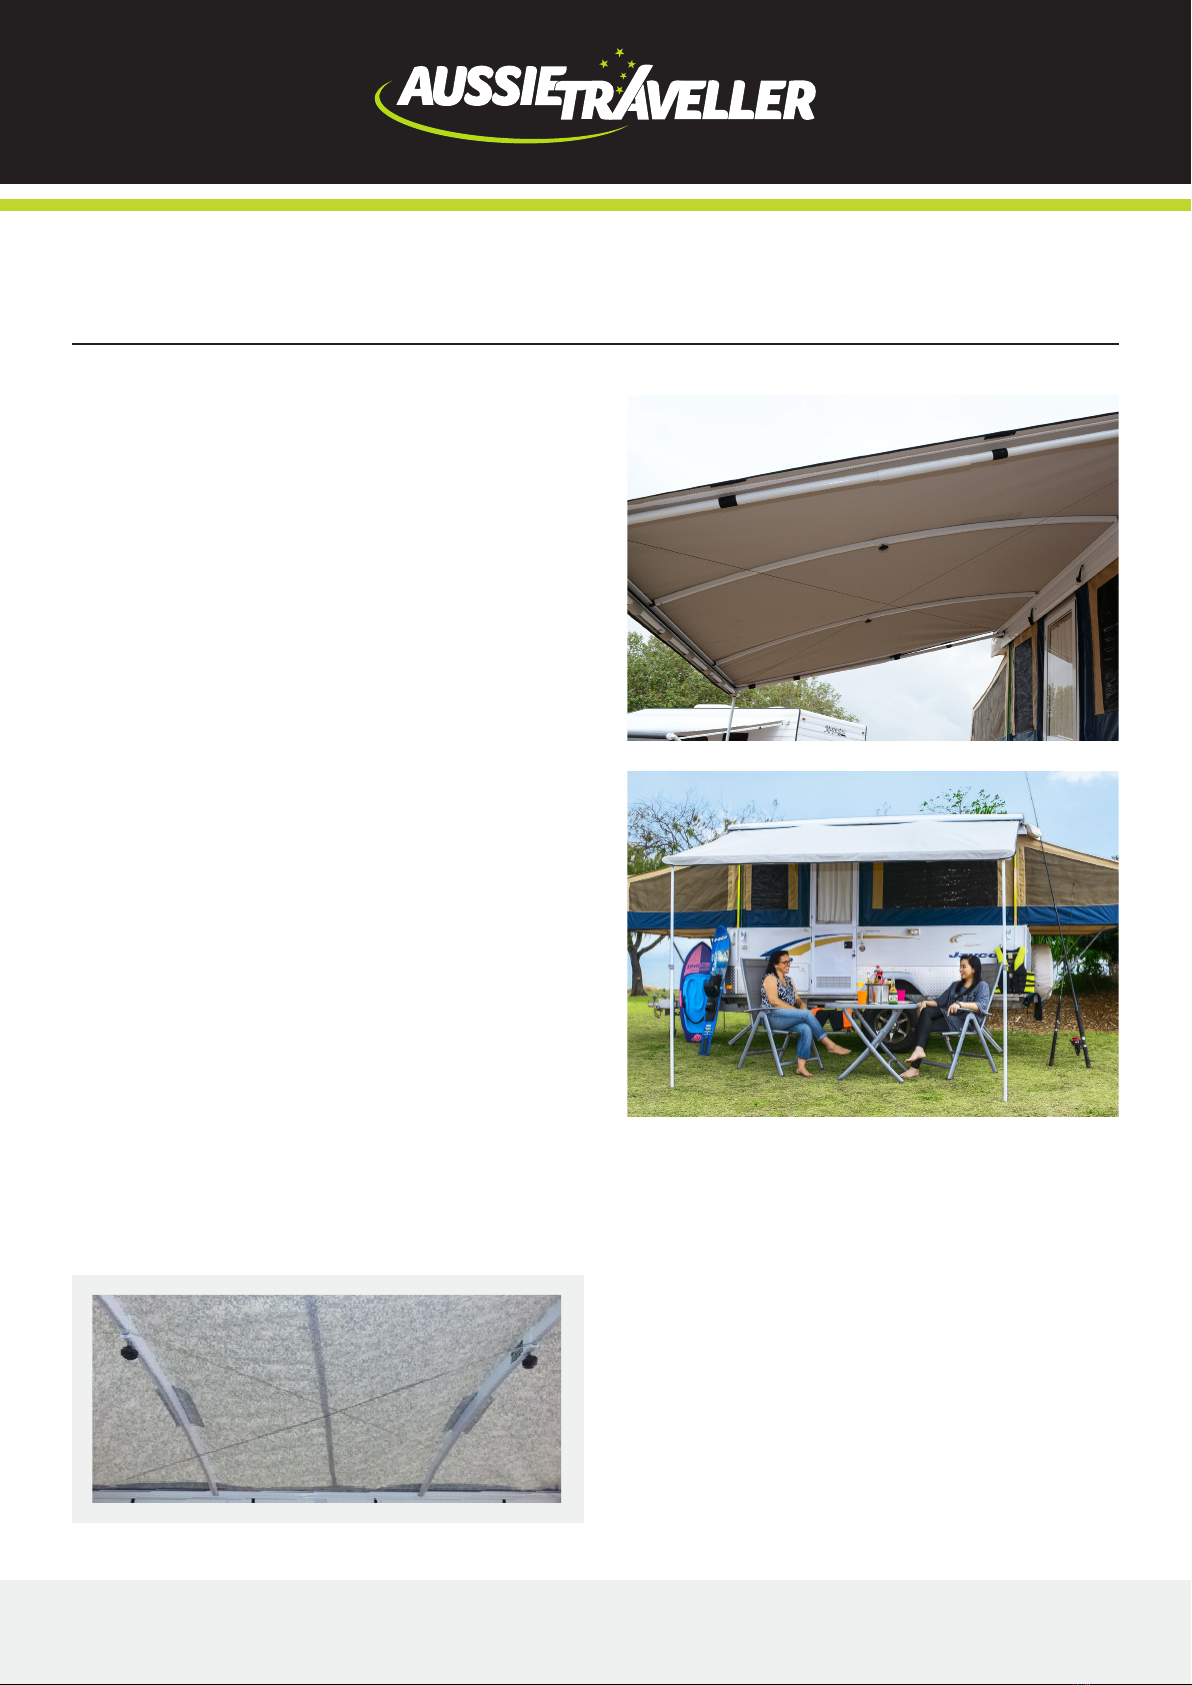
ROOF AND WALLS CANVAS
We recommend you erect and hose your Coolabah
awning roof and annexe walls prior to initial use. The
first time it is wet it may leak through the stitching
holes only. After being seasoned by soaking and
drying several times the stitching will take up the
space in the stitch hole and become completely
waterproof.
See further information on Canvas Care Card.
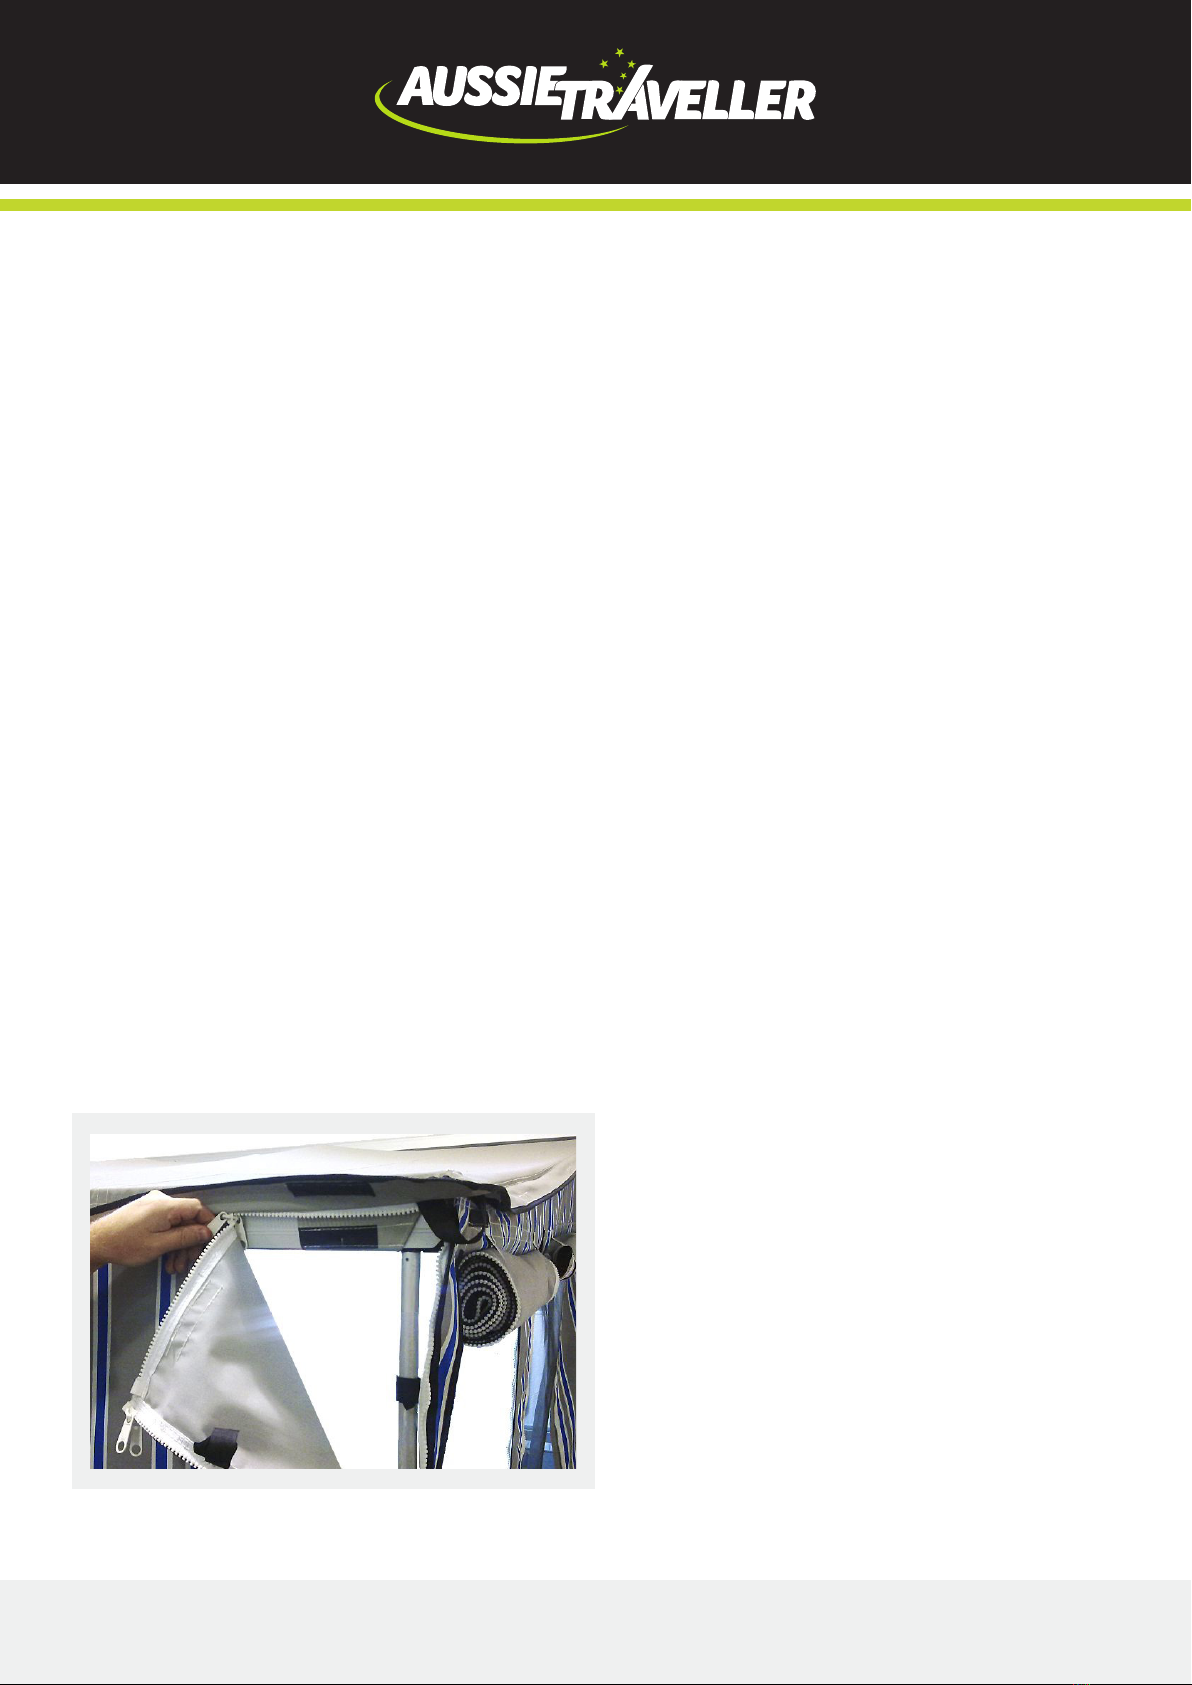
HINGE
These hinges are designed to bend one way only
and have been positioned to enable the arms to fold
back into the container. Care needs to be taken when
erecting, not to force the hinges. If the arm won’t
straighten to enable the sleeve to be engaged, lift
up the end of the arm at the outrigger and this will
automatically straighten the arm with no pressure on
the hinge.
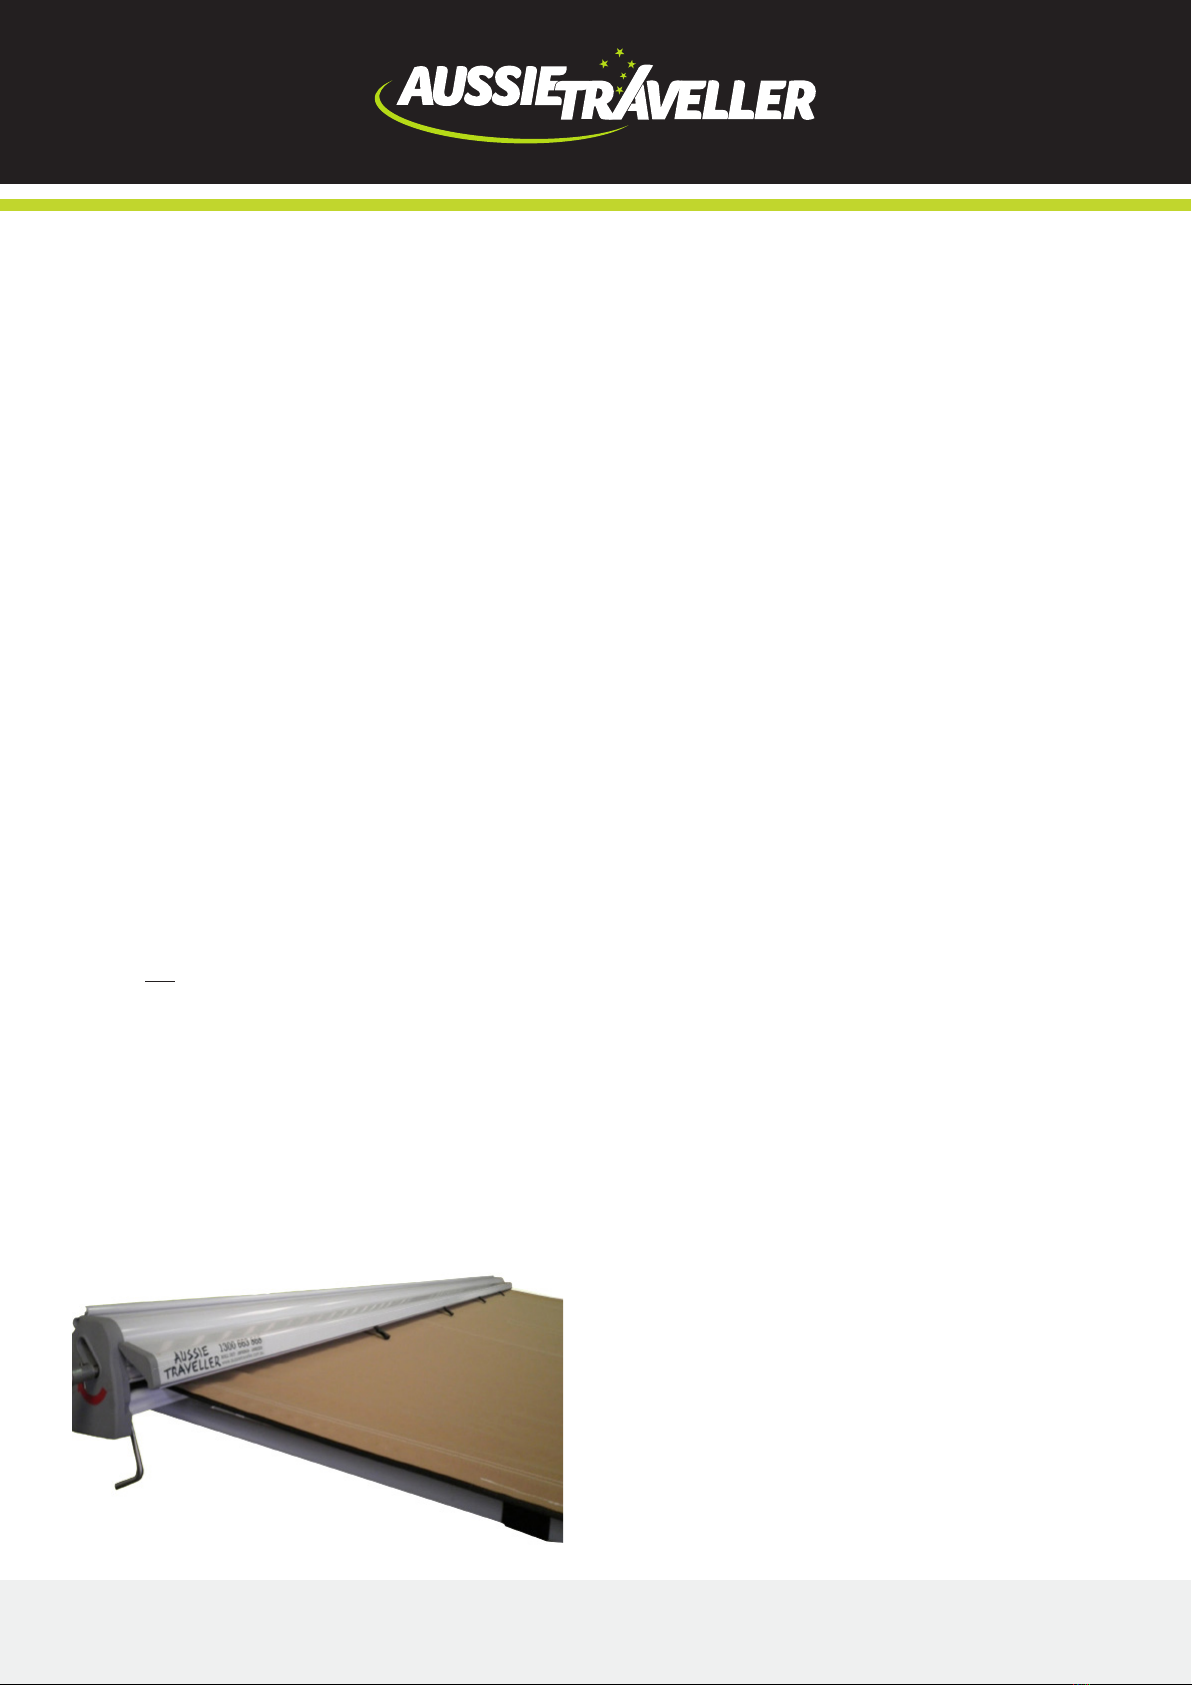
BRAKE HANDLE
Occasionally wind out the brake handle on the roller
(when roof is extended) and place a small amount of
petroleum jelly on the thread end.
NUTS & BOLTS
Check all regularly and tighten if loose.
WINGNUTS
Check and tighten wing nuts on collar clamps before
travelling.
ELASTIC CORD
The only function of this cord is to maintain tension on
and retract the stainless wires at the time the awning
is being folded away for travel. This tension is pre-set
in the factory but within 1-2 months of use, the outer
fabric on the elastic cord relaxes and allows the overall
tension to relax. It may be necessary at this time to
re-tighten this cord to maintain tension. Undo knot at
wire, tighten and re-knot.
If tension is not maintained on wires they may come
off the rollers and jam. The wires can be reset on the
rollers with the aid of a small screw driver.
HELPFUL HINTS FOR WINDING DOWN ROOF
Every now and then the canvas may stretch or shrink
and winding action may cause the roof roll back
unevenly. This generally results in one side of the
canvas end being longer that the other. To correct this
take the following steps:
• When the roof is approx. half rolled in check the
straightness of the roof in relation to the container
lip.
• If the end nearest the winder is longer than the
other end, push up on the winder handle so that
the roller shaft moves up the slot in the end of the
box. Then hold that position and continue to wind
into the container.
• If the end nearest the winder is shorter than the
other end, pull down on the winder handle so that
the roller shaft moves down the slot in the end of
the box. Then hold down and continue to wind into
the container.
• If you over compensate or under compensate it
may be necessary to partially or fully wind out the
roof and repeat the winding process.
• It is not recommended to try and adjust the roof
evenness by pulling on the canvas whilst rolling in.
• Where possible use winder in a clockwise
direction. The flexible spring section of the
winder has been designed to wind in a clockwise
direction. Heavy use in an anti-clockwise direction
may cause the spring to slip on the winder and
in some cases wind itself off the handle. If this
occurs the spring section can be refitted to the
winder handle simply by knocking on.