Australian massage group AMG-3800 User manual

Please save these instructions.
AMG-3800 Massage Chair
Operation Instructions
Australian Massage Group

Thank you for purchasing your AMG-3800 massage chair.
You have purchased a chair from Australia’s leading massage chair specialist!
This chair was designed to provide excellent relief from back pain, muscle fatigue and all
manners of stress.
Before operating your amazing new chair, please read this instruction manual carefully so
you can get the most out of your massage experience.
Please pay attention to the important safety warnings and keep this manual for future use.
CONTENTS
Safety and maintenance 02
Name and function of components 04
Functions05
Method of usage 06
Product specification 17

Safety and maintenance
1. IMPORTANT SAFETY WARNING
•Do not allow children to touch the moveable parts of this product.
•Please only use the grounding power supply included with this product.
•Please unplug the product when not in use, or before cleaning, to avoid injury or causing
damage to the product.
•Please operate this product according to this instruction manual.
•Do not use accessories not recommended by the manufacturer.
•This product is not suitable for outdoor use.
•Any other usage that is not listed in this instruction manual is forbidden.
•The recommended usage time of this product is 20 minutes.
•Please do not use the product if the seat cover or leather is broken or damaged.
•Please do not use it if any ventilation holes are covered or blocked.
•Please do not drop anything into this product.
•Always start with the massage function on a lower strength setting before increasing it, in
order to avoid injury.
2. Environment for usage
•Keep this product out of high temperature environments. Keep away from fire and long term
exposure to the sun.
•Please do not use it in a dusty or caustic environment.
•Please do not use it where there is limited space or poor ventilation.
3. People who are not suitable to use this product
•People who are suffering from osteoporosis are not recommended to use this product.
•People who are suffering from heart disease or carrying electronic medical equipment such
as a pacemaker are not recommended to use this product.
•Pregnant women or menstruating women are not recommended to use this product.
•People who have injuries or skin disease are not recommended to use this product.
•Children under the age of 14 or people with mental health issues or disabilities are not
recommended to use this machine without supervision.
•People diagnosed with medical conditions are not recommended to use this product.
•People who have come in contact with water or those who are wet are forbidden to use this
product.
4. Safety
•Check that the voltage is suitable to the specification of this product.
•Do not pull the plug with wet hands.
•Do not get this product wet or let it come into contact with water. This will avoid electric
shock and damage to the product.
•Do not use wet cloth or any wet material to clean the electric parts of this product such as
the switch and plug.
•Stay away from this product during power interruptions to avoid any injury if the power is
suddenly restored.
•If this product stops working correctly, please stop using it immediately. Contact the retailer.
•If you feel unwell, stop using the product and consult a doctor immediately.
Safety and maintenance
•This product is not intended for use by individuals, including children with reduced physical,
sensory and mental capabilities. This product is also not intended for individuals who lack
the knowledge or experience to use it, unless there is proper supervision or they have been
thoroughly instructed on how to use it.
•Children should be supervised around and while using the product.
•If the supply cord is damaged, it should be replaced by the manufacturer, its service agent or
similarly qualified persons in order to avoid hazards.
5. Maintenance
•Product maintenance should only be done by approved service agents. Refrain from
disassembling the product yourself.
•Always unplug the power cord after product use.
•Do not use this product if the socket is loose.
•If this product is not often used, fold the wires properly and store in a cool, dry and dustless
place.
•Keep this product out of high temperature environments. Keep away from fire and long term
exposure to the sun.
•If the detachable cord/supply cord is damaged, only use replacements from the
manufacturer, its service agent or similarly qualified individuals to avoid hazards.
•Use dry cloth to clean this product. Do not use flammable liquids such as thinner, benzene,
or alcohol to clean this product.
•The mechanical components of this product are specially designed and made, it is not
necessary to have it regularly serviced.
•To move this product on an uneven surface, it should be lifted. Do not pull or roll it.
•Please use this product intermittently; do not use it continuously for long periods of time.
6. Solutions to ordinary malfunctions
•It is normal to hear the sound of the motor when the massage chair is in use.
•If the controller does not work normally, please check if the plug and socket are connected
properly and make sure that the switch is turned on.
•If the set massage time is over, this product will automatically shut down. If this product is
continuously used for a long period of time, the temperature protector will automatically
shut down the power. When this happens, this product should be used only after 30 minutes
of rest.

Name and Function of Components
Functions
•The massage mechanism is a set of vertically movable, four-wheel driven, muted, intelligent
massage hands.
•Designed with emulation massage methods: shiatsu, kneading, flapping, knocking,
simultaneous kneading and flapping.
•Shoulder automatic detection and location setting.
•Set with six kinds of characterised auto massage functions: ache-improving, comfort, ease,
fast improving experience massage, upper body, and lower body.
•Memory setting on function M1 and M2.
•Manual massage for the upper body with three options: fixed, partial, and overall massage.
Five levels of speed adjustments in the state of flapping, shiatsu and knocking. The width
between the two kneading balls is adjustable in three levels: wide, medium and narrow. On
partial and fixed points, the massage hands can move up and down to adjust the massage
point accurately.
•Air pressure massage function has three modes: full body air pressure, arms (upper arm set
with 4 airbags, arm set with 8 airbags), and leg set with 16 airbags with three intensity
options.
•Leg rest is designed with roller massage function at the bottom of the foot, with two pairs of
papillae on toe root rotating massage; on the arch and heel mastoid skin scraping massage.
•Back heating function: carbon fiber infrared heat source to maintain temperatures of 40 ˚C
to 50˚C.
•Armrest side configuration blue LED colorful artistic lamp.
•Calf rest can extend to fit different body heights.
•Backrest frame uses down sliding technology to deviate from the wall by keeping zero space
to save the maximum space possible.
•Leg lifting adjustment, backrest frame lifting adjustment and automatic lay down mode
adjustment functions.
•L-shape back track fits the curves of the body.
•Zero gravity function.
Method of Usage
NOTE: This display refers to the actual remote control
Method of Usage
1. Switch power supply on
2. Start to massage
1) Press power button, massage chair automatically reclines and starts massage.
2) Automatic shoulder position and massage acupressure point detection, wait for the testing to be
completed.
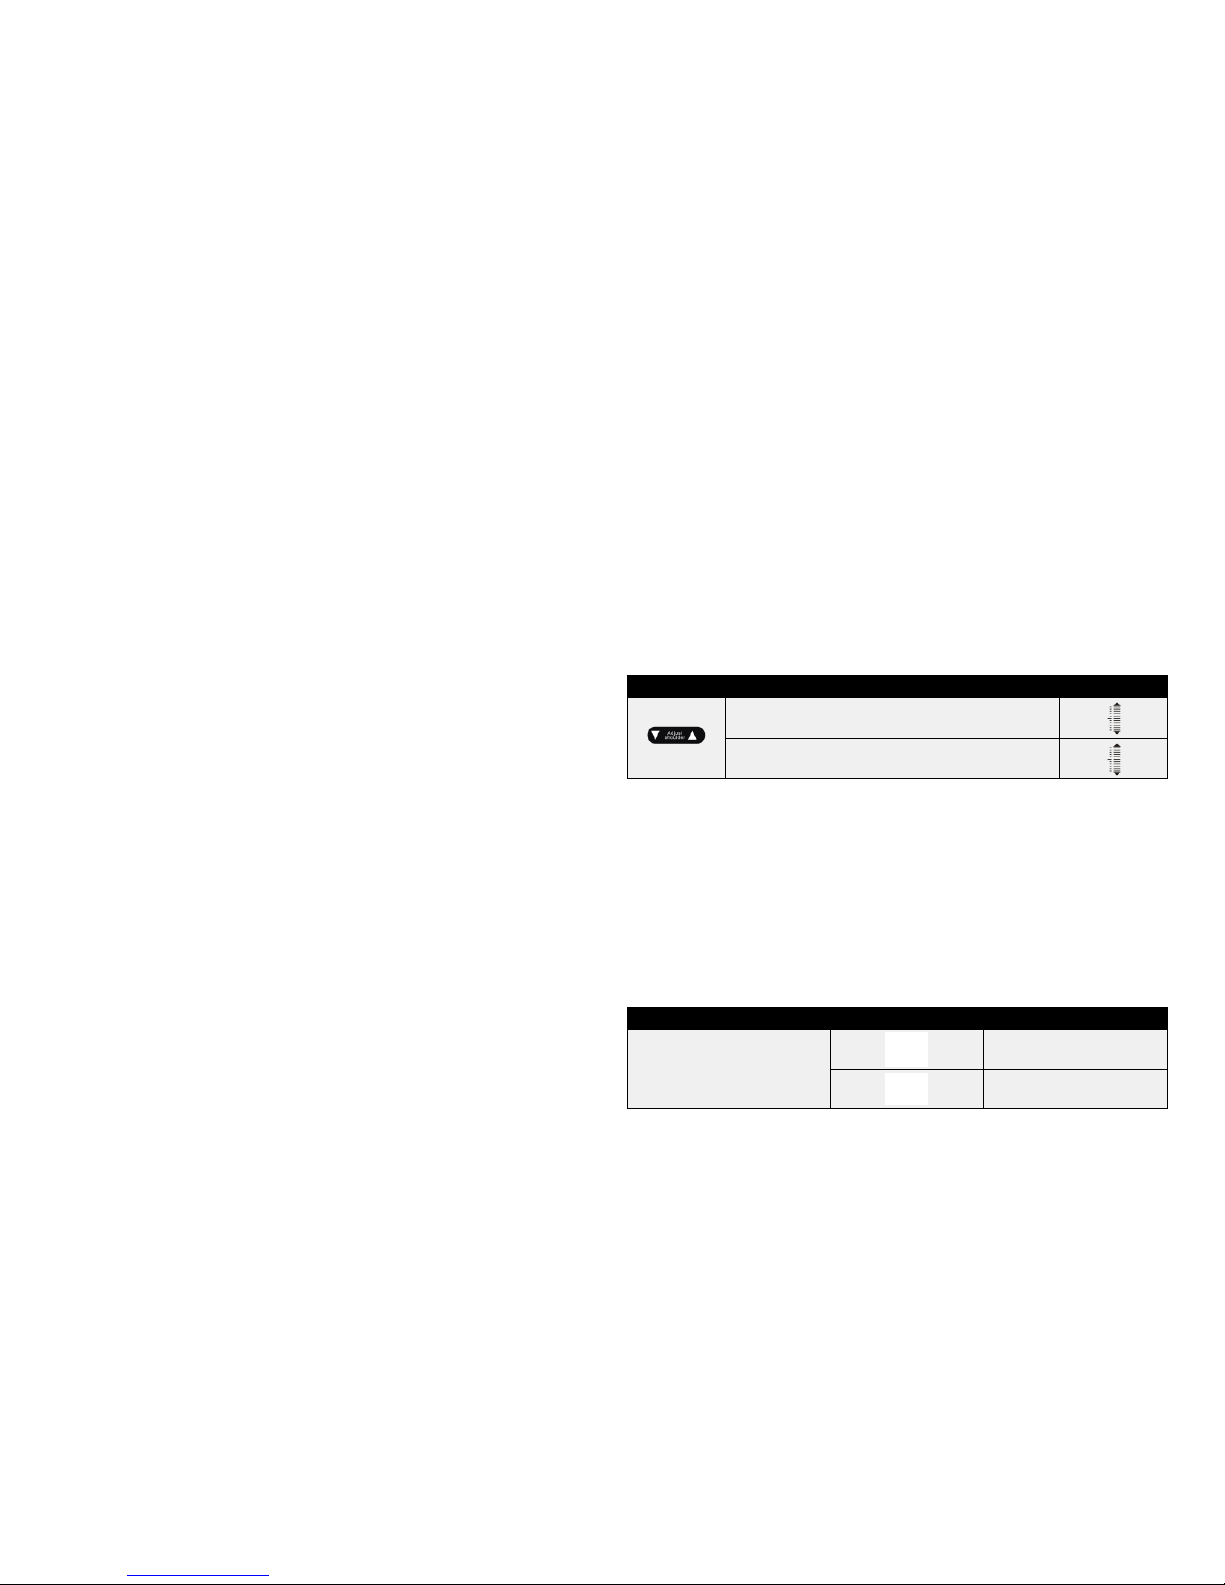
3) If there is a difference with the massage hands and the actual shoulder position, you can adjust the
up and down button to a suitable position. Shoulder position has 10 grade adjustments. It will run on
automatic massage if there is no adjustment on the shoulder position within 10 seconds.
Button Description Display
Move the massage hands upward to a suitable position
Move the massage hands downward to a suitable position
4) Choose massage function to massage
Memory function massage
Press the button “Upper body / M1” or “Lower body / M2” for 3 seconds, then enter into memory
massage function “M1” or “M2” to revert to the previous memory massage mode.
Function Button Display
Memory Massage
Memory
Memory

Method of Usage
•Characterised auto massage
Function Button Feature Display
Characterised
Auto
Massage
Deep massage on acupressure points to effectively alleviate pain
Auto F1
Loosens body physique Auto F2
Promotes blood circulation Auto F3
Quickly experience all massage effects (press 2S to switch to
speed press)
Auto F0
Massage focuses on upper body Auto F4
Massage focuses on lower body Auto F5
•Upper body manual massage and lower body manual massage
1) Upper body manual massage
Function Button Adjust Massage Ball Display
Technique
Speed and Width
Speed
Speed and Width
Speed
Speed and Width
Speed
Speed - Three Adjustable Grades
Width
Widths - Three Adjustable Grades
Method of Usage
Function Button Feature Display
Back Stretch
Fixed position (fixed point) massage back and forth
Small area (partial area) massage back and forth
Overall massage back and forth
Upper body massage back and forth
Lower body massage back and forth
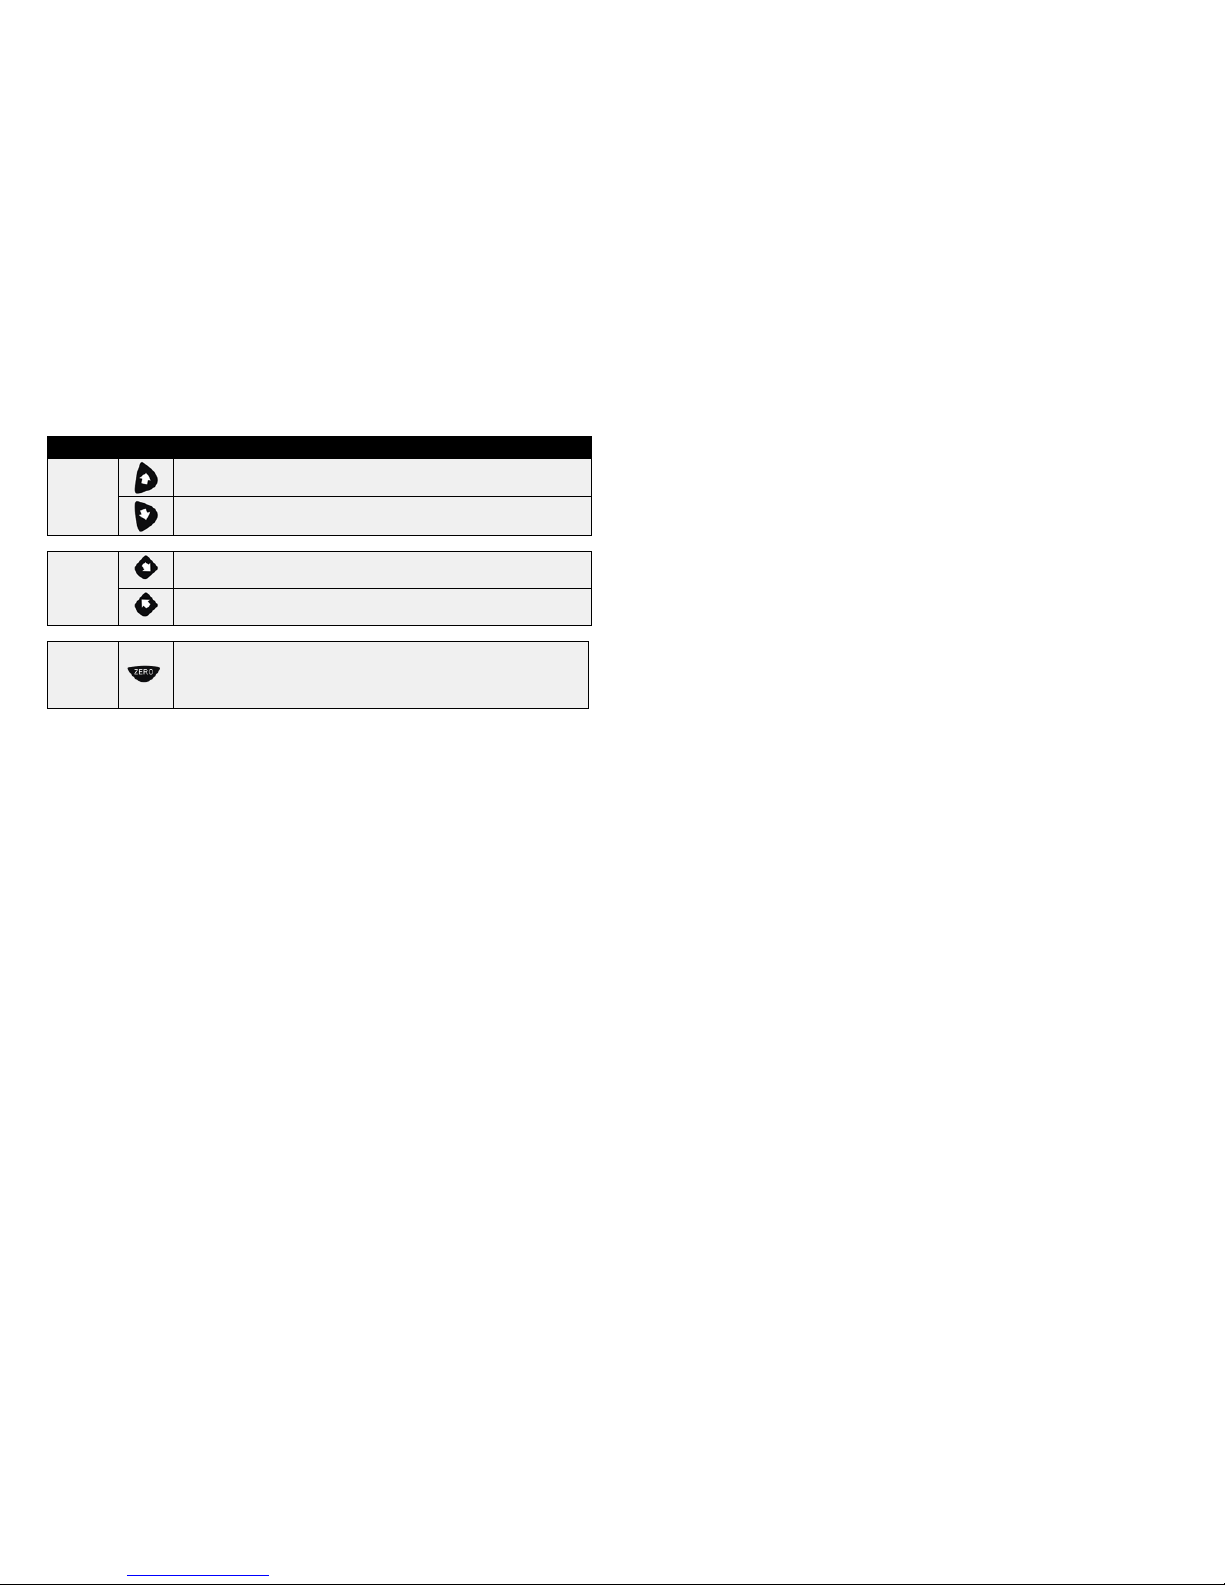
Massage point adjust (in fixed point and
in partial modes so you can adjust the
massage position)
Massage hand moves up
Massage hand moves down
•Air pressure function massage
Function Button Description Display
Air pressure mode
Three air pressure modes (full body, arm, and leg)
Intensity
Three grade adjustments
•Other manual functions
Function Button Description Display
Roller Sole Roller: Sole roller switch, with 3 speed levels available
Heating
Infrared back heating, feels warm after approximately 3
minutes. Temperatures range from 40 ˚C to 50˚C.
Method of Usage
•Other manual functions
Function Button Description
Calf rise
and drop
Calf Rest Lifting Button: Press this button, calf rest lifts slowly and stops when
released.
Calf Rest Decline Button: Press this button, calf rest declines slowly and stops
when released.
Backrest
rise and
drop
Backrest Lifting Button: Press this button, backrest lifts slowly and stops when
released.
Backrest Decline Button: Press this button, backrest declines slowly, stops
when released.
Auto lay
down
mode
Total of 3 automatic reclined positions. In startup mode, the chair will
automatically recline to a comfortable seated position. Pressing the button
once will further recline the chair. To achieve the zero gravity position, press
the button again.
3. Turn off power, stop massage
1) Pressing the power button during the massage will stop all functions, and the backrest and footrest
will return to its original position automatically. Meanwhile, you can set up the memory function. If the
rated working time finishes, the massage functions will turn off but the backrest and footrest won't
return to their original positions.
2) Memory Store Function: After the rated working time or product is switched off, the hand controller
displays "Memory", asking the user whether they would like to store the massage mode before turning
off the machine. You can press the memory function buttons “M1” or “M2” to store the massage mode.
3) Cut off the power of the whole machine.
Method of Usage
4. Armrest disassembly method
Note: This method is only used if you cannot easily move due to small space. Please do not arbitrarily
disassemble.
•Open the master box, take down the calf rest. (Figure 1)
•Remove the back cushion. Ensure the heat wire in the cushion is unplugged before removing.
(Figure 2)
•Zip the backrest kneading cloth open completely, and put the cloth on the top of the chair
(Note: Please remember to prevent the kneading cloth from getting dirty or damaged).
(Figure 3)
•The calf rest decoration cover is a card slot design; please make an effort to pull it when
disassembling. (Figure 4)
•Remove the 8 screws from the front dam-board, NOT the 4 screws on the bottom. (Figure 5)
•Open the front dam-board, unplug the joint of the air pipe and the power cord that
corresponds to the armrest. (Figure 6)

Method of Usage
•Remove the screw on the front-end of the armrest (Note: The screw is in the side of steel
frame). (Figure 7)
•Remove the screw on the front-end of the armrest (Note: Be careful not to miss the fixed
plastic block). (Figure 8)
•Remove the screw on the back-end of the armrest (Note: Zip the backrest kneading cloth
open completely to find it). (Figure 9)
•Gently lift up the front-end of the armrest and pull out the buckle. (Figure 10)
•Gently pull forward the back-end of the armrest to pull out the decoration cover, then lift up
the back-end of the armrest to pull out the buckle. (Figure 11)
•Unplug the joint of the upper armrest air pipe to remove the armrest completely. (Figure 12)
Method of Usage
5. Armrest installation method
•Connect the air pipe on the back-end of the armrest to the upper arm. (Figure 1)
•Put the air pipe and power cord into the steel frame (Note: Avoid getting the air pipe stuck).
(Figure 2)
•Hook the back-end of the armrest on the steel frame (Note: There are two; place it on the
upper one). (Figure 3)
•Insert the back-end of the armrest into the decoration cover of the upper arm. (Figure 4)
•Hook the front-end of the armrest on the steel frame and lock the buckle. (Figure 5)
•Gently push the armrest down, and double check that the hook is well locked. (Figure 6)
•Put the plastic block between the armrest and the calf rest pothook, then tighten the up and
down screws. (Figure 7)
•Tighten the screws on the back-end of the armrest. (Figure 8)

Method of Usage
•Connect the joint of the air pipe and power cord (Note: There are marks on the air pipe and
the cable connectors are different sizes). (Figure 9)
•Pull the calf rest air pipe and power cord through the hole of the front dam-board, then
tighten the screws of the dam-board. (Figure 10)
•Zip up the backrest kneading cloth. (Figure 11)
•Plug the heat plug of the back cushion into the heat hole on the backrest, and put the back
cushion tidily on the backrest. (Figure 12)
•The calf rest decoration cover is a card slot design, make an effort to push it during assembly
(Note: Keep the cover tight with the side), armrest installation is completed. (Figure 13)
Method of Usage
6. Calf installation
•Install the rotating shaft in-calf with the fixed axis first. Note: The hole should be aligned with
an R shape pin assembly. (Chart 1)
•After calf is connected and aligned with the fixed axis, insert it. (Chart 2)
•Plug in the R pin, then move to the other side of the calf, and plug in the next R pin. (Chart 3)
•Finished. (Chart 4)
NOTE:
•While the machine is reclining, do not apply your body weight to the calf rest. (Chart 1)
•When going to sit down, ensure that the massage hands are not in the seat area to avoid
discomfort. (Chart 2)

Method of Usage
7. How to use the pillow and backrest cushion
Using pillows can reduce the kneading massage intensity on the shoulder and neck. You decide whether
the pillow pad is needed according to your preference (recommended). The backrest cushion and
backrest are connected by zipper (1), head cushion and backrest pad are connected by thread gluing (2).
8. Floor protection
Putting the heavy massage chair on a wooden floor for an extended period may damage the floor, so
please place a carpet or other flooring material to avoid this damage.
Caution: Do not move the chairs with its wheels on the wooden floor, on rough ground or in a narrow
space. Two people are required to lift the chair. Please do not lift armrest directly.
Method of Usage
9. Method of movement
Make sure that all wires are not on the ground. Tilt the backrest backward to a certain degree (with the
gravity centre resting on the wheels), push the chair forward or backward with your hands and finally
place the chair back in its normal position in a slow and gentle manner.
Note: Be sure to turn off the power switch first and then unplug the power line and hand controller
connecting line before moving the chair.
Product Specification
Model: AMG-3800
Name: Massage Chair
Rated voltage: 220 – 240V ~ 50 Hz/60 Hz
Rated power input: 150W
Rated time: 20 Min
Safety structure: Class I
Material introduction: PVC, PA, steel parts and electric and electronic parts
MATERIAL PU LEATHER CLOTH WOOD
Table of contents
Other Australian massage group Massager manuals


