manuals.online logo
Brands
  1. Home
  2. •
  3. Brands
  4. •
  5. AUSTRALIAN MONITOR
  6. •
  7. Microphone
  8. •
  9. AUSTRALIAN MONITOR AMSLIMG User manual

AUSTRALIAN MONITOR AMSLIMG User manual

INSTRUCTION MANUAL
AMSLIMG
Gooseneck Microphone
Thank you for purchasing this quality Australian Monitor product.
The AMSLIMG gooseneck microphone provides a cost-effective microphone solution
suitable for presentations. The cardioid electret condenser capsule provides high
sensitivity pickup, while the included isolation shock mount ensures mechanical and
room rumble noise is kept to a minimum.
This gooseneck microphone is highly recommended for conference rooms,
board rooms, meeting rooms, houses of worship, school halls and many
other presentation applications.
What’s in the box?
1 x AMSLIMG Gooseneck Microphone
1 x Isolated shock mount
3 x Self tapping screws for
shock mount installation
1 x Windsock
The instruction manual
you are now reading
Features
Tailored for Voice reproduction
High Sensitivity
Discreet unobtrusive slim design
RF Shielded
Power LED
Phantom Power 9 – 52 V
1. Read these instructions.
2. Keep these instructions.
3. Heed all warnings.
4. Follow all instructions.
5. Do not use this apparatus near water.
6. Clean only with dry cloth.
7. Do not block any ventilation openings. Install in accordance
with the manufacturer’s instructions.
8. Do not install near any heat sources such as radiators, heat
registers, stoves, or other apparatus (including amplifiers)
that produce heat.
9. Do not defeat the safety purpose of the polarized or grounding-
type plug. A polarized plug has two blades with one wider than
the other. A grounding type plug has two blades and a third
grounding prong. The wide blade or the third prong are provided
for your safety. If the provided plug does not fit into your outlet,
consult an electrician for replacement of the obsolete outlet.
10. Protect the power cord from being walked on or pinched
particularly at plugs, convenience receptacles, and the point
where they exit from the apparatus.
11. Only use attachments/accessories specified by the manufacturer.
12. Use only with the cart, stand, tripod, bracket, or
table
specified by the manufacturer, or sold with the
apparatus.
When a cart is used, use caution when
moving the cart/apparatus combination to avoid
injury from tip-over.
13. Unplug this apparatus during lightning storms or when unused
for long periods of time.
14. Refer all servicing to qualified service personnel. Servicing is
required when the apparatus has been damaged in any way,
such as power-supply cord or plug is damaged, liquid has been
spilled or objects have fallen into the apparatus, the apparatus
has been exposed to rain or moisture, does not operate normally,
or has been dropped.
15. This appliance shall not be exposed to dripping or splashing
water and that no object filled with liquid such as vases shall
be placed on the apparatus.
16. Plug this apparatus to the proper wall outlet and make the plug
to be disconnected readily operable.
17. Mains plug is used as disconnected device and it should remain
readily operable during intended use. In order to disconnect the
apparatus from the mains completely, the mains plug should be
disconnected from the mains socket outlet completely.
18. Warning: To reduce the risk of fire or electric shock, do not
expose this apparatus to rain or moisture.
19. An appliance with a protective earth terminal should be
connected to a mains outlet with a protective earth connection.
20. The apparatus should be disconnected from the mains
completely before speaker wiring. The speaker output should
be proper protected from direct contact and pay attention to
speaker connections, terminals and speaker wiring during
normal operation.
IMPORTANT SAFETY INFORMATION
WARNING!
TO PREVENT FIRE OR SHOCK HAZARD, DO NOT USE THE PLUG WITH AN EXTENSION CORD, RECEPTACLE
OR OTHER OUTLET UNLESS THE BLADES CAN BE FULLY INSERTED TO PREVENT BLADE EXPOSURE.
TO REDUCE THE RISK OF FIRE OR ELECTRIC SHOCK, DO NOT EXPOSETHIS APPLIANCE TO RAIN OR MOISTURE.
TO PREVENT ELECTRICAL SHOCK, MATCH WIDE BLADE PLUG TO WIDE SLOT & FULLY INSERT.
CAUTION
THESE SERVICING INSTRUCTIONS ARE FOR USE BY QUALIFIED SERVICE PERSONNEL ONLY.
TO REDUCE THE RISK OF ELECTRIC SHOCK DO NOT PERFORM ANY SERVICING OTHER THAN THAT CONTAINED
IN THE OPERATING INSTRUCTIONS UNLESS YOU ARE QUALIFIED TO DO SO.
CAUTION
RISK OF ELECTRIC SHOCK
DO NOT OPEN
The lightning flash with
arrowhead symbol, within an
equilateral triangle, is intended to
alert the user to the presence of
uninsulated “dangerous voltage”
within the product’s enclosure
that may be of sufficient
magnitude to constitute a risk
of electric shock to persons.
WARNING:
TO REDUCE THE RISK OF
ELECTRIC SHOCK, DO NOT
REMOVE COVER (OR BACK).
NO USER SERVICEABLE PARTS
INSIDE. REFER SERVICING
TO QUALIFIED SERVICE
PERSONNEL.
The exclamation point
within an equilateral
triangle is intended to alert
the user to the presence of
important operating and
maintenance (servicing)
instructions in the literature
accompanying the
appliance.
For European Union countries: This symbol on the
product or its packaging indicates that this product must
not be disposed of with other waste.
Instead, it is your responsibility to dispose of your waste
equipment by handing it over to a designated collection point
for the recycling of waste electrical and electronic equipment.
Please contact your local authority for further details
of your nearest designated collection point.
ENGINEERED BY AUSTRALIAN MONITOR
Address: 1 Clyde St, Silverwater NSW 2128 Australia.
Website: www.australianmonitor.com.au
International enquiries email: international@australianmonitor.com.au
ABN 35 007 573 417
Rating plate and caution marking are marked on the back enclosure of the apparatus

[email protected]
www.wes.net.au
450mm [18in]
Ø8mm
[0.31in]
Ø19mm
[0.75in]
Ø20mm
[0.79in]
Ø8mm
[0.31in]
98.5mm
[3.88in]
81mm
[3.19in]
74mm
[2.91in]
98mm
[3.86in]
Ø6mm
[0.24in]
13.03mm
[0.51in]
Ø7.3mm
[0.29in]
( ªø«× 162±3mm)
The shock mount is designed to be flush mounted and provides isolation to reduce room
rumble and mechanical noises from being amplified.
Installing AMSLIMG into the Shock Mount
1To install the AMSLIMG into the Shock Mount unscrew
the bottom plastic screw collar.
2Slide the AMSLIMG body into the Shock Mount.
3Re-install the bottom plastic screw collar until snug.
Be careful not to cross thread or crack the plastic screw
collar.
4Insert a female 3-pin XLR connector into the microphone
base.
5Phantom power is required for the AMSLIMG to operate.
To avoid possible loudspeaker damage ensure the PA
system is muted first before you enable phantom power.
Once phantom power is enabled the LED located on the
body of the AMSLIMG will illuminate.
Installing the shock Mount
1Choose a suitable flat surface to install the shock mount.
2Using a hole saw cut a 51mm (2inch) diameter hole
through the mounting surface
3Slide the shock mount into the freshly cut hole and mark
the location of the three screw holes using a marker or
punch.
4Using a 3.0mm drill pre-drill three pilot holes.
5Insert the shock mount into the hole again and fasten
down the shock mount with the 3 screws provided.
PAGE 2 PAGE 3AMSLIMG GOOSENECK MICROPHONE INSTRUCTION MANUAL
INSTALLING SHOCK MOUNT & AMSLIMG MICROPHONE
DIMENSIONS
TYPICAL POLAR PATTERNS
TYPICAL FREQUENCY RESPONSE
Specifications
Transducer Type Electret condenser Ø 6mm
Polar Pattern Cardioid
Frequency Response 50Hz – 16Khz
Sensitivity 11.2 mV/Pa -39 dBV
Electrical Impedance 200 Ω
Min. Load Impedance 1000Ω
Equivalent Noise Output 26 dB
Max. SPL 130dB @ 1% THD
Phantom Power V 9 – 52 V DC
Current Draw 3.0 mA
Finish Matte Black
Connection Balanced 3 pin XLR Male Pin 2 +, Pin 3 –, Pin 1 shield
Operating Temp -10°C – 50°C 95% humidity max.
Dimensions 450 mm Length
Net Weight 160g
Included Accessories Isolation shock mount, windsock
[email protected]
www.wes.net.au
INSTRUCTION MANUAL
AMSLIMG
Gooseneck Microphone
Thank you for purchasing this quality Australian Monitor product.
The AMSLIMG gooseneck microphone provides a cost-effective microphone solution
suitable for presentations. The cardioid electret condenser capsule provides high
sensitivity pickup, while the included isolation shock mount ensures mechanical and
room rumble noise is kept to a minimum.
This gooseneck microphone is highly recommended for conference rooms,
board rooms, meeting rooms, houses of worship, school halls and many
other presentation applications.
What’s in the box?
1 x AMSLIMG Gooseneck Microphone
1 x Isolated shock mount
3 x Self tapping screws for
shock mount installation
1 x Windsock
The instruction manual
you are now reading
Features
Tailored for Voice reproduction
High Sensitivity
Discreet unobtrusive slim design
RF Shielded
Power LED
Phantom Power 9 – 52 V
1. Read these instructions.
2. Keep these instructions.
3. Heed all warnings.
4. Follow all instructions.
5. Do not use this apparatus near water.
6. Clean only with dry cloth.
7. Do not block any ventilation openings. Install in accordance
with the manufacturer’s instructions.
8. Do not install near any heat sources such as radiators, heat
registers, stoves, or other apparatus (including amplifiers)
that produce heat.
9. Do not defeat the safety purpose of the polarized or grounding-
type plug. A polarized plug has two blades with one wider than
the other. A grounding type plug has two blades and a third
grounding prong. The wide blade or the third prong are provided
for your safety. If the provided plug does not fit into your outlet,
consult an electrician for replacement of the obsolete outlet.
10. Protect the power cord from being walked on or pinched
particularly at plugs, convenience receptacles, and the point
where they exit from the apparatus.
11. Only use attachments/accessories specified by the manufacturer.
12. Use only with the cart, stand, tripod, bracket, or
table
specified by the manufacturer, or sold with the
apparatus.
When a cart is used, use caution when
moving the cart/apparatus combination to avoid
injury from tip-over.
13. Unplug this apparatus during lightning storms or when unused
for long periods of time.
14. Refer all servicing to qualified service personnel. Servicing is
required when the apparatus has been damaged in any way,
such as power-supply cord or plug is damaged, liquid has been
spilled or objects have fallen into the apparatus, the apparatus
has been exposed to rain or moisture, does not operate normally,
or has been dropped.
15. This appliance shall not be exposed to dripping or splashing
water and that no object filled with liquid such as vases shall
be placed on the apparatus.
16. Plug this apparatus to the proper wall outlet and make the plug
to be disconnected readily operable.
17. Mains plug is used as disconnected device and it should remain
readily operable during intended use. In order to disconnect the
apparatus from the mains completely, the mains plug should be
disconnected from the mains socket outlet completely.
18. Warning: To reduce the risk of fire or electric shock, do not
expose this apparatus to rain or moisture.
19. An appliance with a protective earth terminal should be
connected to a mains outlet with a protective earth connection.
20. The apparatus should be disconnected from the mains
completely before speaker wiring. The speaker output should
be proper protected from direct contact and pay attention to
speaker connections, terminals and speaker wiring during
normal operation.
IMPORTANT SAFETY INFORMATION
WARNING!
TO PREVENT FIRE OR SHOCK HAZARD, DO NOT USE THE PLUG WITH AN EXTENSION CORD, RECEPTACLE
OR OTHER OUTLET UNLESS THE BLADES CAN BE FULLY INSERTED TO PREVENT BLADE EXPOSURE.
TO REDUCE THE RISK OF FIRE OR ELECTRIC SHOCK, DO NOT EXPOSETHIS APPLIANCE TO RAIN OR MOISTURE.
TO PREVENT ELECTRICAL SHOCK, MATCH WIDE BLADE PLUG TO WIDE SLOT & FULLY INSERT.
CAUTION
THESE SERVICING INSTRUCTIONS ARE FOR USE BY QUALIFIED SERVICE PERSONNEL ONLY.
TO REDUCE THE RISK OF ELECTRIC SHOCK DO NOT PERFORM ANY SERVICING OTHER THAN THAT CONTAINED
IN THE OPERATING INSTRUCTIONS UNLESS YOU ARE QUALIFIED TO DO SO.
CAUTION
RISK OF ELECTRIC SHOCK
DO NOT OPEN
The lightning flash with
arrowhead symbol, within an
equilateral triangle, is intended to
alert the user to the presence of
uninsulated “dangerous voltage”
within the product’s enclosure
that may be of sufficient
magnitude to constitute a risk
of electric shock to persons.
WARNING:
TO REDUCE THE RISK OF
ELECTRIC SHOCK, DO NOT
REMOVE COVER (OR BACK).
NO USER SERVICEABLE PARTS
INSIDE. REFER SERVICING
TO QUALIFIED SERVICE
PERSONNEL.
The exclamation point
within an equilateral
triangle is intended to alert
the user to the presence of
important operating and
maintenance (servicing)
instructions in the literature
accompanying the
appliance.
For European Union countries: This symbol on the
product or its packaging indicates that this product must
not be disposed of with other waste.
Instead, it is your responsibility to dispose of your waste
equipment by handing it over to a designated collection point
for the recycling of waste electrical and electronic equipment.
Please contact your local authority for further details
of your nearest designated collection point.
Rating plate and caution marking are marked on the back enclosure of the apparatus
[email protected]
www.wes.net.au

Other AUSTRALIAN MONITOR Microphone manuals

AUSTRALIAN MONITOR ICON-3 User manual

AUSTRALIAN MONITOR

AUSTRALIAN MONITOR ICON-3 User manual

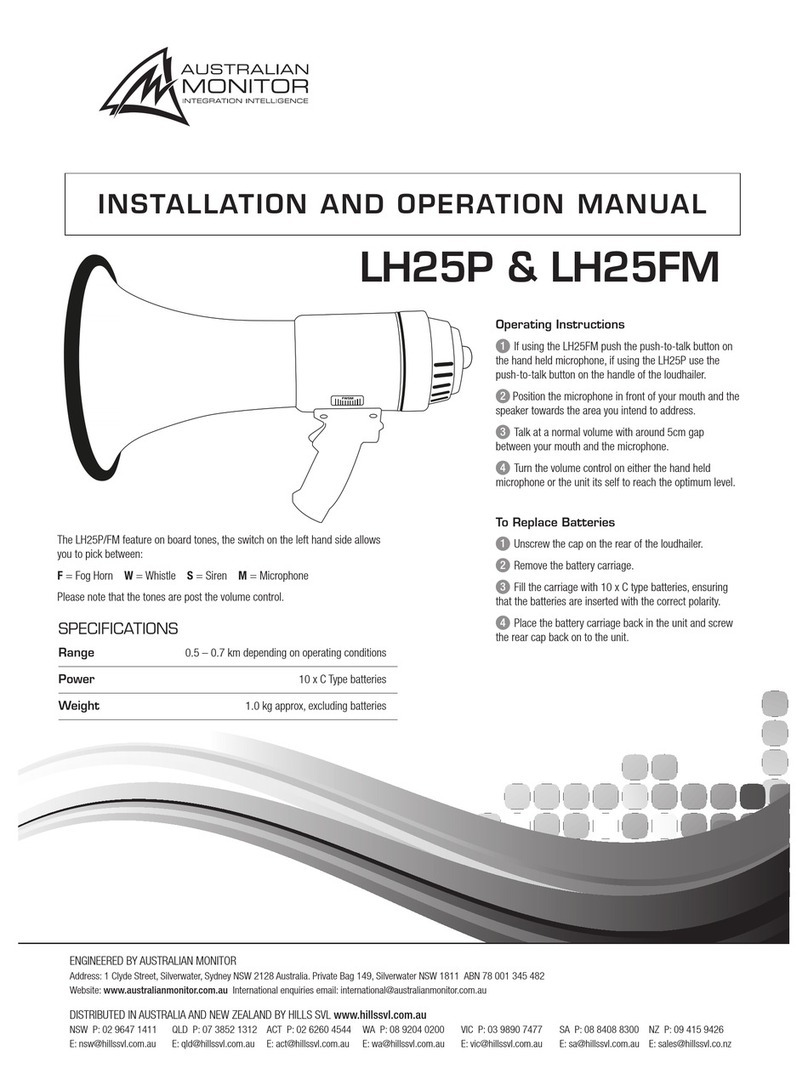
AUSTRALIAN MONITOR LH25P User manual

AUSTRALIAN MONITOR

AUSTRALIAN MONITOR LH25P User manual

AUSTRALIAN MONITOR AMHEAVYG User manual

AUSTRALIAN MONITOR

AUSTRALIAN MONITOR AMHEAVYG User manual

AUSTRALIAN MONITOR IMFOB User manual

AUSTRALIAN MONITOR

AUSTRALIAN MONITOR IMFOB User manual

AUSTRALIAN MONITOR AMHEAVYG User manual

AUSTRALIAN MONITOR

AUSTRALIAN MONITOR AMHEAVYG User manual

AUSTRALIAN MONITOR IMGC450 User manual

AUSTRALIAN MONITOR

AUSTRALIAN MONITOR IMGC450 User manual

AUSTRALIAN MONITOR DIGIPAGE DP8M Operating and installation instructions

AUSTRALIAN MONITOR

AUSTRALIAN MONITOR DIGIPAGE DP8M Operating and installation instructions

AUSTRALIAN MONITOR IMGC450 User manual

AUSTRALIAN MONITOR

AUSTRALIAN MONITOR IMGC450 User manual

AUSTRALIAN MONITOR PMD1 User manual

AUSTRALIAN MONITOR

AUSTRALIAN MONITOR PMD1 User manual

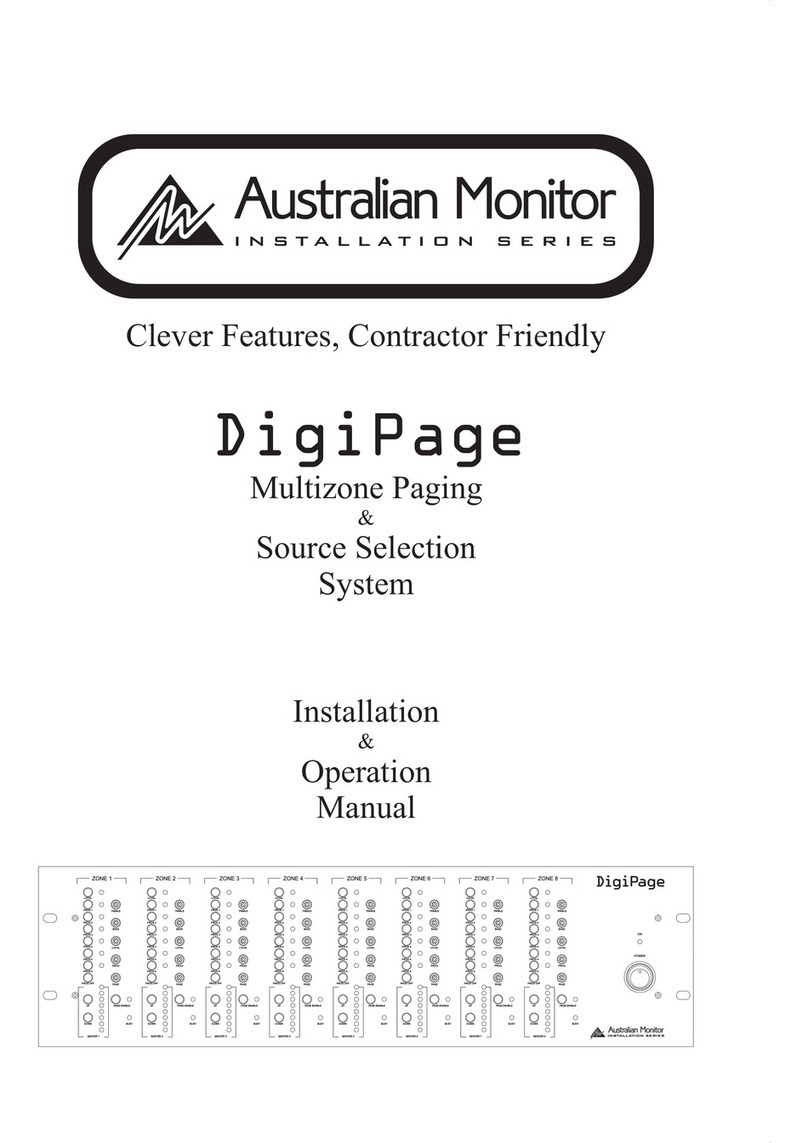
AUSTRALIAN MONITOR DigiPage User manual

AUSTRALIAN MONITOR

AUSTRALIAN MONITOR DigiPage User manual

AUSTRALIAN MONITOR DigiPage User manual

AUSTRALIAN MONITOR

AUSTRALIAN MONITOR DigiPage User manual

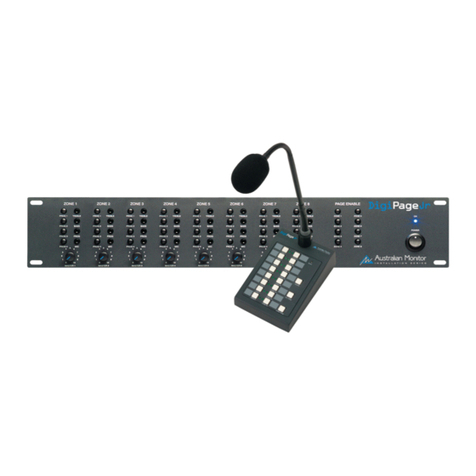
AUSTRALIAN MONITOR Digipage JR User manual

AUSTRALIAN MONITOR

AUSTRALIAN MONITOR Digipage JR User manual

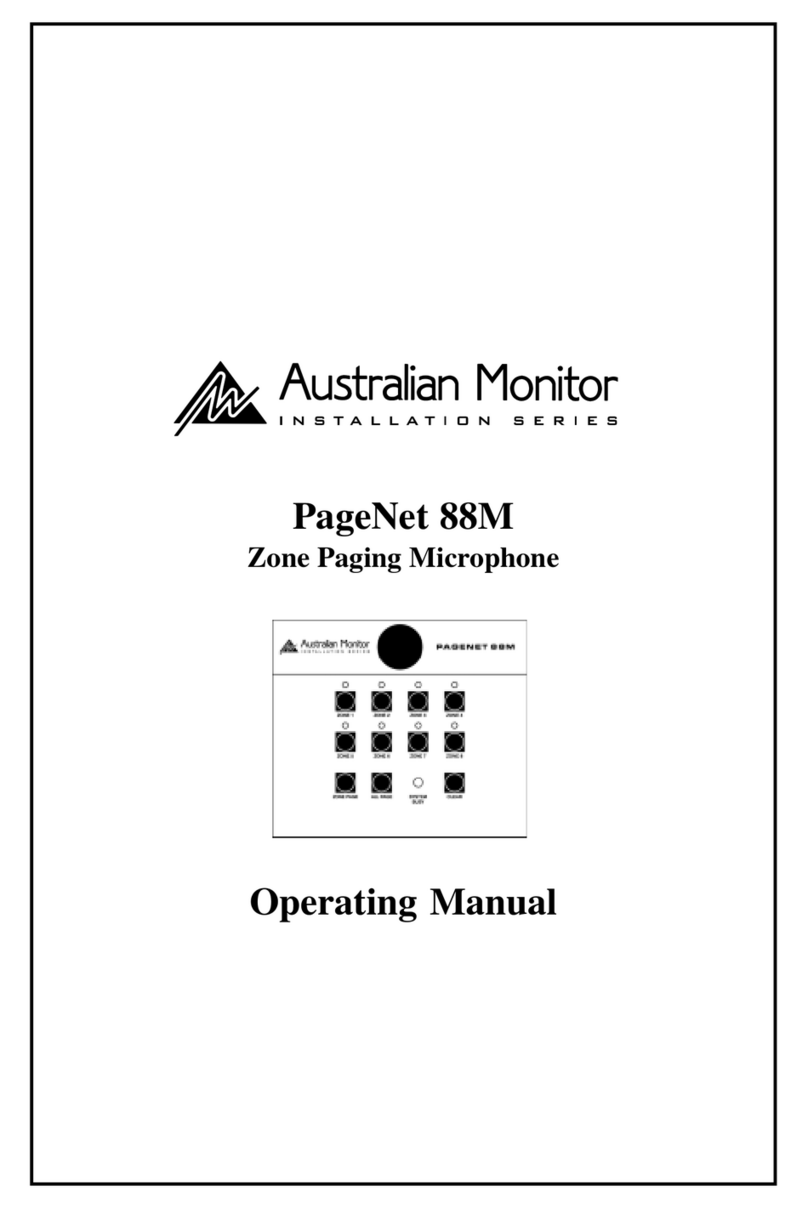
AUSTRALIAN MONITOR PAGENET 88M User manual

AUSTRALIAN MONITOR

AUSTRALIAN MONITOR PAGENET 88M User manual

Popular Microphone manuals by other brands

Nady Systems DM 70 quick start guide

Nady Systems

Nady Systems DM 70 quick start guide

Sennheiser Evolution E 604 Instructions for use

Sennheiser

Sennheiser Evolution E 604 Instructions for use

Shopkins 070 quick start guide

Shopkins

Shopkins 070 quick start guide

Nady Audio CM-60 user guide

Nady Audio

Nady Audio CM-60 user guide

Toa WM-5225 instruction manual

Toa

Toa WM-5225 instruction manual

PURPLE PANDA USB-C Lavalier Mic Kit user guide

PURPLE PANDA

PURPLE PANDA USB-C Lavalier Mic Kit user guide

IMG STAGE LINE ECM-170 operating instructions

IMG STAGE LINE

IMG STAGE LINE ECM-170 operating instructions

IMG STAGE LINE 25.5400 instruction manual

IMG STAGE LINE

IMG STAGE LINE 25.5400 instruction manual

Digital Life ME1 Operating	 instruction

Digital Life

Digital Life ME1 Operating instruction

Sound Sation TG100 quick start guide

Sound Sation

Sound Sation TG100 quick start guide

Master&Dynamic MM800 BOOM MIC user manual

Master&Dynamic

Master&Dynamic MM800 BOOM MIC user manual

Speed Link VOLITY user guide

Speed Link

Speed Link VOLITY user guide

J-TECH SmartCall IQ user manual

J-TECH

J-TECH SmartCall IQ user manual

Phonic Ear AT0655 user guide

Phonic Ear

Phonic Ear AT0655 user guide

Samson Meteor Mic owner's manual

Samson

Samson Meteor Mic owner's manual

Earthworks Audio P30 user guide

Earthworks Audio

Earthworks Audio P30 user guide

AKG C 4000 B User instructions

AKG

AKG C 4000 B User instructions

Peavey ASM-2 Specifications

Peavey

Peavey ASM-2 Specifications

manuals.online logo
manuals.online logoBrands
  • About & Mission
  • Contact us
  • Privacy Policy
  • Terms and Conditions

Copyright 2025 Manuals.Online. All Rights Reserved.