Stadium SYDNEY User manual
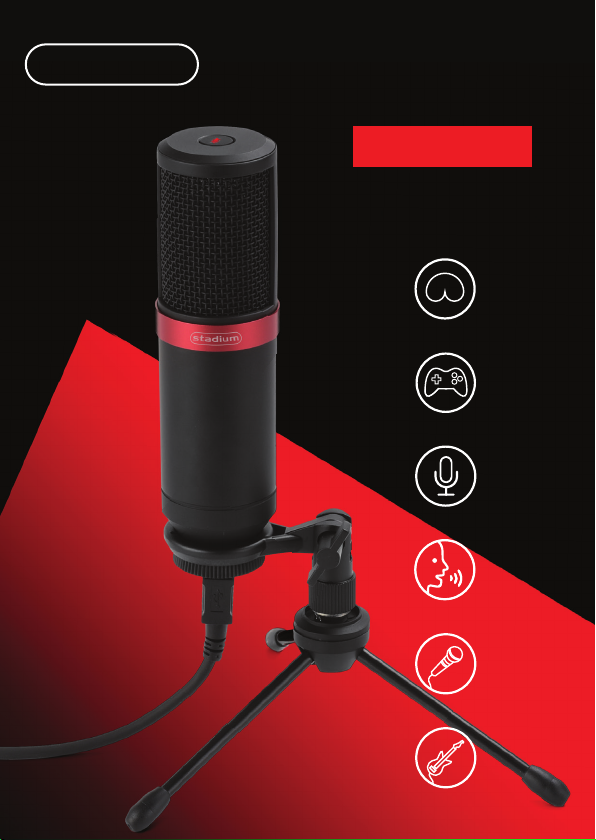
USB
MICROPHONE
USER GUIDE
stadium
SYDNEY
PODCAST
GAMING
VOCAL
MUSIC
CARDIOID PATTERN
VOICE OVERS
2
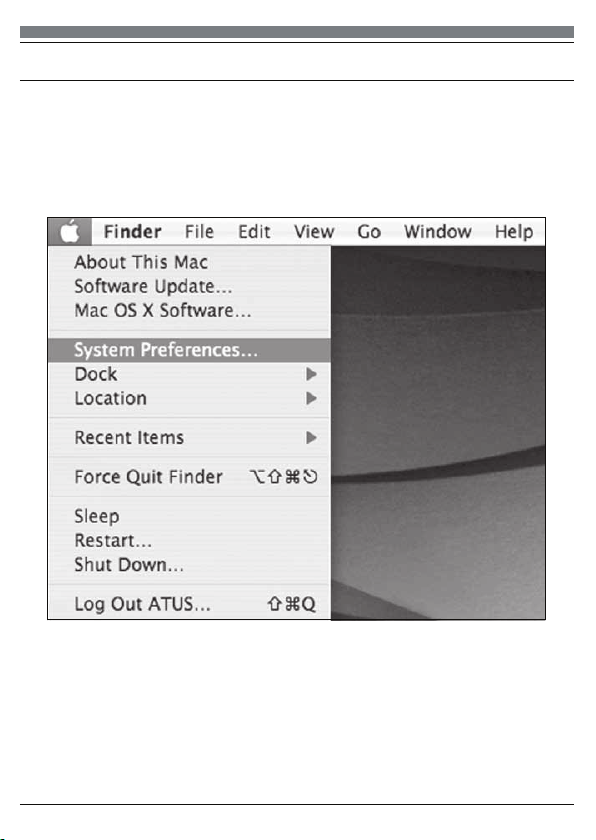
Preliminary setup with Mac OS X
1. Plug the free end of the provided USB cable into the USB port on your
computer. Your computer will automatically recognize the USB device.
2. To select the SYDNEY as your audio input, first open your System
Preferences
NOTE: Many recording software programs are available online. Audacity is
widely used free software for recording and editing sounds. It is available
online at http://sourceforge.net

3
(continued)
SYDNEY USB
USB
Preliminary setup with Mac OS X
3. Next, click Sound to display the Sound Preference panel.
4. Click the input tab and select the SYDNEY USB as the device for sound
input.
Your preferences are now set to use the SYDNEY on your Mac with
GarageBand or another recording program of your choice.

4
Preliminary setup with Windows XP
1. Plug the free end of the provided USB cable into the USB port on your
computer. Your computer will automatically recognize the USB device.
2. To select the SYDNEY USB as your default recording device, begin at your
START menu.
3. Select Control Panel.
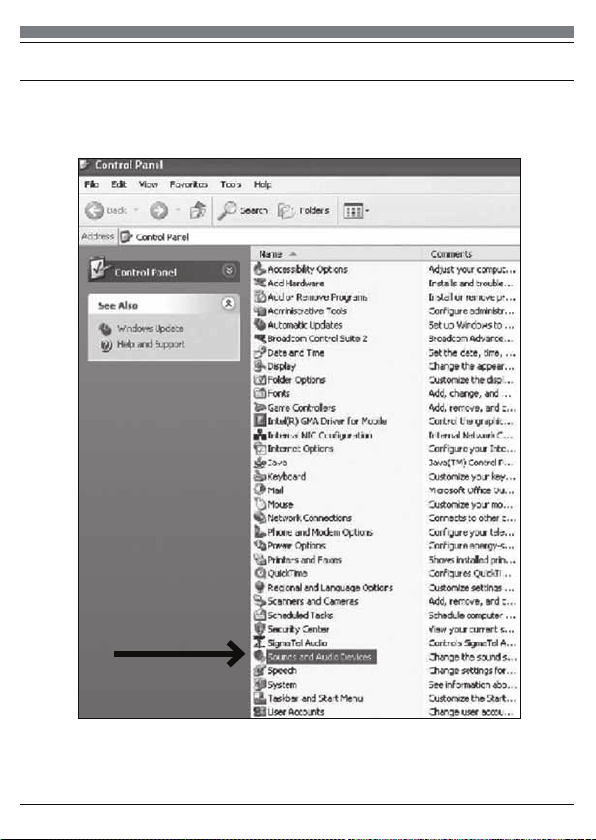
Preliminary setup with Windows XP
4. Select Sounds and Audio Devices.
5
(continued)
Table of contents
Other Stadium Microphone manuals


