AVCOM Galaxy User manual

Galaxy
Seismic Sensor
and Home Automation System
for Residential Applications
System Setup
Installation
& Operation Manual

2
ADVANCED COMMUNICATIONS INC
Introducing the New Galaxy complete whole house protection system. This
sophisticated system provides total security complete with voice notification, and
advanced warning communication anywhere in the world.
•NO MONTHLY FEES
•Simple Installation
•Full Warranty
•Complete Package
•Manufactured in Canada
•Compatible with Control4 Smart Home system
Contact information:
Tel: (604)944-8650

3
Table of Contents
BEFORE YOU BEGIN SET UP: .............................................................................................................................................................. 4
STEP-BY-STEP SETUP INSTRUCTIONS ................................................................................................................................................. 5
VALVES ...................................................................................................................................................................................................... 5
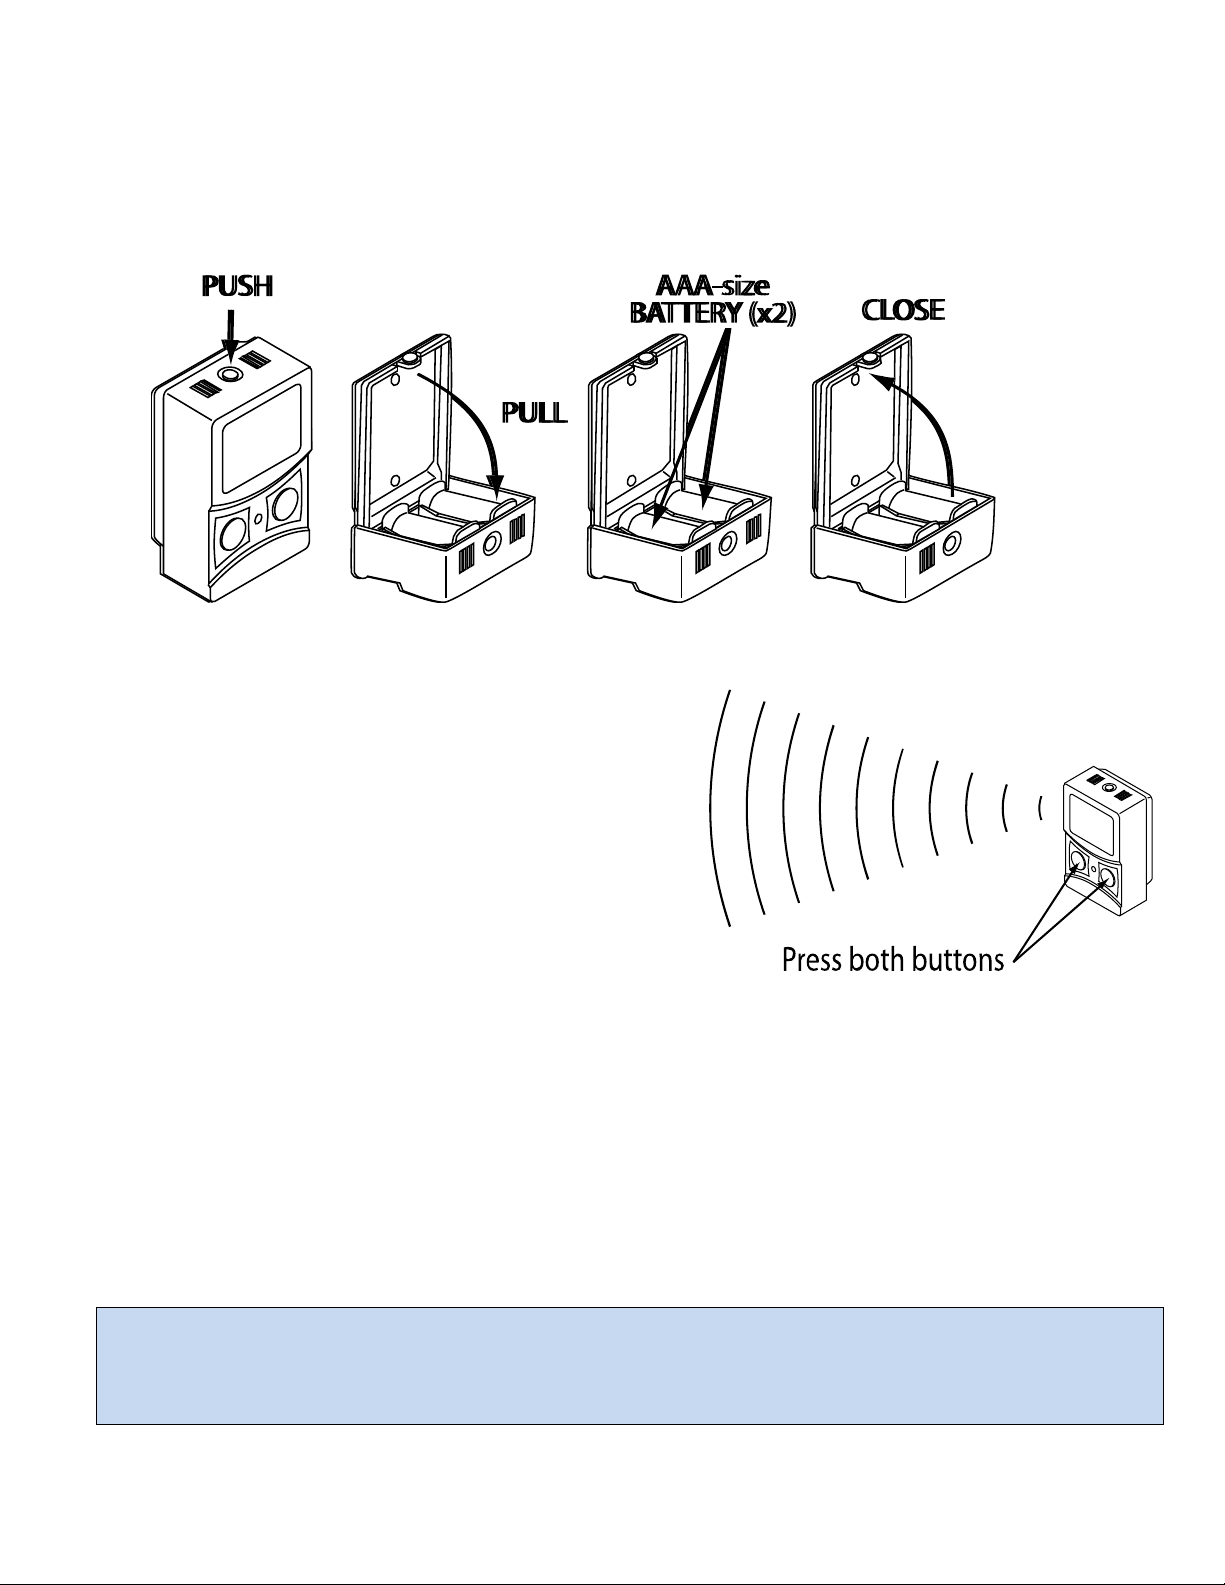
WATER SENSORS ......................................................................................................................................................................................... 6
INSTALLATION ................................................................................................................................................................................... 7
OPERATING VALVES .......................................................................................................................................................................... 8
OPENING AND CLOSING GAS AND WATER VALVES .............................................................................................................................................. 8
VALVE MANUAL OVERRIDE ............................................................................................................................................................................ 9
ADVANCED FUNCTIONS ................................................................................................................................................................... 10
SECURITY LOCKOUT [4321]* ....................................................................................................................................................................... 11
EARTHQUAKE SENSOR ON/OFF [1234] ........................................................................................................................................................ 12
WATER VALVE SHUTOFF DUE TO EARTHQUAKE ON/OFF [1235] ........................................................................................................................ 12
ERASING DEVICES FROM MEMORY [2000] ...................................................................................................................................... 12
CHANGE SENSOR NAME (GAS [7777] OR WATER [8888]) ............................................................................................................................... 13
CHANGE MASTER CODE [9999] ................................................................................................................................................................... 14
NEW GALAXY FEATURES .................................................................................................................................................................. 15
SET UP WIFI CONNECTION ........................................................................................................................................................................... 15
ENTER EMAIL ADDRESS BY KEYPAD ................................................................................................................................................................. 15
SEND A TEST EMAIL BY KEYPAD ..................................................................................................................................................................... 16
ADJUST BEEP VOLUME ................................................................................................................................................................................ 16
CHANGE LANGUAGE BETWEEN ENGLISH AND FRENCH BY KEYPAD ........................................................................................................................ 17
GALAXY SECURITY FEATURES .......................................................................................................................................................... 19
TO ARM THE SECURITY ALARM .................................................................................................................................................................... 19
TO DISARM THE SECURITY ALARM ................................................................................................................................................................ 19
TECHNICAL INFORMATION .............................................................................................................................................................. 20
GALAXY CONTROLLER WITH BUILT-IN GATEWAY ............................................................................................................................................... 20
WATER SENSOR ........................................................................................................................................................................................ 21
GAS AND CARBON MONOXIDE SENSING ......................................................................................................................................................... 22
VALVE ..................................................................................................................................................................................................... 23
TROUBLESHOOTING ........................................................................................................................................................................ 24
CONTROLLER [1] ....................................................................................................................................................................................... 24
SENSORS [4] ............................................................................................................................................................................................. 25
VALVES [2] ............................................................................................................................................................................................... 25
APPROVALS ..................................................................................................................................................................................... 26
TECHNICAL SUPPORT ....................................................................................................................................................................... 26
WARRANTY ..................................................................................................................................................................................... 27

4
Before you begin set up:
•Please note that each product in your Galaxy system is given a number as
follows. (The following configuration shows the typical “water” Galaxy. Other configurations are
available. You may not have all components listed here, or you may have other devices that are not
listed here. For other types of sensors (or devices) not listed here, see the manual for that device for
instructions on setting it up with the Galaxy controller):
Controller
Valve
DC Power
Adapters
Water
Sensor
Sensor Probe
[1]
[2]
[3]
[4]
[5]
*Products may not appear exactly as
shown.
This quick setup guide
will refer to the numbers
in [ ] for your
convenience
•Please do not install the
valves or sensors until
after completing the
steps in this guide.
You are now ready to proceed
with the step-by-step setup
on the next page.

5
Step-by-step Setup Instructions
Step 1. Plug the DC adapter into the port on the top of the controller. After
several seconds, the display will show “System Normal”
Valves
Step 2. Remove the cover from the
valve controller[2]
Step 3. Plug the DC adapter into the
valve [2] circuit board connector
Step 4. Press the “Sync” button on the
controller [1] keypad. The display will
change to “Waiting to Synchronize”
Step 5. Press the “Sync” button on the
valve [2]. This step must be
completed before the 30-second timer
on the control [1] counts down to 0.
Step 6. The display on the controller [1]
will show “Add New Valve Valve 1”
(Additional valves will show as Valve 2,
Valve 3, etc.) or “Valve Already Synched”
Step 7. Repeat steps 5-9 for any additional valves you are installing with your
system.
Press Sync

6
Water Sensors
Step 8. Open the back of the water sensor [4] and insert 2 AAA-size alkaline
batteries into the battery holder
Step 9. Press the “Sync” button on the controller [1] keypad. The display will
change to “Waiting to Synchronize”.
Step 10. Press BOTH buttons on the
front of the sensor [4] and hold for 2
seconds. This step must be completed
before the 30-second timer on the control
[1] counts down to 0.
Step 11. The display on the controller [1] will show “Add New Sensor
Sensor 1” (Additional sensors will show as Sensor 2, Sensor 3, etc.) or “Valve
Already Synched”
Step 12. Repeat steps 11-14 for any additional water sensors you are
installing with your system.
Congratulations. Your Galaxy devices are now linked and
ready for installation in their final locations

7
Installation
Step 1. Mount the Controller [1] to a wall using the hanger provided.
Step 2. Place the water sensors[4] around the premises
Step 3. Plug the water sensor probe [6] (pad sensor) into the water sensor [4].
Step 4. Place the pad in an area where you would expect to find water if a
water leak occurs.
Step 5. Install the water valve into the main water line where it enters the
building. WARNING: Galaxy valves should only be installed by a licensed
plumber in accordance with all local building codes and ordinances.

8
Operating Valves
Opening and closing Gas
and Water Valves
The Galaxy allows for very simple
operation of attached valves. The
current status of the valves is
indicated by the color of the light
behind its operating button.
Green = Valve is open
Red = Valve is closed
No light = No valve of this type
associated with this controller
Flashing Light (With no error message on LCD) = Valve is in the process of opening
or closing.
Flashing Light (With error message on LCD) = Valve is reporting trouble condition
“No Response” A valve is not responding to the control. Check the battery in the
valve. Try re-synchronizing your valve(s)
“Position Error” A valve is closed when the controller expects it to be open (or
vice-versa). The most common reason is that the manual override has been
activated. To clear this, either press the manual override on the valve again, or
press the button on the controller to operate the valve. After a few seconds the
light should stop flashing and this error will go away and you can leave the valve as
is, or push the button again to open (or close) it.
Gas Valve
Button/Light
Water Valve
Button/Light

9
To Open the valve: If the light is red, push the “water” button to open the water
valve (or “gas” button for gas valve). The light will change to flashing green while
the valve(s) open, then turn to solid green when all valves have finished opening.
To Close the valve: If the light is green, push the “water” button to close the water
valve (or “gas” for gas valve). The light will change to flashing red while the valve(s)
close, then turn to solid red when all valves have finished closing.
The controller will not allow valve operation until the alarm has been reset and the
source of the alarm (water/gas leak) had been corrected. Push any button,
(including the valve control buttons) to mute and reset the alarm, and allow for
continued valve operation.
Valve Manual Override
The valve features a manual override button to
operate the valve independently from the
controller. Pressing this button will close the
valve if it is open and open the valve if it is
closed. Using the manual override will
temporarily disconnect the valve from the
controller. During this period, the controller
display may show “No Response” or “Position
Error” because the valve is either not responding, or is responding with the
unexpected status. This is normal. Pressing the override button again will cancel
the override mode and the valve will begin responding to the controller again.
Manual Override
Button

10
Advanced Functions
The various advanced functions can be accessed by pressing the Function Key “A”
on the keypad. You will be prompted to enter a 4-digit function code from the
table below. Each function is described in detail later in this section.
Function
Description
4-digit Code
Security
Lockout
Locks the keypad, preventing unauthorized use
of system
(4321)* or change to
your own code with
function 9999
Display IP
This function will display its current IP address
1111
Earthquake
Sensor On/Off
Enables or Disables the built-in earthquake
sensor
1234
Water Valve
Shutoff due to
Earthquake
On/Off
Enables or disables automatic shutoff of water
valve when an earthquake is detected
1235
Erase Devices
Erase Valves, or Sensors from Memory
2000
Change Gas
Sensor Name
Allows you to change the sensor name from its
default (e.g. “Sensor 1”) to a name more
descriptive of its location (e.g. Utility Room)
7777
Change Water
Sensor Name
Allows you to change the sensor name from its
default (e.g. “Sensor 1”) to a name more
descriptive of its location (e.g. Main Bathroom)
8888
Change
Master Code
Allows you to change the “Master Security
Code” for the device
9999

11
Security Lockout [4321]*
If the system is not already in Security Lockout Mode, entering the “Master
Security Code” will put it in this mode. When you first set this up, the code is
“4321” but you may change this to any 4-digit code of your choosing with function
9999 “Change Master Code” described later in this section.
While in Security Lockout Mode, all keypad functions are disabled. The valves
cannot be operated remotely by pressing the buttons on the front of the
controller. None of the other keypad functions (including Sync) will function while
in Security Lockout Mode. If a sensor detects an alarm while in this mode, the
controller will still close the appropriate valve automatically and send an email
alert if the Galaxy is connected to the internet and set up to send emails. Press any
button on the keypad during an alarm to mute/acknowledge the alarm. To operate
the valve again, you must first exit security lockout mode by pushing “A” followed
by “4321” (or your own code if you have changed it)
Important
The only way to exit Security Lockout Mode is to Press the “A” key on the keypad
and then enter the “Master Security Code” (default is 4321) on the number pad
when prompted.
Look for the Lock icon in the top right corner of the display to see if the controller is
in Security Lockout Mode. This icon will be visible whenever the controller is in
Security Lockout Mode.
You can use Security Lockout mode to prevent children or guests from closing
valves by accidentally pressing buttons.

12
Earthquake Sensor On/Off [1234]
This will allow you to turn the earthquake sensor on or off. When the earthquake
sensor is on, an “E” icon will appear in the top right corner of the display. When
enabled, the earthquake sensor will monitor for damaging vibrations. If an
earthquake occurs, all connected gas valves will close automatically.
Since the earthquake sensor normally only operates gas valves, it can be disabled if
there are no gas valves connected to the system.
Water Valve Shutoff due to Earthquake On/Off [1235]
This will allow you to decide whether or not the water valve will close if there is an
earthquake. When this function is enabled, and the earthquake sensor is also
enabled, a “W” will appear under the earthquake symbol on the display.
Erasing Devices from Memory [2000]
To erase devices from memory:
1. Press “A” to go to the function menu
2. Enter the 4-digit code “2000”. Instructions will appear on the screen.
3. Press “*” to cycle through to the type of device you want to erase,
4. Press “#” to choose the type of device to erase when it is displayed on the
screen. The next display will ask you to confirm your selection.
5. Press “1” to confirm or “2” to cancel.
Choosing “Sensors” will erase all sensors (water, gas, or CO) stored in memory.
Valves will not be affected.
Choosing “Valves” will erase all valves (gas or water) stored in memory. Sensors
will not be affected.

13
Change Sensor Name (Gas [7777] or Water [8888])
Use this function to change the name of the sensor that is shown on the display
and in email. This changes names from the default (“Sensor 1”, “Sensor 2”, etc.) to
a name that better describes where the sensor is installed. When prompted, either
enter the 2-digit number from the table below on the number pad, or push the *
button to cycle through the available options.
When you have chosen the most suitable name for the sensor, press the “#”
button to select it. When prompted, press a button on the sensor to send a signal
to the controller. When the controller receives the signal, it will save the name to
the sensor and a message will appear on the display saying that it has been saved.
Gas Sensor Location List (7777)
00
Default (e.g. “Sensor 1”,
“Sensor 2”, etc.)
01
“Living Room”
02
“Fireplace”
03
“Furnace Room”
04
“Kitchen”
05
“Utility Room”
06
“Laundry Room”
Water Sensor Location List (8888)
00
Default (e.g. “Sensor 1”,
“Sensor 2”, etc.)
01
“Main Bathroom”
02
“Upstairs Bath”
03
“Downstairs Bath”
04
“Kitchen”
05
“Utility Room”
06
“Laundry Room”
07
“Water Heater”
08
“Dishwasher”
09
“Refrigerator”

14
Change Master Code [9999]
This function will allow you to change the Master Security Code to one of your
choosing. The Master Security Code is a 4-digit number that will allow you to lock
or unlock the keypad to prevent unauthorized usage of the system.
To change the Master Security Code
1. Press the “A” key on the keypad to bring up the Function Code Menu
2. Enter the code “9999”
3. When prompted, enter the current Master Security Code on the keypad
4. When prompted, enter the new Master Security Code on the keypad
5. Enter the new Master Security code one more time to confirm
When the new Master Security Code has been confirmed, it will be saved to
memory, replacing the original code. DO NOT lose or forget the new code.
When changing the Master Security Code, be sure to note the new code and keep
it in a safe place. If you lose or forget the code, you will be unable to enter or
leave “Security Lockout Mode”. Nor will you be able to change the code to a new
code.
When selecting a new Master Security Code, follow generally accepted
password/PIN security policies. Select a number that will be easy to remember,
but not so easy that someone can easily figure it out. Avoid using repeated
number sequences (e.g. “1111”) or consecutive number sequences (e.g. “1234”).

15
New Galaxy Features
Set up WiFi connection
1. Press ‘A’ to bring up function menu
2. Enter 4-digit code: 1000
3. WiFi module will scan available networks and display the number of
networks found
4. Press ‘*’ to cycle through available networks
5. Press ‘#’ to select the currently displayed network
6. Use the keypad to enter the WiFi password (see diagram on right for keypad
map). The cursor will automatically
advance to the next space after 2
seconds.
7. Press ‘C’ when done
8. Controller will ask you to confirm
9. Press ‘1’ for “yes”
10. Controller will reboot and automatically connect to the WiFi network
If your WiFi network is not found, wait at least one minute, then repeat steps 1 to
10
Enter email address by keypad
1. Press ‘A’ to bring up function menu
2. Enter 4-digit code: 1001 for “To:” address or 1002 for “CC” address
3. The current email address in use will be displayed
a. If you want to keep this address, press ‘SYNC’ to cancel
4. To change the email address, press ‘A’ until the cursor is at the beginning
(one space after the word “To:” or “CC:”).
5. Use the keypad to enter the email address (see step 6 above).
6. Press ‘C’ when done

16
Send a test email by keypad
1. Press ‘A’ to bring up function menu
2. Enter 4-digit code: 1003
3. The Galaxy will attempt to send a test email using the WiFi network email(s)
configured previously
4. The display will show one of the following messages
a. “Send Email Success” – the email was sent successfully. If you do not
receive the email after a few minutes, double-check the spelling of your
email addresses, and check your spam settings on your email client.
b. “Send Email Timeout” – The email server did not respond in time.
Check your internet connection and try again
c. “Could not resolve host” – The Galaxy could not find the server name.
Check your network settings (DNS, DHCP, etc.). If you are using a
custom email server, check the spelling of your mail server.
d. “Could not connect” – The mail server did not respond, or did not
accept our connection attempt. Check your internet settings and try
again. If you are using a custom email server, check your
username/password are correct and that you are using the correct port
and security type for your server.
e. “SMTP Error: <3-digit code>” – The server could complete the email
transaction and returned with an error code. Contact the email server
provider for assistance.
Adjust beep volume
1. Press ‘A’ to bring up function menu
2. Enter 4-digit code: 1100
3. Display will show instructions for setting the new volume
4. After a few seconds, the display will show the current volume on the top line
and the new volume on the bottom line

17
5. Press a number (0 to 9) to set the new volume. When you press a number
key, the Galaxy will beep once at the new volume. 0 is the quietest volume,
increasing in steps to 9, which is the loudest volume.
6. If you are not satisfied with the volume, continue to press a number button
until you have found the volume you prefer.
7. When you are satisfied with the volume, press # to save it. All future
notifications will beep at the new volume.
Note: Adjusting the volume will only affect notifications (e.g. Open / Close Door
alerts). Alarm conditions (Water Leak, Gas Leak, Earthquake, etc.) will always
beep at the loudest possible volume.
Change language between English and French by keypad
1. Press ‘A’ to bring up function menu
2. Enter 4-digit code: 6666
3. If the Galaxy was in French, it will change to English display. If it was in
English, it will change to French.
Note: Changing the language will change the language for the LCD display, the
internal web server, and for the email notifications.

18
Galaxy Galaxy Function Code Reference
The various advanced functions can be accessed by pressing the Function Key “A” on the keypad. You will be prompted
to enter a 4-digit function code from the table below. Each function is described in detail later in this section.
Function
Description
4-digit Code
Security Lockout
Locks the keypad, preventing unauthorized use of system
(4321)* or change to your own
code with function 9999
Scan and Set WiFi
Scans for available WiFi networks and prompts for WiFi Password
1000
Set “to” email
address
Set the primary address where email alerts will be sent
1001
Set “CC” email
address
Set the CC address where email alerts will be sent
1002
Send test email
Send a test email to verify email settings and internet connection
1003
Set Volume
Sets the volume for beeps and voice alerts
1100
Display IP
If a Network Gateway is attached to the system, this function will
display its current IP address
1111
Earthquake Sensor
On/Off
Enables or Disables the built-in earthquake sensor
1234
Water Valve Shutoff
due to Earthquake
On/Off
Enables or disables automatic shutoff of water valve when an
earthquake is detected
1235
Erase Devices
Erase Valves, Sensors, etc. from Memory
2000
Change Language
Changes language of display, email and voice alerts between
English and French
6666
Change Gas Sensor
Name
Allows you to change the sensor name from its default (e.g.
“Sensor 1”) to a name more descriptive of its location (e.g. Utility
Room)
7777
Change Water
Sensor Name
Allows you to change the sensor name from its default (e.g.
“Sensor 1”) to a name more descriptive of its location (e.g. Main
Bathroom)
8888
Change Master
Code
Allows you to change the “Master Security Code” for the device
9999

19
Galaxy Security Features
The Galaxy can be armed in “STAY” or “AWAY” modes.
In AWAY mode, an alarm can be triggered by both Motion and Door Sensors. Use this mode when you are away from
the premises and want complete protection. In AWAY mode, there will be a 30-second delay before the system alarms
to allow for time to enter the premises and disarm the system.
In STAY mode, an alarm can be triggered only by Door Sensors. Use this mode when you are home and want to be
alerted by any door opening. In STAY mode, there is no delay. The alarm will sound immediately whenever a door sensor
is triggered.
When the system is DISARMED, the Galaxy will chirp once everytime a door is closed, and multiple times whenever a
door is opened.
If the alarm is sounding, it can be cleared by disarming the system as described below.
To ARM the Security Alarm
1. Press “C” on the keypad
2. Enter your 4-digit security code (Default code is (4321”)
a. If you make a mistake, press “*” on keypad to go back one space
3. Select Arming Mode:
a. For STAY mode, press 1
i. System will arm immediately
b. For AWAY mode, press 2
i. System will arm after 30 seconds
4. System is now armed and will go into alarm when a sensor is triggered.
To Disarm the Security Alarm
1. Press “C” on the keypad
2. Enter your 4-digit security code (Default code is (4321”)
a. If you make a mistake, press “*” on keypad to go back one space
3. System is now disarmed

20
Technical Information
Galaxy Controller with built-in Gateway
NEW
VOICE NOTIFICATION WARNING
FOR:
•GAS
•WATER
•CARBON MONOXIDE
•EARTHQUAKE
•HOME SECURITY
Galaxy Controller
Power Supply: 5.0VDC Micro-USB
Enclosure: White UL-94V0 rated
180mm (7.1”) x 120mm(4.7”) x 30mm(1.2”)
Frequency: 915MHz
Modulation: 2FSK
Built-in WiFi
Built-in voice alerts
Data Encoding: Custom Proprietary
•2-way digital communication with remote devices.
•Manages up to 100 sensors (Any combination of water, gas,
•and/or CO sensors)
•Programmable location names to identify each sensor
•location (examples: “Main Bathroom”, “Utility Room”)
•Controls up to 10 valves (Any combination of gas and/or
•water valves)
•Optional Connections:
•Plug-in water sensor probe
•Up to 2 additional wired valves (sold separately)
Built-in earthquake sensor meets ASCE 25-97
Built-in combustible gas sensor meets UL1484
FCC Part 15
Security (optional)
•Wireless Door (Magnetic) Sensors
•Wireless Motion Sensors
•Email Notifications for intruder alert
Built-in Network Gateway
Built-in http server provides web-based setup/configuration.
Automatically sends emails for these situations:
•Water detected
•Gas detected
•Carbon Monoxide detected
•Sensor Low Battery detected
•Valve Low Battery detected
Network type: TCP/IP
Network connection type: WiFi (802.11 b/g/n)
Network data rate: Up to 72.2 Mbps
IP Address: obtained automatically from DHCP
Email notification through private server (default), or built-in SMTP-
compatible client
Table of contents