avenli 17813 Series User manual

RF1-21-US(V1)
1
IMPORTANT SAFETY RULES
READ, UNDERSTAND, AND FOLLOW ALL INSTRUCTIONS CAREFUL-
LY BEFORE INSTALLING AND USING THIS PRODUCT !
Round Steel Frame Pool
OWNER’S MANUAL
FOR FOLLOWING SIZES:
-Ф10
'
x 30
"
(Ф3m x 76cm)
-Ф12
'
x 30
"
(Ф3.6m
x 76cm)
-Ф14
'
x 33
"
(Ф4.2m
x 84cm)
Please read carefully and keep for future reference!
DO NOT RETURN PRODUCT TO STORE
Drawing for illustration purpose only. Actual product may vary. Not to scale.
Detailed information of product model and size is shown at the end of this manual!
STOP!
SHANGHAI JILONG SPORT AND LEISURE PRODUCTS CO., LTD
2555 XiuPu Road, Pudong Area,Shanghai,China.
www.avenli.com
JIANGSU JILONG SPORT AND LEISURE PRODUCTS CO., LTD
NO.1 Industrial Area South Zhongchen Road Zhongyang Town,Suqian,Jiangsu,China

32
RF1-21-US(V1) RF1-21-US(V1)
IMPORTANT SAFETY INSTRUCTIONS---------------------------------------------------------------------------------------03
PARTS LIST & REFERENCES---------------------------------------------------------------------------------------------------05
SETUPINSTRUCTIONS------------------------------------------------------------------------------------------------------------08
POOL MAINTENANCE & CHEMICALS---------------------------------------------------------------------------------------11
DRAINING THE POOL & STORAGE-------------------------------------------------------------------------------------------12
COMMON POOL PROBLEMS & SOLUTIONS-----------------------------------------------------------------------------13
CONTENTS
IMPORTANT SAFETY INSTRUCTIONS
READ AND FOLLOW ALL SAFETY INFORMATION AND INSTRUCTIONS.KEEP FOR FUTURE
REFERENCE. FAILURE TO FOLLOW THESE WARNINGS AND INSTRUCTIONS CAN RESULT IN
SERIOUS INJURY OR DEATH TO USERS, ESPECIALLY CHILDREN.
Prevent Young Children From Drowning:
Install fencing or approved barrier around all sides of pool.
State or local laws or codes may require fencing or other approved barriers.
Check state or local laws and codes before setting up pool.
Drowning occurs silently and quickly. Assign an adult to supervise pool and wear provided water watcher
tag.
Keep children in your direct sight when they are in or near pool and when you are lling and emptying pool.
When searching for a missing child, check pool rst, even if you think your child is in the house.
Prevent Young Children From Gaining Access to Pool:
Remove pool ladders before leaving pool. Toddlers can climb ladder and get into pool.
Position furniture away from pool so that children cannot climb and gain access to pool.
When leaving pool, remove oats and toys from pool that might attract a child.
Be Prepared to Respond to an Emergency:
Keep a working phone and list of emergency numbers near pool.
Become certied in cardiopulmonary resuscitation (CPR) so you can respond to an emergency.
Replacement pump should never exceed the maximum ow rate marked on the suction tting.
Drowning risk:
•Keep unsupervised children from accessing the pool by installing fencing or other approved barrier
around all sides of pool. State or local laws or codes may require fencing or other approved barriers. Check
state or local laws and codes before setting up pool.
•Remove pool ladders before leaving the pool. Children as young as 2 years have climbed up ladders and
into pools and drowned.
•Do not leave toys inside pool when nished using, since toys and similar items might attract a child to the
pool.
•Position furniture (for example, tables, chairs, etc.) away from pool so that children cannot climb on it to
gain access to pool.
•After using pool, remove water to a level of ½ in. (1 cm) or less.
Diving risk:
•Do not dive into this pool. Diving into shallow water can result in a broken neck, paralysis, or death.
Electrocution risk:
•Keep all electrical lines, radios, speakers, and other electrical appliances away from the pool.
•Do not place pool near or under overhead electrical lines.
First aid:
•Keep a working phone and a list of emergency numbers near the pool.
•Become certied in cardiopulmonary resuscitation (CPR). In the event of an emergency, immediate use of
CPR can make a lifesaving difference.
Additional warnings:
Adult supervision required. Adult assembly required.
Do not leave child unattended while device is in use.
Do not over inflate or use high-pressure air to inflate.
Read and follow all safety information and instructions.
Failure to follow these warnings and instructions can
result in serious injury or death to users, especially children.
Empty the pool when not in use to prevent children from gaining
unauthorized access and drowning.
Install a pool fence around the pool to prevent children from gaining
unauthorized access and drowning. Consult your local building code
officials for fencing requirements.
Closely watch children who are in or near
this pool. Children under 5 are at highest
risk for drowning.
Prevent Drowning
You can break your neck
and be paralyzed!
No Diving
Your hair, body, and jewelry can get sucked into drain.
You could be held underwater and drown! Do not use
pool if drain or suction outlet cover is missing or broken.
Stay away from drains & suction fittings
No Jumping
WARNING! Children have drowned in portable swimming pools. Ensure
active adult supervision at all times. Do not leave children unsupervised
in or around the pool - keep them within arms’ reach. Pool fencing laws
apply to this pool. Consult your local government authority for fencing
requirements.
WARNING! To prevent drowning,this pool must have a barrier such as
a 1.2m high fence surrounding the pool. The barrier must comply with
the Building Code and restrict unsupervised access by children under 5
years of age. For more information visit www.building .govt.nz/poolsafety
AU
NZ

54
RF1-21-US(V1) RF1-21-US(V1)
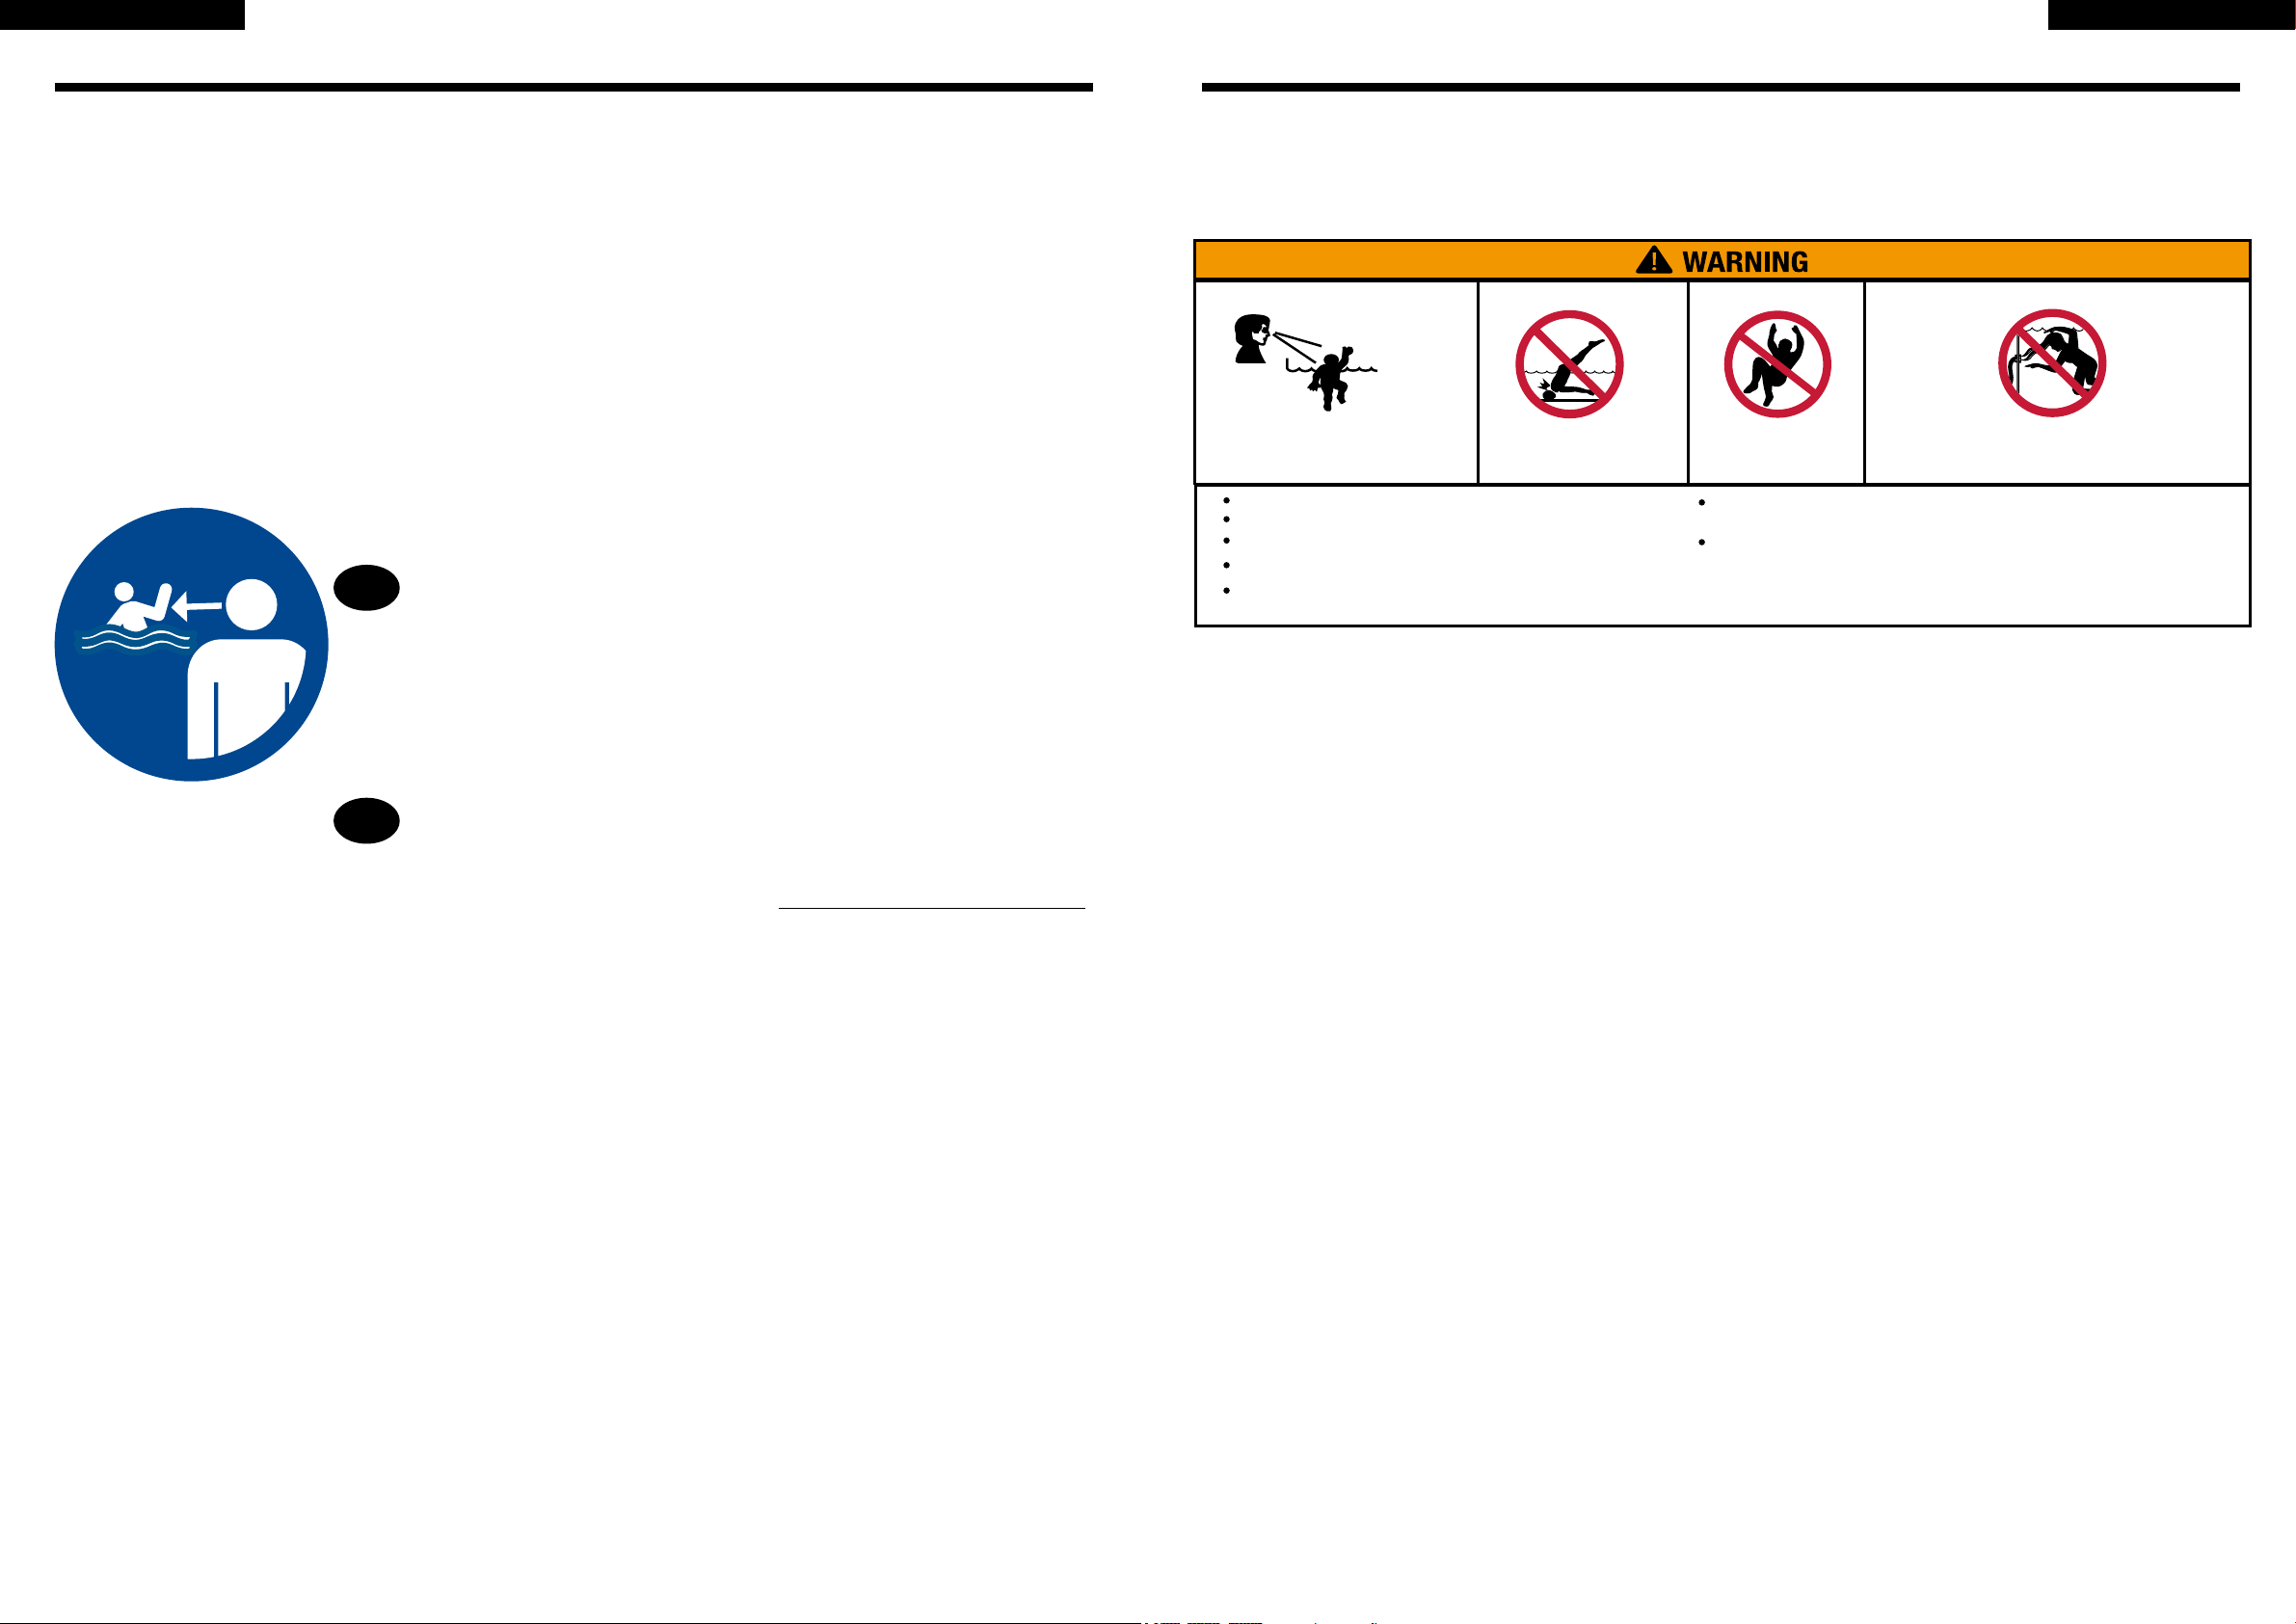
•Locate pumps and lters in such a way that children cannot climb on them and gain access to the pool.
Assign an adult to be responsible for watching children in the pool. Give this person a “water watcher”
tag and ask that they wear it the entire time they are in charge of supervising children in the pool. If
they need to leave for any reason, ask this person to pass the “water watcher” tag and the supervision
responsibility to another adult.
•If a drain or suction outlet cover is missing or broken, do not use the pool. Suction can cause body part
entrapment, hair and jewelry entanglement, evisceration, or drowning. Repair or replace the drain or
suction outlet cover before allowing the pool to be used.
•Pools without pump and lter –Must empty pool after each use.
Barriers for Residential Swimming Pool Guidelines:
An outdoor swimming pool, including an inground, aboveground, or ongroundpool, hot tub, or spa,
should be provided with a barrier which complies with the following:
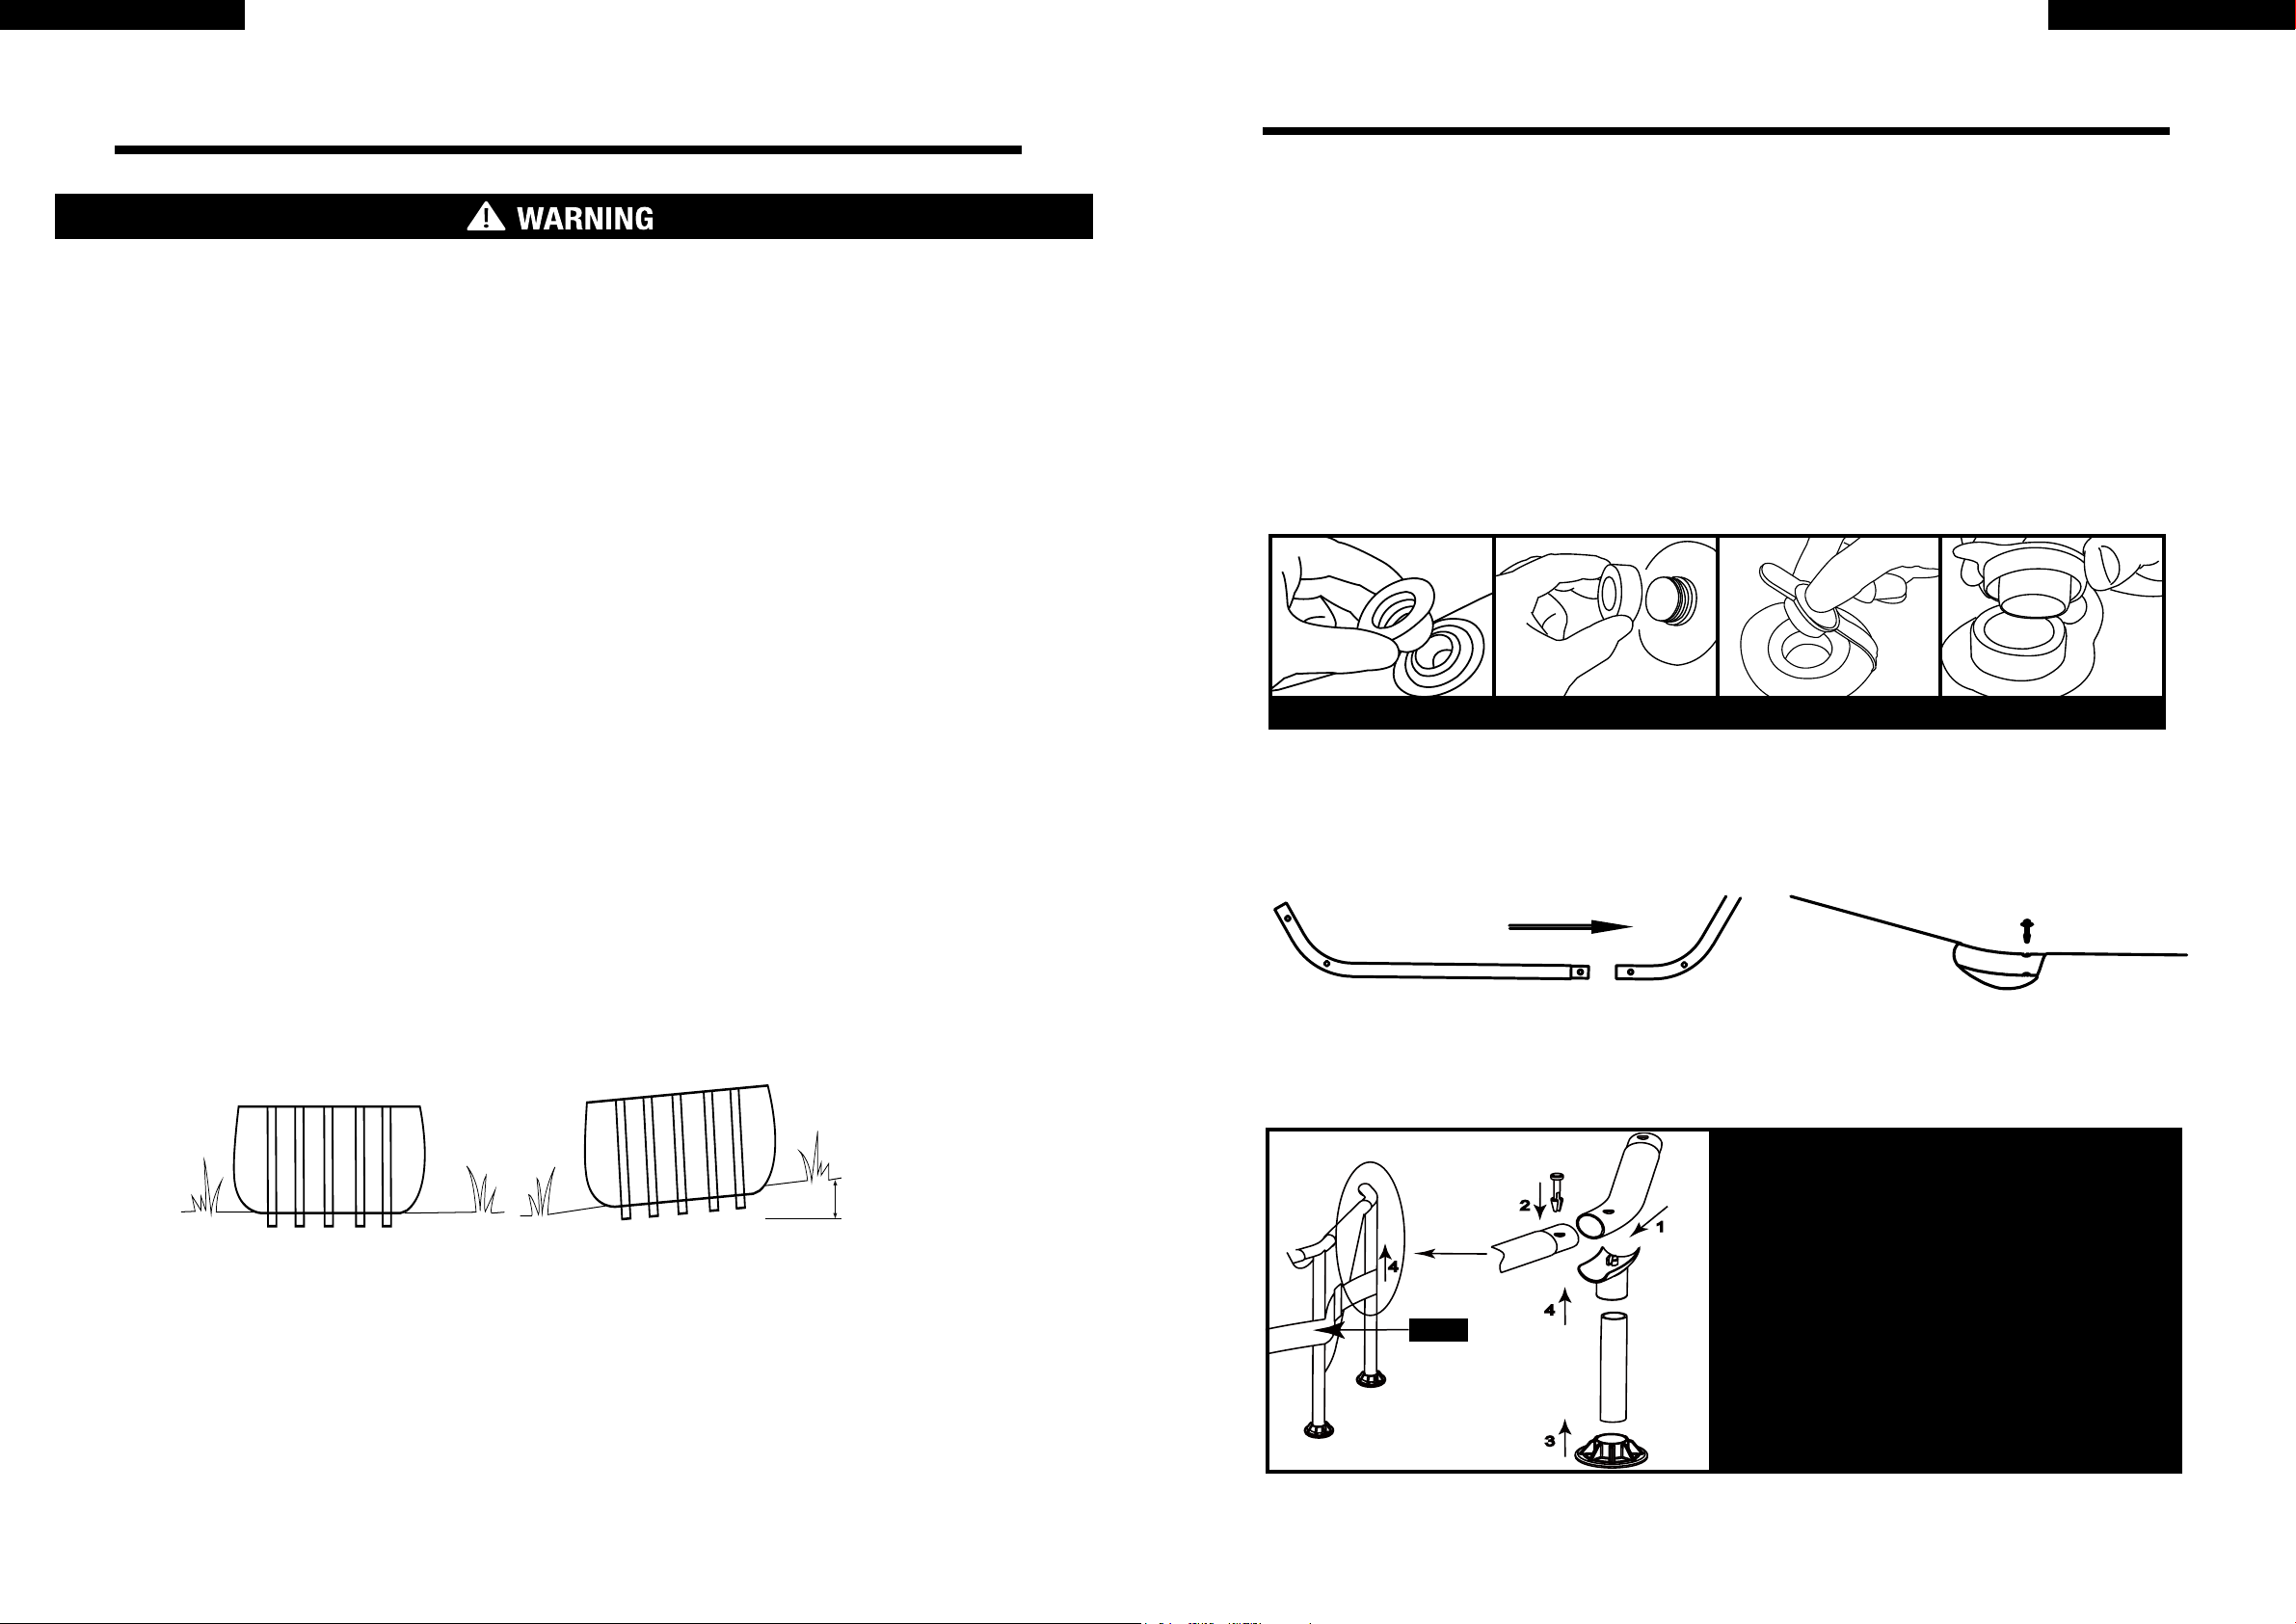
1.The top of the barrier should be at least 48 inches above grade measured on the side of the barrier
which faces away from the swimming pool. The maximum vertical clearance between grade and the
bottom of the barrier should be 4 inches measured on the side of the barrier which faces away from
the swimming pool. Where the top of the pool structure is above grade, such as an aboveground pool,
the barrier may be at ground level, such as the pool structure, or mounted on top of the pool structure.
Where the barrier is mounted on top of the pool structure, the maximum vertical clearance between the
top of the pool structure and the bottom of the barrier should be 4 inches.
2.Openings in the barrier should not allow passage of a 4-inch diameter sphere.
3.Solid barriers, which do not have openings, such as a masonry or stone wall, should not contain
indentations or protrusions except for normal construction tolerances and tooled masonry joints.
4.Where the barrier is composed of horizontal and vertical members and the distance between the tops
of the horizontal members is less than 45 inches, the horizontal members should be located on the
swimming pool side of the fence. Spacing between vertical members should not exceed 1-3/4 inches in
width. Where there are decorative cutouts, spacing within the cutouts should not exceed 1-3/4 inches in
width.
5.Where the barrier is composed of horizontal and vertical members and the distance between the tops
of the horizontal members is 45 inches or more, spacing between vertical members should not exceed 4
inches. Where there are decorative cutouts, spacing within the cutouts should not exceed 1-3/4 inches in
width.
6.Maximum mesh size for chain link fences should not exceed 1-1/4 inch square unless the fence is
provided with slats fastened at the top or the bottom which reduce the openings to no more than 1-3/4
inches.
7.Where the barrier is composed of diagonal members, such as a lattice fence, the maximum opening
formed by the diagonal members should be no more than 1-3/4 inches.
8.Access gates to the pool should comply with Section I, Paragraphs 1 through 7, and should be
equipped to accommodate a locking device. Pedestrian access gates should open outward, away from
the pool, and should be self-closing and have a self latching device. Gates other than pedestrian access
gates should have a self-latching device. Where the release mechanism of the self-latching device is
located less than 54 inches from the bottom of the gate, (a) the release mechanism should be located on
the pool side of the gate at least 3 inches below the top of the gate and (b) the gate and barrier should
have no opening greater than 1/2 inch within 18 inches of the release mechanism.
9.Where a wall of a dwelling serves as part of the barrier, one of the following should apply: (a) All doors
with direct access to the pool through that wall should be equipped with an alarm which produces
an audible warning when the door and its screen, if present, are opened. The alarm should sound
continuously for a minimum of 30 seconds within 7 seconds after the door is opened. Alarms should
meet the requirements of UL 2017 General-Purpose Signaling Devices and Systems, Section 77. The
alarm should have a minimum sound pressure rating of 85 dBAat 10 feet and the sound of the alarm
should be distinctive from other household sounds, such as smoke alarms, telephones, and door bells.
The alarm should automatically reset under all conditions. The alarm should be equipped with manual
means, such as touchpads or switches, to temporarily deactivate the alarm for a single opening of the
door from either direction. Such deactivation should last for no more than 15 seconds. The deactivation
touchpads or switches should be located at least 54 inches above the threshold of the door. (b) The pool
should be equipped with a power safety cover which complies with ASTM F1346-91 listed below. (c) Other
means of protection, such as self-closing doors with self-latching devices, are acceptable so long as the
degree of protection afforded is not less than the protection afforded by (a) or (b) described above.
10.Where an aboveground pool structure is used as a barrier or where the barrier is mounted on top
IMPORTANT SAFETY INSTRUCTIONS(continued)
PARTS LIST & REFERENCES
of the pool structure, and the means of access is a ladder or steps, then (a) the ladder to the pool or
steps should be capable of being secured, locked or removed to prevent access, or (b) the ladder or
steps should be surrounded by a barrier. When the ladder or steps are secured, locked, or removed,
any opening created should not allow the passage of a 4-inch diameter sphere. Barriers should be
located so as to prohibit permanent structures, equipment or similar objects from being used to climb
the barriers.
Ф12’ x 30”(Ф3.6m x 76cm)
Ф14’ x 33”(Ф4.2m x 84cm)

76
RF1-21-US(V1) RF1-21-US(V1)
PARTS LIST & REFERENCES PARTS LIST & REFERENCES
Ф12'x30"
(Ф3.6m x 76cm)
Ф12'x30"
(Ф3.6m x 76cm)
Ф14'x33"
(Ф4.2m x 84cm)
17813XX 12146XX 17814XX
NO.NAME QTY SPARE PART QTY SPARE PART QTY SPARE PART
1Horizontal Beam 10 290197 10 290197 12 393131
2PVC Pin 10 290181 10 290181 12 290181
3T-Joint 10 290318 10 290318 12 290183
4Vertical Leg 10 290188 10 290188 12 393132
5Vertical Leg Cap 10 290185 10 290185 12 290185
6Drainage Valve Cover 1 290366 1 290366 1 290366
7Stopper 3 290311 3 290311 3 290311
8Drainage Valve
Connector 1 290364 1 290364 1 290364
9Pool Liner 1 393343 1 393585 1 393464
Model Size Water Capacity Pump Ladder
17813XX
Ф12’ x 30”(Ф3.6m x 76cm) 1617Gal(6125L) √ ×
17813
Ф12’ x 30”(Ф3.6m x 76cm) 1617Gal(6125L) × ×
12146XX
Ф12’ x 30”(Ф3.6m x 76cm) 1617Gal(6125L) √ ×
12146
Ф12’ x 30”(Ф3.6m x 76cm) 1617Gal(6125L) × ×
17814XX
Ф14’ x 33”(Ф4.2m x 84cm) 2508Gal(9495L) √ ×
17814
Ф14’ x 33”(Ф4.2m x 84cm) 2508Gal(9495L) × ×
XX : US/CA/AU
XX : US/CA/AU
Model Size Water Capacity Pump Ladder
17812XX
Ф10’ x 30”(Ф3m x 76cm) 1158Gal(4383L) √ ×
17812
Ф10’ x 30”(Ф3m x 76cm) 1158Gal(4383L) × ×
Ф10’ x 30”(Ф3m x 76cm)
Ф10'x30"
(Ф3m x 76cm)
NO.NAME QTY SPARE PART
1Horizontal Beam 8 290187
2PVC Pin 8 290181
3T-Joint 8 290317
4Vertical Leg 8 290188
5Vertical Leg Cap 8 290185
6Drainage Valve Cover 1 290366
7Stopper 3 290311
8Drainage Valve Connector 1 290364
9Pool Liner 1 393342

98
RF1-21-US(V1) RF1-21-US(V1)
Select an outdoor location for the pool in accordance with the following requirements:
1.The area where the pool is set up must be completely at and level.Do not set up the pool on a slope or
inclined surface.
2.The ground surface must be compacted and rm enough to withstand the pressure and weight of a fully
set up pool. Do not set up the pool on mud, sand, soft, or loose soil.
3.Do not set up the pool on a deck, balcony, or platform.
4.Be sure that the pool is set up in an area that is free and clear of stones, branches, or other sharp objects
that may puncture the pool liner or cause injury.
+3°
Bumpy,Sloping Ground-INCORRECT
Flat,Level Ground-CORRECT
SETUP INSTRUCTIONS
•Portable pools must be set up in compliance with local safety and building codes.
•The pool location must allow you to secure all doors, windows, and safety barriers to prevent
unauthorized, unintentional, or unsupervised pool entry.
•Install a safety barrier that will eliminate access to the pool for young children and pets.
•Failure to set up the pool on at, level, compact ground and in accord with the following instructions
could result in the pool’s collapse or the possibility that a person lounging in the pool could be swept
out, resulting in serious injury or property damage.
•Risk of electric shock: The pool must be accessible to a 110 or 230V AC outlet protected by a
Ground Fault Circuit Interrupter (GFCI). The pool should be set no closer than 10 ft. to the power
source, but no further than the length of the filter pump cord. Under no circumstances should an
extension cord be used to extend the range of the connection.
SETUP INSTRUCTIONS
Step1. ACCOUNT FOR ALL PARTS.
Remove all the parts from the carton(s) and place them on the ground in the location where they are to be assembled
Check each part according to “PART REFERENCE” .Make sure all the pieces to be assembled are accounted for.
IMPORTANT: Do not start assembly if any pieces are missing. For replacement pieces call the Consumer Service
telephone number in your area.
The number of persons required for installation: 2 adult at least.
Total installation time except the time for site preparation and water lling :
30 minutes for size Ф10’×30”/Ф12’×30”
45 minutes for size Ф14’x33”
Step2. INSTALL DRAIN VALVES COVER AND STOPPER
Make sure that outer drain plug is inserted into the outer drain cap and drain valve cover is screwed on tightly.Plug the con-
nection holes with the stoppers. (The out drain plug changes according to different size of pool.)
STOPPER Out Drain Plug A Out Drain Plug BDrain Vavle Cover
Step3. INSTALL HORIZONTAL BEAM
Step4. INSTALL T-JOINT
1. Use the connection end of the T-Joint to connect
the adjacent horizontal tubes.
2. Insert the Pin into the hole of connected horizon-
tal tube and T-Joint rmly.
3. Install the vertical leg cap onto the vertical leg.
4. Insert the vertical leg into the T-Joint through the
belt.
TIP: If you can’t nd the hole on the horizontal
tube or vertical leg please rotate the tubes until the
pin meets the hole.
BELT
4
3
4
1
2
This manual suits for next models
2
Table of contents
Languages:
Other avenli Swimming Pool manuals

avenli
avenli 17792XX User manual

avenli
avenli RF1-21-CZ User manual

avenli
avenli RP2-21-GB User manual

avenli
avenli 17726 Series User manual

avenli
avenli 17796 User manual

avenli
avenli SPA5 User manual

avenli
avenli SPA4 User manual

avenli
avenli SPA User manual

avenli
avenli RF-21-CZ3 User manual

avenli
avenli 17792DE User manual