Avid Technology VENUE E6L User manual
E6L Engine CMOS Battery Replacement
© 2019 Avid Technology, Inc
1
E6L Engine CMOS Battery Replacement
This document provides instructions for replacing the CMOS battery in the E6L engine. If your S6L system displays an alert in-
forming you that the CMOS battery has reached a critically low charge, use this guide to locate and replace the battery.
Software Compatibility
Note that the low battery alert message only appears in VENUE software version 6.2 and later. If your S6L system is running an
earlier version of VENUE software, you can follow the steps in the following Knowledge Base article to manually query the battery
voltage.
E6L Engine Low CMOS Battery Voltage Check
Required Materials
Be sure to gather the following before proceeding:
• Replacement CMOS battery (available from any source that sells standard watch batteries).
Type: CR2032 3V Lithium Coin Cell Battery
• Anti-Static wrist strap (not included)
• Table or other flat work surface strong enough to support the E6L Engine Core
Removing the E6L Engine Core
AVB-192 Network Cards are installed in the E6L engine core, which slides out of the E6L chassis.
To remove the E6L engine core
1Put on your anti-static wrist band and configure it according to its instructions.
2Shut down your system, and disconnect any cables connected to your E6L engine.
3Place your E6L on a table or other flat surface that provides enough room for the E6L engine core to be removed comfortably.
Make sure your surface is clear of any debris.
Images shown in this guide (such as cable colors or hardware configuration) may not exactly match your E6L.
If your E6L engine is installed in a rack and there is enough room inside the rack to access the inside of the core, instead of com-
pletely removing the core you can slide it out until it catches, and then proceed with installation.
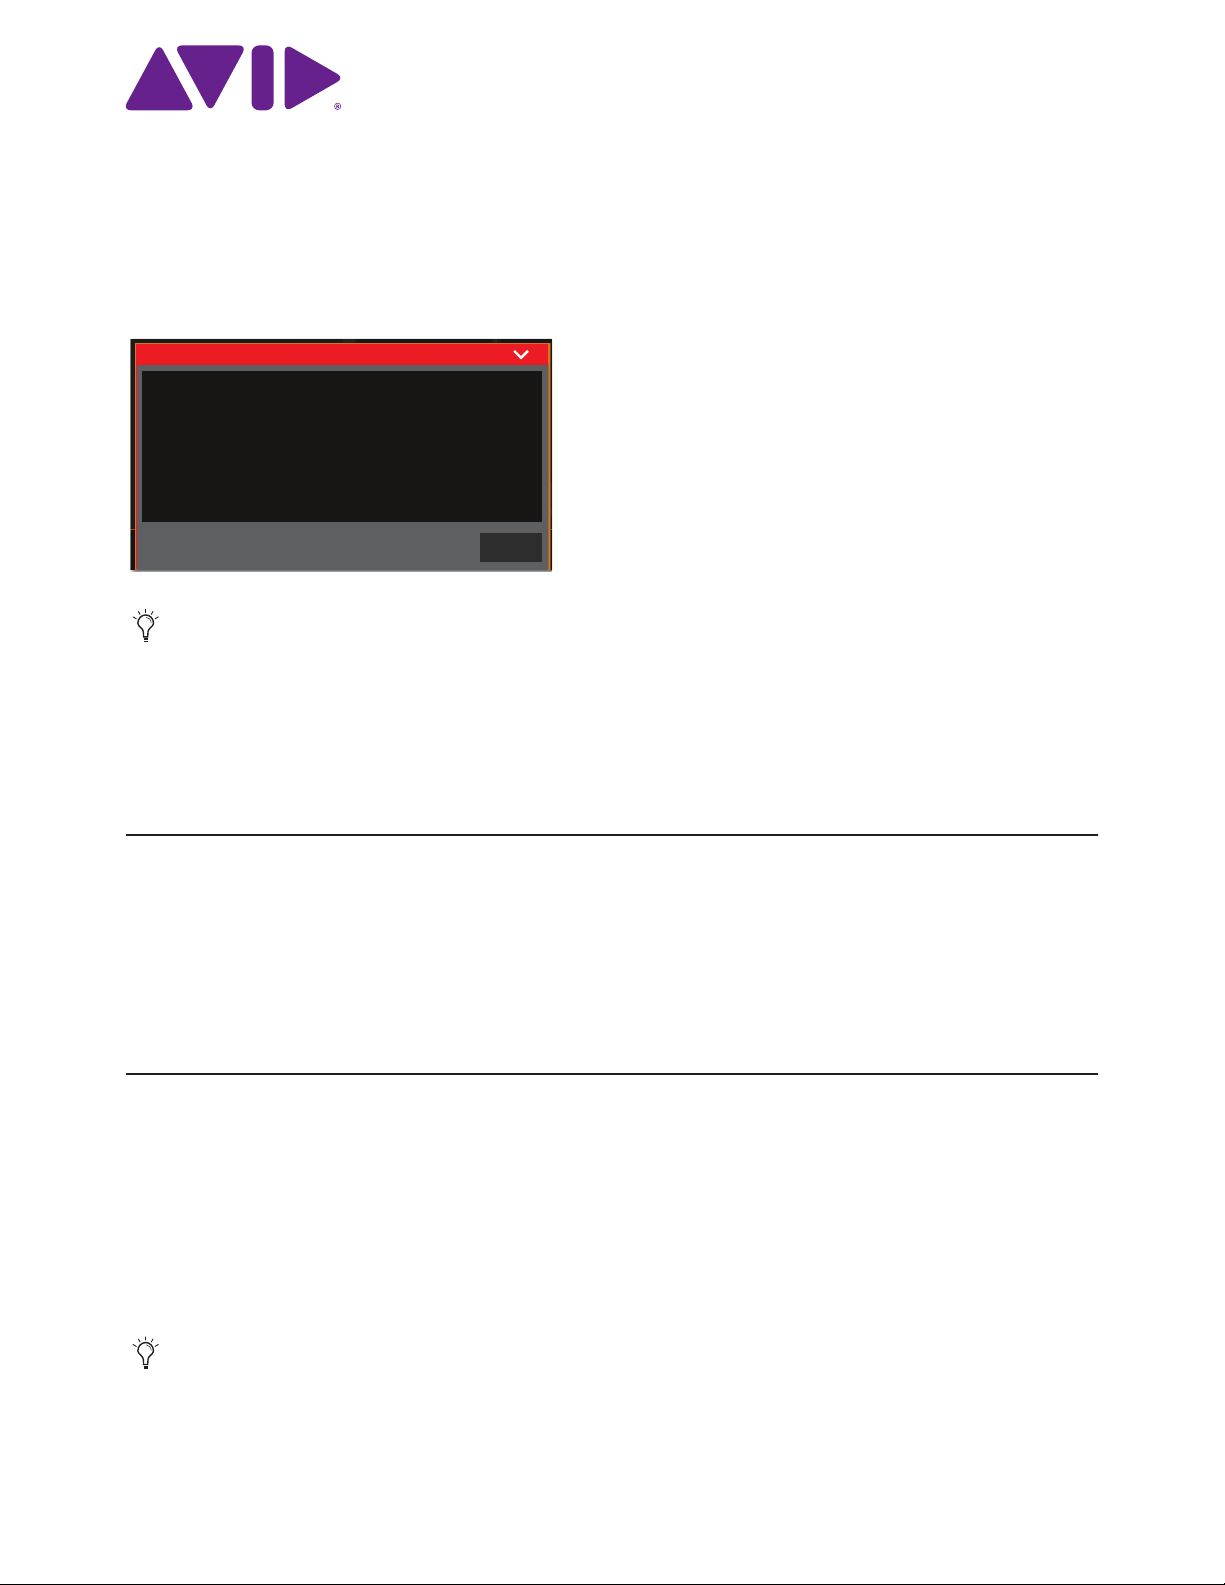
The E6L Engine CMOS battery (CR2032) is running critically low which
may cause unexpected engine behavior.
Please refer to the E6L CMOS Battery Replacement.pdf or visit
avid.com/S6Lsupport for instructions to replace the CMOS battery
in the E6L Engine.
OK
Engine CMOS Battery Needs to be Replaced:
9329-66112-00 REV A

E6L Engine CMOS Battery Replacement 2
4On the back of the E6L, loosen the four thumbscrews that secure the core to the engine chassis.
5Simultaneously pull the two bottom thumbscrews outward so the latches they are attached to are fully extended (see Figure 2).
6Using the handle, slowly slide the core partially out until it stops at the built-in catches (approximately halfway out), far enough
so you can access the battery.
Figure 1. Four thumbscrews on the back of the E6L
Figure 2. Latches fully extended
E6L core slid far enough out to access the CMOS battery

E6L Engine CMOS Battery Replacement 3
7If the E6L Engine is deeply recessed in a road case it is likely that you will have to completely remove the core to access the bat-
tery. If this is the case, locate the interior catch on the right side of the tray (shown below), and press it to release the core from
the chassis.
8Slowly slide the core out of the E6L chassis completely, and place it on your work surface.
Replace the CMOS Battery
The CMOS battery is clipped into a slot mounted vertically on the bottom board of the E6L core.
To remove the old CMOS battery:
1Locate the battery in its slot, approximately six inches from the front of the core and below the Option Card Mounting bracket.
Figure 3. Location of the interior catch
The core will not slide out of the E6L chassis until the latches are fully extended and the catch has been released.
CMOS battery

E6L Engine CMOS Battery Replacement 4
2Using your right hand, pull back the small clip that holds the battery in its slot.
3Noting the orientation of the battery (smooth side with text facing you) use your left hand to lift the battery up and out.
To install a new CMOS battery:
1Use your right hand to pull back the small retaining clip.
2Being sure to orient the battery correctly (smooth side with text facing you) use your other hand to carefully insert the battery
into its slot until the retaining clip clears the top edge of the battery.
3Check to make sure the battery is fully seated in its slot and secured by the retaining clip.
4Proceed to Re-install the E6L Engine Core.
Re-install the E6L Engine Core
1Slide the core back into the E6L chassis, making sure the connectors face outward.
When the core is fully seated into the chassis, the two latches at the bottom of the chassis should be fully collapsed.
2Tighten the four thumbscrews to secure the core to the chassis.
3Proceed to Confirming Engine Date and Time.
Retracting the battery clip
Figure 4. Four thumbscrews on the back of the E6L

E6L Engine CMOS Battery Replacement 5
Confirming Engine Date and Time
After installing the battery, confirm that the date and time are correct in the E6L engine’s local settings. You can do this manually
or remotely.
Manual
Requires a VGA monitor, USB keyboard and mouse connected to the E6L engine.
Remote
Requires the E6L engine is connected to and communicating with an S6L control surface.
Manually Confirming Date and Time
To manually confirm E6L date and time:
1Connect the following to your E6L engine:
• An included IEC power cable from AC power inlet Aon the back panel of the E6L to your power source.
• A USB keyboard and mouse to any USB ports on the E6L. E6L provides two USB ports on the front panel, and two on the
back panel.
• A VGA-compatible monitor to the VGA port on the back of the E6L, and power on the monitor.
2Power on your E6L using the back panel power switch to the on (1) position, and then repeatedly press F5 on the keyboard until
the “EngineDatamodel” prompt appears.
3In the EngineDatamodel window close this window to exit to the Desktop as stated in the prompt.
4From the Desktop, right-click on the Explorer icon in the lower left of the screen and choose Applications.
5Choose Control Panel, then choose Clock, Language and Region.
6Under Date and Time choose Set the time and date, then configure the setting for the correct date, time, and time zone as nec-
essary.
7Close the Date and Time panel, then close Control Panel.
8From the Desktop, double-click the Return to VENUE shortcut.
9Wait until the E6L front panel Status LED is unlit and the System LED is lit amber, then press the back panel power switch to
the off (0) position. Wait for the engine to completely power-down.
10 Proceed to Complete the Installation
If the Desktop does not appear, press the WIN key (the key with the Windows logo), then click the Desktop tile.
Return to VENUE
Use the Return to VENUE shortcut to relaunch the EngineDatamodel. Failure to do so will prevent the engine from connecting to
the control surface.
Close this window to exit to the desktop for Activation or
Troubleshooting of this engine.
c:\program files\digidesign\d-show\EngineDataModel.exe X

E6L Engine CMOS Battery Replacement 6
Remotely Confirming Date and Time
To remotely confirm E6L date and time:
1Make sure the S6L control surface and E6L engine are powered on and connected.
2Using the USB keyboard and mouse connected to your S6L control surface, do the following:
• While the Please Select Engine screen is displayed, or at any time, hold down the Control and Shift keys and type SUPPORT
to enter SUPPORT mode.
• When the The Support Shortcuts are now enabled! message appears, click OK.
• Press Control + Shift + E. (If Control + Shift + E doesn’t work, try Win + Enter, or Win + Return, to bring up command prompt
and then type “mstsc” (no quotes). When prompted for login and password, login with “VENUE” and enter “E6L_Engine”
for the password.
• The control surface now “remotes” into the E6L and displays the EngineDatamodel prompt.
3In the EngineDatamodel window close this window to exit to the Desktop as stated in the prompt.
You will see a message that “Connection to the E6L Engine has been lost” but this message is expected. Connection will be
re-established later after confirming date and time.
4From the Desktop, right-click on the Explorer icon in the lower left of the screen and choose Applications.
5Choose Control Panel, then choose Clock, Language and Region.
6Under Date and Time choose Set the time and date, then configure the settings for the correct date, time, and time zone as nec-
essary.
7From the Desktop, double-click the Return to VENUE shortcut.
8The EngineDatamodel reappears, and the control surface and engine will reconnect momentarily.
9After the control surface and engine have reconnected, close the remote session by doing the following:
• Click the X in the upper right corner of the blue remote session Title bar.
• When prompted that your remote session will be disconnected, click OK.
10 After the system has fully reconnected, power cycle all components to fully exit SUPPORT mode.
If the Desktop does not appear, press the WIN key (the key with the Windows logo), then click the Desktop tile.
Return to VENUE
Use the Return to VENUE shortcut to relaunch the EngineDatamodel. Failure to do so will prevent the engine from connecting to
the control surface.
Close this window to exit to the desktop for Activation or
Troubleshooting of this engine.
c:\program files\digidesign\d-show\EngineDataModel.exe X
X
VenueRack######

E6L Engine CMOS Battery Replacement 7
Complete the Installation
(Manual Mode Only)
To complete the installation:
1Re-connect power to the E6L engine, and connect audio network cables from the S6L control surface to the E6L engine.
2Power on your E6L engine, wait until its front panel LEDs are green and flashing amber, then power your S6L control surface
back on.
Other manuals for VENUE E6L
2
Table of contents


