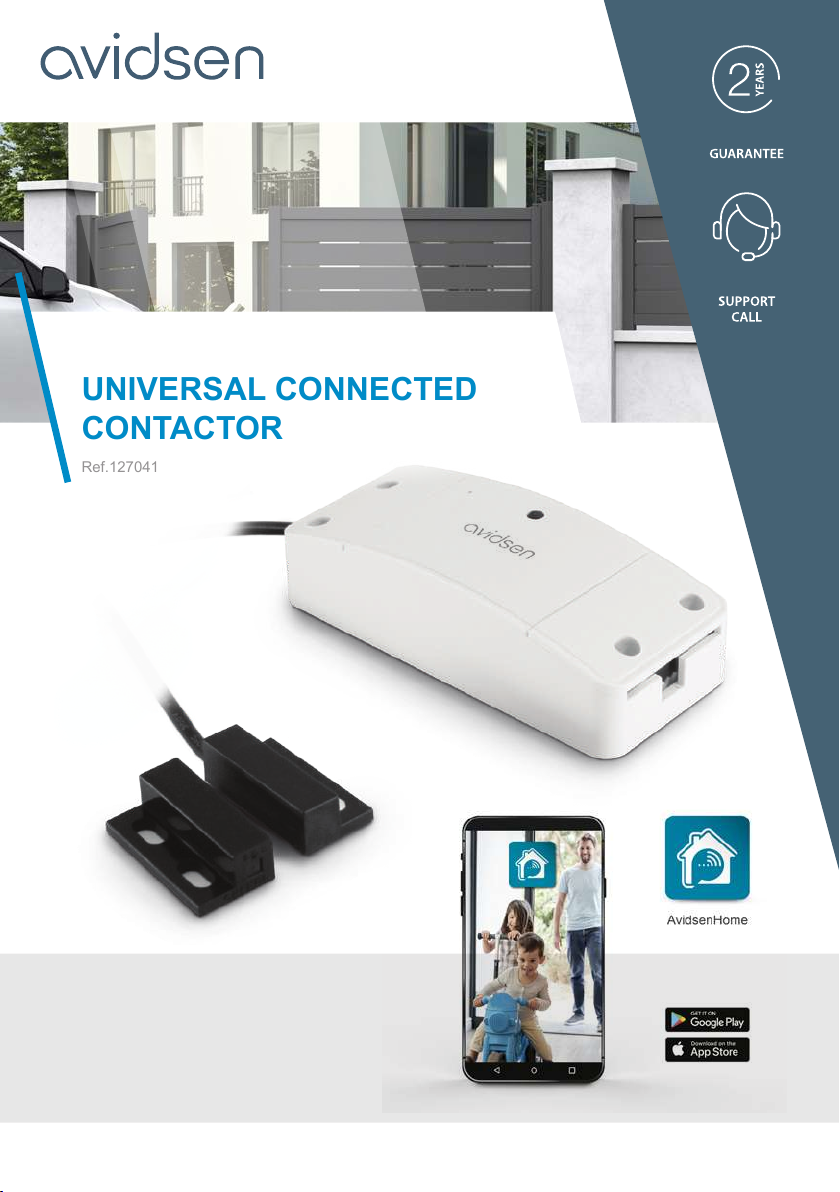
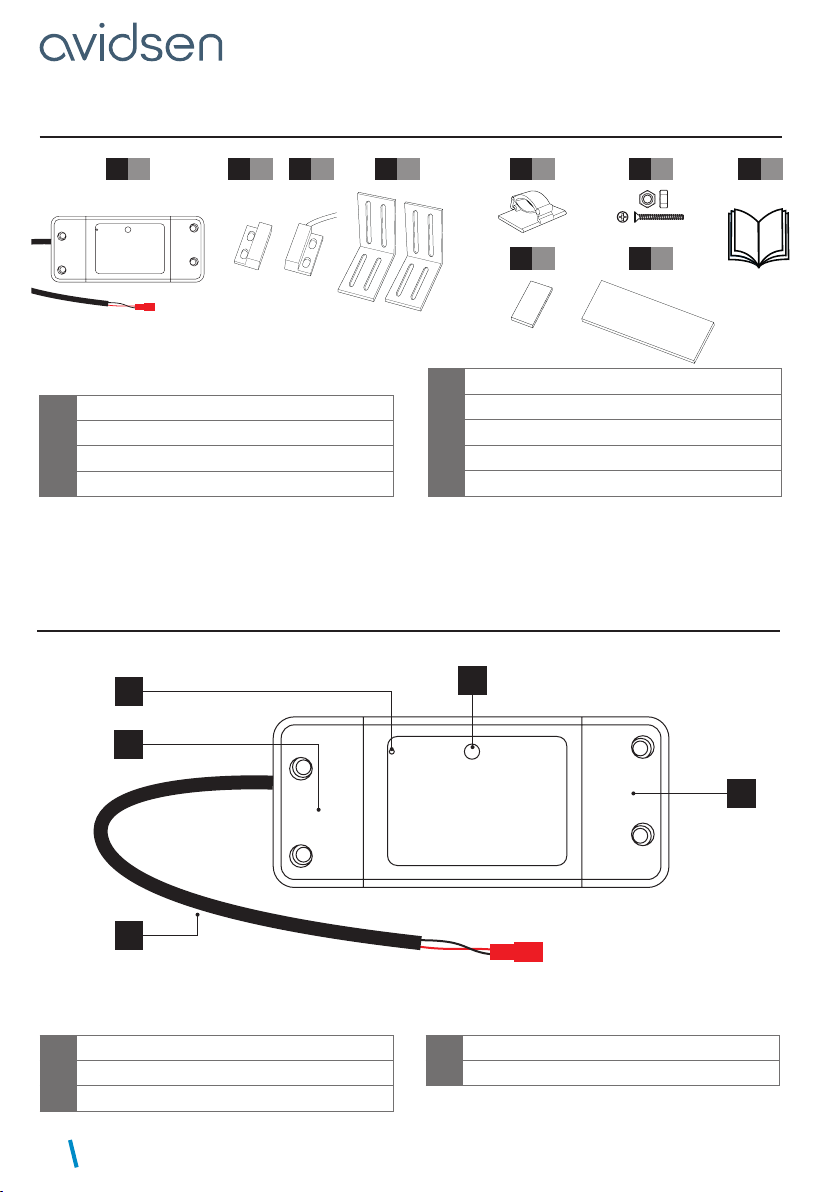
UNIVERSAL CONNECTED CONTACTOR
EN5
A - SAFETY INSTRUCTIONS
1: OPERATING PRECAUTIONS
• Read this entire manual before starting the
installation.
• Do not allow children to operate the product.
• Do not install this product outside a waterproof
housing
• Switch off the circuit breaker before working on
the product
2: WARNING
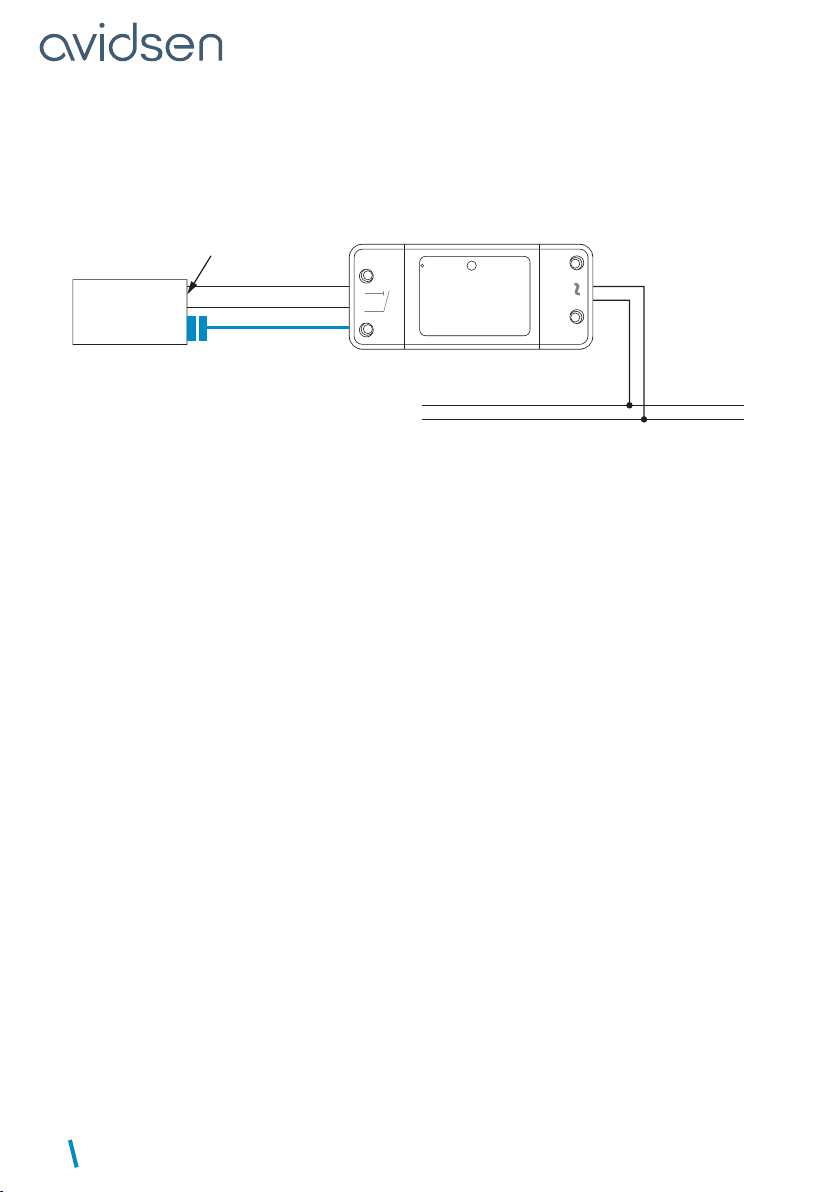
This product has been designed to control a dry
contact for a gate or garage door motor drive. Any
other use of the device shall not be covered by the
warranty or technical support. Avidsen cannot be
held liable for any use that does not comply with
the instructions in this manual and causes damage.
Children should be supervised to make sure that
they do not play with the device.
The operating principle of the connected contactor
triggers the motor drive based on a programmed
scenario; said trigger is not necessarily the user
(time condition, activation of another device, etc.)
It can also be used for remote triggering, without
direct visual access to the motor drive.
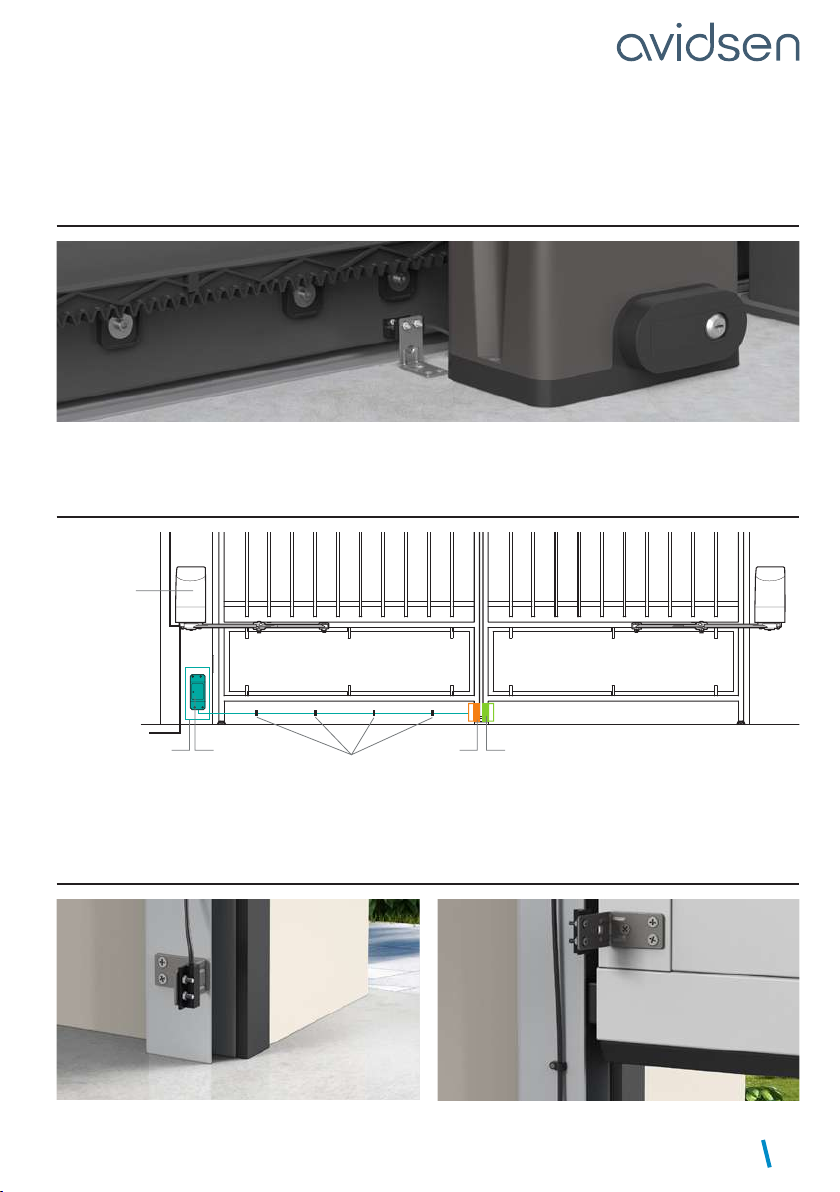
The specifications of the EN12453 standard enable
the 3 following use cases of the drive, as well as the
minimum levels of protection:
- Press activation with visible gate
Minimum level of protection: Force limiter only.
- Press activation with non-visible gate
Minimum level of protection: Force limiter and 2
pairs of photocells to protect the gate’s opening and
closing.
- Automatic control (automatic closure)
Minimum level of protection: Force limiter and 1 pair
of photocells to protect the gate’s automatic closing
Care should therefore be taken to ensure that
the motor drive installation is protected by the
equipment required for this purpose.
The Avidsen company may not be held liable
for any injury or property damage caused by the
triggering of the motor drive by the contactor.
3: MAINTENANCE AND CLEANING
The outside of the housing may have to be cleaned
from time to time.
• Switch off the circuit breaker before working on
the product.
• Do not use abrasive substances, substances
containing alcohol, thinners or other flammable
substances.
• Do not spray any product directly onto the unit.
4: RECYCLING
This logo denotes that devices no longer
in use should not be disposed of as
household waste. They are likely to
contain hazardous substances that are
dangerous to both health and the
environment. Return the equipment to
your local distributor or use the recycling collection
service provided by your local council.
Pour en savoir plus :
www.quefairedemesdechets.fr