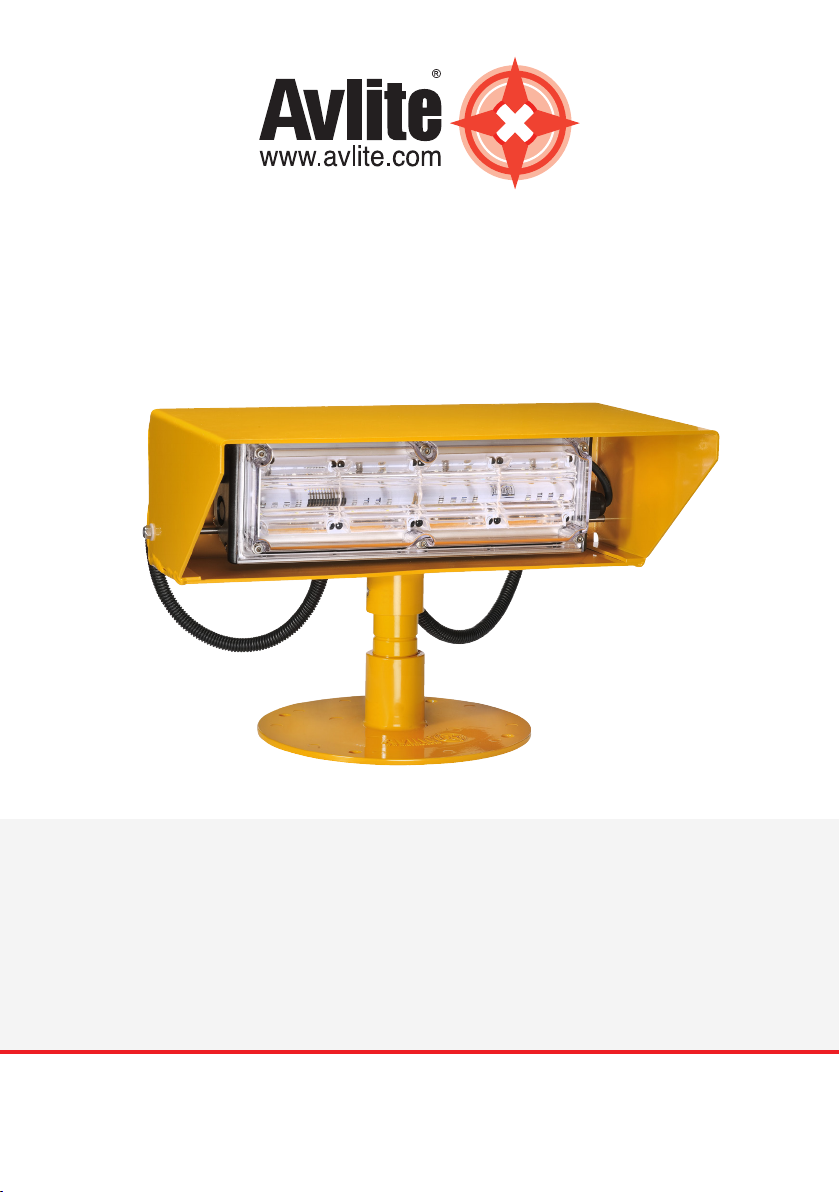
AV-HL-FL - Heliport Flood Light
Installation & Service Manual
Latest products and information available at www.avlite.com 3
Table of Contents
1.0 Introduction ...............................................................................................................4
2.0 Technology.................................................................................................................5
3.0 AV-HL-FL Models.......................................................................................................6
3.1 Available Options....................................................................................................................................... 6
4.0 AV-HL-FL Data Sheet................................................................................................7
5.0 Safety Information....................................................................................................9
6.0 Operation and Setup..............................................................................................10
6.1 Product Overview......................................................................................................................................11
6.1.1 AV-HL-FL-DC & UM .........................................................................................................................11
6.1.2 AV-HL-FL-PV.....................................................................................................................................12
6.1.3 AV-ALS-RC.........................................................................................................................................13
6.1.4 Interface Wiring...............................................................................................................................13
7.0 Unpacking, Installation, Wiring and Setup ......................................................... 14
7.1 Unpacking ......................................................................................................................................................14
7.2 Installation......................................................................................................................................................14
7.2.1 Tools Required ..................................................................................................................................15
7.2.2 Location ...............................................................................................................................................15
7.2.3 Cabling Requirements.................................................................................................................15
7.2.4 Factory Configurations................................................................................................................15
7.2.5 Installation Recommendation.................................................................................................16
7.2.5.1 AV-HL-FL range...............................................................................................................16
7.2.5.2 LED Floodlight Unit Adjustment.............................................................................23
8.0 Maintenance and Servicing ................................................................................. 24
9.0 Replacement Parts ................................................................................................ 26
10.0 Troubleshooting..................................................................................................... 26