SAFETY INSTRUCTIONS
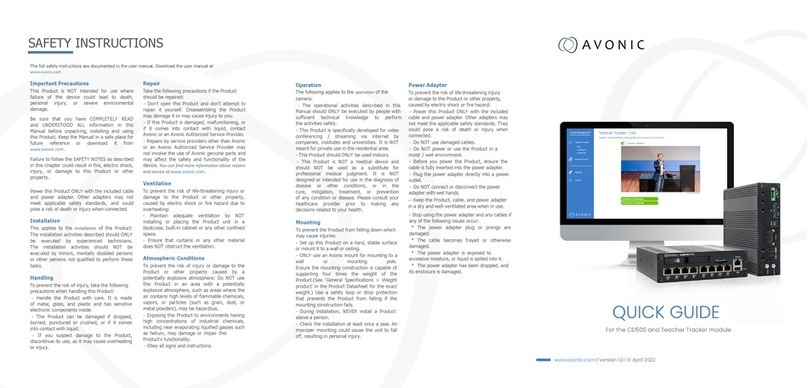
The full safety instructions are documented in the user manual. Download the user manual at www.avonic.com
Important Precautions Repair Operation Disposal and Recycling
Take the following precautions if the Product should be
repaired:
- Don’t open this Product and don’t attempt to
repair it yourself. Disassembling the Product may
damage it or may cause injury to you.
-If this Product is damaged, malfunctioning, or if it
comes into contact with liquid, contact Avonic or an
Avonic Authorized Service Provider.
- Repairs by service providers other than Avonic or an
Avonic Authorized Service Provider may not involve
the use of Avonic genuine parts and may affect the
safety and functionality of the device. You can find
more information about repairs and service at
www.avonic.com.
Atmospheric Conditions
This Product is NOT intended for use where failure of
the device could lead to death, personal injury, or
severe environmental damage.
Be sure that you have COMPLETELY READ and
UNDERSTOOD ALL information in this Manual before
unpacking, installing and using this Product. Keep the
Manual in a safe place for future reference or
download it from www.avonic.com.
Failure to follow the SAFETY NOTES as described in this
chapter could result in fire, electric shock, injury, or
damage to this Product or other property.
Power this Product ONLY with the included cable and
power adapter. Other adapters may not meet
applicable safety standards, and could pose a risk of
death or injury when connected.
The following applies to the operation of the camera:
- The operational activities described in this Manual
should ONLY be executed by people with enough
technical knowledge to perform the activities in a safe
manner.
- This Product is specifically developed for video confe-
rencing / streaming via internet by companies,
institutes and universities. It is NOT meant for private use
in the residential area.
- This Product should ONLY be used indoors.
- This Product is NOT a medical device and should NOT
be used as a substitute for professional medical judg-
ment. It is NOT designed or intended for use in the
diagnosis of disease or other conditions, or in the cure,
mitigation, treatment, or prevention of any condition or
disease. Please consult your healthcare provider prior
to making any decisions related to your health.
Installation Power Adapter
This applies to the installation of the Product:
The installation activities described should ONLY be
executed by experienced technicians.
The installation activities should NOT be executed by
minors, mentally disabled persons or other persons not
qualified to perform these tasks.
Handling
To prevent the risk of injury or damage to the Product
or other property caused by a potentially explosive
atmosphere:
- Do NOT use this Product in an area with a potentially
explosive atmosphere, such as areas where the air
contains high levels of flammable chemicals, vapors,
or particles (such as grain, dust, or metal powders),
may be hazardous.
- Exposing this Product to environments having high
concentrations of industrial chemicals, including near
evaporating liquified gasses such as helium, may
damage or impair this Product functionality.
- Obey all signs and instructions.
Mounting
To prevent the risk of injury, take the following
precautions when handling this Product:
- Handle the Product with care. It is made of metal,
glass, and plastic and has sensitive electronic com-
ponents inside.
- The Product can be damaged if dropped, burned,
punctured or crushed, or if it comes into contact with
liquid.
- If you suspect damage to the Product, discontinue
its use, as it may cause overheating or injury.
Ventilation
To prevent the risk of life-threatening injury or damage
to the Product or other property, caused by electric
shock or fire hazard due to overheating:
- Maintain adequate ventilation by NOT installing or
placing the Product unit in a bookcase, built-in ca-
binet or any other confined space.
- Ensure that curtains or any other material does NOT
obstruct the ventilation.
To prevent the Product from falling down which may
cause injuries:
- Set up this Product on a hard, stable surface or
mount it to a wall or ceiling.
- ONLY use an Avonic mount for mounting to a wall
or mounting pole.
- Ensure the mounting construction is capable of
supporting four times the weight of the Product. (See
'General Specifications > Weight product’ in the
Product Datasheet for the exact weight.)
Use a safety loop or drop protection that prevents the
Product from falling if the mounting construction fails.
- NEVER install a Product above a person.
- Check the installation at least once a year. An im-
proper mounting could cause the unit to fall off,
resulting in personal injury.
To prevent the risk of life-threatening injury or damage
to the Product or other property, caused by electric
shock or fire hazard:
- Power this Product ONLY with the included cable and
power adapter. Other adapters may not meet the
applicable safety standards. They could pose a risk of
death or injury when connected.
- Do NOT use damaged cables.
- Do NOT power the Product in a moist / wet environ-
ment.
- Before you power the Product, ensure the cable is fully
inserted into the power adapter.
- Plug the power adapter directly into a power outlet.
- Do NOT use the power adapter at a moist / wet
location.
- Do NOT connect or disconnect the power adapter
with wet hands.
- Keep the Product, cable, and power adapter in a
dry and well-ventilated area when in use.
- Stop using the power adapter and any cables if any
of the following conditions exist:
* The power adapter plug or prongs are damaged.
* The cable becomes frayed or otherwise damaged.
* The power adapter is exposed to excessive moisture,
or liquid is spilled into it.
* The power adapter has been dropped, and its en-
closure is damaged.
Disposal and Recycling can be found as a separate
chapter as one of the last chapters in the user manual.
In general, the term 'E-Waste' or 'Waste of Electrical
and Electronic Equipment' applies to items of all types
of electrical and electronic equipment and its parts
that have been discarded by the owner as waste
without the intention of re-use.
E-Waste, like the CD500 and ALL of its accessories,
cannot be disposed to normal waste and needs
to be disposed saparetely. For this reason, send the
CD500 back to Avonic or your local distributor if you
want to dispose the CD500. Visit www.avonic.com for
contact information and the return procedure. Avonic
outsources the disposal and recycling of its E-Waste
CD500 materials to Stichting Open.
Avonic is NOT responsible for personal data left in the
settings of the camera as far as this is possible (like,
IP Addresses, user names, passwords etc.) DELETE
personal data before you send the CD500 back to
Avonic!


