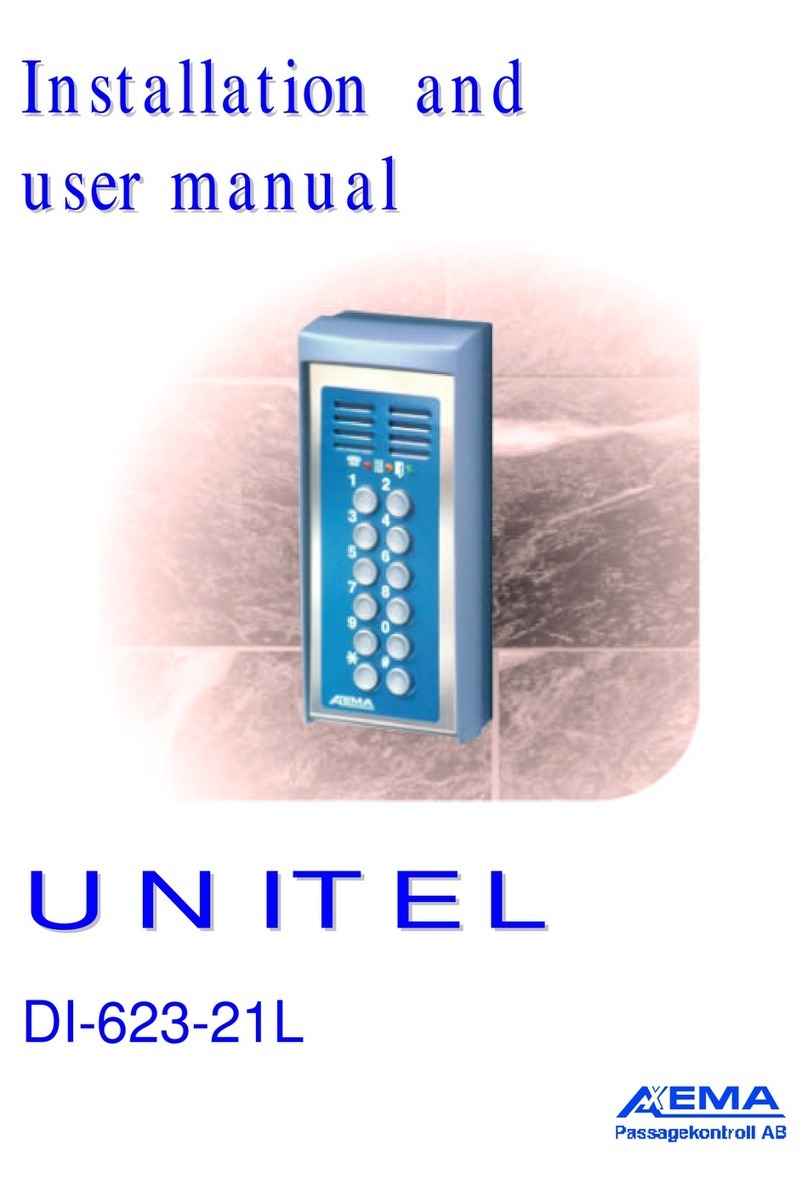
Axema AXCALL ADI-611 User manual

P
Pr
ro
oj
je
ec
ct
ti
in
ng
g
a
an
nd
d
I
In
ns
st
ta
al
ll
la
at
ti
io
on
n
m
ma
an
nu
ua
al
l
A
AX
XC
CA
AL
LL
L
A
AD
DI
I-
-6
61
11
1/
/6
61
16
6/
/6
60
08
8

AXCALL Installation manual V1.3
TABLE OF CONTENTS
1. INTRODUCTION...............................................................................2
2. BLOCK DRAWING............................................................................3
Normal connection ADI-611 and ADI-616......................................................3
Security connected ADI-611 and ADI-616......................................................4
Normal connection ADI-616 and ADI-608......................................................5
Normal connection ADI-616 and SWU............................................................6
3 pcs DI-611 to 2 pcs SWU cascade connected..............................................7
Connection of extra buzzer/signal device.........................................................8
Connection of extra amplifier/line amplifier....................................................9
3. CONNECTION DIAGRAM...............................................................10
AXCALL ADI-611, ADI-616...........................................................................10
AXCALL ADI-608.............................................................................................11
AXCALL SWU...................................................................................................12
4. CONNECTION EXAMPLE................................................................13
ADI-611 to DI-651.............................................................................................13
ADI-616 to DI-651.............................................................................................14
2 pcs ADI-611 to SWU......................................................................................15
2 pcs ADI-616 to SWU......................................................................................16
Cascade connection of SWU.............................................................................17
Cascade connection with SWU and ADI-608................................................18
Modification of front plate for LED indication.............................................19
Mounting LED indication panel in DI-651.....................................................20
Connection of LED indication unit..................................................................21
Connection of ADI-611 to DI-651-1...............................................................22
Line amplifier DI-653-2 connected to DI-651...............................................23
Line amplifier DI-653-2 connected to DI-653-1...........................................24
Extra buzzer DI-653-1........................................................................................25
AR-12 TO OTHER SIGNAL DEVICE..........................................................26
AR-12 AS SECURITY DEVICE.....................................................................27

22. Introduction
AXCALL Installation manual V1.3
1. INTRODUCTION
Axcall is an conventional door intercom system, witch means that cables between
intercom and handset is needed. The system include 2 different intercom ADI-611
with 1 calling button and ADI-616 with 6 calling buttons, and an extension unit
ADI-608 with 8 calling buttons. Inside the building can one or more handset be
mounted. DI-651 which is standard unit, DI-651-1 which has a button to turn of
the calling signal, and one led to indicate e.g opening signal, and DI-651-2 which
has 2 free push buttons.
A simple system include door intercom, handset and power supply, and if opening
function is needed an electrical strike. If more than one intercom will be connected
to the one handset a switch unitSWU has to be included, if indication unit DI-655
is added an indication from which intercom the call is coming from. If more than 6
calling buttons is needed you have to use extension unit ADI-608, then up to 14
handset can be reached .
To one intercom maximum 3 handset can be connected in parallel, if more want to
be connected a line amplifier DI-653-2 must be used to have enough buzzer signal.
DI-653-2 is a good complement if handset is in a noisy environment. If you need a
stronger buzzer signal or a signal on more than one place, use speaker DI-653-1.
To have a safer system use the security relay AR-2, then you get a more
manipulating safer function. Our transformer TF-3 must be used as power supply,
one to the whole system. It is an 24VDC transformer and have a 2200uF capacitor
on the output. The choice of power supply is very important to avoid noise in the
system.
Here is some block drawing showing the most common connections. The number
of wire that shows in the drawings is the minimum, we recommend that more
wires is added to cover extra functions ( e.g. power supplyto line amplifier, LED
indication).

2. Block drawing 3
AXCALL Installation manual V1.3
2. BLOCK DRAWING
NORMAL CONNECTION ADI-611 AND ADI-616
Reception
ADI-611
Normal installation
Normal installation
Handset DI-651
7 x Handset DI-651
Axel
Andersson
Beda
Bengtsson
Cesar
Celsing
David
Danielsson
Erik
Erixsson
Fredric
Forsyte
ADI-616
Handset in parallel
to button 6
Transformer
24V DC
Transformer
24V DC
TF-3
TF-3

42. Block drawing
AXCALL Installation manual V1.3
SECURITY CONNECTED ADI-611 AND ADI-616
Axel
Andersson
Beda
Bengtsson
Cesar
Celsing
David
Danielsson
Erik
Erixsson
Fredric
Forsyte
Reception
ADI-611
ADI-616
Time relay
AR-2
Time relay
AR-2
External opening relay
(high security)
External opening relay
(high security)
Handset DI-651
6 x DI-651Handset
Transformer
24V DC
Transformer
24V DC
TF-3
TF-3

2. Block drawing 5
AXCALL Installation manual V1.3
NORMAL CONNECTION ADI-616 AND ADI-608
Axel
Andersson
Beda
Bengtsson
Cesar
Celsing
David
Danielsson
Erik
Erixsson
Fredric
Forsyte
ADI-608
ADI-616
Extention to 14 connections
14 x DI-651Handset
Axel
Andersson
Axel
Andersson
Axel
Andersson
Beda
Bengtsson
Cesar
Celsing
David
Danielsson
Erik
Erixsson
Fredric
Forsyte
Transformer
24V DC
TF-3

62. Block drawing
AXCALL Installation manual V1.3
NORMAL CONNECTION ADI-616 AND SWU
SWU
Normal installation using SWU
6 x Handset DI-651
Transformer
24V DC
Axel
Andersson
Axel
Andersson
Beda
Bengtsson
Beda
Bengtsson
Cesar
Celsing Cesar
Celsing
David
Danielsson
David
Danielsson
Erik
Erixsson Erik
Erixsson
Fredric
Forsyte Fredric
Forsyte
ADI-616
TF-3
ADI-616

2. Block drawing 7
AXCALL Installation manual V1.3
3 PCS DI-611 TO 2 PCS SWU CASCADE CONNECTED
Reception
Reception
Reception
ADI-611
ADI-611
ADI-611
Normal intallation with 2 SWU cascade connected
Handset DI-651 with LED unit DI-655
SWU
Transformer
24V DC
TF-3
ENTRE B
ENTRE A
ENTRE C
ENTRE D

82. Block drawing
AXCALL Installation manual V1.3
CONNECTION OF EXTRA BUZZER/SIGNAL DEVICE
Reception
ADI-611
AR1 el AR2
Signal device
Normal installation using extra signal device
Handset DI-651
TF-3
Reception
ADI-611
Normal installation using extra buzzer
Handset DI-651 and buzzer DI-653-1
Transformer
24V DC
Transformer
24V DC
TF-3

2. Block drawing 9
AXCALL Installation manual V1.3
CONNECTION OF EXTRA AMPLIFIER/LINE AMPLIFIER
Reception
Reception
ADI-611
ADI-611
Installation using amplifier to extra buzzer
Installation with amplified buzzer signal
Handset DI-651 with amplified extra buzzer DI-653-1
Handset DI-651 with line amplifier DI-653-2
Transformer
24V DC
Transformer
24V DC
AmplifierDI-653-2
Build in amplifier
DI-653-2
TF-3
TF-3

10 3. Drawings
AXCALL Installation manual V1.3
3. CONNECTION DIAGRAM
AXCALL ADI-611, ADI-616
1 2 3 4 5 333435
36
37
151617181920
21
22
23
24
Opening time
1-30sek.
Voltage
jumper.
Normally in AC pos.
Speaker
volume.
+
_
_
+
Handset
GND
Microfon
Earphone
Opening button
Button 3
Button 6
Button 1
Button 2
Button 4
Button 5
Connection to
handset.
6
2
1
9
CA unit 3 (ADI-611)
CA unit.6
CA unit.1
CA unit.2
CA unit.4
CA unit.5
To all
handset.
Tamper switch
Calling signal out
GND
DC-power to line amp. (DI-653-2)
PL1:3
PL1:4
Connection to ADI-608
Power supply
12-24V DC Power supply
12-24V DC
Relay max 1A.
12V
24V
Note! The strike must
have same voltage as
the transformer.
PL1:2
PL1:1
Voltage
12V
24V
ADI-616
max. 98mA
min. 63mA
max. 76mA
min. 49mA max. 158mA
min. 140mA
max. 159mA
min. 130mA
ADI-611
Power consumption
Urmet 1131
1
2
6
9
10
CA
URMET 1131
x
x
Note! Connection points for intercom
with1button(ADI-611).
Important!!!
NOTE!
If more than one handset will be
connected to the same button,
all wires must be connected in
parallel.
AC DC

3. Drawings 11
AXCALL Installation manual V1.3
AXCALL ADI-608.
Handset.
Button 8
Button 1
Button 2
Button 3
Button 4
Button 5
Button 6
Button 7
Connection to
handset.
CA unit. 8
CA unit. 1
CA unit. 2
CA unit. 3
CA unit. 4
CA unit. 7
CA unit. 6
CA unit. 5
Calling signal in
GND PL3:33
PL3:34
Connections to ADI-611,616
Power supply
12-24V AC/DC PL1:2
PL1:1
Voltage
12V
24V
max. 139mA
max. 163mA
ADI-608
Power consumption
1 2 3 4 5
272526 2829303132
Voltage
jumper
12/24V.
12V
24V
Urmet 1131
1
2
6
9
10
CA
URMET 1131

12 3. Drawings
AXCALL Installation manual V1.3
AXCALL SWU.
Voltage
12V
24V
Power consumption
max. 167mA
max. 200mA
Current
1 2 6 9
10
CA
URMET 1131
Voltage jumper
12/24V.
1
2
V
2
4
V
INDOOR UNIT
3
7
3
6
3
5
3
4
33
4
2
4
1
4
0
3
9
3
8
Intercom A
Intercom B
BUTTON 1
BUTTON 1
BUTTON 1
BUTTON 6
BUTTON 6
BUTTON 6
MIC.
MIC.
MIC.
BUTTON 3
BUTTON 3
BUTTON 3
OPEN BUT.
OPEN BUT.
OPEN BUT.
BUTTON 5
BUTTON 5
BUTTON 5
EARPHONE
EARPHONE
EARPHONE
BUTTON 4
BUTTON 4
BUTTON 4
GND
GND
GND
BUTTON 2
BUTTON 2
BUTTON 2
19
24
24
18
23
23
17
22
22
16
21
21
15
20
20
INTERCOM A
CONNECTION NR.
3736353433 4241403938
21
18
17
16
15
INTERCOM B
1
5
1
6
1
7
1
8
1
9
2
0
2
1
2
2
2
3
2
4
CA
CA
CA
CA
CA
CA
9
6
2
1
TO ALL HANDSET.
HANDSET 6
HANDSET1
HANDSET2
HANDSET3
HANDSET4
HANDSET5
Power supply
12-24V DC
1 2 3 4 5
GND
LED UNIT A
LED UNIT B
TO INDICATION
UNIT
Note! For intercom ADI-611 use input with bold style.
+

4. Connection example 13
AXCALL Installation manual V1.3
4. CONNECTION EXAMPLE
ADI-611 TO DI-651
1 2 3 4 5 3334353637
15 1617181920 21222324
Opening time
1-30sek.
Voltage
jumper. Speaker
volume.
Use this wire with strike
having reverse function.
(Open without power.)
+
_
_
+
Transformer
TF-3 24V DC
1
2
V
2
4
V
Notr! The strike must
have same voltage as
the transformer.
Voltage
12V
24V
ADI-616
max. 98mA
min. 63mA
max. 76mA
min. 49mA max. 158mA
min. 140mA
max. 159mA
min. 130mA
ADI-611
Power consumption
1
2
6
9
10
CA
URMET 1131
NOTE!
If more than one handset
will be connected to the same
button, all wires must be
connected in parallel.

14 4. Connection example
AXCALL Installation manual V1.3
ADI-616 TO DI-651
1 2 3 4 5 3334353637
151617181920212223
24
Opening time
1-30sek.
Voltage
jumper. Speaker
volume.
Use this wire if the strike
has reverse function.
(Open whitout power.)
+
_
_
+
Transformer
TF-3 24V DC
12V
24V
Note! The strike must
have same voltage as
the transformer.
Voltage
12V
24V
ADI-616
max. 98mA
min. 63mA
max. 76mA
min. 49mA max.158mA
min. 140mA
max.159mA
min. 130mA
ADI-611
Power consumption
Handset 1
Handset 2
Handset 6
1
2
6
9
10
CA
URMET 1131
1
2
6
9
10
CA
URMET 1131
1
2
6
9
10
CA
URMET 1131
NOTE!
If more then one handset will be
connected to the same button,
all wires must be connected in
parallel.

4. Connection example 15
AXCALL Installation manual V1.3
2 PCS ADI-611 TO SWU
Handset
1
2
6
9
10CA
URMET 1131
1
2
V
2
4
V
3
7
3
6
3
5
3
4
3
3
4
2
4
1
4
0
3
9
3
8
373 6353433 4241403938
1
5
1
6
1
7
1
8
1
9
2
0
2
1
2
2
2
3
2
4
12345
1 2 3 4 5 33 34 35 36 37
15 1617 18 19 20 21 22 23 24
+
_
_
+
12V
24V
AC
AC
DC
DC
12345
33
34
35
36
37
15
16
17
18
19
20
21
22
23
24
+
_
_
+
12V
2 4V
+
Transformer
TF-3 24V DC
NOTE!!!
Must be in DC pos.
NOTE!!!
Must be in DC pos.

16 4. Connection example
AXCALL Installation manual V1.3
2 PCS ADI-616 TO SWU
Handset 1
Handset 5
Handset 6
1
2
6
9
10
CA
URMET 1131
1
2
6
9
10
CA
URMET 1131
1
2
6
9
10CA
URMET1131
1
2
V
2
4
V
3
7
3
6
3
5
3
4
3
3
4
2
4
1
4
0
3
9
3
8
3736353433 4241403938
1
5
1
6
1
7
1
8
1
9
2
0
2
1
2
2
2
3
2
4
1 2 3 4 5
1 2 3 4 5 33 3435 36 37
15 16 171819 20 2122 23 24
+
_
_
+
Transformer
TF-3 24V DC
12 V
24 V
12345
33
34
35
36
37
15
16
17
18
19
20
21
22
23
24
+
_
_
+
12 V
2 4V
+
AC
AC
DC
DC
NOTE!!!
Must be in DC pos.
NOTE!!!
Must be in DC pos.

4. Connection example 17
AXCALL Installation manual V1.3
CASCADE CONNECTION OF SWU
Handset
1
I
n
t
e
r
c
o
m
1
I
n
t
e
r
c
o
m
2
I
n
t
e
r
c
o
m
3
Handset
5
Handset
6
1
2
6
9
10
CA
URMET1131
1
2
6
9
10
CA
URMET1131
1
2
6
9
10CA
URMET 1131
1
2
V
2
4
V
3
7
3
6
3
5
3
4
33
4
2
4
1
4
0
3
9
3
8
3736353433 4241403938
1
5
1
6
1
7
1
8
1
9
2
0
2
1
2
2
2
3
2
4
12345
1
2
V
2
4
V
3736353433 42414039383736353433 4241403938
15 16 17 18 19 20 2 1 22 23 24
1 2 3 4 5
Transformer
TF-3 24V DC
+

18 4. Connection example
AXCALL Installation manual V1.3
CASCADE CONNECTION WITH SWU AND ADI-608
Headset1
I
n
t
e
r
c
o
m
1
I
n
t
e
r
c
o
m
2
A
D
I
-
6
0
8
Headset5Headset 7
Headset6Headset 8
1
2
6
9
10
CA
URMET1131
1 2 6 9
10
CA
URMET1131
1
2
6
9
10
CA
URMET1131
1 2 6 9
10
CA
URMET1131
1
2
6
9
10CA
URMET 1131
1
2
V
2
4
V
3
7
3
6
3
5
3
4
33
4
2
4
1
4
0
3
9
3
8
3736353433 4241403938
1
5
1
6
1
7
1
8
1
9
2
0
2
1
2
2
2
3
2
4
12345
1
2
V
2
4
V
3736353433 42414039383736353433 4241403938
15 1 6 17 18 19 20 21 22 23 24
12345
Transformer
TF-3 24V DC
+

4. Connection example 19
AXCALL Installation manual V1.3
MODIFICATION OF FRONT PLATE FOR LED INDICATION.
B
A
- Cut carefully away the plastic pieces which is marked
grey on the picture. Use a small sharp electronic cutter.
- NOTE!! Do not remove the piece in the middle marked black.
This manual suits for next models
2
Table of contents
Other Axema Intercom System manuals