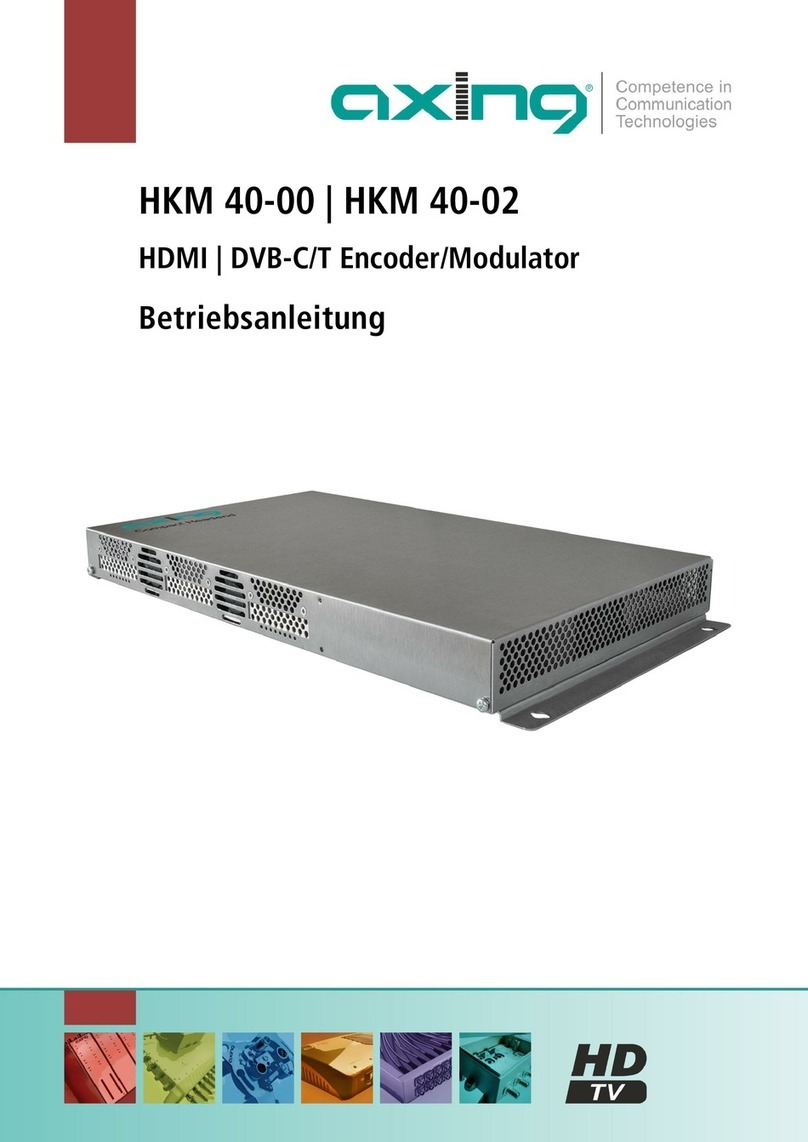
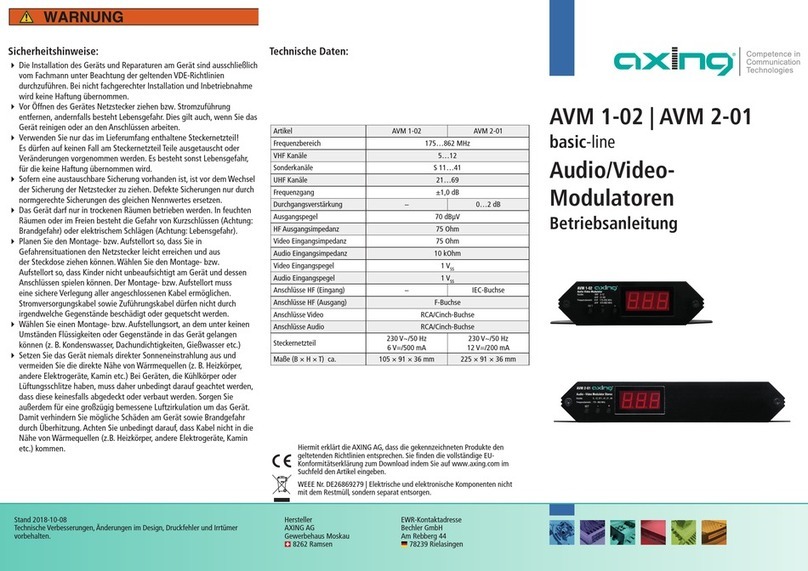
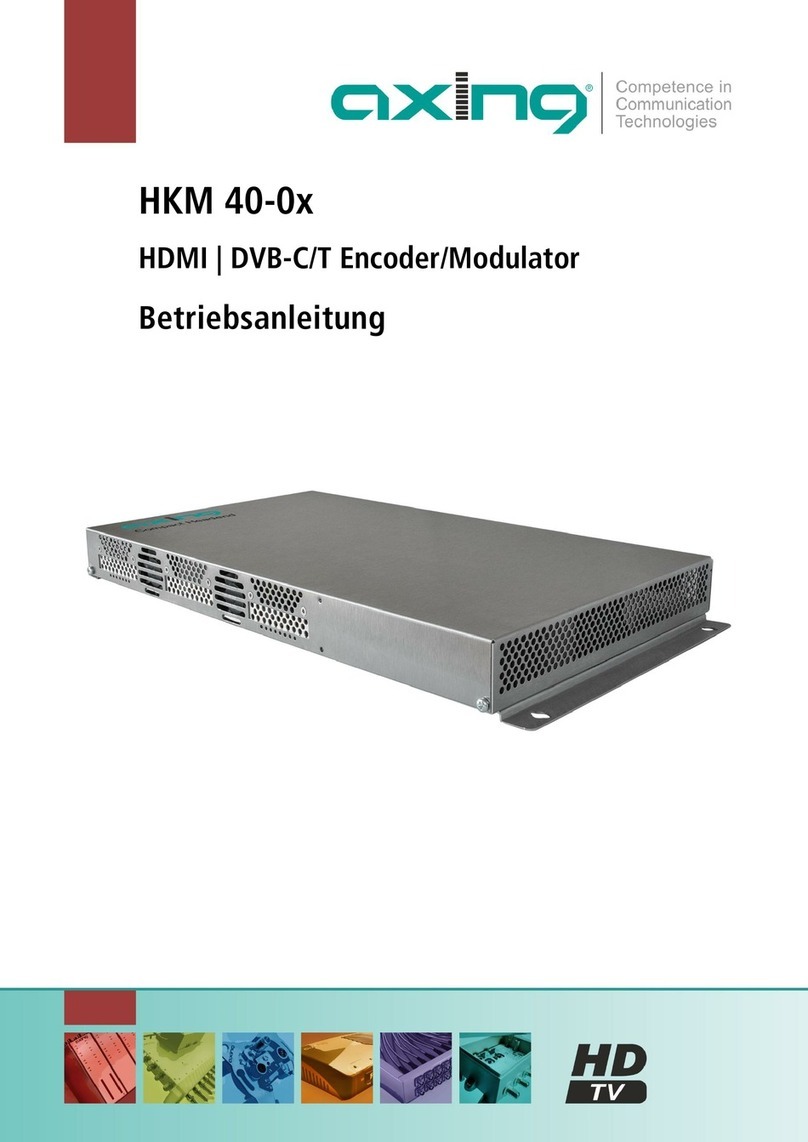
axing HKM 40-02 User manual

HKM-4002
HDMI | DVB-C/T encoder/modulator
1

Table of contents
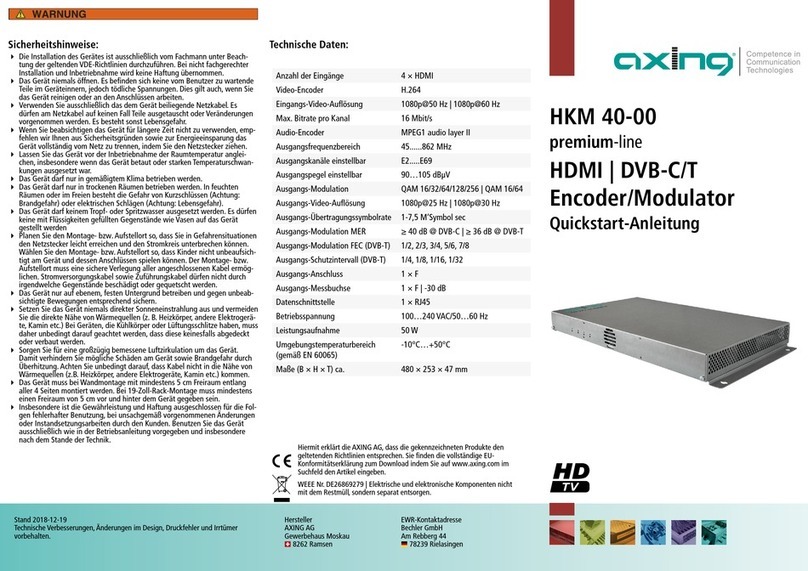
Safety instructions:
⦁ The installation of the device and repair work on the device must be carried
out only by a professional in accordance with the applicable VDE directives.
In case of incorrect installation, no liability is assumed.
⦁ Never open the device. There are no parts to be maintained by the user
inside the device, however, lethal voltages are present. This also applies to
cleaning the device or working on the connections.
⦁ Use only the mains cable connected to the device or the enclosed power
supply unit. Never replace any parts or make any modifications to the mains
cable and the power supply unit. Otherwise, there is a risk of death.
⦁ If a replaceable fuse is available, pull out the mains plug before replacing the
fuse. Replace defective fuses only by standardized fuses with the same
nominal value.
⦁ If you intend not to use the device for a longer period of time, we recommend
you to completely disconnect the device from the mains for safety reasons
and for saving energy by pulling out the mains plug.
⦁ Let the device adjust to the room temperature before commissioning, in
particular if condensation is present on the device, or if it was exposed to
large temperature fluctuations.
⦁ The device must be operated only in moderate climate.
⦁ The device must be operated only in dry rooms. In damp rooms or outdoors,
there is a risk of short-circuits (attention: risk of fire) or electrical shocks
(attention: risk of death).
⦁ Plan the mounting or installation location such that you can easily reach the
mains plug and interrupt the electric circuit in dangerous situations. Select the
mounting or installation location such that children cannot play near the
device and its connections without supervision. The mounting or installation
location must allow a safe installation of all connected cables. Power supply
cables and supply cables must not be damaged or squeezed by any objects.
⦁ Select a mounting or installation location which meets the requirements of the
IP 54 protection class. Operate the device only on a flat, firm surface and
protect it against unintentional movements.
⦁ Never expose the device to direct solar irradiation and avoid direct vicinity of
heat sources (e.g. heaters, other electrical appliances, fireplace, etc.). It must
be always ensured that devices with cooling elements or ventilation slots are
not covered or obstructed. In addition, ensure generous air circulation around
the device. This will prevent possible damage to device and risk of fire due to
2
overheating. It must be always ensured that cables are not located near heat
sources (e.g. heaters, other electrical appliances, fireplace, etc.).
⦁ The device is intended for transmission of audio and video signals via LAN
cable. Misuse of the device is expressly prohibited.
⦁ In particular, the warranty and liability shall be excluded for the consequences
of incorrect use, in case of incorrect modifications or repair work carried out
by the customer. Use the device only as described in the operating
instructions and in particular according to the state-of-the-art.
⦁ The antenna system must be installed and grounded according to the current
DIN EN 60728-11 standard.
⦁ The product complies with the directives and standards for CE labeling.
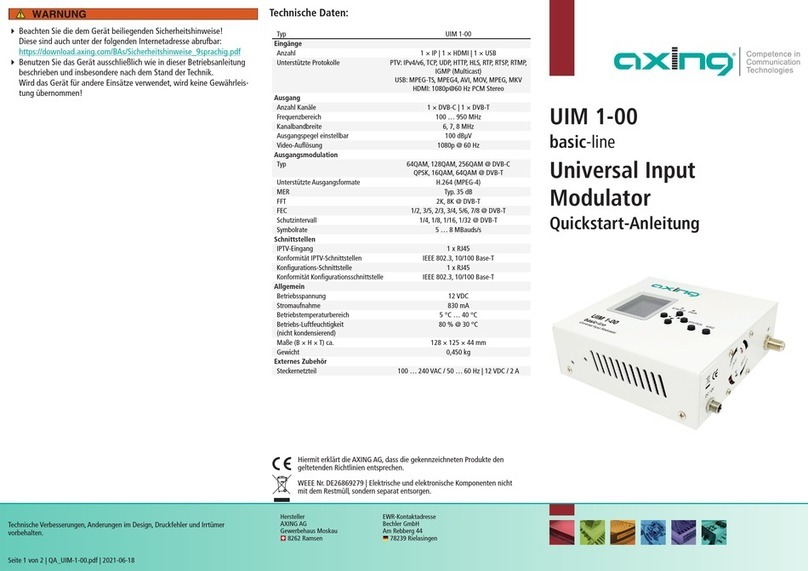
⦁ Product description
⦁ General
⦁ 4 x HDMI into 1 × DVB-C/T or 2 × DVB-C/T
⦁ Web-based configuration | Remote maintenance
⦁ Can be used for wall mounting or as a 19" unit
⦁ Built-in power supply
⦁ Scope of delivery
1 × Encoder/Modulator
1 × AC power cord
1 × Quick start guide
⦁ Inputs
The HKM-4002 has four HDMI inputs. Connect them to four HDMI sources.
3

⦁ Output/modulators
The HKM 4002 has four output modulators. Theese will be streamed in one or two
output channels
(DVB-C / DVB-T).
⦁ Graphical user interface
The settings can be changed via the graphical user interface. To access the user
interface and thus configure the devices, you need a standard PC/laptop with a
network interface and the actual version of the installed web browser.
4

⦁ Display elements and connectors
1. LED indicators
2. Mains connection
3. RF output
4. Test port
5. HDMI inputs
6. RJ45 Ethernet connector
⦁ Mounting and Installation
⦁ Installation must be performed by authorized and skilled electricians only.
⦁ Before mounting and installation, pull the mains plug!
The HKM-4002 can be mounted on either at the wall or be mounted in a 19 "rack.
⦁ Wall mounting
The HKM-4002 are factory-fitted with wall brackets.
5

⦁ The installation must be carried out on an even and vertical surface (any
unevenness must be compensated).
⦁ Fix the HKM-4002 with 4 screws appropriated for the installation surface (1).
⦁ The HKM-4002 must be connected to the equipotential bonding according to EN
60728-11 (2).
⦁ Mounting in a 19“ rack
⦁ Remove the wall bracket from the housing of the HKM-4002.
⦁ Mount the front plate HKZ 1-00 onto the HKM-4002 (1).
6

⦁ Slide the HKM-4002 into the 19 "rack.
⦁ Fix the HKM-4002 with four screws (2).
⦁ Maintain the EN 60728-11.
⦁ HDMI installation
The HKM-4002 has four HDMI inputs. Connect them to four HDMI sources.
⦁ RF Output
Connect the output of the HKM-4002 to the existing DVB-C / DVB-T distribution. Use
shielded coaxial cables with F connectors. You can find suitable cables and
connectors in the current AXING catalog or at www.axing.com.
If you are using more than one HKM-4002, the outputs must be connected with
suitable combiner.
⦁ Power supply
The HKM-4002 have a built-in power supply (100 ... 240 VAC / 50 ... 60 Hz).
⦁ Do not connect the device unit until all assembly and installation work has been
completed.
⦁ Use the supplied power cord.
7

⦁ Connect the power cord to an appropriate wall outlet.
⦁ Configuration
The device is configured via the graphical user interface of the integrated web
interface.
To access the user interface, you need a standard PC/laptop with a network
interface and the actual version of the installed web browser. To connect the network
interface of the device to the computer, you need a commercially available network
cable.
The HTTP protocol is used for communication allowing a worldwide remote
maintenance of the systems at various locations via the Internet. Access protection
is implemented by means of the password prompt.
The following values are preset ex factory:
⦁ IP address: 192.168.0.168
⦁ Subnet mask: 255.255.255.0.
The computer and the headend must be in the same subnetwork. The network part
of the IP address of the computer must be set to 192.168.0. and the subnet mask
must be set to 255.255.255.0.
The host part of the network address is required for the identification of the devices
and can be assigned in the subnetwork only once. You can allocate to the computer
any not allocated host address between 0 and 255.
Hint:
Change the IP address and the subnet mask of your computer accordingly. (e.g.: IP
address:192.168.0.11 and subnet mask: 255.255.255.0)
Control panel > Network connections > LAN connection >Properties > Internet
protocol version 4 TCP/IPv4 > Properties > Use the following IP address:
⦁ Click OK to save.
8

⦁ Login
⦁ Start your web browser and enter the IP address of the device: 192.168.0.168.
The web-based user interface is protected against unauthorized access. When
accessing the user interface, the first thing is the password request.
⦁ Enter the default password: Ramsen8262.
Changing the password:
⦁ Please change the password immediately after the first commissioning and
choose a sufficiently safe password. Keep this password at a safe place.
⦁ Menu item: System > Set password (see 3.6.6 on page 20).
Notes:
⦁ If the browser is closed while you are still logged in, an automatic logout occurs
2.5 minutes later.
⦁ If the browser window stays open, there is no automatic logout. It allows
monitoring the installation via the web browser.
⦁ RF settings
⦁ Click RF on the main menu.
Depending on the modulator selected, the RF PARAMETERS for DVB-C or DVC-
T are displayed.
⦁ How to select the modulator type is described under 3.6.7 Modulator Type on
page 20.
⦁ DVB-C
⦁ Make a pre-selection using the Country and Area menus.
Depending on the selection made, the country-specific channels are displayed in
9

the Frequency field.
⦁ Select an output level of 85 ... 105 dBμV in the Output level selection field.
⦁ The symbol rate between 1000 and 7500 can be freely set in the Symbol Rate
field. The default value is 6900. Some networks also work with 6875. If working
with only 7MHz bandwidth, a symbol rate of 6111 is in use.
⦁ In the Constellation selection field, select the desired output modulation (QAM
16/32/64/128/256).
QAM256 provides the highest data transfer rate, but also requires the best
network quality.
⦁ The IQ swap option enables or disables the inverse phase rotation of the IQ
signal by exchanging the I and Q inputs.
⦁ Click Safe Settings to save your settings.
⦁ DVB-T
⦁ Make a pre-selection using the Country and Area menus.
Depending on the selection made, the country-specific channels are displayed in
the Frequency field.
⦁ If you select Others in the Country field, you can set the frequencies freely.
⦁ Select an output level of 85 ... 105 dBμV in the Output level selection field.
⦁ In the Constellation selection field, select the desired output modulation (QAM
16/64).
QAM64 allows the highest data transfer rate, but also requires the best network
quality.
⦁ In the FEC selection field, select the FEC factor (1/2, 2/3, 3/4, 5/6 7/8).
10

By changing the FEC factor, the proportion of the FEC data is changed in relation
to the user data. (FEC ½ = low data rate but strong error protection, FEC 7/8 -
high data rate but low error protection).
⦁ In the Guard Interval field, select the protection interval from 1/32, 1/16, 1/8, 1/4.
This protection interval avoids the symbol overflow during DVB-T transmission.
The guard interval expresses the ratio of the transmission pauses to the useful
data transmission time. A very long protection interval (eg 1/4) leads to a very low
data rate. When transmitting in a faultless coaxial distribution network, a very
small protection interval is sufficient (1/32).
⦁ The IQ swap option enables or disables the inverse phase rotation of the IQ
signal by exchanging the I and Q inputs.
⦁ Click Safe Settings to save your settings.
⦁ Advanced RF settings
⦁ If necessary, enter the fine adjustment of the output channel in 10 kHz steps in
the Frequency offset field.
⦁ The Output enable option can be used to switch off the output signal.
⦁ The Single Tone option allows you to turn the Single Tone on or off.
⦁ Click Safe Settings to save your settings.
⦁ Video Source
⦁ On the main menu, click Video.
The settings for the video source can be made for each of the four input ports.
11

⦁ In the Port selection field, select video source 1to 4.
⦁ For each video source, set the Encoder Rate to Auto or select a value between
4 ... 14 MHz.
The Resolution and Current Rate fields indicate the resolution and bit rate of the
connected video source.
⦁ Click Safe Settings to save your settings.
⦁ Audio Source
⦁ On the main menu, click Audio.
The settings for the audio source can be made for each of the four input ports.
⦁ In the Port selection field, select 1to 4.
⦁ Set the bit rate to 128, 256 or 384 Kbps for each audio source in the Encoder Rate
field.
⦁ Click Safe Settings to save your settings.
⦁ Stream
⦁ On the main menu, click Stream.
Settings can be made for each of the four output streams.
12

⦁ Service Name
The names of the four output streams are defined here. These are displayed as
program names in the TV set after the programm scan.
⦁ In the Port selection field, select 1to 4.
⦁ Enter a maximum 15-character program name in the Service name field.
⦁ Click Safe Settings to save your settings.
⦁ Service ID
⦁ In the Port selection field, select 1to 4.
⦁ In the Service ID field, type an ID between 1 and 65535.
The service IDs of all streams in your network must be unique.
⦁ Click Safe Settings to save your settings.
⦁ LCN
13

⦁ In the Port selection field, select 1to 4.
⦁ In the LCN field, enter a logical channel number between 1 and 1023.
If the connected TVs support LCN, the respective stream is stored there under the
entered program location.
⦁ Click Safe Settings to save your settings.
⦁ PID
Packet identifier changes should only be performed by experienced users.
⦁ In the Port selection field, select 1to 4.
Enter the PMT PID (Program Map Table), PCR PID (Program Clock Reference),
Video PID and Audio PID in the appropriate fields.
⦁ Click Safe Settings to save your settings.
⦁ NIT
The NIT setting must only be changed in large networks. Changes should only be
14

carried out by experienced users.
⦁ Click Safe Settings to save your settings.
⦁ PDS
⦁ Transporstream ID
The TS ID (Transportstream ID) must be unique for each transportstream. If further
transport streams occur in your DVB-C / T network, you may have to assign a
different ID here.
15

⦁ Click Safe Settings to save your settings.
⦁ Service Type HD or SD
⦁ In the Port selection field, select 1to 4.
⦁ In the Service Type selection field, select for each stream whether it is output in
HD or SD.
⦁ Click Safe Settings to save your settings.
⦁ System
⦁ On the main menu, click System.
In the System menu item, the system can be reset, a software update is carried out,
the IP address changed, a new password assigned.
⦁ Reset
16

⦁ In the Reset Mode field, select whether you want to perform a hardware reset, a
software reset, or whether you want to reset the HKM-4002 to its factory settings.
⦁ Click on System Reset to perform the reset.
⦁ Retrieve Inventory
Under Retrieve Inventory you will find the current version of the HKM 40-00.
⦁ Upgrade Software
Under Upgrade Software a new software for the interface can be installed.
Software updates are available at www.axing.com Downloads.
⦁ Download this to your PC.
17

⦁ Click Upgrade Software to install a new software.
⦁ Click "Browse ...".
⦁ Browse for the software file on your PC and confirm.
The file is loaded into the device. The upload progress is displayed.
The device is then upgraded. The remaining time is displayed.
⦁ IP Adress
Dynamic IP address
⦁ For Enable DHCP, select enable to include the device in a network with a DHCP
server.
Static IP address
⦁ For Enable DHCP, select disable to link the device to a network with a fixed IP
address. The IP address, Net mask and Default Gateway can be changed here.
18

⦁ Click Safe Settings to save your settings.
⦁ After the changes have been saved, the HKM-4002 is restarted automatically.
⦁ After restarting, you must enter the new IP address in the browser and log in
again.
⦁ Language
Here you can select the language of the interface.
⦁ Click Safe Settings to save your settings.
⦁ Password
The factory-set password is: Ramsen8262.
After the first commissioning of the cassette, the factory-set password should be
changed immediately.
19

⦁ Enter a new password with 8 to 10 characters and / or numbers.
⦁ Re-enter the password.
⦁ Click Safe Settings to save your settings.
⦁ After the changes have been saved, the start page is displayed, you must log on
again.
⦁ Modulator Type
Depending on the configured modulation method, the output signals are modulated
in DVB-C or DVB-T.
⦁ Select a modulation method in the Type field.
⦁ Click Safe Settings to save your settings.
⦁ The modulation method is changed. The remaining time is displayed.
20
Other manuals for HKM 40-02
1
Table of contents
Other axing Modulator manuals

axing
axing HKM 40-0 Series User manual

axing
axing AVM 1-02 User manual

axing
axing HKM 40-02 User manual

axing
axing UIM 1-00 User manual

axing
axing AVM 5-00 User manual

axing
axing AVM 6-00 User manual

axing
axing AVM 6-00 User manual

axing
axing basic UIM 1-0 User manual

axing
axing basic-line Series User manual

axing
axing basic-line AVM 3-00 User manual