manuals.online logo
Brands
  1. Home
  2. •
  3. Brands
  4. •
  5. Axxess
  6. •
  7. Automobile Accessories
  8. •
  9. Axxess XSVI-1731-NAV User manual

Axxess XSVI-1731-NAV User manual

CAUTION!
All accessories, switches, climate
controls panels, and especially air bag indicator
lights must be connected before cycling the
ignition. Also, do not remove the factory radio
with the key in the on position, or while the
vehicle is running.
XSVI-1731-NAV
INSTALLATION INSTRUCTIONS
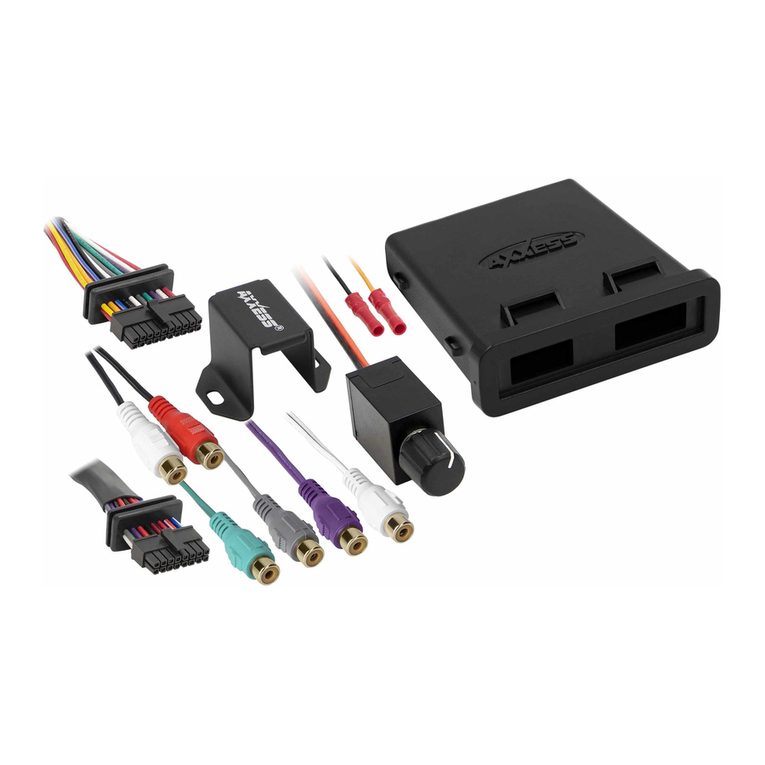
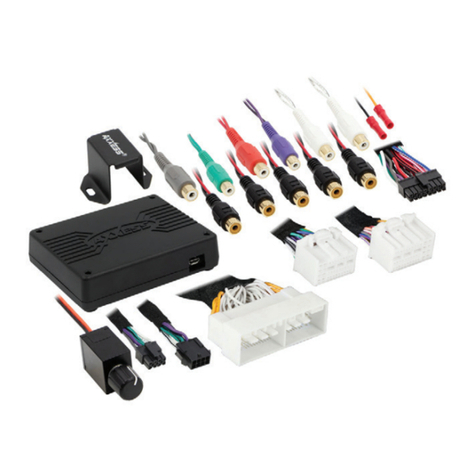
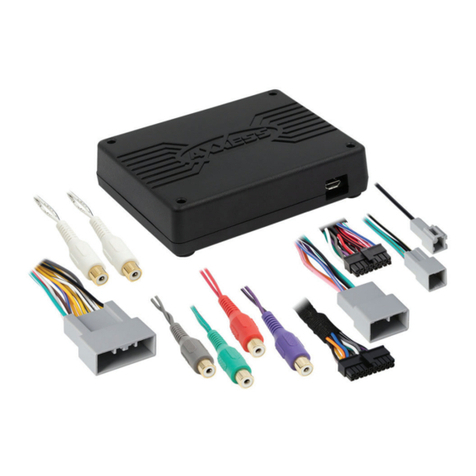
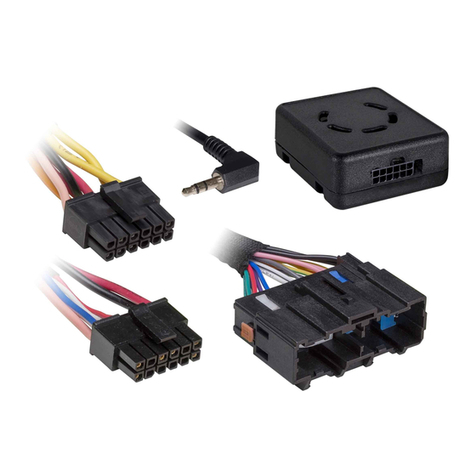
INTERFACE COMPONENTS
TOOLS REQUIRED
• Wire cutter • Crimp tool • Solder gun • Tape
• Connectors (example: butt-connectors, bell
caps, etc.)
TABLE OF CONTENTS
Connections to be made .......................................2
Installing the XSVI-1731-NAV .................................3
Initializing the XSVI-1731-NAV ...............................3
APPLICATIONS
• Provides NAV outputs (parking brake, reverse, and speed sense)
• Pre-wired ASWC-1 harness included (ASWC-1 sold separately)
• Retains the factory backup camera
• Retains balance and fade
• Includes the AX-CAM6V 12-volt to 6-volt converter
• Micro “B” USB updatable
HONDA
Civic LX 2016-up
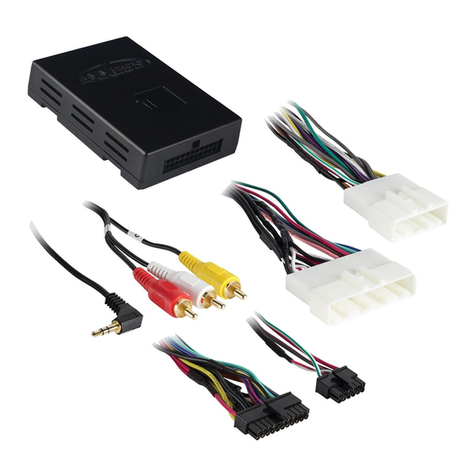
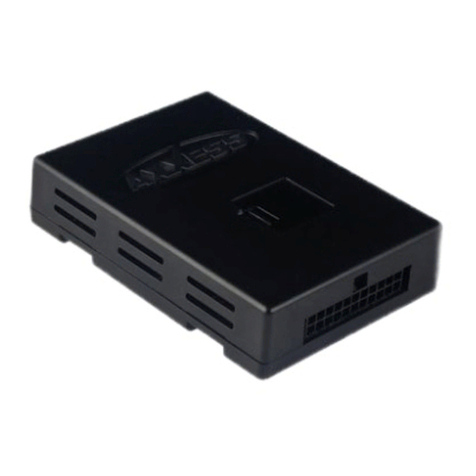
• XSVI-1731-NAV interface
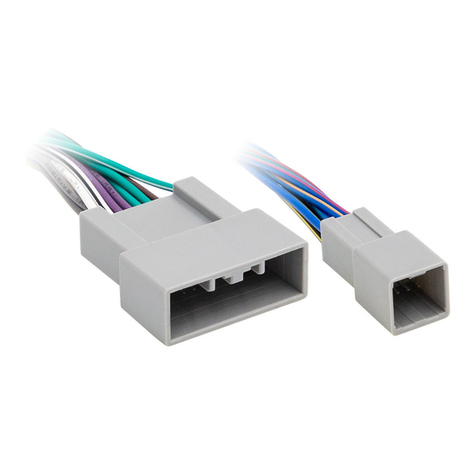
• XSVI-1731-NAV harness
• AX-CAM6V 12-volt to 6-volt converter
Honda Data Interface 2016-up*
INTERFACE FEATURES
2
CONNECTIONS TO BE MADE
From the XSVI-1731-NAV harness to the aftermarket radio:
• Connect the Black wire to chassis ground, and also to the Black wire of the AX-CAM6V.
• Connect the Yellow wire to the battery wire.
• Connect the Red wire to the accessory wire.
• If the vehicle is equipped with a factory backup camera:
• Connect the Red wire labeled “6-volt camera” to the AX-CAM6V.
• Connect the Yellow RCA jack to the backup camera input.
• If the aftermarket radio has an illumination wire, connect the Orange wire to it.
• Connect the Gray wire to the right front positive speaker output.
• Connect the Gray/Black wire to the right front negative speaker output.
• Connect the White wire to the left front positive speaker output.
• Connect the White/Black wire to the left front negative speaker output.
• Connect the Green wire to the left rear positive speaker output.
• Connect the Green/Black wire to the left rear negative speaker output.
• Connect the Purple wire to the right rear positive speaker output.
• Connect the Purple/Black wire to the right rear negative speaker output.
The following (3) wires are only for multimedia/navigation radios that require these wires.
• Connect the Blue/Pink wire to the VSS/speed sense wire.
• Connect the Green/Purple wire to the reverse wire.
Note:
Before connecting this wire, also refer to the “AX-CAM6V 12-volt to 6-volt” converter
section.
• Connect the Light Green wire to the parking brake wire.
AX-CAM6V 12-volt to 6-volt converter:
• Connect the Blue/Red wire to the Red wire labeled “Camera Power 6V”.
• Connect the Blue/White wire to the Green/Purple wire.
Note:
The Green/Purple wire will connect to both the AX-CAM6V, and the aftermarket radio.
12-pin pre-wired ASWC-1 harness:
• This harness is to be used along with the optional ASWC-1 (not included) to retain steering
wheel audio controls. If the ASWC-1 is not being used, disregard this harness. If it will be
used, please refer to the ASWC-1 instructions for radio connections and programming.
Note:
Disregard the harness that comes with the ASWC-1.
• Connect the Red wire to the accessory wire.
With the key in the off position:
• Connect the XSVI-1731-NAV harness into the interface, and then to the harness in the vehicle.
Attention!
If the interface loses power for any reason, the following steps will need to be
performed again. Also, if installing an ASWC-1 connect it after you initialize and test the interface/
radio, with the key in the off position.
•
Turn the key (or push-to-start button) to the ignition position and wait until the radio comes on.
Note:
If the radio does not come on within 60 seconds, turn the key to the off position,
disconnect the interface, check all connections, reconnect the interface, and then try again.
• Turn the key to the off position, and then to the accessory position. Test all functions of the
installation for proper operation, before reassembling the dash.
INSTALLING THE XSVI-1731-NAV INITIALIZING THE XSVI-1731-NAV
Shop for other car stereo and video installation parts on our website.

Other Axxess Automobile Accessories manuals

Axxess AX-AM-MB92 User manual

Axxess

Axxess AX-AM-MB92 User manual

Axxess LC-GMRC-LAN-09 User manual

Axxess

Axxess LC-GMRC-LAN-09 User manual

Axxess AX-GMLAN44-SWC User manual

Axxess

Axxess AX-GMLAN44-SWC User manual

Axxess AXDSPX-MI1 User manual

Axxess

Axxess AXDSPX-MI1 User manual

Axxess AXDIS-GMLN11 User manual

Axxess

Axxess AXDIS-GMLN11 User manual

Axxess NITO-01 User manual

Axxess

Axxess NITO-01 User manual

Axxess AXDSPL-HN3 User manual

Axxess

Axxess AXDSPL-HN3 User manual

Axxess AXDSPX-GM31 User manual

Axxess

Axxess AXDSPX-GM31 User manual

Axxess AXRC-CH1 User manual

Axxess

Axxess AXRC-CH1 User manual

Axxess AXGMLN-02 User manual

Axxess

Axxess AXGMLN-02 User manual

Axxess AXDSPL-TY4 User manual

Axxess

Axxess AXDSPL-TY4 User manual

Axxess AXDSPX-HN3 User manual

Axxess

Axxess AXDSPX-HN3 User manual

Axxess AX-AU12-SWC User manual

Axxess

Axxess AX-AU12-SWC User manual

Axxess AX-AB-HN1 User manual

Axxess

Axxess AX-AB-HN1 User manual

Axxess AXDIS-GMLN44 User manual

Axxess

Axxess AXDIS-GMLN44 User manual

Axxess AXDSPL-HN2 User manual

Axxess

Axxess AXDSPL-HN2 User manual

Axxess AXDSPX-TY2 User manual

Axxess

Axxess AXDSPX-TY2 User manual

Axxess AXDIS-GMLN29 User manual

Axxess

Axxess AXDIS-GMLN29 User manual

Axxess GMOS-MOST-01 User manual

Axxess

Axxess GMOS-MOST-01 User manual

Axxess AX-VL90042 User manual

Axxess

Axxess AX-VL90042 User manual

Axxess GMOS-LAN-04 User manual

Axxess

Axxess GMOS-LAN-04 User manual

Axxess AXDSPL-FD1 User manual

Axxess

Axxess AXDSPL-FD1 User manual

Axxess AXDSPX-GL9 User manual

Axxess

Axxess AXDSPX-GL9 User manual

Axxess AXXESS OESWC-6502-STK User manual

Axxess

Axxess AXXESS OESWC-6502-STK User manual

Popular Automobile Accessories manuals by other brands

Hoppe AUDIO MINI Installation instructions and owner's manual

Hoppe

Hoppe AUDIO MINI Installation instructions and owner's manual

Whispbar K698W Fitting instructions

Whispbar

Whispbar K698W Fitting instructions

Ranger design 6093-27 installation guide

Ranger design

Ranger design 6093-27 installation guide

Dobinsons BU45-3505 installation guide

Dobinsons

Dobinsons BU45-3505 installation guide

Brink 4767 Fitting instructions

Brink

Brink 4767 Fitting instructions

Cruz Evo Rack Alu A32-140 Assembly instructions

Cruz

Cruz Evo Rack Alu A32-140 Assembly instructions

van wezel 7622262 Mounting instructions

van wezel

van wezel 7622262 Mounting instructions

Sears 300.7271 instruction sheet

Sears

Sears 300.7271 instruction sheet

ClimAir Sunny Boy 10106-abc installation instructions

ClimAir

ClimAir Sunny Boy 10106-abc installation instructions

Eaton VORAD Service manual

Eaton

Eaton VORAD Service manual

Cartrend 80290 Instructions for use

Cartrend

Cartrend 80290 Instructions for use

Vixen Horns VXT0500 Nstallation guide

Vixen Horns

Vixen Horns VXT0500 Nstallation guide

ZAPTEC Pro installation manual

ZAPTEC

ZAPTEC Pro installation manual

Fiamma Carry-Bike Caravan Active E-Bike Installation and usage instructions

Fiamma

Fiamma Carry-Bike Caravan Active E-Bike Installation and usage instructions

HaWeKo BMR135 installation manual

HaWeKo

HaWeKo BMR135 installation manual

Fabbri BICI OK 2 quick start guide

Fabbri

Fabbri BICI OK 2 quick start guide

Versahaul VH-MI quick start guide

Versahaul

Versahaul VH-MI quick start guide

CCM 040-1192-0 instruction manual

CCM

CCM 040-1192-0 instruction manual

manuals.online logo
manuals.online logoBrands
  • About & Mission
  • Contact us
  • Privacy Policy
  • Terms and Conditions

Copyright 2025 Manuals.Online. All Rights Reserved.