5
AZBox Me | Hardware Manual | 2011 rev. 1.2
Caution
A. Do not place the receiver on an unstable cart, stand, tripod,
bracket, or table. The receiver may fall, causing serious
personal injury and damage to the receiver.
B. The power supply should be near the equipment. Do not run
an extension lead to the unit.
C. Protect the power cord from being walked on or pinched. If
the cord is damaged, do not use the digital receiver and get
the cord replaced.
D. Do not block or cover slots and openings in the receiver.
These are provided for ventilation and protection from
overheating. Never place the receiver near or over a
radiator or heat register. Do not place the receiver in an enclosure such as a cabinet without proper
ventilation.
E. Do not stack the receiver on top of or below other electronic devices.
F. Operate the receiver using only the type of power source indicated on the marking label. Unplug the
receiver power cord by gripping the power plug, not the cord.
G. Route power supply cords so that they are not likely to be walked on or trodden or perforated
by items placed upon or against them. Pay particular attention to cords at plugs, convenience
receptacles, and the point where they exit from the unit.
H. For added protection during a lightning storm, or when the receiver is left unattended and unused
for long periods of time, unplug it from the wall outlet and disconnect the lines between the receiver
and the antenna. This will provide some protection against damage caused by lightning or power
line surges.
I. Do not attempt to service the receiver yourself, as opening or removing covers may expose you to
dangerous voltage, and will void the warranty. Contact your dealer or OpenSAT.
OIn case of any form of liquid or a foreign object enter the receiver, do not use it. Power off the
receiver, and then disconnect the power cord. You must contact your dealer or OpenSAT. Do not
continue to use the receiver as this may cause a fire or electric shock.
ODo not insert or drop metallic or inflammable foreign objects into the receiver through ventilation
holes or access points, e.g. smart card slot. This may cause fire or electric shock.
OKeep product away from severe vibration or magnetic objects
ODo not cover up or install it in places with poor ventilation, under direct sunlight or near objects that
generates heat.
ODo not connect a number of power plugs at the same time, this may cause fire.
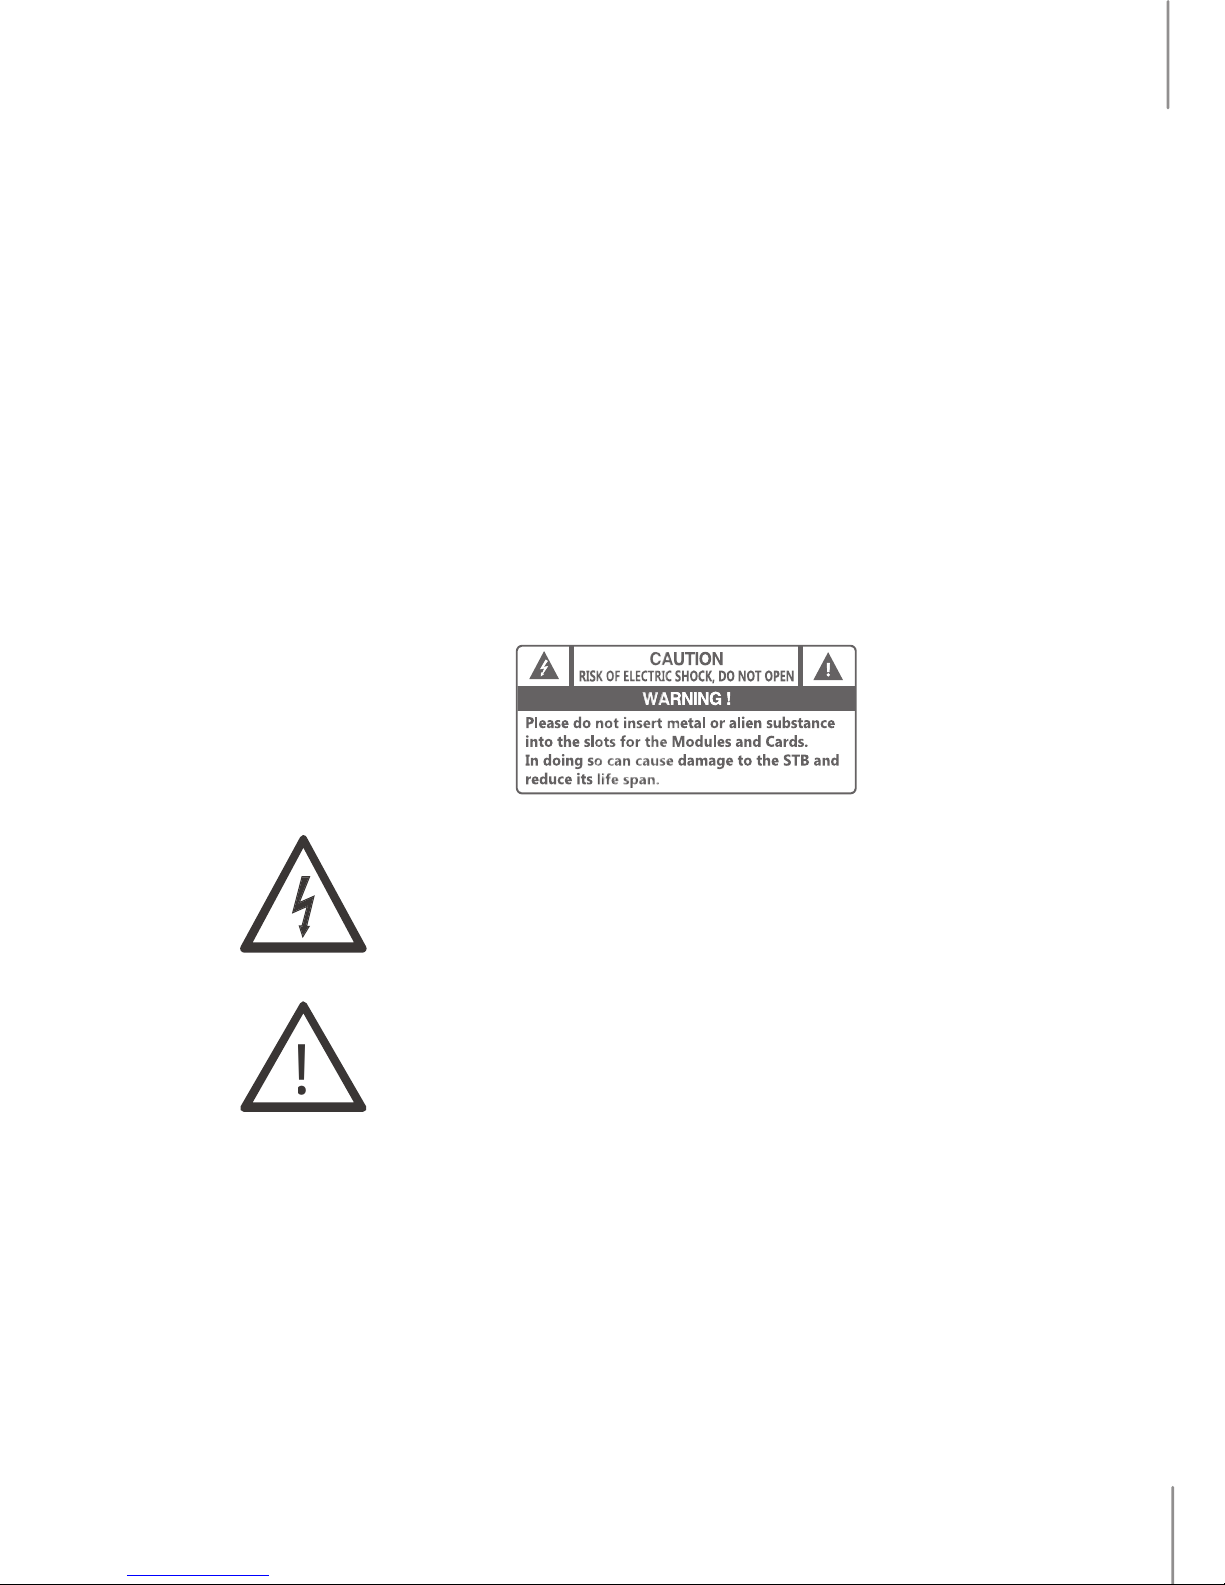
OTo reduce the risk of electric shock don’t remove the ‘ cover (or back) and do not operate this
receiver with wet hands. Equipment service and maintenance should be performed only by trained
personnel.
This symbol is intended to alert the user of the presence of uninsulated
‘dangerous voltage’ within the product’s enclosure that may be of sufficient magnitude
to constitute a risk of electric shock to persons.
The exclamation mark, within an equilateral triangle. Is intended to alert the user
to the presence of important operating and maintenance (servicing) instructions in the
literature accompanying the appliance.