AZAMERICA S808 User manual

S808

GENERAL INFORMATION
INSTALLATION
MENU INFORMATION
3
7
9
Main Features
For your Safety
Unpacking
General Operation
RCU
3
4
5
5
6
Front Panel
Rear Panel
Connecting to TV using RCAsupport
Connecting to Digital Amplifier
7
7
8
8
Main Menu
1. Channel List
1.1 TV Channel List
1.2 Radio ChannelList
1.3 DeleteAll
2. Installation
2.1 AntennaConnection
2.2 Satellite List
2.3 AntennaSetup
2.4 Single SatelliteSearch
2.5 Multi SatelliteSearch
2.6 TP List
3. System Setup
3.1 Language
3.2 TV
3.3 Local Time setting
3.4 TimerSetting
3.5 Parental Control
3.6 OSD Setting
3.7 Favorite
3.8 Other
9
10
10
13
13
13
13
14
15
17
17
18
19
19
19
20
20
20
21
21
21

4. Tools
4.1 Information
4.2 Factory Setting
4.3 Upgrade byUSB
4.4 ConditionalAccess
4.5 USB
5. Game
6. REC
6.1 Record Mangager
6.2 PVR Setting
6.3 HDD Information
7. Hot key
7.1 Info
7.2 EPG
7.3 Find
7.4 Numer
7.5 TV/Radio
7.6 Up/Down
7.7 Left/Right
7.8 Mute
7.9 Pause
7.10 OK
7.11 Audio
7.12 Recall
7.13 Fav
7.14 Teletext
7.15 Zoom
21
22
22
22
22
23
24
25
25
25
25
26
26
26
26
27
27
27
27
27
27
27
27
28
28
28
28
29

A Digital Satellite Receiver is a convenient product that allows you to view a variety
of programs provided through satellite. This user's guide covers the installation of
the DSR and the necessary steps to implement various features. This also explains
special features available only in thisDSR in detail, which will allow you to make full
use of thesefeature.
Information confirmed in this document is subject to change. We reserves the right,
without notice, to make change in product design or performances as progress in
engineering or technology.
Main Features
MPEG-2 digital &fully DVB-S compliant
SCPC and MCPC receivable from C/Kuband satellite
Automatic PAL/NTSC conversion
4000 channels TV and Radioprogrammable
32 different favorite groups selection
On Screen Displaywith multi-language
Fully support to7 days ElectronicProgram Guide(EPG)
Picture in Graphics(PIG)support
256 colors OnScreen Display
Automatic network searchfor newly addedtransponders
DiSEqC 1.0/1.1/1.2/1.3 fullysupport, 13/18V, 0/22K
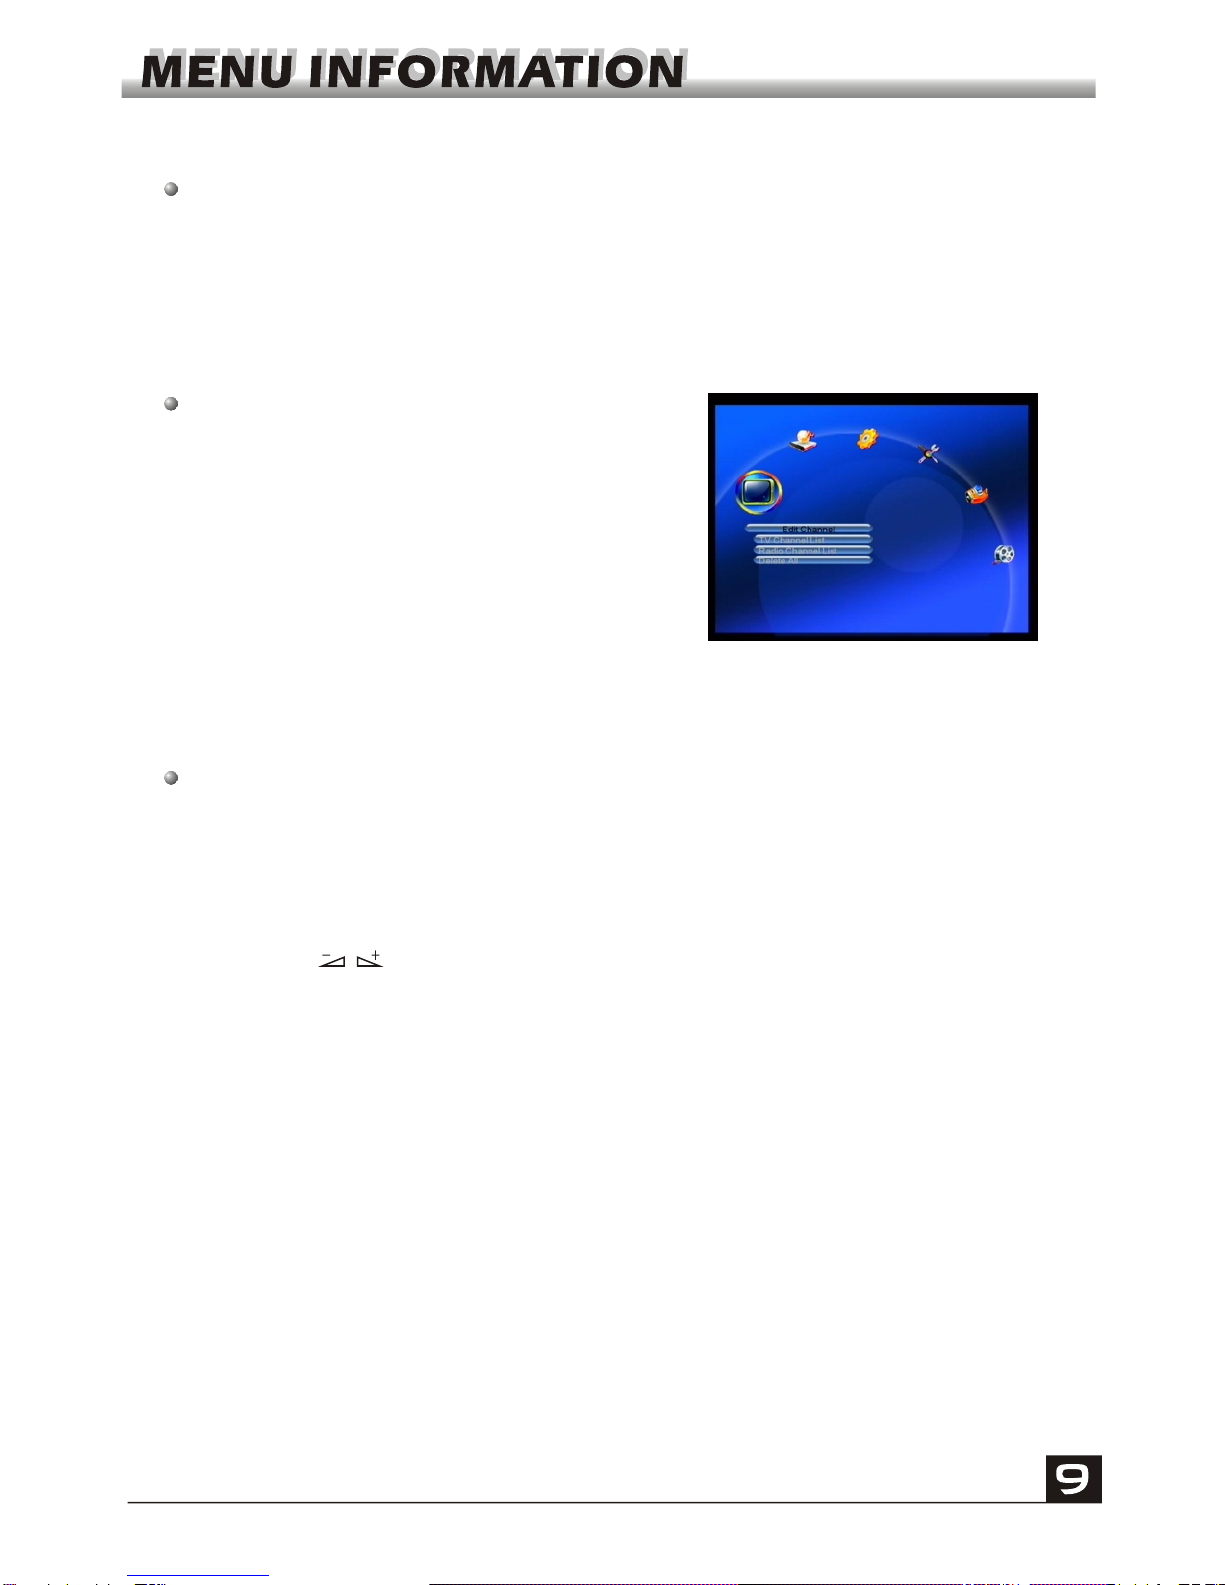
Various channel editing function(favorite,move, lock, renameand sort)
Parental control forchannels
Easy to useMenu System
Software upgrades throughRS232 port andReceiver to receiver
Automatic turn on/off by Timer setting(multiple options)
Subtitle support DVBEN300743 and EBU
Teletextsupport DVB ETS300472by VBI andOSD
Automatic save forlast channel
Channel list canbe sorted byalphabetic A-Z
Up to 3X3pictures on screen,only 1 active
Video zoom function with 1/2/4/6/8/12/16ratio
Supprot FAT16/FAT32/FAT12
Only list JPEG/BMPfiles
Default 2 hours,user can settingthe end time
Based on sizeof HDD, 512M~8Gsize will reservefor time shifted
recording
Lock/Delete/Rename,Preview playback,Browse recordfiles information
Play/Pause/Stop/Step
Fast Forward/Fast Backward2/4/8/16/24, Slow Forward/SlowBackward
1/2, 1/4, 1/8,Jump to userselected time point
RJ45

For Your Safety
Be sure to turn the Receiver off and
disconnect the AC power cord before
cleaning the Receiver surface. If the
surface is dirty, wipe clean with a cloth
which has been dipped in a weak soap-and-
water solution and wrung out thoroughly,
and then wipe again with a dry cloth.
Switch the receiver off whenever it remains
out of service for an extended period.
Do not touch the receiver during thunder,
since that might create electric-shock
hazards.
Do not block ventilation holes of the
Receiver so that air can circulate freely.
Do not expose the receiver un-der the
sunlight. And keep it away from the heat
source.
Keep the receiver away from flower vases,
tubs, sinks, etc., in order to avoid damaging
the equipment.
To avoid electric-shock hazards, do not
open the cabinet, refer servicing to qualified
personnel only.
When the abnormal phenomenon occur,
you should cut off the power immediately.

General Operation
Throughout this manual you will notice that the everyday operation of the receiver is
based on a series of user friendly on screen display and menus. These menus will
help you get the most from your receiver, guiding you through installation, channel
organizing, viewing andmany other functions.
All functions can be carried out using the buttons on the RCU, and some of the
functions can alsobe carried outusing the buttonson the frontpanel.
The receiver is easy to use, always at your command and adaptable for future
advances.
Please be awarethat new softwaremay change thefunctionality of thereceiver.
Should you experience any difficulties with the operation of your receiver, please
consult the relevant section of this manual, including the Problem Shooting, or
alternatively call yourdealer or acustomer service adviser.
Remote Control Guide
Audio/Video cable

RCU
Key Function
Turns power ON/OFF of theDSR
When watching achannel, mute thesound
Switches between TVand Radio mode
0~9
MENU
EXIT
OK, LIST
PR+, PR-
Enter number ofthe required menu item or
select a channelnumber to watch
Press this keyone time to run menu onscreen
Return to theprevious menu on the menu
screen or escapefrom the menu
Press once topause the screen picture, press
once again togo to the normal mode
TV/RADIO
PR
Switches back toprevious channel
Displays the favoritegroup list
Show information ofthe current channel
Switch to teletextor subtitle mode
Moves up /down a page in the list
FAV
INFO
Executes the selecteditem in the menu screen
or enters thedesired value in any input mode
When watching achannel, change channels or
move to thenext higher or lower item inthe menu
When watching achannel, adjust the volume or
move to theleft or right item in themenu
Call up the EPG (Electronic Program Guide)
Display the Audio window.
Switch between TV and AV modes
EPG
L
R
TV/AV
PAUSE
FIND Display the Findwindow
ZOOM
Enter into thezoom in mode
SLEEP
Enter into thesleep in mode
Enter into thenine-pictures mode displayed
on the screen.
TXT
SHIFT
RECORD
Play and stopthe program
Press to fastForward or fastbackward
Record the program
Timeshift function key
,
Press to slowforward or slow backward

Rear PanelRear Panel
Rear PanelFront Panel
POWER ON/OFF
CONNECT VIDEO TO TV USING RCAJACK
LNB IN: CONNECTTO SATELLITE ANTENNA
LNB OUT:CONNECT TOTHE OTHER RECEIVER
RF IN: CONNECTTO CABLE SINGAL
RF OUT: CONNECT TO TV ANT INPUT
CONNECT TO ADIGITAL AMPLIFIER
CONNECT TO AUDIO R/L TO TV OR AUDIO TUNER
CONNECT TO A PC
FOR S/W UPGRADE
CONNECT TOUSB DEVICE
COMPONENT VIDEO OUTPUT,
ANALOGUE, HIGH DEFINITION.

Connecting to TVusing RCA support
Satellite
Dish
Connecting to DigitalAmplifier
Satellite
Dish
DIGITALAUDIO
CONVERTOR OR
AMPLIFIER
SPEAKER
DIGITAL AUDIO
LR
LR
IN VIDEO
TV
AUDIO

Main Menu
This menu consistsof 6 majormain menus
as follow.
- Edit Channel
- Installation
- System Setup
- Tools
- Game
-REC
During the installation the OK key confirms a selection and LIST key shows Down
List Box if the column has 34 mark. You can also use the numeric keys on the
RCU to enternumeric value.
Use the PR+,PR- key to move upwards and downwards from one line to another
line and use key to move from main menu to sub menu and move from left
side to rightside or versa.
Meantime, you want to escape the menu system, please press MENU or EXIT key
on the RCU.
Make sure that you have properly installed and connected the cables of the
receiver.If the receiver is the factory status or there is no program list, when power
on, the MainMenu window willbe displayed onthe screen.
During the normal TV/Radio mode, press MENU key on the RCU to enter into the
Main Menu window.

If there is no program, you can not exit from the Main Menu window by pressing
MENU or EXIT key. System will inform"No channel" andthe following itemsturn grey.
1. Press OK key or key to pop up the "Input
Password" dialogue, you can not enter into the
menu unless the correct password is inputted.
The default passwordis "0000".
2. Press PR+, PR- keys to move the cursor up or
down.
3. Press EXIT key or key to move the focus to
the left menu.
Sub-menu Turn grey when there is no program
Channel List
Installation
System Setup
Tools
TV Channel List
Radio Channel List
Delete all
Antenna Connection SatelliteList
Antenna Setup SingleSatellite Search
Multi Satellite Search TP List
Language TV System
Local TimeSetting TimerSetting
Parental Lock OSDSetting
Favorite Other
Information Factory Setting
1. Channel List
1. Press keysto select satellite.
2. Press PR+, PR- keys to select the program
that you want to play, and then press OK key to
view it in the small window. If move the yellow
cursor to select up or down, you will see a gray
line which indicates the playing program in the
small window.
1.1 TV Channel List
Game Tetris Othello Sudoku
REC Record Manager HHDInformation
HHD Format PVRSetting
USB
Upgrade by USB

3. Press FAV key to move the FAV button upward.
Select the program and press OK key to pop up the
favourite group list. In the list, select the group that
you want to add into and press OK key, and then
you will find the favourite mark is displayed at the
right side ofthe selected program.
Press FAV key again to exit from the fav mode, and
you will find the FAV button return to the origin
position.
4. Press red colour key to move the Lock button
upward. Select the program and press OK key to
mark this program with the Lock mark. You can
cancel this markby pressing OK key once more.
Press red colour key again to exit from the lock
mode, and youwill find theLock button returnto the
origin position.
5. Press green colour key to move the Skip button
upward. Select the program and press OK key to
mark this program with the skip mark. You can
cancel this markby pressing OK key once more.
Press green colour key again to exit from the skip
mode, and you will find the Skip button returnto the
origin position.
6. Press yellow colour key to move the Move
button upward. Select the program and press OK
key to mark this program with the move mark.
Press PR+, PR- keys to move the cursor to the
position where you want to locate and press OK
key to confirm.
Press yellow colour key again to exit from the
yellow mode, and you will find the yellow button
return to theorigin position.
7. Press blue colour key to enter into the Edit
channel window.

Press red colour key to pop up the Sort drop-down
list.
Name(A-Z): The ascending order, omitting the $
character, the number is ahead, then the capital
letter, atlast the lowercase.
Name (Z-A): The opposite order of the above Name
(A-Z).
Free/Scramble:: All FTA programsare listed ahead,
while all scrambledprograms are listedlast.
Lock: all locked programsare listed atthe last.
Default
i . Sort(red colour key)
Press green colour key to move the Edit button
upward. Select the program and press OK key to
pop up theRename window.
In Rename window, press red colour key to switch
between capital letter and lower letter; press green
colour key to delete the character on the cursor;
press keys to move the cursor left or right;
press numeric keys (0-9) to input the character,
please refer to the down table. Press yellow colour
key to save and exit, or press blue key to cancel
and exit.
ii. Edit (greencolour key)
Numeric keys Press numeric keyrepeatedly, displayin circle
1
2
3
4
5
6
7
8
9
0
.,*?!@1
ABC2
DEF3
GHI4
JKL5
MNO6
PQRS7
TUV8
WXYZ9
[space]_-0
If the name is empty, system will pop up a dialogue informing "Name" once yellow
colour key ispressed. Press OK key to closethis dialogue.

In Delete window, press blue colour key to move
the Delete button upward. Select the program and
press OK key to mark this program with the
deletion mark. You can cancel this mark by
pressing OK key again.
Press EXIT key to pop up the dialogue "Are you
sure to save?". Select Yes button and press OK
key to save, or select NO button and press OK key
to exit withoutsaving.
1.2 Radio ChannelList
Sine the sameoperation as 1.1 TV ChannelList, here we don't explain any more.
iii. Delete (bluecolour key)
1.3 Delete All
Move cursor to the Delete All item, and press OK
Key to pop up the dialogue "Warning! Do you really
want to deleteall channel?".
Press EXIT key to pop up the dialogue "Are you
sure to save?". Select Yes button and press OK
key to save, or select NO button and press OK key
to exit withoutsaving.
2. Installation
1. Press OK key or key to pop up the "Input
Password" dialogue, you can not enter into the
menu unless the correct password is inputted.
The default passwordis "0000".
2. Press PR+, PR- keys to move the cursor up or
down.
3. Press EXIT key or keyto move the focus
to the leftmenu.
2.1 Antenna Connection
Press keys to select between Motor
Antenna and FixedAntenna.

2.2 Satellite List
1. Press PR+, PR- keys to select the satellite up or
down. Press OK key to select and mark, and you
can press OK key again to cancel the selection and
the mark.
2. If there is no satellite, the red colour and blue
colour keys willbe invalid.
3. Press red colour key to pop up the Edit Satellite
window. Press PR+, PR- keys to move cursor up or
down.
Name: User numeric keys to change the name of
the satellite, pleaserefer to theEdit Channel Name.
Longitude: You can press keys to switch between east longitude and west
longitude. After pressing OK key, you can use numeric keys to edit the longitude,
press EXIT key or the PR+, PR- keys to exit editing mode. The range of the
longitude is from 1to 180 degree. If beyond this range, system will inform you "out of
range" when youpress yellow colour key onthe RCU.
After setting, press yellow colour key to save and exit, while press blue colour key
to exit withoutsaving.
4. Press green colour key to pop up the Add
Satellite window. Since the same operation as the
above Edit Satellite window, here we don't explain
any more.
5. Press blue colour key to pop up the dialogue
"Are you sure to delete?". Select Yes button and
press OK key to delete the selected satellite. You
can cancel thisoperation by pressingOK key at the
NO button.

Suppose that you have selected Fixed Antenna in
the Antenna Connection window.
1. Satellite: All selected satellites in the satellite list
are displayed inthis item.
Press keys toselect the satellite in circle. Or
press OK key to pop up the drop-down list, then
select the desired satellite in the list and press OK
key to confirm.
2. LNB Freq, Transponder, DiSEqC1.0,
DiSEqC1.1: The same operation as theabove.
2.3 Antenna Setup
Part A:Fixed
3. 22K, 0/12V, Polarity: Youcan press keysto select incircle.
Part B: Motor
Suppose that you have selected Moter Antenna in
the Antenna Connection window.
1. LNB Type: Select the proper LNB type.
2. Motor Type: Select between DiSEqC1.2 and
USALS. If you select DiSEqC1.2, the following
Local Longitude and Local Latitude items will turn
grey.
3. Delete All: Press OK key to pop up the dialogue
"Are you sure to clear set satellite position of this
tuner?". Press OK key at the Yes button to clearall
the memories about the position of the satellites
that are connectedto the tuner.
4. Motor Setting: Press OK key to the Motor
Setting window.
Satellite: Press keys toselect the satellite
in circle. Or press OK key to pop up the drop-down
list, then select the desired satellite in the list and
press OK key to confirm.
Transponder: The same operationas the above.

Position No., & Save: The range is from 0 to 63. "0"delegates the original position.
You can select the proper value when you has rotated the antenna.
Go to X: Press OK key to pop up the drop-down list, select the proper position
(reference or from1to 63) torealize the selectedposition.
West <Save> East: Press key to turn west, while press key to turn east.
Press OK key to pop up the dialogue "Are you sure to change this satellite's
position?". Press OK key at the Yes button to save the current position, or press OK
key at theNo button tocancel the operation.
Recalculation: Press OK key to pop up the dialogue "Are you sure to change this
satellite's position?". PressOK key at the Yes button to recalculation.
5. Limit Setup: Press OK key to pop up the Limit
Setup window.
Limit Setup: Press keys to switch among
Disable Limit, EastLimit and West Limit.
Limit Setup: Move cursor to the Limit Setup
button. You can press key to turn west , or
press key toturn east.
Go to Reference:Press OK key to goto reference.
If you select Disable Limit in the above Limit Setup
item, this buttonwill turn grey.
6. If select USALS,Delete Allitem will turngrey.
Local Longitude, LocalLatitude: Press
keys to switchbetween West and East, orpress
keys to switch between North and South.
Press OK key to enter into the editing mode. Use
numeric keys (0-9) to input the longitude or
latitude, press MENU key or EXIT key to exit. The
range of the longitude is from 0 to 180,while the
range of the latitude is from 0 to 90. If the inputted
value is not in this range, system will pop up a
dialogue "Out of Range" when you exit from this
window. Press the OK key to close this dialogue
box.

7. Motor Setting: Press OK key to enter into the
Motor setting window.
Satellite, Transponder: Press keys to
select satellite or transponder, or press OK key to
pop up thedrop-down list andselect in thelist.
2.4 Single SatelliteSearch
1. Satellite :
2. FTA Only: Press keys to select between
Yes and No.
3. Scan Channel: Press keys to select
among TV+Radio, TVChannel, Radio.
Press keys to select the
satellite in circle. Or press OK key to pop up the
drop-down list, thenselect the desired satellite in
the list andpress OK key to confirm.
4. Network Search: Select between No and Yes.
This item turnsgrey when Auto Scan is selected in
the following Scanmode item.
5. Scan Mode: Press keys to select between
Auto Scan and Preset Scan. Auto Scan is Blind
scan, while Preset Scan is to search the preset
frequencies.
6. Search: Press OK key to startsearching.
2.5 Multi SatelliteSearch
From the Multi Satellite Search window, you can
search several satellitesat the onetime.
1. Satellite: All selected satellites in the satellite
list window are displayed on the down part. You
can press keysto switch amongthem.
2. FTA Only: Press keys to select between
Yes and No.
3. Scan Channel: Press keys to select
among TV+Radio, TVChannel, Radio.
Tuner

4. Network Search: Select between No and Yes. This item turns grey when Auto
Scan is selectedin the followingScan mode item.
5. Scan Mode: Press keys to select between Auto Scan and Preset Scan.
Auto Scan isBlind scan, whilePreset Scan isto search the preset frequencies.
6. Search: Press OK key to startsearching.
2.6 TP List
1. Press PR+,PR- keys to select the proper
satellite.
2. Press red colour key to pop up the Edit TP
window.
Frequency, Symbol rate: Press keys to
add or reduce by step one. Or press numeric
keys (0-9) to input the desired value. The range
of the frequency is 3000-13450, while the range
of the symbol rate is 1000~45000. The inputted
value is beyond this range, the value will return
to the originvalue.
Polarity: Press keys to switch between
Vertical andHorizontal.
3. Press green colour key to pop up the Add TP
window. Since the same operation as the above
Edit TP window, herewe don't explainany more.
4. Press yellow colour key to pop up dialogue "
Are you sure to delete?". Press OK key at the
Yes button to delete the selected TP, or press
EXIT key to cancelthe operation.

5. Press blue colour key to pop up the TP
Search window.
FTA only, Scan Channel, Network Search:
Press keys toselect the proper option.
Press OK key at theOK button tostart searching.
1. Press OK key to enter into the Language
window. Press keys to select the language
in circle, while press PR+, PR- keys to move the
cursor up ordown in circle.
2. Press MENU key or EXIT key to saveand exit.
3. The types of the language, pleaser refer to the
configuration of thecustomer.
3. System Setup
1. Press OK key or key to move the cursor to
the right menu.
2. Press PR+, PR- keys to move the cursor up or
down.
3. Press EXIT key or key to move the focus
to the leftmenu.
3.1 Language
Press PR+, PR- key to move the cursor up or
down, while press keys to change the
setting and the setting will take effect
immediately.
1. Display Mode: Select among Auto,PAL,
PAL-M, PAL-N, NTSC.
2. Aspect Mode: Select among 4:3LetterBox,
4:3PanScan, 16:9.
3.2 TV System
3.RF System: Select among PAL- M, PAL-N and NTSC
4.RF Channel:PAL:21-69,NTSC:14-83.
This manual suits for next models
1
Table of contents
Other AZAMERICA Receiver manuals