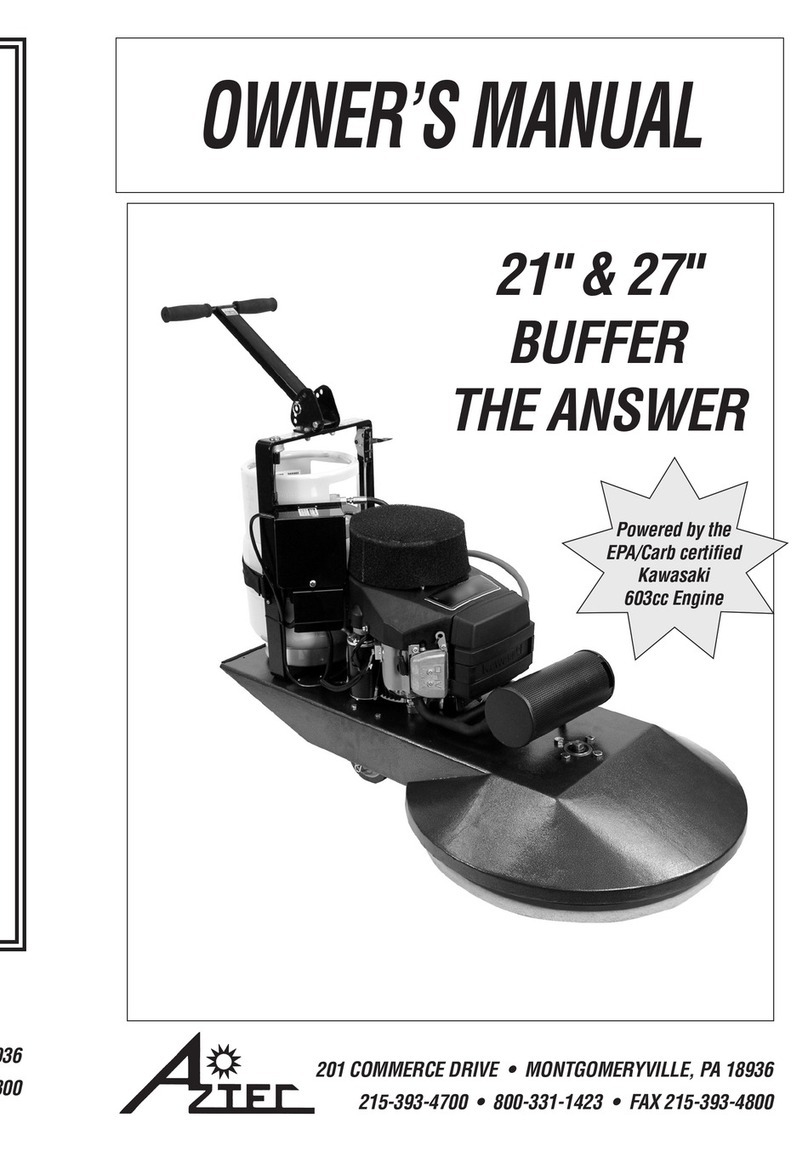
Aztec LIQUIDATOR 520 User manual

OWNER’S MANUAL
201 COMMERCE DRIVE •MONTGOMERYVILLE, PA 18936
215-393-4700 •800-331-1423 •FAX 215-393-4800
LIQUIDATOR
MODEL 520
•OPERATION
•MAINTENANCE
•TROUBLE SHOOTING
•REPAIR PARTS
READ THESE
INSTRUCTIONS
BEFORE USING
https://harrissupplyind.com-ToOrderPartsCall608-268-8080

RECEIVING THE EQUIPMENT
•Inspect for obviousshipping damage or
missing parts.
•Chassis – spreader rubber, manifolds,
and wheelcondition.
•Parts – handle hardware should be
inside tank.
•Any damage or missing parts must be
reported to Aztec Products within seven
working days of receiving the equipment.
LQ520 APPLICATIONS
Recommendedsurfaces:
•Vinyl andceramic tile
•Sealed or finishedconcrete floors
•Wood, stone and terrazzo
TRANSPORT OF EQUIPMENT
TO SITES
•The LQ520should be transported with
the front swivelcaster off the ground.
This will prevent the spreader rubber
from being damaged.
•Never lift tank by gripping the lid
retainer ring.
LQ520 SETUP
•MountHandle — Insert studs into four (4)
steel inserts on back of tank. Handtighten only.
Install nylon spacers on each stud, then steel
washer on each stud. Install handle onto studs,
then install other washers onto studs. Install
side arm hanger bracket on lowerright side
stud. Install hexnut on each stud andtighten.
DO NOT OVER TIGHTEN OR DAMAGE MAY
OCCUR. Install levers on handle (blue tape
designates location) and tighten.
LQ520 OPERATION
1) Filling Tank — Whilefilling with water,
addspecified amountofchemical as
instructions direct. The tankcapacity is
35 gallons.DO NOT FILL BEYOND 1"
BELOW LID OPENING.
2) Coverage Width — The left valve control
lever on the handle will dispensea26"
path in front of the machine. The right
valve control lever will dispense an
additional26"path from the manifold on
the right. The right arm will spring back to
accommodate narrow areas.
3) Solution Coverage — The amount of solution
dispensed will be determined by how much
you squeeze the valve control levers and by
how fastyou walk. A normal walking speed
should be sufficient for normal applications.
4) When completed, return right spreader
manifold to the transport position. You can
tip the unit backtolift the frontspreader off
the ground during transport.
5) If the solution is notbeing spreadevenly
across the floor, the tank may need to be re-
filled. See TROUBLESHOOTING.
MAINTENANCE — CLEANING UP
1) Drain the tank — locate discharge valve at
the front of tank. Position for proper draining.
Lift “T” handle to regulate solution discharge.
Tip machine forward for complete drainage.
Take care not to damage manifold or
spreader material when draining.
Solution will discharge inalarge steady
stream with some pressure. Wear
protective eye wear and avoid skin contact
with all chemicals used in this tank.
2) Rinse tank and dispense clean water
through manifolds.
3) To tilt machine, rest the unit on the handle. This
willexpose the undercarriage for cleaning.
4) Rinse wheels, chassis, andspreader rubber.
5) Drain excess water from unit by tipping
forward and squeezing valve control levers.
LQ520STORAGE
•It is very important to drain all liquid from
the unit if it is to be stored or transported in
freezing conditions.
TROUBLESHOOTING
Problem: SOLUTION KEEPS RUNNING
Solution: Valve not closing properly.
See VALVE SERVICE.
Problem: NOT SPREADING SOLUTION EVENLY
Solution: Checkspreader material for tears.
Replace if necessary. Checkvalve
ports inside of tank for debris. Check
manifolds for evenflow withvalves
wide open. See MANIFOLD SERVICE.
Problem: LEAKS
Solution: See REPAIRING LEAKSsection.
PG. 2 LIQUIDATOR
CAUTION!
!
https://harrissupplyind.com-ToOrderPartsCall608-268-8080

VALVE SERVICE
•Adjustment — Turning the adjusting nut on
the valve control lever located on the handle
and locking with the jam nut willdetermine
how much solution is dispensed on the
floor. Normal operation will require about
1/8" of play in the valve control lever.
•Re-Seating Valve — Remove cable from
valve control lever. Hold back conduit in one
hand and the cable in the other. Pull the
cable out as far as possible and let “SNAP”
back.Repeat three times.
•Debris in Valve — Squeezeavalve control
lever and force water with a hose through
thatvalve port inside the tank.
MANIFOLD SERVICE
•Cleaning Manifold — Remove both end
caps and cleanout with hose. Replace end
caps.
REPAIRING LEAKS
Isolate leak.
•Fitting Leak — Remove fitting, clean
and smooth the surface and/or gasket.
Apply silicon and re-install.
•BodyLeak — Contact Aztec Products, Inc.,
(215) 393-4700.
LIQUIDATOR PG. 3
21
20
19
18
15 17 14 13
12
11 10
9
8
7
6
16
5
4
3
2
1
(Not Shown)
(Not Shown)
REPAIR PARTS FOR LIQUIDATOR
PART # DESCRIPTION PART # QTY
1 Valve Control Lever 314-J208PA-L7/8 2
2 Handle 285-74-9051 1
3 Hex Nut 164-2202 1
4 8" Lid and Ring 647-60032 1
5 WheelSpacer 216-PVC-3/4 1
6A Pivot Bolt Spring 173-MC080011SS 1
6B ArmSpring 173-MXQ11509MW 1
7Nylon Bushing 196-71200 1
8 Right Manifold Assembly 012-52-5211R 1
9Guide Wheels 156-PB-03041-08 2
10 SpreaderRubber 175-03125N 5’
11 Manifold Fitting 166-3EL1234G 1
12 Front Manifold Assembly 012-52-5210F 1
13 1 1/2 Gate Valve 150-I7101 1
14 4" Swivel Caster 156-2-4056-445 1
15 1/2 MPT End Plug 166-3F126 1
16 3/4 Poly Tubing 216-0751 1
17 Spreader Rubber 175-03125N 5’
18 Axle Spacer Washer 164-76-100Z-WZ 1
19 8" Wheel 156-XA-08251-12 2
20 Valve Assembly 012-52-5270 2
21 Valve Cable 012-962C 2
https://harrissupplyind.com-ToOrderPartsCall608-268-8080

This warranty is non-transferable.
AZTEC PRODUCTS, INC.
201 Commerce Drive •Montgomeryville, PA 18936 •800-331-1423 •Fax 215-393-4800
As our customer, you are aware that the design and construction of
this product are both innovative and unique. Since this is true, in order
to troubleshoot our equipment, we rely heavily on returned defective
or failed parts so that we can examine the causes of failure. While this
may at first seem to be an inconvenience, ultimately you benefit from
safer, better designed machine components. Please give us the
opportunity to serve you better by following these RGA (Return Goods
Authorization) rules.
1. We maintain the serial number, date of shipment or sale, and
customer name on each piece of equipment sold. If you were the
purchaser, please reference that information on your request for
replacement or repair. If you purchased the equipment through a
dealer, please include the company name, the date, and the serial
number of the product.
2. Ask for an RGA number when you are ordering the replacement
part. Return the failed part within 14 days, freight prepaid, exactly
as it was at the time of failure. Our inspection and evaluation will
attempt to determine the probable cause of failure.
3. If our inspection reveals that the failed part was defective, we will
credit your account for the entire amount of the part including
your cost of return freight, but not packaging expense. When
incomplete parts are returned for credit, their condition or state
of incompletion will be assessed against the credit claim.
4. We will not accept freight collect returns or returns that do not
indicate the RGA # on the packing list.
Your satisfaction is extremely important to us. We intend to be rea-
sonable on any matter that is related to our warranty service or other
wear-related problems which our customers feel need attention.
Please help us to help you. Before assuming that a part is defective,
check the repair manual to see if the problem might be something
that you or one of your employees might be capable of correcting. If
it is not, follow the above policy and depend on us to respond quickly
and responsibly.
Aztec Products, Inc. warrants its products to be free from defects in material and workmanship for a period
of one year from the date of sale.
Aztec Products, Inc. agrees, at its option, to repair or replace at its own expense any product or part(s) which
examination proves to be defective in workmanship or materials provided that the purchaser notifies Aztec
Products, Inc. directly, within the warranty period, and follows the Return Policy.
This warranty does not apply to or cover equipment damaged by misuse, abuse, neglect, accident, or any
use not specified in the instruction manual, or any other circumstances that are out of the control of Aztec
Products, Inc. or their authorized agents.
All repairs or changes must be made under the supervision or arrangement of Aztec Products, Inc. or their
agents unless prior written consent has been issued. Any deviation from this arrangement shall make the
owner of the equipment and/or party involved in those changes responsible for any and all damages re-
sulting from such changes.
The foregoing is the entire and only Aztec Products, Inc. warranty which in no event covers incidental or
consequential damages resulting from any such defective product or part(s). This warranty gives specific
legal rights. Purchaser may have other rights which vary from state to state.
201 COMMERCE DRIVE •MONTGOMERYVILLE, PA 18936
215-393-4700 •800-331-1423 •FAX 215-393-4800
PROTECT YOUR WARRANTY!
Read carefully, any questions regarding the care and safety of this unit, please
CALL (800) 331-1423
8783/02.13
https://harrissupplyind.com-ToOrderPartsCall608-268-8080
Table of contents
Other Aztec Floor Machine manuals

Aztec
Aztec GUZZLER 620 User manual

Aztec
Aztec LOWRIDER 21 User manual

Aztec
Aztec BUFFER 21 User manual

Aztec
Aztec 20" ProScrub User manual

Aztec
Aztec Grand Finale User manual

Aztec
Aztec GUZZLER User manual

Aztec
Aztec SIDEWINDER 24 User manual

Aztec
Aztec buffer User manual

Aztec
Aztec EDGEWINDER User manual

Aztec
Aztec SIDEWINDER 24 User manual
Popular Floor Machine manuals by other brands

Clarke
Clarke C2K-16 Operator's manual

Prochem
Prochem Ninja warrior 1200PSI NWCU1312N operating instructions

Prochem
Prochem SP500 POLARIS 500 Operating & maintenance instructions

Contec
Contec OMEGA-450-C instruction manual

IPC Eagle
IPC Eagle 512 Rider Operation manual

Pioneer Eclipse
Pioneer Eclipse PE225BU Operator's manual