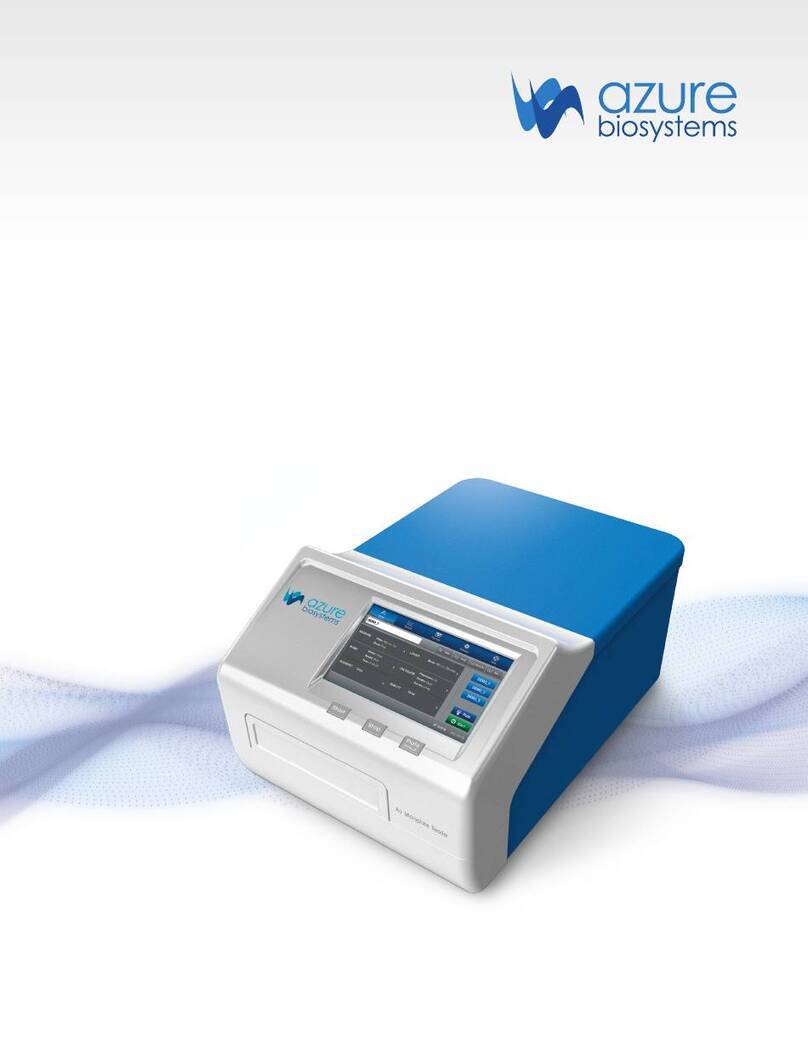
Azure Sapphire Eraser User manual

Sapphire Eraser™
User Manual
Rev 20191022

Sapphire Eraser User Manual Page 2
Waste Electrical and Electronic Equipment (WEEE)
ENG
This symbol indicates that the waste of electrical and electronic equipment must not
be disposed as unsorted municipal waste and must be collected separately. Please
contact an authorized representative of the manufacturer for information concerning the
decommissioning of your equipment.
FRA
Cesymboleindiquequelesdéchetsrelatifsàl’équipementélectriqueetélectroniquene doivent
pas être jetés commeles orduresménagèresnon-triées et doiventêtre collectés
séparément. Contact ezunreprésentant agréédu fabricant pour obtenir desinformations
sur lamise au rebut de votre équipement.
GER
Dieses Symbol kennzeichnet elektrische und elektronische Geräte,dienichtmit dem
gewöhnlichen, unsortierten Hausmüll entsorgtwerdendürfen,sondernseparatbehandeltwer
denmüssen.BittenehmenSieKontakt miteinemautorisierten Beauftragtendes Herstellers auf,
umInformationen hinsichtlichder EntsorgungIhresGerätes zu erhalten.
ITA
Questosimboloindicacheiriutiderivantidaapparecchiatureelettricheed elettroniche
nondevonoessere smaltiti comeriuti municipaliindifferenziati e devono invece
essereraccoltiseparatamente.Perinformazionirelativeallemodalità di
smantellamentodelleapparecchiaturefuoriuso,contattareunrappresentanteautorizzatodel
fabbricante.
SPA
Estesímbolo indica que elequipoeléctricoy electrónicono debe
tirarseconlosdesechosdomésticosydebetratarseporseparado.Contacteconelrepresentant
elocaldelfabricanteparaobtenermásinformaciónsobrela forma de desecharel equipo
SWE
Dennasymbolangerattelektriskaochelektroniskautrustningarintefåravyttrassomosorterat
hushållsavfallochmåstesamlasinseparat.Vargodkontakta en auktoriserad
tillverkarrepresentant för informationangåendeavyttringavutrustningen.

Sapphire Eraser User Manual Page 3
Contact Information
Azure Biosystems, Inc.
6747 Sierra Court, Suite A-B • Dublin, CA 94568 • USA
Phone: 1-925-307-7127
Email: [email protected]
Tech Support: 1-925-307-7127
CE Conformity
The following biomolecular phosphor eraser Systems,
Models: Sapphire Eraser
Are in conformity with the provisions of the following EC Directives, including all amendments, and national
legislation implementing these directives:
Low Voltage Directive 2006/95/EC
EMC Directive 2014/30/EU
And that the following harmonized standards have been applied:
EN61010-1: 2001
EN 61326-1:2013+A1:1998+A2:2001+A3:2003 Class A
EN61000-4-2,EN61000-4-3, EN61000-4-4, EN61000-4-5, EN61000-4-6, EN61000-4-11
Protection category: IP20 according IEC 60529
Copyright and Trademark Information
All goods and services are sold subject to the terms and conditions of sale of the company within Azure
Biosystems Inc. which supplies them. Azure Biosystems Inc. reserves the right, subject to any regulatory and
contractual approval, if required, to make changes in specications and features shown herein, or discontinue
the product described at any time without notice or obligation. Contact Azure Biosystems Inc. representative
for the most current information.

Sapphire Eraser User Manual Page 1
Safety Warnings
Glare Safety Precautions
The Sapphire Eraser system comes with more than 700 built-in LEDs (620nm) Transilluminators inside the
system. Exposure to high light can cause permanent damage to the eyes. The system enclosure connes the
radiation within the system and shields the user from exposure. The system is also equipped with a two-way
safety interlock switch which automatically cuts off the power to the trans-illuminators when the drawer is
open during normal use.
Electrical Safety Precautions
Be sure to take proper precautions when handling any electrical equipment. NEVER work on any live
circuit, xture, receptacle, or switch. Safety rules you should follow whenever working with any electrical
appliance include:
• Always shut off power to the circuit before repairing or replacing a switch, receptacle, or xture
• Always tape over the main switch or circuit breaker you are working on.
• Always check that the circuit is dead before beginning work on it. Using a circuit tester or voltmeter
can help you determine this.
• Always unplug any appliance before repairing it.
Protective earth terminal
The earth terminal, intended for connection to an external protective conductor for protection
against electric shock in case of a fault, is located on the inside of the back panel.

Sapphire Eraser User Manual Page 2
Labels
The illustration below shows an example of the label.
Label text Description
Model Instrument model
S/N Instrument serial number
Manufactured Manufacturing year and month
The system complies with applicable European directives.
This symbol indicates that waste electrical and electronic equipment must not be
disposed as unsorted municipal waste and must be collected separately. Please contact
an authorized representative of the manufacturer for information concerning the
decommissioning of equipment.

Sapphire Eraser User Manual Page 3
Table of Contents
1. Overview........................................................................................................................................................4
2. Production Description..............................................................................................................................5
2.1 Front view........................................................................................................................................5
2.2 Rear view.........................................................................................................................................5
2.3 Drawer open...................................................................................................................................6
2.4 Control panel..................................................................................................................................6
2.5 Accessories.....................................................................................................................................7
3. Installation.....................................................................................................................................................8
3.1 Unpacking.......................................................................................................................................8
3.2 System placement........................................................................................................................8
3.3 Connections.....................................................................................................................................8
3.4 Power on/off the system............................................................................................................8
3.5 Transport.........................................................................................................................................8
4. Operation.......................................................................................................................................................9
4.1 Operation overview.....................................................................................................................9
4.2 Cleaning the drawer...................................................................................................................9
4.3 Place the sample..........................................................................................................................9
4.4 Operation........................................................................................................................................9
4.5 Remove the screen....................................................................................................................11
5. Routine Maintenance..............................................................................................................................12

Sapphire Eraser User Manual Page 4
1. Overview
The Sapphire Eraser was designed to erase signal from phosphor imaging screens. The following will instruct
you on how to properly use this instrument.

Sapphire Eraser User Manual Page 5
2. Production Description
2.1 Front view
1
2
3
Part Description
1 Control panel with RGB LED indicators and noise indicator
2 Drawer
3 Cooling Vents
2.2 Rear view
1 2 3 4
Part Description
1 Label
2 Power switch
3 Power supply connector
4 Cooling fans

Sapphire Eraser User Manual Page 6
2.3 Drawer open
2.4 Control panel
The table below shows the symbols on control panel and their meanings.
Symbol Description
LEDs
No lights on when back switch is ON: ‘Standby’.
One light blinking green: Set Time mode
All blinking red: Warning, drawer is open when erasing.
1-6 Blue blinking: Indicates erasing in process, 1 LED = 10 minutes.
All blue blink: run paused or run starting.
RUN/STP
Enter/Exit ‘Set Time’
Pause/Resume Run.
Press and hold: Start/End Run.
-10 Subtract 10 minutes erase time.
+10 Add 10 minutes erase time.
Beeper
1 short beep: Enter/Exit ‘Set Time’
3 short beeps: Start/End ‘Run’
1 long beep: System check complete, enter Standby State. Run complete.

Sapphire Eraser User Manual Page 7
2.5 Accessories
The following items are included with the delivery of Sapphire Eraser
Part Description
Sapphire Eraser
Power adapter: 100~240VAC, 1A, 50/60Hz

Sapphire Eraser User Manual Page 8
3. Installation
3.1 Unpacking
Check the eraser for any apparent damage before installing. Please contact with your local distributor if
any damage is found.
3.2 System placement
As with all electrical instruments, Sapphire eraser system should be located away from water, solvents,
or corrosive materials, on a at and stable surface with adequate clearance on all sides. The system must
remain stationary during operation. Do not block the cooling outlet. If they are blocked, the instrument
may malfunction.
Sapphire eraser system should be installed at no more than 3000 meters above sea level.
3.2 Connections
Connect the eraser adapter’s AC power cord to a grounded power outlet. Connect the DC plug into the
back of the system.
3.4 Power on/off the system
Use the power switch on the back to turn on and off the system.
After switching on the power switch, the LED indicators twinkling and beeping by the sequence of red,
green and blue. If the self-inspection process runs successfully, system goes into Standby State with all
LEDs turn on green.
Turn off the system by the power switch directly.
3.5 Transport
Make sure you turn off the system and disconnect the power cord before moving the eraser.

Sapphire Eraser User Manual Page 9
Working State Description
On / Standby
Power unit ON by ipping the switch on the back right of the eraser. Instrument will
beep but no lights will be on.
Set Time
Press and hold ‘RUN/STP’ to enter ‘Set Time’ mode. The left LED will blink green.
Add or subtract erase time by pressing ‘+10’ or ‘-10’. Each blinking LED = 10 minutes.
4. Operation
4.1 Operation overview
Sapphire Eraser erases phosphor screens with a simple user interface. Begin using the Sapphire Eraser
by following these simple steps.
Insert Screen
Face Up
Turn On Set Time Start Run Remove Screen
4.2 Cleaning the drawer
Thoroughly clean the drawer with warm soapy water or isopropanol and a lint free, soft cloth. Do not use
scouring compounds or abrasive scouring pads.
4.3 Place the sample
Open Sapphire Eraser’s drawer and place the sample FACE UP. Then close the Drawer. The sample
should be placed with the back side contacted with the drawer.
4.4 Operation
RUN
STP +10–10
RUN
STP +10–10
RUN
STP +10–10

Sapphire Eraser User Manual Page 10
Working State Description
Start Run
Press ‘RUN/STP’ button to begin run. LEDs will blink blue before run begins.
Run In
Progress
Light and fans turn on during a run. Blinking LEDs show the program progress. Each
LED indicates 10 minutes, while the blinking LED indicates the current progress
Example: The program below was set to 20 minutes. The system is currently within
the rst 10 minutes of the program.
Example: The program below was set to 30 minutes. The system is currently within
the second 10 minutes of the program.
If the drawer is opened during a run, all LEDs blink RED. The light will turn off and
fans will remain on.
The erase timer is stopped while the drawer remains open.
RUN
STP +10–10
RUN
STP +10–10
RUN
STP +10–10
RUN
STP +10–10

Sapphire Eraser User Manual Page 11
Working State Description
Stop
Stop the run by holding ‘RUN/STP.’ Eraser will return to Standby mode.
Done
When Run is complete the LEDs will be solid green to indicate the completed
run time.
Example: LEDs indicate a completed 30 minute run time in below.
Press ‘RUN/STP’ button to go back to return to time setting mode.
RUN
STP +10–10
RUN
STP +10–10
Attention! In the erasing process, red light may leak out from vents and gaps. DO NOT stare directly
at stray light.
4.5 Remove the screen
When erase run is complete or terminated, open the drawer and remove the screen.

5. Routine Maintenance
Sapphire eraser requires only minimal maintenance. However, as with any equipment utilizing electrical
voltages, there is a danger of re or electrical shock if the equipment is not properly maintained.
Azure Biosystems recommends that you routinely inspect the system. The following are some general
maintenance guidelines:
• Wipe all chemical spills from the case and/or drawer to prevent damage to the surface coating.
• Inspect all cables and power cords for evidence of fraying, exposed wire, or loose connections.
• Keep the scan bed free of organic solvents and other combustibles.
• Clean the exterior case parts with a damp cloth with warm soapy water. Do not use scouring compounds
or solvents (e.g., acetone, benzene, carbon tetrachloride, lacquer thinner, or alcohol).
Copyright © 2019 Azure Biosystems. All rights reserved. The Azure Biosystems logo, Azure Biosystems®, and Sapphire Eraser™are
trademarks of the Company. All other trademarks, service marks and trade names appearing in this brochure are the property of their
respective owners.
Table of contents
Other Azure Laboratory Equipment manuals
Popular Laboratory Equipment manuals by other brands

Fisher Scientific
Fisher Scientific accuSpin 3 operating instructions

VERDER
VERDER Carbolite Gero HT 4/350 Installation, operation and maintenance instructions

illumina
illumina Infinium LiHa operating manual

Varian
Varian Saturn 2000 GC/MS Pre-installation instructions

Shimadzu
Shimadzu LC-40D X3 CL instruction manual

Keysight
Keysight N9320B quick start guide