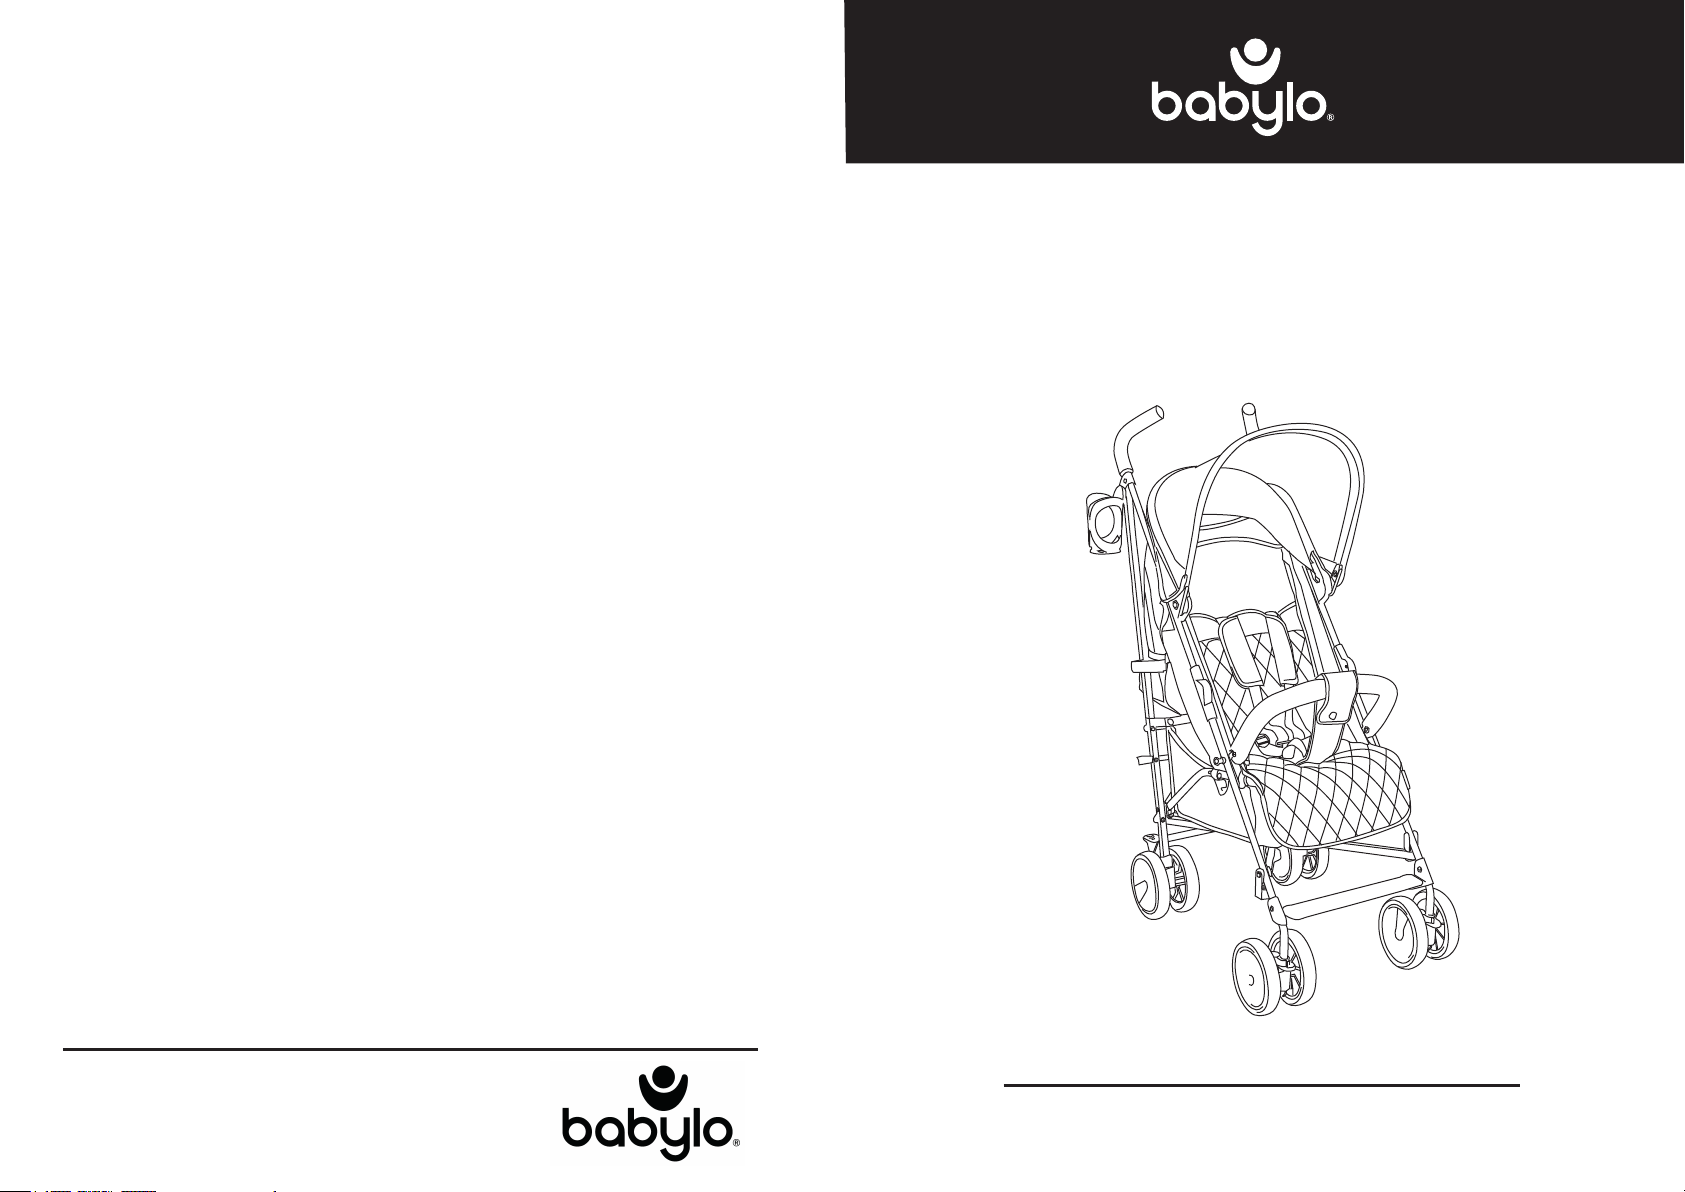
Babylo SPRINT User manual

Thank you for purchasing your Babylo Pushchair. If you have any queries relating to the product or assembly,
Babylo International,
79/ 80 Furze Road,
Sandyford Business Estate,
Dublin 18,
Ireland.
Supplied by
SPRINT
Stroller
Important: Keep for future reference. Read carefully.
Instruction Manual

11
2
care
Maintenance
Cleaning
Plastic and metal parts may be sponged lightly using warm water and a mild
detergent.
Dry thoroughly before storing.
Refer to sewn in labels for fabric care instructions.
Never clean any part of the product with abrasive, ammonia based, bleach
based or spirit type cleaners.
The raincover can be cleaned with warm water and a mild detergent.
This product requires regular maintenance to ensure correct and safe
performance.
Regularly inspect the wheels, locks, brakes, harness, catches, seat adjusters,
joints and fixings to ensure they are clean, secure and in full working order.
Replace tyres if they are excessively worn.
If parts become stiff or difficult to operate, ensure dirt is not the cause, then try
a light application of a silicon lubricant, ensuring it penetrates between the
components.
Regular lubrication of moving parts will extend the life of your product and make
opening and folding easier.
Your pushchair should be serviced and reconditioned before using for a second
baby, or within 18 months, whichever is sooner.
After exposure to damp conditions, dry off with a soft cloth and leave fully open in
a warm environment. Storing damp will encourage mildew to form.
Store in a dry place.
Do not leave in sunlight for prolonged periods - some fabrics may fade.
Do not store the raincover where it may be exposed to heat as this may cause
distortion.
parts labelled
Footrest
Front wheels
Canopy
Harness
Handle grip
Shopping basket
Back wheels
Bumper bar
Canopy hinge
Second lock
Brake lever
Folding latch

safety
10 3
to unfold
This vehicle is intended for one child from birth (0 months) and up to a maximum
weight of 15kg.
This product complies with BS EN 1888:2012.
WARNING:
Do not overload the pushchair.
Do not use this product if any part is broken, torn or missing.
Do not use replacement parts or accessories which are not approved by the
manufacturer. Always apply the parking brake when the pram is stationary.
Never leave a raincover, hood or apron on the product indoors, in a hot
atmosphere or near a heat source, as your child may overheat.
Take care when going up or down kerbs.
Take extra care in windy conditions.
Remove your child and fold the pushchair when going up or down stairs or
escalators.
To prevent damage, remove the raincover before folding the pushchair.
Do not place anything on top of the raincover.
Never leave your child unattended.
Ensure that all locking devices are engaged before use.
To avoid injury ensure that your child is kept away when unfolding and folding
this product.
Do not let your child play with this product.
Always use the restraint system. Ensure it is correctly fitted at all times.
Always use the crotch strap in combination with the waist belt section of the
harness.
Check that the pram body or seat unit attachment devices are correctly
engaged before use.
This product is not suitable for running or skating.
Use the most reclined position for new born babies.
Ensure the parking brake is engaged during the loading and unloading of
children.
The basket can carry a maximum load of 3kg.
Any load attached to the handle and/or on the back of the backrest and/or
on the sides will affect the stability of the product.
1. Locate the locking latch on the side of the stroller and release (fig 1a).
Hold the handle grip with one hand, and push forward the front leg
unit (fig 1b).
Step down on the plastic pedal loacated on the cross bars and
lift handle grips upwards (fig 1c).
fig 1a.
Locking latch
fig 1b.
fig 1c.

assembly
4
folding
9
2. To assemble the front wheels -
Locate the steel attachment pin at the front of the chassis. Press locks on
each on each side of the wheel and slide upwards (fig 2a).
Press until the wheel ‘clicks’ into position.
To remove front wheels, press the lock on each side of the wheel and
slide wheel out (fig 2b).
3. To attach the canopy, locate the plastic clips on both sides and
attach them to the frame (fig 3a).
Fasten rear of the canopy by using the velcro straps provided (fig 3b).
11. To fold -
NOTE. The backrest should always be in the upright position and the
hood folded prior to folding.
Lift the plastic cross pedal upwards, using the toe of your shoe. Press the
secondary lock lever gently down until it releases (fig 11a).
Push the handles over and the pushchair will naturally fold (fig 11b).
Ensure the folding latch is locked (fig 11c).
Your stroller is equipped with a carry handle.
fig 2a. fig 2b.
fig 3a.
fig 3b.
cross bar pedal
secondary lock lever
fold latch
fig 11a.
fig 11b.
fig 11c.

assembly
5
8
in use
9. To fasten the waist harness, insert both buckle clips into each side of
the buckle. Listen for the ‘click’. To release the harness, squeeze the
buckles and pull apart (fig 9a).
To adjust the shoulder straps, move the slides as shown (fig 9b).
WARNING. Always use the crotch strap in combination with the waist
belt.
2
1
4. To attach the bumper bar -
Align the bumper bar pegs with the holes in the bumper bar adaptors
located either side of the stroller chassis (fig 4a).
Wrap the crotch pad over the bumper bar and secure with press
studs (fig 4b).
To remove, press both adaptor buttons and pull bumper bar out (fig 4c).
fig 4a.
fig 4b.
fig 4c.
fig 9a. fig 9b.
10. Place the raincover over the hood front. Fasten the velcro straps
around the front legs to secure (fig 10a).
Front part
fig 10a.

6
in use
7
in use
5. Locate the pedals on both back wheels. Press firmly down on pedals
to apply brakes (fig 5a). Check that the brakes are engaged by trying to
push the stroller forwards and backwards.
Press upwards on the brake pedals to release the brakes (fig 5b).
fig 5a. fig 5b.
6. Your canopy can be opened or closed by lowering or raising the
canopy hinge (fig 6a).
7. To adjust the footrest, squeeze both levers and press down to adjust
the footrest to a lower position (fig 7a).
Squeeze both levers and pull up to adjust footrest to a higher position
(fig 7b).
fig 7b.
fig 7a.
fig 6a. fig 6b.
8. To recline your stroller, locate the backrest adjustment mechanism at
the rear of the seat. Squeeze the clip on the reclining harness and gently
lower the backrest.
To raise the backrest, squeeze the clip on the reclining harness and
gently pull up the backrest to desired height (fig 8).
fig 8.
Table of contents
Other Babylo Stroller manuals