INSTRUCTION MANUAL
INSTRUCTION MANUAL
PLEASE KEEP FOR FUTURE REFERENCE
The images used in this instruction manual are illustrative, it could be changed in accessories, colours
or fashion.
WARNINGS:
Please read these instructions carefully before use and keep them for future reference.
Your child’s safety may be affected if you do not follow these instructions.
1. The pram is designed for a child from 0 months up to a weight of 18kg.
2. Never leave your child unattended.
3. Keep all plastic packaging materials out of the reach of children in order to avoid any risk of
suffocation.
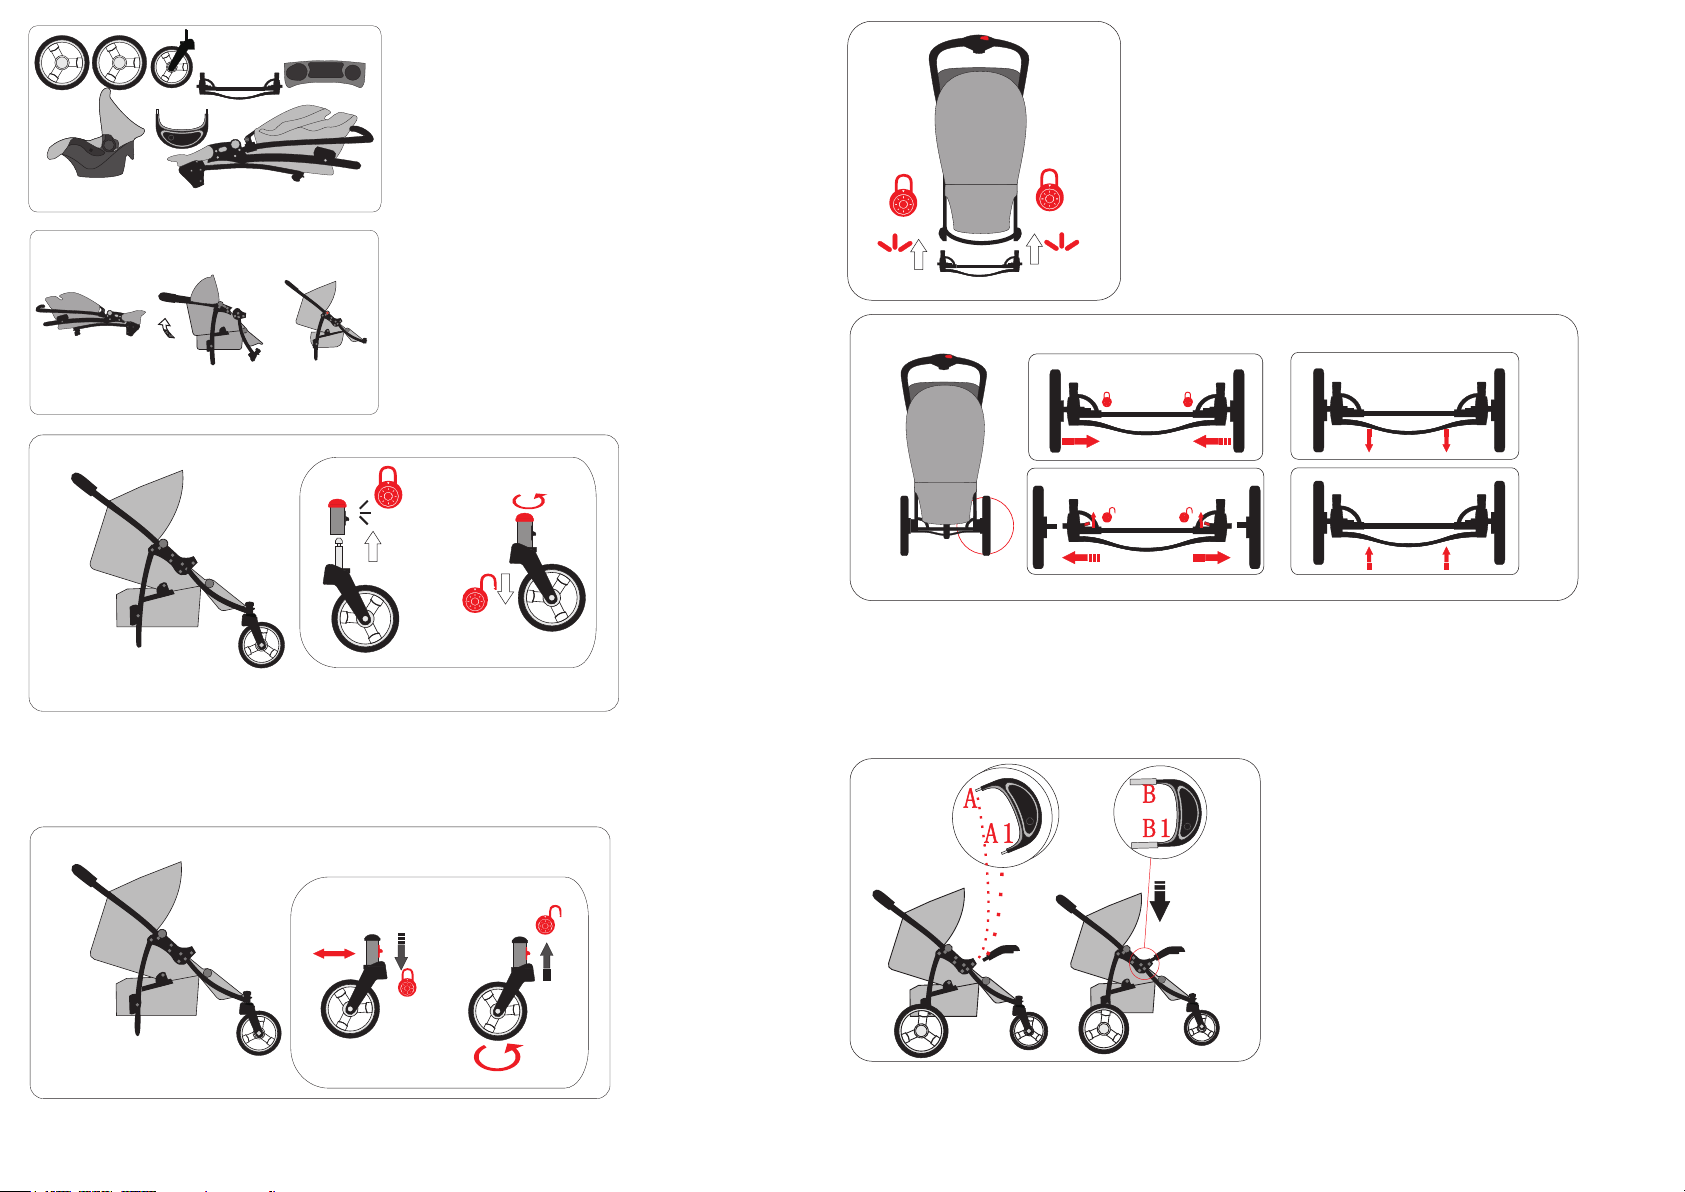
4. Ensure that all latching devices are locked before use.
5. Use a safety belt as soon as your child can sit up alone.
6. Any load attached to the handle affects the stability of the pram.
7. Always apply the parking brake when parking the pram.
8. Please make sure that the child’s hands are nowhere near the folding area, so as not to risk them
from being crushed if you have to fold up, unfold, or otherwise change the stroller or parts of it.
9. The vertical sitting position is not suitable for babies younger than 6 months.
10. This pram is only designed for transporting 1 child at a time.
11. The maximum loading weight for the basket is 3kg.
UPKEEP AND MAINTENANCE IN GENERAL
Please check on a regular basis that the brakes, wheels, latches, connecting elements, belt systems and
seams are properly functional. Do not subject your pram to excessive sunshine. This can lead to a
fading of textile covers and plastic parts.
CLEANING THE COVERS
Remove the covers from the frame by loosening the screws. To clean the cover gently, wipe it down
evenly using only a damp cloth. As long as there are no plastic, wood or metal parts on or in the cover, it
can be machine-washed at 86°F (30°C) and medium speed. The cover should be air-dried, but not
exposed to excessive sunshine. Please do not dry the cover in the drier, to avoid shrinking. Do not re-fit
the covers until they are completely dried.
CLEANING THE FRAME
Dry the pram with a soft cloth after cleaning or after rain. Use only mild soapy water or lukewarm water
to clean the frame of your pram. Plastic parts can be cleaned with mild detergent cleaners.
WHEEL MAINTENACE
Clean and service the wheels regularly. Apply anticorrosion or lubricant spray on the rim when
necessary, to protect against rust and deposits. Please make sure in winter that road salt residue is
removed immediately by using warm water and damp cloth. Remove dirt from the wheels and axles on a
regular basis.
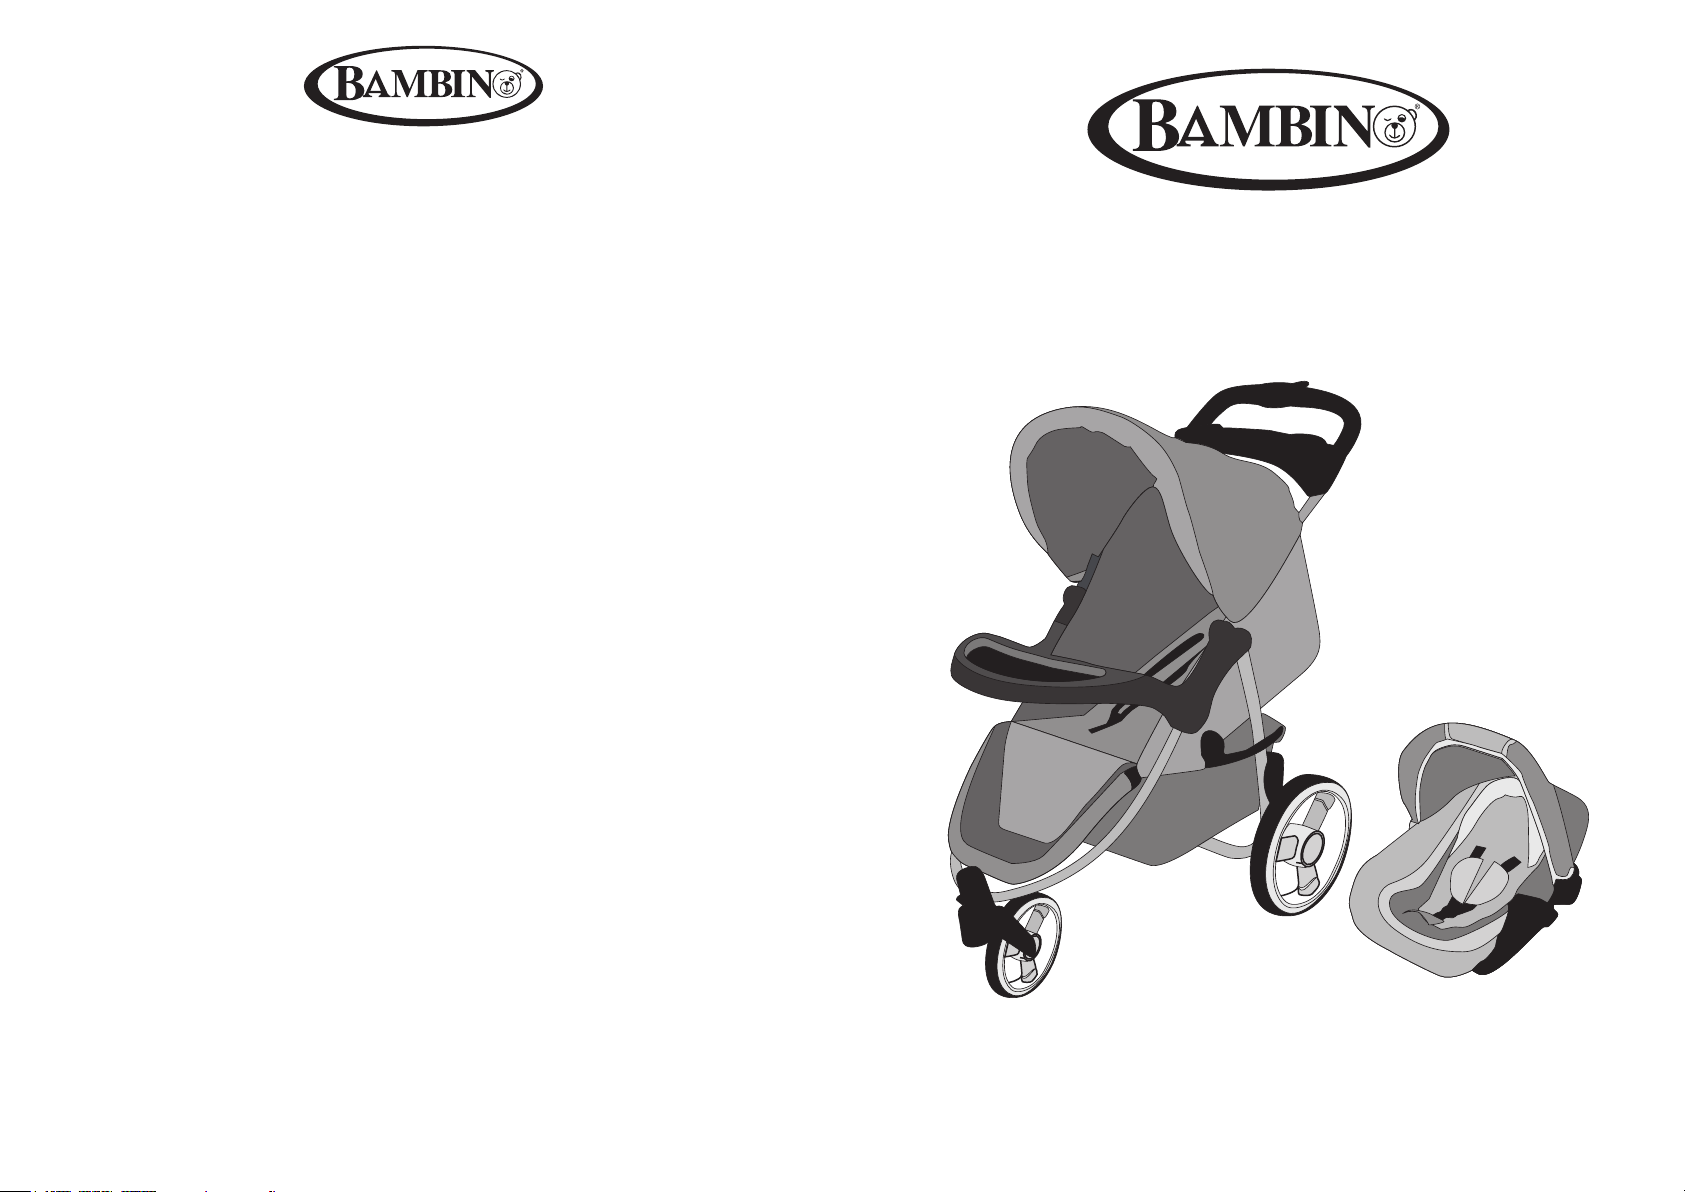
“TRI SPORT”
TRAVEL SYSTEM
“TRI SPORT” TRAVEL SYSTEM