Band-it X-TRAIL LITE User manual

Owner
’
s
manual
Video
tutorial
Scan
me

Contents
1 Product Overview 2
1a Package Contents 2
1b Product Overview 2
2 Assemble & Setup 3
2a Adjust Handlebar and Stem 3
2b Install Front Wheel 3
2c Seat Installation 3
2d Assemble Fender and Headlight 3
2e Mounting Pedals 4
3 Battery & Monitor Instructions 3
3a Charging Your Battery 3
3b Using Your Bandit E-Bike Monitor 4
3c Bandit Smart Color LCD Display 5
3d Menu Screen Elements 6
4 Safety Instructions 12
4a Riding Your E-Bike Safely and Responsibly 12
4b Charging your Battery in a Safe Way 13
5 Precautions 13
6 After Sales Policy 13
6a Warranty 14

© Bandit Technologies Inc.
1 Product Overview
1a Package Contents
Remove all components from the packaging. Upon completing this, carefully
inspect the contents of the box. Please contact customer service for support if
any components are damaged or missing.
You should find the following items in the box:
1. Components for E-Bike
2. Battery and Charging Cable
3. Assembly Tools
1b Product Overview
Display: Each Bandit E-Bike comes equipped with our re-designed smart
color LCD displays for easier viewing during your ride. Please familiarise
yourself with it before beginning to ride your Bandit E-Bike.
Handle Bar: Adjust your handle bar before riding, ensuring it is correctly
angled for maximal control and comfort.
Page | 1

© Bandit Technologies Inc.
Seat: Before beginning to ride your Bandit E-Bike, be sure to adjust your seat
so that the height and direction are optimal.
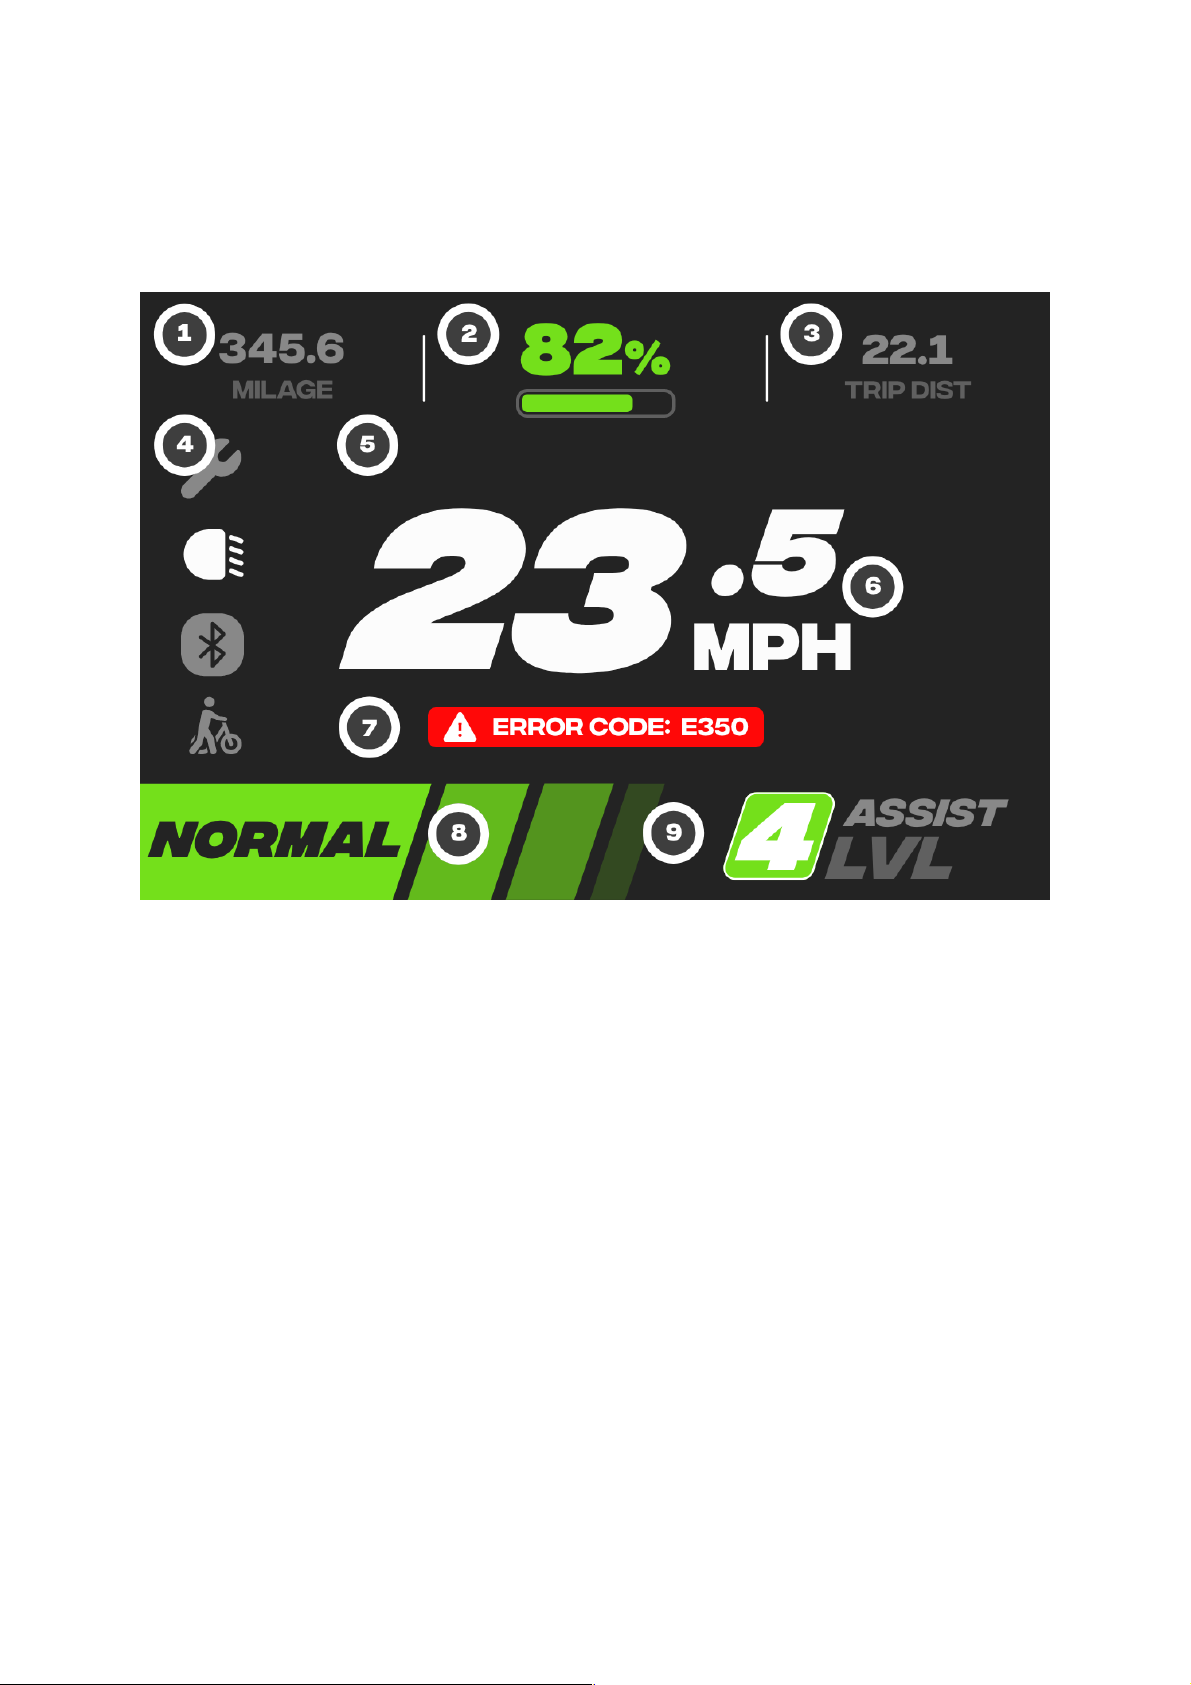
LED Headlight: The LED Headlight is best used for nighttime riding. The light
can be switched on and off via the monitor by holding the “+” button.
Pedal: Use the correct wrench (15mm) to tighten the pedals. Inspect this
component after every ride to ensure that the pedals are securely attached to
the crankset.
Disc Brake: Please avoid touching the disc brake directly after riding. In case
of damage, be sure to replace this component before continuing to use your
E-Bike.
2 Assemble & Setup
2a Adjust Handlebar and Stem
1. Twist the stem 180deg so the headset is facing forward.
2. Remove the screws holding the mounting bracket in place.
3. Place the handlebar on the handlebar mount.
4. Re-install the mounting brackets. Ensure screws are tightly wound up.
2b Install Front Wheel
1. Prepare the quick-release handle and skewer.
2. Prepare the front wheel.
3. Flip the bike frame over for easy installation.
4. Place the front wheel on the front fork. Align the disk between the
brake calliper.
5. Insert the skewer into the axel. Keep the handle on the left side nearest
the disk plate.
6. On the other side, tighten the nut to secure the skewer into place.
7. Fasten the quick-release handle.
8. Ensure the quick-release handle is locked to complete front-wheel
installation.
2c Seat Installation
1. Twist counterclockwise to loosen the screw.
2. Insert the seat tube into the socket.
3. Adjust seat height and direction before re-tightening the screw.
Page | 2

© Bandit Technologies Inc.
4. Ensure the seat is securely held in place to complete seat installation.
2d Assemble Fender and Headlight
1. Remove the front and rear fenders.
2. Loosen the screw located at the top by twisting it counterclockwise.
3. Once the screw is loose, place the headlight directly on top of the front
fender.
4. Re-install the screw to fasten the headlights and front fender together.
5. Repeat the same process for the rear fender.
2e Mounting Pedals
Warning: Incorrect installation will cause damage. Please carefully read and
follow the instructions. Ensure the pedals are secure before riding and re-
tighten after every few rides.
1. Identify and prepare the left and right pedals by their “L” and “R”
markings.
2. The pedal “R” should be installed on the right side of the chainring
while pedal “L” should be installed on the left.
3. Install pedal “R” by twisting it clockwise.
4. Install pedal “L” by twisting it counter-clockwise.
Note: Hand screw the pedals to get the thread started. Afterwards, use your
15mm wrench to tighten them.
3 Battery & Monitor Instructions
3a Charging Your Battery
1. Flip open the flap and plug the wire into the socket to begin charging.
2. The battery can also be removed for charging by using the provided key
to release it from its slot.
3. Plug the charger into a power source.
4. A red light shows that the battery is being charged while green means
it’s full.
Page | 3

© Bandit Technologies Inc.
3b Using Your Bandit E-Bike Monitor
1. Power on/off: Hold the power button for 2 seconds to power up the
bike. Hold it for 3 seconds to power off. Tap the power button to switch
drive modes between “Front”, “Rear”, “Auto”, and “Max”. (This feature is
only available on Dual Wheel Drive models)
2. Assisted Pedalling: Press the “+” or “-” button to adjust the assist level
from 0 to 6 (level 7 is available for Dual Wheel Drive models). When your
assist level is at 0, press and hold “+” for 2 seconds to enable a short
6km/h (3.8mp/h) speed boost.
3. Headlight Control: Press and hold “-” button for 2 seconds to switch on
or switch off the headlight.
4. Error Code Display: When the electric control system fails, the meter
will display an error code automatically. See the table for more
information.
●When an error code is displayed, you should use it to
troubleshoot the E-Bike.
5. “Set” Button: Press the "set" button to switch range, trip time, AVG
speed, and trip distance. Hold the button to enter the menu.
Page | 4

© Bandit Technologies Inc.
3C Bandit Smart color LCD Display
1. Total remaining mileage: Estimated remaining mileage based on current
battery life. The same unit of measure that the user selects will be used.
2. Battery display: Accurately displays percentage remaining battery.
3. Average speed per trip: Calculates your average speed based on travel
distance and time taken.
4. Utilities Display: From top to bottom: Repairs Needed, Headlight
Activation, Bluetooth Connection Status, Boost Activation.
5. Speedometer: Accurately displays the rider’s speed of travel.
6. Unit of measure for speedometer: Displays the user’s preferred unit of
measure for speed.
7. Error display area: Errors messages will appear here.
8. Power Output Level: Displays whether the rider is using Sport, Eco, or
Normal Modes.
9. Pedal Assist level: Displays the rider’s selected level of Pedal Assist.
Page | 5

© Bandit Technologies Inc.
3d Menu Screen Elements
Clear Data: Clear riding data for your last trip here.
Units: You can adjust the unit of measure for speed here. The default
measure is in mph.
Page | 6

© Bandit Technologies Inc.
Riding Mode: You can switch to your preferred Riding Mode here (Torque,
Speed). The default Riding Mode is ‘Torque’.
Brightness: Adjust your display’s brightness level here. Brightness levels
range from 1-5.
Page | 7

© Bandit Technologies Inc.
Passcode: Set your passcode here. By default, the passcode is 0000. You can
also bind your NFC card with a passcode.
Connect: You can connect your monitor to an NFC card or to a mobile device
via bluetooth here.
Page | 8

© Bandit Technologies Inc.
Connect With Bluetooth: Connect your Bandit E-Bike with your smartphone
to optimise your ride experience using the Bandit App.
Using your monitor, search for your smartphone. Once it appears, select it to
begin the pairing process.
Page | 9

© Bandit Technologies Inc.
Once pairing is completed, you will receive a confirmation message. After
this, you can use the Bandit App to customise your E-Bike further.
Connect with NFC Card: Connect your Bandit E-Bike with an NFC card to
unlock your E-Bike more easily. You can have up to 5 NFC cards. Press ‘Bind’
To begin the pairing process.
Page | 10

© Bandit Technologies Inc.
Place your NFC Card on the monitor to begin the pairing process.
A confirmation message will appear when the pairing process has
successfully completed.
Page | 11

© Bandit Technologies Inc.
Information: Access basic information about your E-Bike here.
4 Safety Instructions
4a Riding Your E-Bike Safely and responsibly
1. Do not violate traffic laws or ride your Bandit E-Bike carelessly. Proceed
with caution, maintain a safe speed and distance from other vehicles,
people, and objects, and avoid riding on slippery or bumpy surfaces.
2. Respect pedestrians' right of way and their space. When riding behind
a pedestrian, ring the bell to alert them to your presence. When passing
pedestrians, maintain a manageable speed and distance. If the roadway
does not facilitate safe passing conditions, get off the bike and walk
past the pedestrian.
3. Inspect parts before and after each ride. In case of damage, make the
appropriate adjustments and repairs before the next ride to prevent
endangering your own and other people’s safety.
4. Ensure that you turn off your Bandit E-Bike when you dismount. This
prevents accidents caused by pedal assist being activated when you
remount.
5. Wear the appropriate attire and footwear while riding the bike to avoid
injury. Avoid loose-fitting clothing, open-toed, loose-fitting footwear, or
anything that may easily get caught in the bike’s mechanisms.
Page | 12

© Bandit Technologies Inc.
4b Charging your Battery in a Safe Way
1. The battery’s standard charging time is 3-7 hours. You should
immediately unplug the battery when it indicates it is fully charged.
Although this charger has an overcurrent protector, it should not be
charged for a long time due to the chemical nature of the lithium
battery. Failure to abide by this consideration may result in reduced
battery performance and may even cause a fire.
2. If the temperature exceeds 104°F (40°C), suspend charging until the
temperature drops. During the winter, it is recommended to charge the
battery 30 minutes after the bike is built. Charging times will be
extended to 4-9 hours.
3. To avoid rapid battery decay, pay attention to the charger’s acceptable
voltage before charging.
4. While charging, if an odour or smoke is emitted, or the shell is
overheating, suspend charging immediately. The defective component
should be replaced or repaired before proceeding.
5. During storage and charging, be aware of potential orifices where
foreign liquids can enter the battery or other bike mechanisms. Place
the E-Bike in a dry, cool, and confined environment.
5 Precautions
We know you are excited to start riding your Bandit E-Bike but please:
1. Charge and Re-insert the battery before riding.
2. Make sure the pedals are screwed on tightly.
3. Ensure the front wheel is installed tightly and securely.
4. Check that the tires are sufficiently inflated.
5. Learn how to use the Bike Monitor.
6. Wear a helmet before beginning your ride.
7. Be sure to check road conditions before riding, wet or bumpy roads
should be avoided.
Please Note: For an optimal experience, be sure to adjust your Bandit E-Bike
to suit your individual needs following assembly.
Page | 13

© Bandit Technologies Inc.
6 After Sales Policy
6a Warranty
1. Users should operate their E-Bike in accordance with the product
manual. In case of product faults, the company must carry out repairs
and maintenance.
2. The company is responsible for the after-sales faults and will perform
the needed repairs and maintenance for a fee.
3. If battery replacement is required following the end of the warranty
period, the company will supply a replacement to the buyer at factory
price.
Page | 14

Video
tutorial
Scan
me
Bandit
technologies
inc
.
200
CONTINENTAL
DRIVE
SUITE
401
,
OFFICE
434
,
NEWARK
,
DE
19713
,
USA
FOR
PRODUCT
RELATED
QUESTIONS
PLEASE
VISIT
:
h
ttps
://
ba
n
di
t
bike
s
.
z
e
n
de
s
k
.
c
om
or
support
@
ba
n
di
t
.
bike
Table of contents