How to service
Strategy
The product is to be serviced in the customer’s home.
The repair involves replacement of the module(s). The replaced modules must be
returned for repair at the Bang & Olufsen Module Repair department. Error codes
as well as an adequate fault description must be returned with each replaced part.
For this purpose, use the Module Repair form or the form in the Retail System
under Exchange Module.
To help the Bang & Olufsen Module Repair department it is very important to
answer the following questions:
1. Which products are in the setup?
2. Which software versions are used in these products?
3. How are the products linked together?
4. What happens in the actual situation?
Fault explanation and demonstration
Before troubleshooting is initiated, let the customer demonstrate the fault, if
possible.
Preparations before service
Always remember to download the latest version of the Service Manual from
BeoWise. Use also an updated version of ServiceTool MKII to update the
BeoMaster 5 ServiceTool (placed on a USB pen drive).
Servicing
The BeoMaster 5 and BeoSound 5 must be serviced by qualified technical
personnel only.
If it is not possible to determine the location of the fault or if replacing spare parts
does not clear the fault, please contact your national Service Center for technical
support.
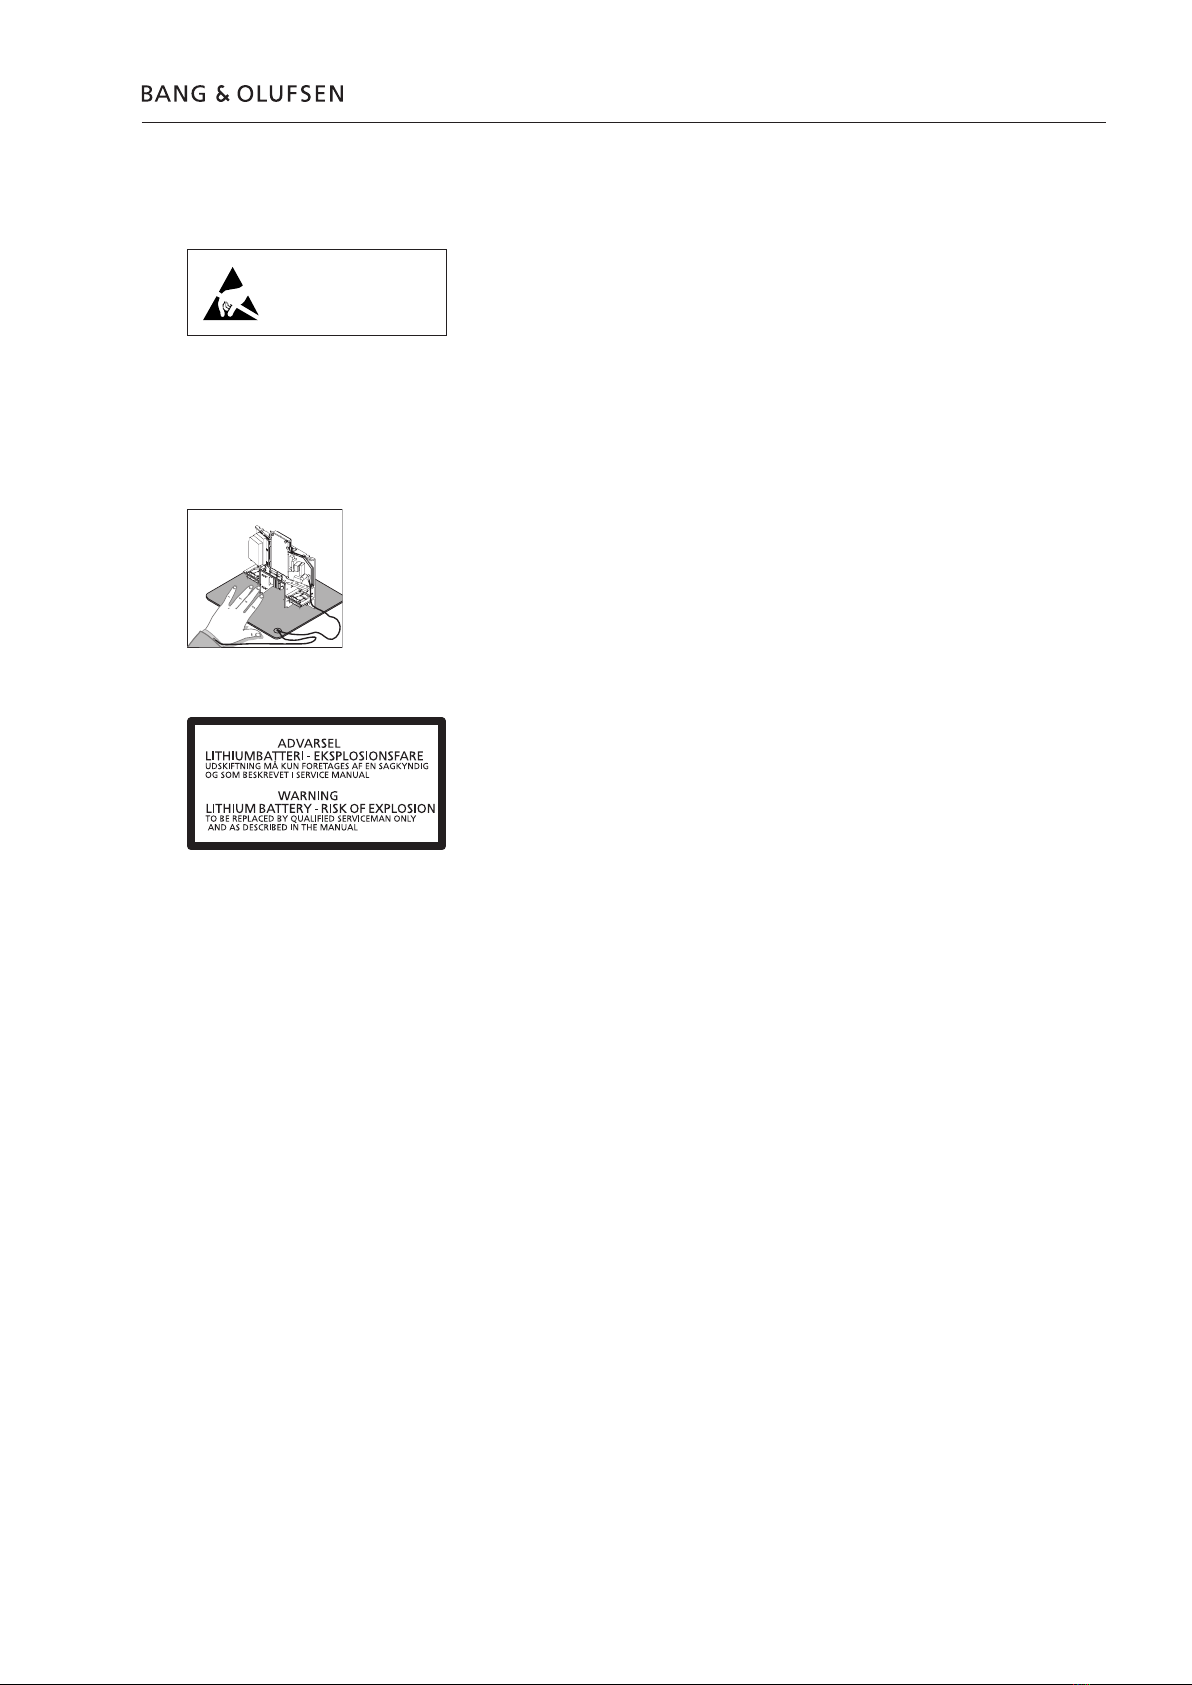
Handling
Like any other electronic equipment, this product must be handled with care.
Particularly the BeoMaster 5 which contains a HDD (Hard Disc Drive), must be
handled carefully. Otherwise, there is a major risk of damaging the HDD.
Generally, there are 4 main items (described on the next page) which require great
attention, when handling the product:
- Handling when the product is disassembled (ESD, lithium battery).
- Lithium battery.
- Cleaning.
- Transport and handling.
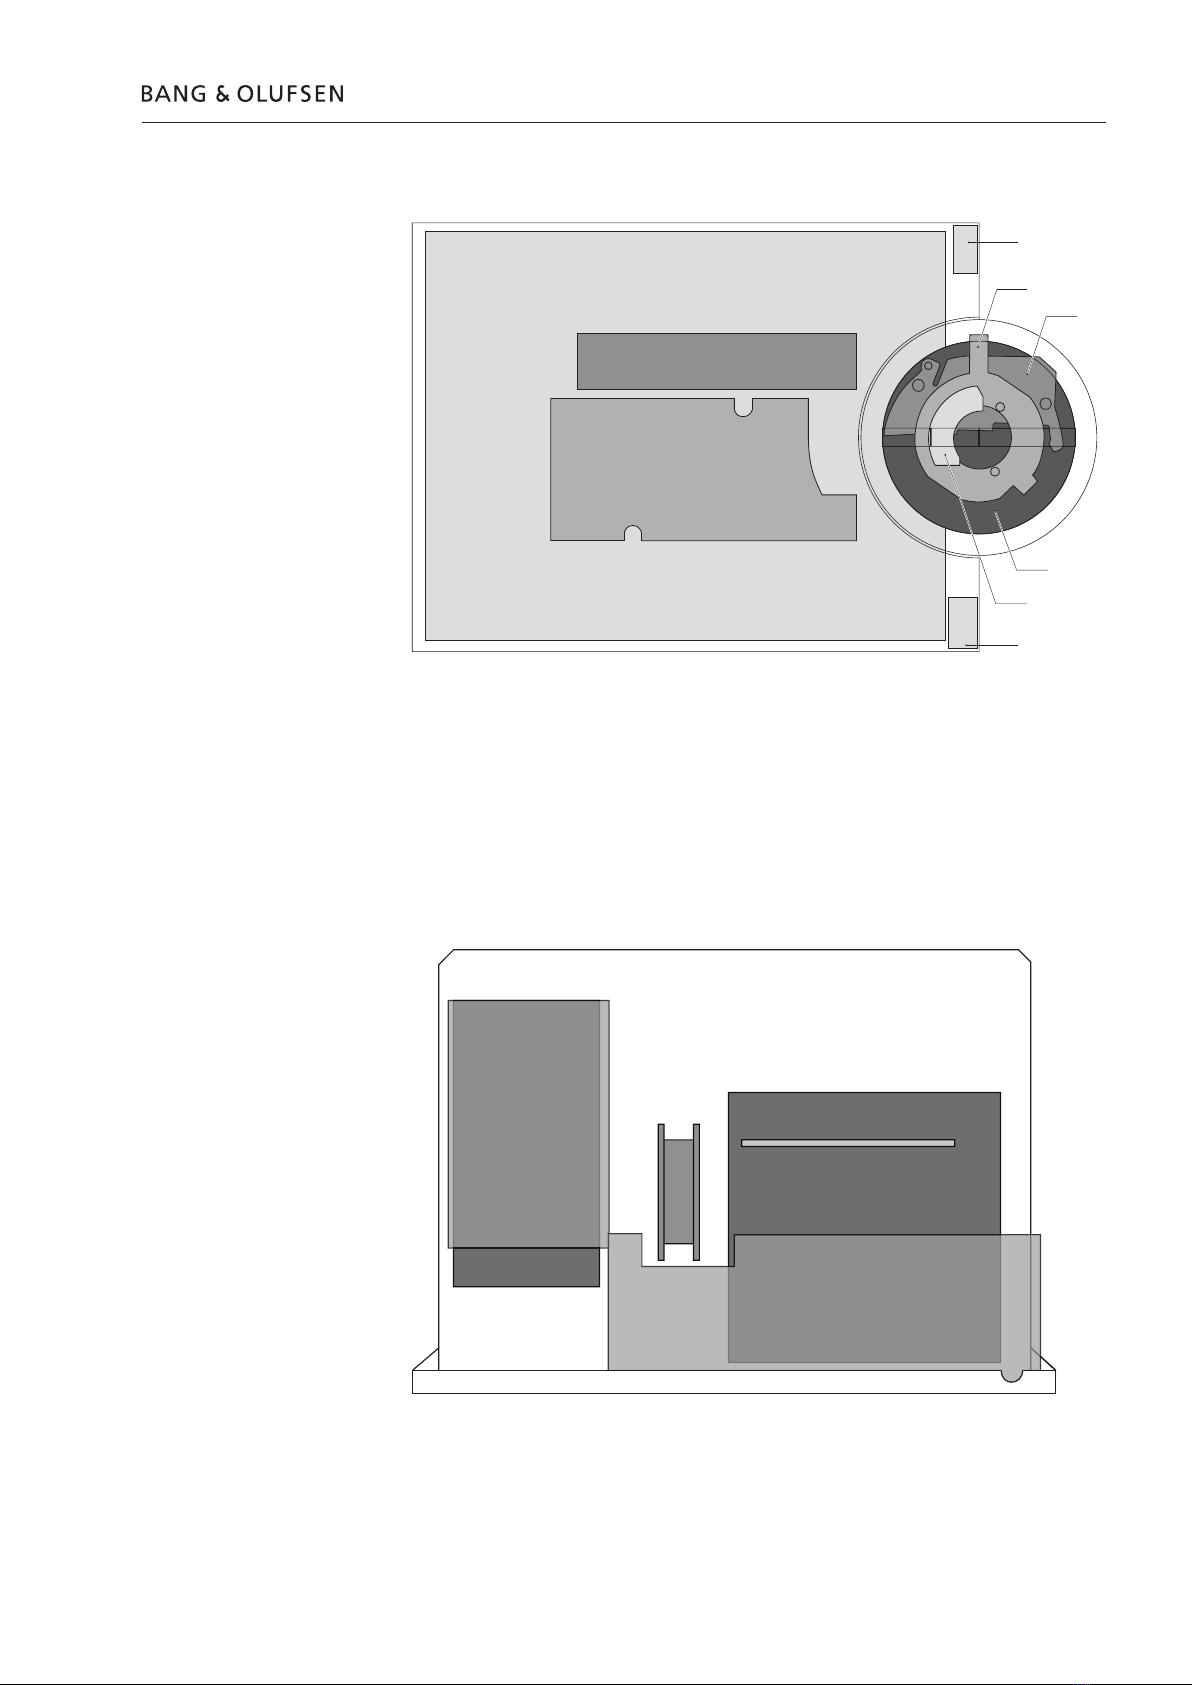
Replacement of modules
If it is necessary to replace modules in BeoSound 5 or BeoMaster 5, there are 3
modules which require an adjustment after replacement as the serial number has
to be transferred into the new module. The modules are:
- PCB01, Mainboard (BeoSound 5)
- PCB01, Motherboard (BeoMaster 5)
- PCB94, HDD (serial number backup for BeoMaster 5 and BeoSound 5)
Please refer to adjustments for further information.
1.2 How to service