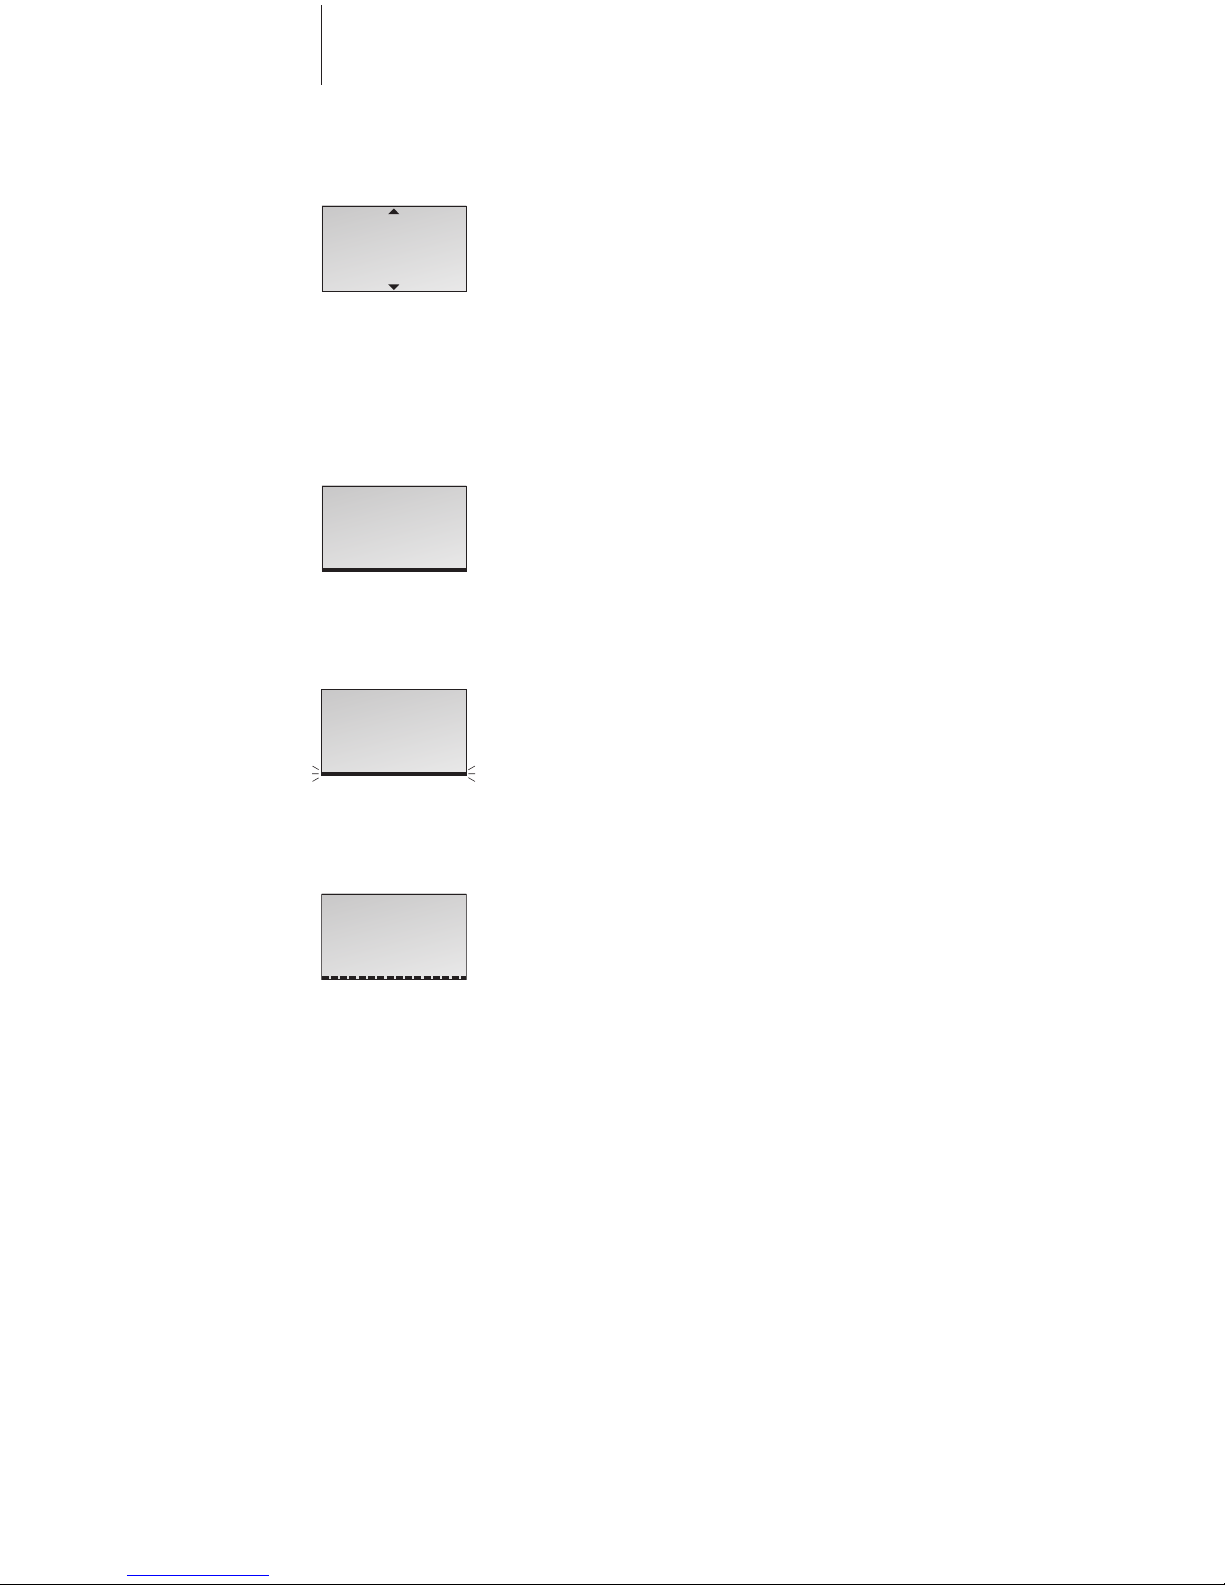
Open the display …
> Press OK while the handset is in standby.
> Push the Track point down to view options in
the display.
> Press OK to select an option.
Options in the main menu
– Redial list …Access the list of outgoing calls.
Refer to page 10 in the Guide.
– Caller ID list …Access the list of calls you have
received. Refer to page 12 in the Guide.
– Silence? …Mute the handset ringer. Refer to
page 5 in the Guide.
– Delete lists* …Delete the content of the Redial
list or Caller ID list. Refer to page 20 in the
Guide.
– Settings …Activate, adjust, or deactivate
functions. Refer to page 26 in the Guide.
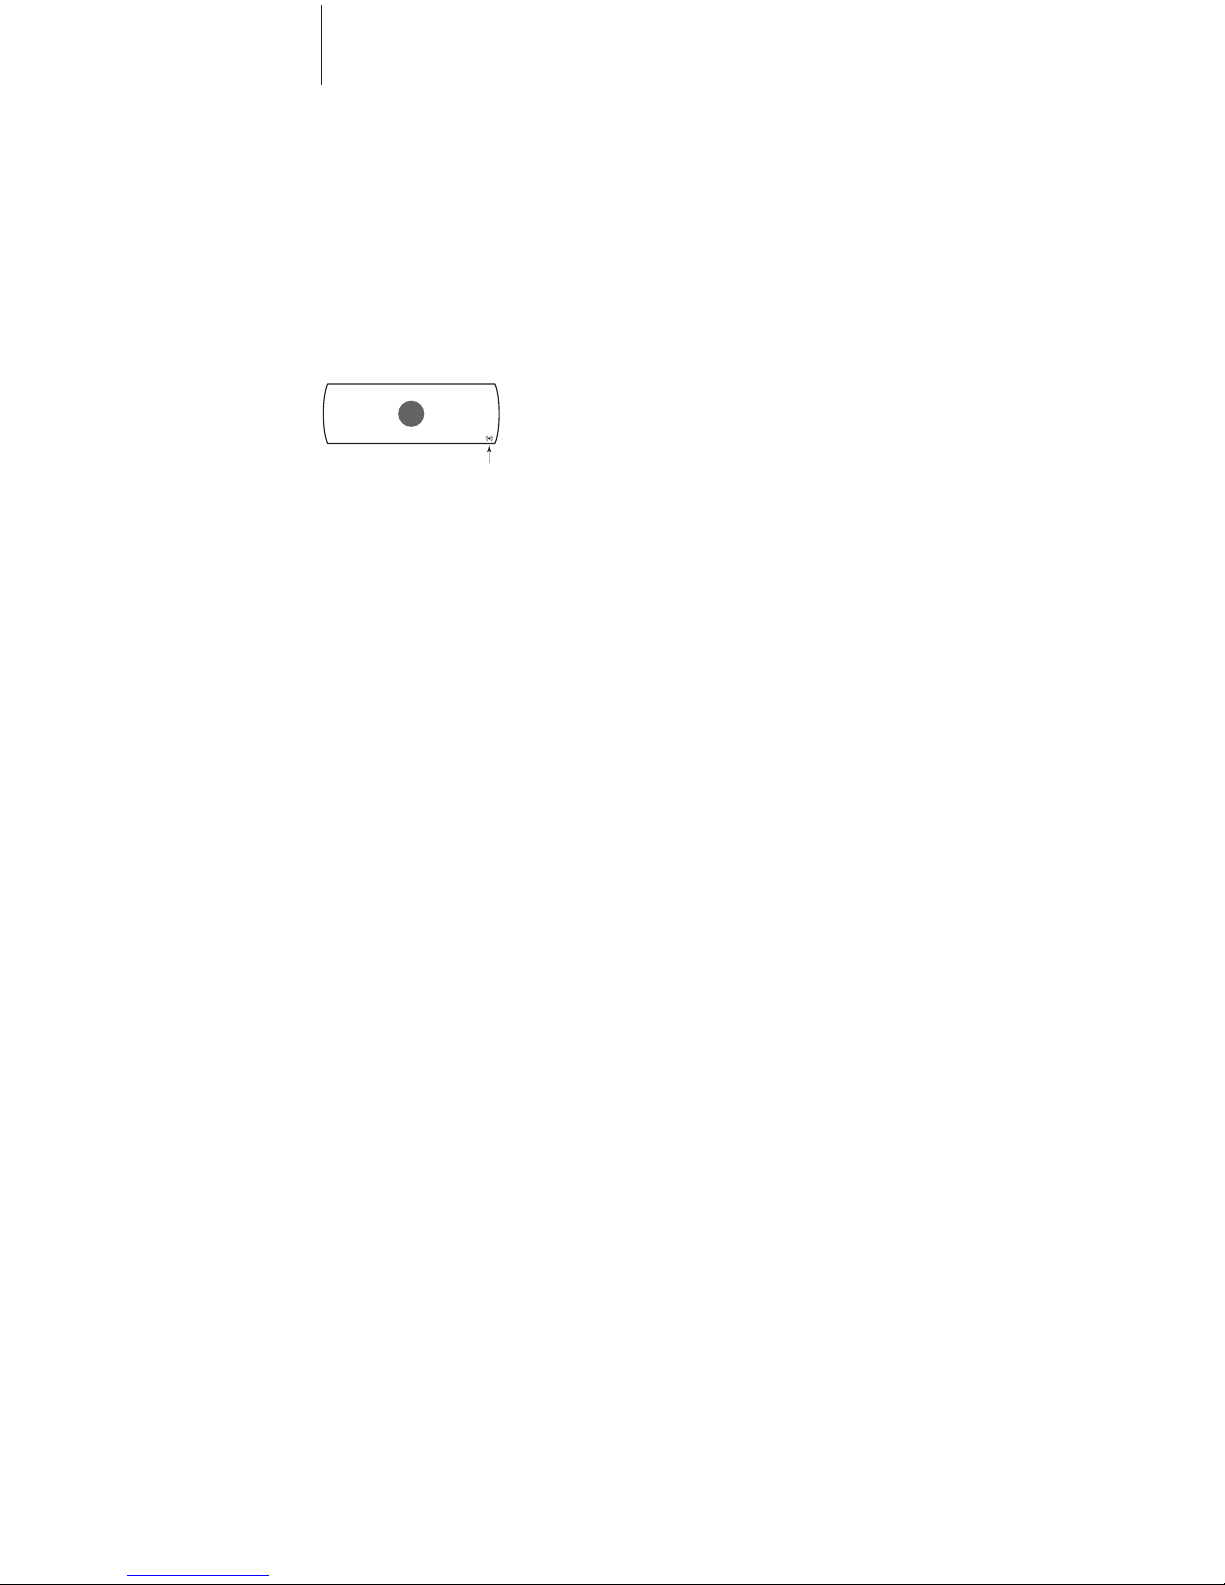
Display of new, unanswered calls
While the handset is in standby, the display
informs you of any unanswered calls you have
received. The menu disappears when you have
seen the calls, and the call information is moved
to the Caller ID list.
‘3 new calls’ appears in the display …
> Press OK to see the number, the time and the
date of the newest call. If the name is stored in
the Phonebook, this is shown instead of the
number. If you do not wish to view new call
information, simply push the Track point down.
> Push the Track point down to see the other
calls.
> When you have seen the new calls, press Cto
leave the menu.
*NOTE! This is only possible if you use the handset
with a BeoLine base.
The handset display