Store a number after a call
After a call, you will be asked whether you
want to store the number in the Phonebook,
if it is not already there. You can store the
number type – home, work, or mobile phone
– and enter a name with the number. You
can also add numbers to names already
stored in the Phonebook.
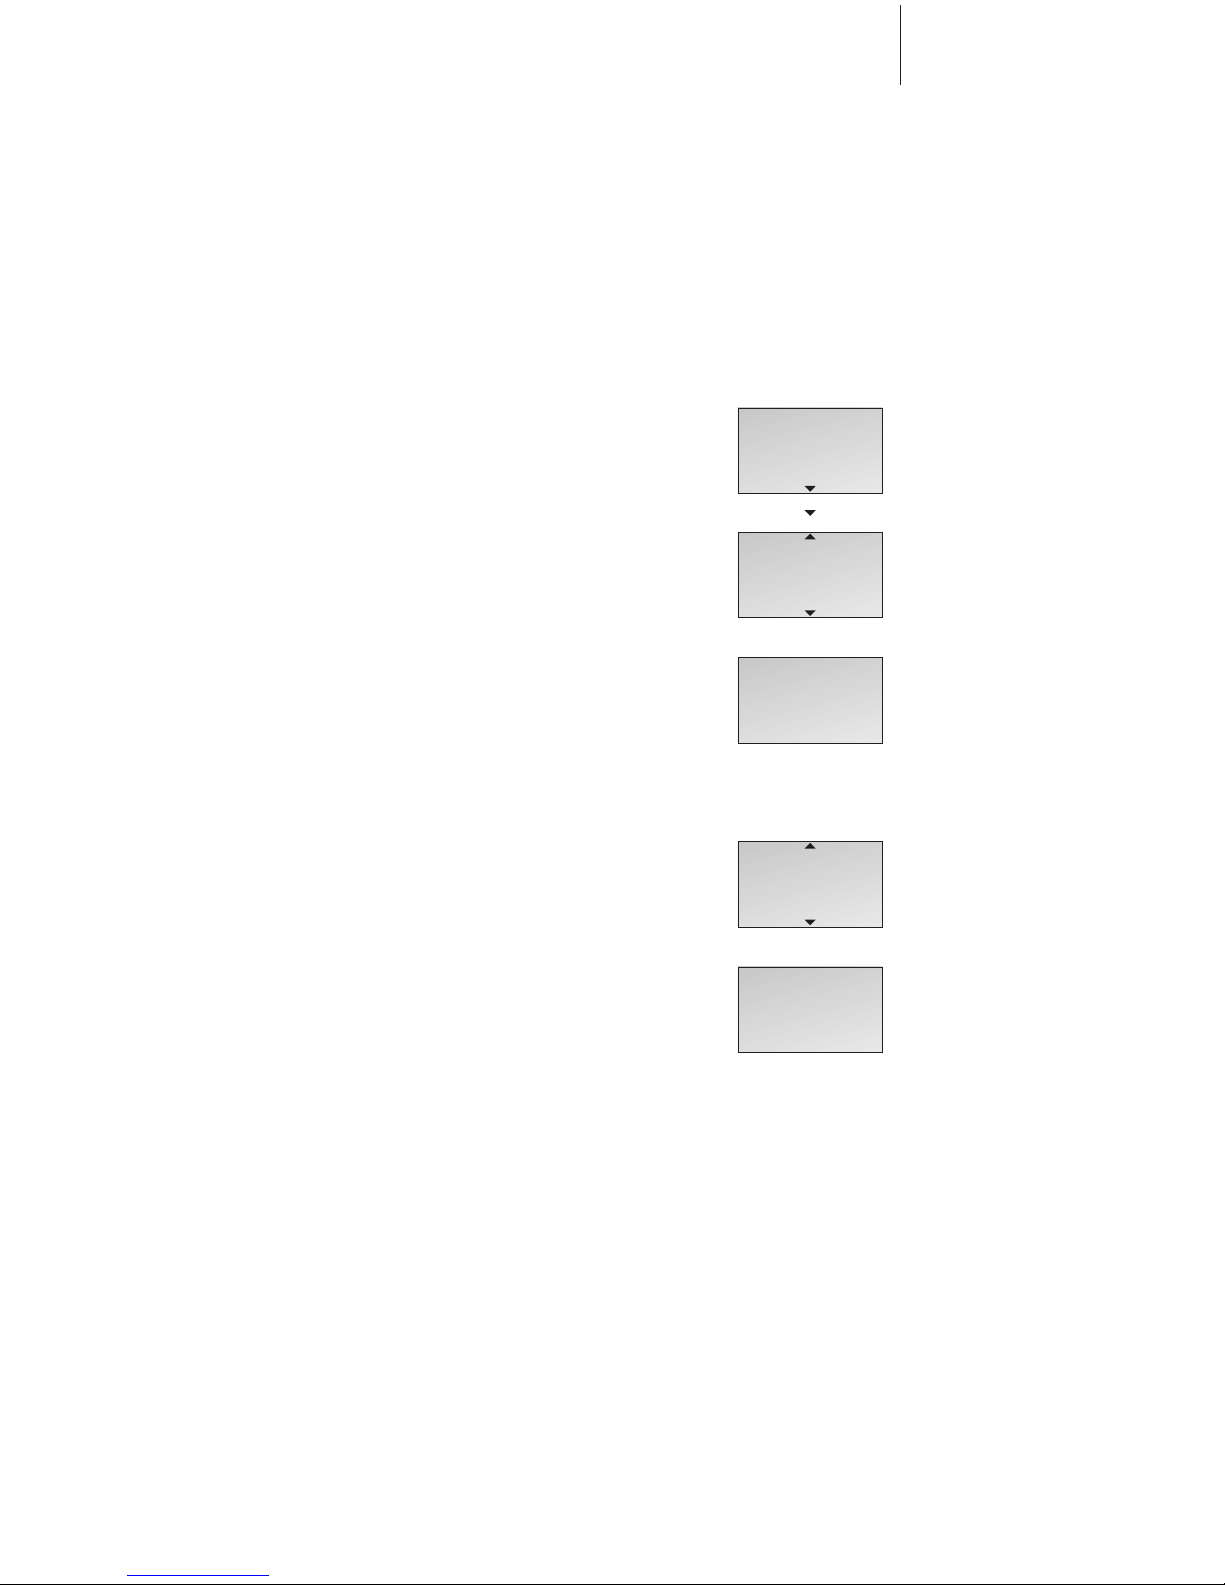
After a call …
> The display shows the number and prompts you
to store it in the Phonebook. If a name was
received with Caller ID information, this name is
shown.
> Press OK to be able to store the number. New
name? appears in the display. If you wish to add
a number to a name stored in the Phonebook,
refer to the next page
> Press OK if the number belongs to a name not
yet stored in the Phonebook. The spelling line
appears in the display
> …push the Track point left or right to select
the letters for the name. Select Aa to switch
between upper and lower-case letters, and A@
to use letters specific to your language*.
> Press OK to store the selected letter. If you
store an upper-case letter, the cursor moves to
the lower-case letters. If you store a space or
symbol, the cursor moves to the upper-case
letters.
> To include digits, press the number keys.
> When the name is complete, push the Track
point left or right to move the cursor to the
symbol.
> Press OK to store the name. The display
prompts you to select a number type
> Push the Track point down to select either
Home, Mobile or Work and press OK to store it.
Here are some tips that can help you make
Phonebook entries easier to find:
– When entering couples’ names, put first names
in alphabetical order;
– When entering names of colleagues, put the
company name first;
– When entering the names of childrens’ friends,
start with the child’s first initial.
OK
23456789
Store number?
OK
23456789
New name?
Number type
Home?
OK
AaABCDEF...
OK
Home
stored
OK
David Jones
Aaabcdef...
7