Bargeheights BAR 252 User manual
User Manual
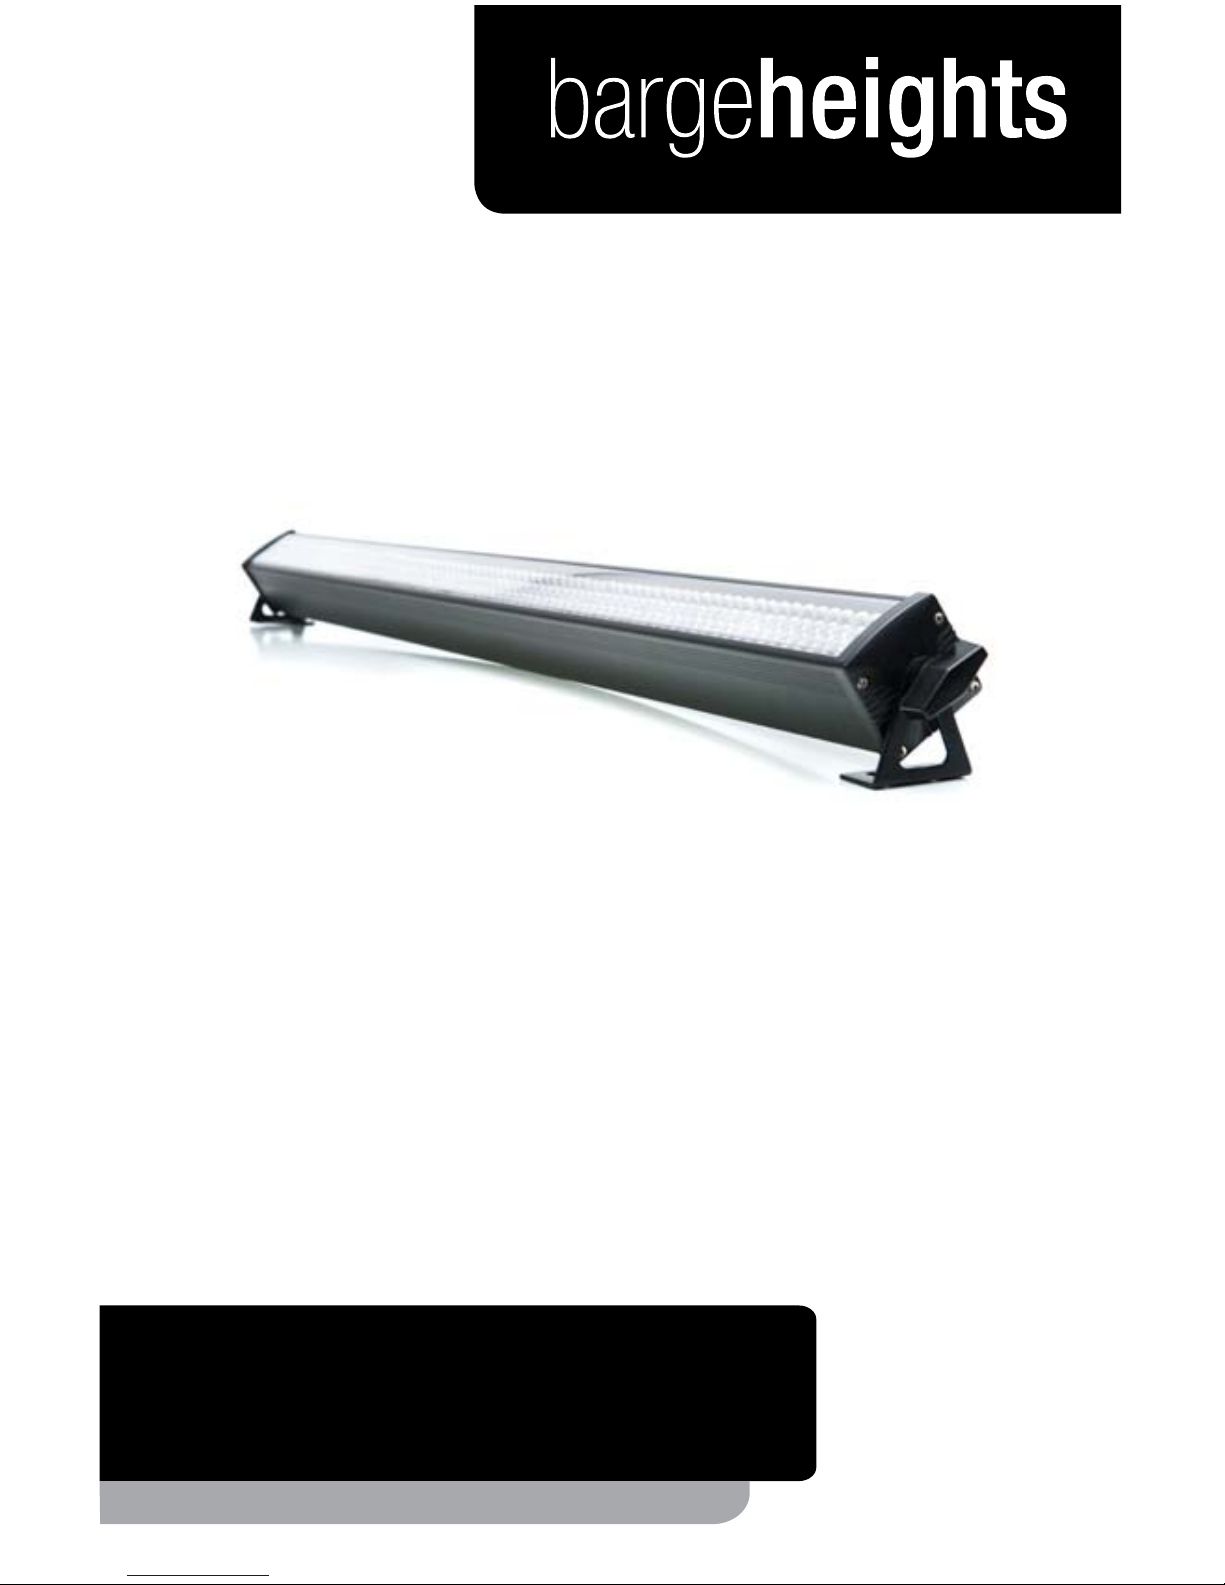
RGB Linear Wash Luminaire
BAR 252

Page 3©2010 Bargeheights, Inc.BAR 252 User Manual rev. A
1. THEBEGINNING
Thanks!
Thank you for choosing the Bargeheights BAR 252! This versa-
tile linear LED wash luminaire will provide reliable performance
day in and day out. To ensure long lasting performance, please
follow the guidelines in this manual. The instructions here are
important for your safety and the maintenance of this xture.
Enjoy!
Unpacking
All of our luminaires are thoroughly tested prior to being
shipped. While your BAR 252 functioned perfectly when it left
us, it may have been bumped around during shipping. Please
inspect the carton and if you notice any damage, take a good
look at the xture. If you see any damage, it is important to
contact our support team right away. And, if you nd any pieces
necessary for operation are missing – let us know! We’ll make it
right as soon as possible.
Support
If something is not working properly, let us know! Grab a
computer or your favorite handheld device and head to
www.bargeheightslighting.com/support for user manuals,
DMX channel lists and support information. You can also email
WARNING!
To reduce the risk of re or electrical shock, do not attempt to
use this xture with any covers missing or removed.
The Bargeheights BAR 252 carries a one-year (365 day) manu-
facturers’ limited warranty. Please contact Bargeheights for
warranty repair or returns. All returns require an RA (Return
Authorization) number. If your xture is still under warranty,
contact us and we’ll walk you through the process.
TABLEOFCONTENTS
1. The Beginning
Unpacking
Support
Introduction
DMX Quick Reference
2. Safety Information
3. Setup
DMX Cabling
DMX Termination
3-pin vs. 5-pin
Master/Slave Mode
4. Operation/Conguration
Menu Structure
DMX Control Mode
DMX Channel Functions
Control Functions
Standalone Control Modes
Master/Slave Mode
Technical Specications
Photometric Data
5. Care/Maintenance
Returns
Shipping Damage
Contact Us
3
3
3
4
4
5
6
6
6
7
7
8
9
10
10
11
12
13
14
14
15
15
16
16
Page 4 Page 5BAR 252 User Manual rev. A ©2010 Bargeheights, Inc.
Introduction
• Linear LED Wash Luminaire
• Full RGB color mixing via 252 LEDs
(108 Red, 72 Green, 72 Blue)
• High output, low power consumption
• Variable electronic strobe/dimmer
• 3 segments individually controllable within single unit
• Master/Slave modes
• Built-in standalone modes - no controller required!
• RGB color mixing ability in standalone mode
• Rugged aluminum chassis
DMX Quick Reference
Channel Function
1 Color + Strobe Control
2Speed OR Intensity /
Strobe Control
3 Red Intensity
4 Green Intensity
5 Blue Intensity
6 Red Segment 1 Intensity
7 Green Segment 1 Intensity
8 Blue Segment 1 Intensity
9 Red Segment 2 Intensity
10 Green Segment 2 Intensity
11 Blue Segment 2 Intensity
12 Red Segment 3 Intensity
13 Green Segment 3 Intensity
14 Blue Segment 3 Intensity
2. SAFETYINFORMATION
• DO NOT connect the xture into a dimmer. Use constant line voltage only to
avoid damage.
• Make sure you are connecting the xture to line voltage that is not higher
than the voltage stated on the rear of the xture.
• The BAR 252 is for indoor use only. Do not expose the xture to rain, or
other moisture. The BAR 252 cannot be used as a water ski.
• Do not operate the xture with ammable items nearby. NEVER lay anything
on the xture while it is on.
• ALWAYS disconnect the xture from its power source before servicing or
cleaning.
• DO NOT operate when the ambient temperatures are higher than 104°F
(40°C). If it’s too hot for you, it’s too hot for your BAR 252!
• If your BAR 252 stops working properly, stop using it immediately. NEVER
try to repair it yourself. Attempting repairs in the eld can result in damage or
injury. Please contact us for repairs or replacement.
• Make sure the power cord is not frayed or damaged.
• Never disconnect the power cord by pulling on the cord. Use the plug!
• Avoid direct eye exposure to the light source while it is on. It’s cool looking,
and fun to watch, but staring into the light can damage your eyes!
There are no user serviceable parts inside this xture. Do not
open the housing or attempt any repairs yourself. Not only is it
a bad idea, it will void your warranty – which is a bummer when
you need a working light! If you do need service, please contact
Bargeheights. Damages sustained as a result of modications
to the xture, or disregarding information in this manual will
not be covered by your warranty. If something is wrong, let us
take a look at it. We’ll help you out!
!Caution!

Page 6 Page 7BAR 252 User Manual rev. A ©2010 Bargeheights, Inc.
3. SETUP
DMX Cabling
The BAR 252 has standard 3-pin XLR connectors for DMX con-
trol and daisy-chaining. Up to 32 devices can be daisy-chained
together on a single run. Standard microphone cables will
probably work OK, but DMX is a serial data transmission with
impedance specications that are different than analog audio.
Cables specically designed to transmit DMX signals will always
work best. As an example, Belden© 9841 meets the specica-
tions for DMX-512 applications. The longer the cable distance,
the more important proper cable selection is.
DMX Termination
Sometimes, errors will crop up in your DMX line – especially if it
is a long run. When this is the case, or if you just want to make
sure your DMX runs have the best chance at accurate transmis-
sion, you can use a terminator. A terminator is a 120 ohm ¼
watt resistor which is connected between pins 2 and 3 of a male
XLR connector (DATA + and DATA -). This connector is inserted
in the female XLR connector of the last xture in your daisy
chain to terminate the line. Using a cable terminator will de-
crease the possibility of erratic behavior. Terminators are avail-
able on the internet and from lighting retailers. If you’re handy
with a soldering iron, they are simple to build yourself!
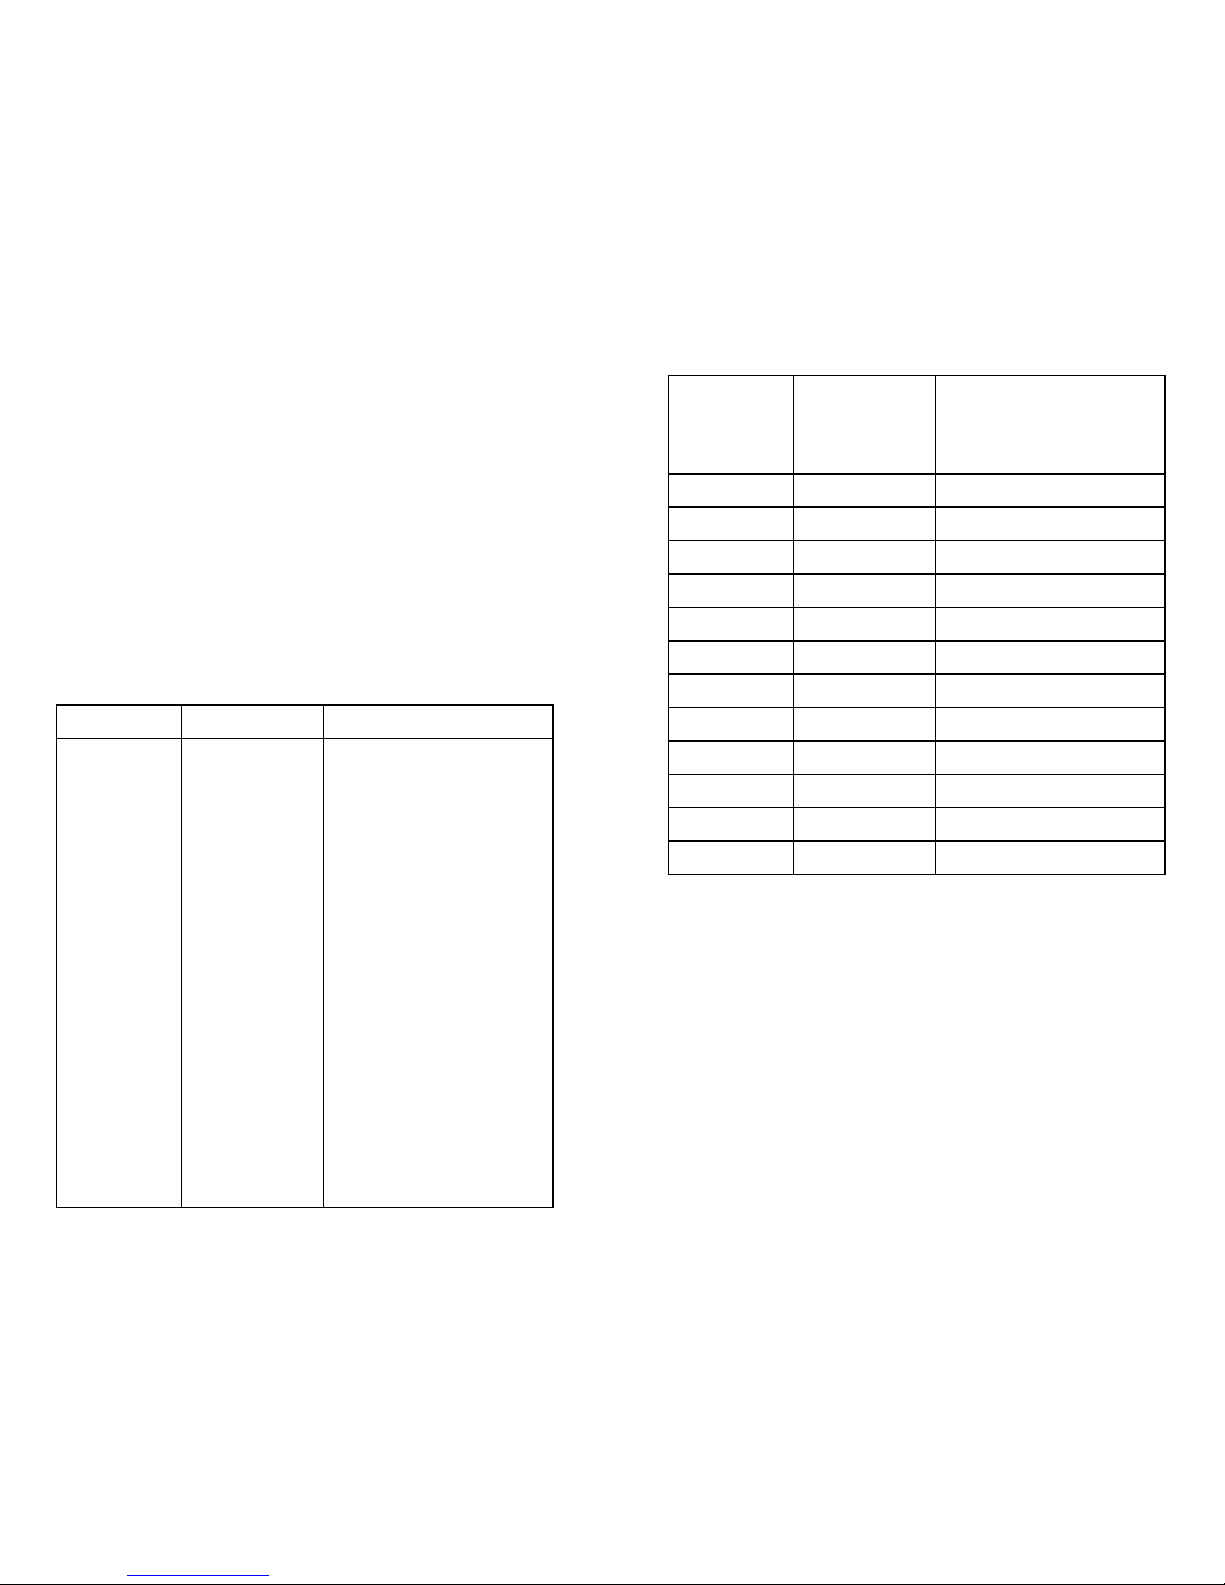
1
120 Ohm resistor
¼ watt
DMX Terminator
3-pin XLR Male connector
1
2
3
1
2
3
Shield
Data +
Data -
3-pin vs. 5-pin
Some manufacturers use 5-pin XLR connectors for DMX trans-
mission. Don’t worry! The two are still compatible. Adapters are
available on the internet and from lighting retailers. If you want
to build your own, here are the proper connections:
Cable Conductor 3-pin Female
(output)
5-pin Male
(input)
Shield (Ground) Pin 1 Pin 1
DMX Data + Pin 2 Pin 2
DMX Data - Pin 3 Pin 3
not connected - not connected
not connected - not connected
Master/Slave Mode
The BAR 252 also has a Master/Slave mode. In this mode you
can set one xture in the line to act as the master controller –
and up to 32 other xtures can be connected and will mirror the
operation of the rst. In this conguration, you do not need a
DMX controller.
Connect the xtures just as
you would for DMX control.
See the OPERATION sec-
tion of this manual for more
information on how to set up
Master/Slave mode.
DMX IN DMX OUT
DMX IN DMX OUT
Master Fixture
Slave Fixture
to next xture
2
3

Page 8 Page 9BAR 252 User Manual rev. A ©2010 Bargeheights, Inc.
4. OPERATION/CONFIGURATION
We here at Bargeheights don’t really care for DIP switches.
They are hard to see in the dark, and since most of us don’t
quickly think in binary, they are tricky to set properly. The
BAR 252 has an LED display with a simple menu system. There
are four control buttons below the display that allow you to
navigate the control menus.
<MODE> – Go up a level in the menu system
<+> – Scroll to the next higher number or menu selection
<-> – Scroll to the next lower number or menu selection
<ENTER> – Select the current number / menu selection
To access the main menu press the <MODE> button. Use the
<+> or <-> buttons to navigate through the menu options.
Press the <ENTER> button to select the option displayed, and
use the <+> or <-> buttons to change the settings. Once your
changes are made press <ENTER> to accept the change.
8888
Mode + - Enter
Menu Structure
A001
CL01
SP01
dnCo
SP16
dnCo
Auto
SLAU
CL01
A512
CL09
CL11
CL03
CL06
CL13
CL02
CL10
CL12
CL04
CL07
CL14
CL05
CL08
DMX Address Setting
Red
Orange
Yellow
Green
Cyan
Blue
Pink
Magenta
White
Sound Control : Color
Random Strobe/Color
Color Chase Segments - Speed Control
Color Fade Random - Speed Control
Color Random - Speed Control
Speed Control: 1 - 16
DMX Control Mode
Standalone Mode
Slave Mode
Page 10 Page 11BAR 252 User Manual rev. A ©2010 Bargeheights, Inc.
DMX Control Mode
To change the DMX starting address:
• Press <MODE> until A001 is displayed.
• Press <ENTER> to display the channel number, and press
<+> or <-> to select your starting address. (1-512)
• Press <ENTER> to assign your selection.
Ensure your BAR 252 is in DMX Control Mode:
• Press <MODE> until the Control Mode is displayed.
( dnCo Auto SLAU )
• Press <+> or <-> and select dnCo.
• Press <ENTER> to conrm your change.
DMX Channel Functions
Channel Channel Value Function
1
0-15
16-25
26-35
36-45
46-55
56-65
66-75
76-85
86-95
96-105
106-115
116-125
126-135
136-145
146-155
156-165
166-175
176-185
186-195
196-205
206-215
216-225
226-235
236-245
246-255
Strobe Off
Color Cycling Strobe
Color Cycling Triple Strobe
Color Cycling Pulse Fade
Color Cycle
Random Color Fade
White Segment Chase
Red Segment Chase
Green Segment Chase
Blue Segment Chase
Yellow Segment Chase
Magenta Segment Chase
Cyan Segment Chase
Cyan + R Segment Chase
Mag + G Segment Chase
Yel + B Segment Chase
Red + B/G Segment Chase
White Neg R/B Seg Chase
White Neg R/G Seg Chase
R - G - B Segment Chase
C - M - Y Segment Chase
Color Cycling Seg Chase
Add Color Cycl Seg Chase
Random Strobe / Color
Full Red
2
0-64
65-128
129-192
193-245
246-255
Intensity (0-100%)
Strobe Slow -> Fast
Triple Strobe Slow -> Fast
Pulse Fade Slow -> Fast
Full Intensity
3 0-255 Red Intensity
4 0-255 Green Intensity
5 0-255 Blue Intensity
6 0-255 Red Segment 1 Intensity
7 0-255 Green Segment 1 Intensity
8 0-255 Blue Segment 1 Intensity
9 0-255 Red Segment 2 Intensity
10 0-255 Green Segment 2 Intensity
11 0-255 Blue Segment 2 Intensity
12 0-255 Red Segment 3 Intensity
13 0-255 Green Segment 3 Intensity
14 0-255 Blue Segment 3 Intensity
Control Functions
When utilizing DMX Channel 1 to control preset effects, DMX
Channel 2 controls the speed of the effects, slow -> fast.
(0-255)
If Channel 1 is at 0, then Channel 2 controls Intensity/Strobe
with the selected color from Channels 3-14.
To control RGB overall color, or to control individual segment
RGB colors, Channel 2 must be either between 0-64 for Inten-
sity control, or at 255 (Full) for Channels 3-14 to function.

Page 12 Page 13BAR 252 User Manual rev. A ©2010 Bargeheights, Inc.
Standalone Control Modes
The BAR 252 has several standalone control modes that do not
require a DMX control signal.
Ensure your BAR 252 is in Standalone Control Mode:
• Press <MODE> until the Control Mode is displayed.
( dnCo Auto SLAU )
• Press <+> or <-> and select Auto.
• Press <ENTER> to conrm your change.
Select the desired Standalone function:
• Press <MODE> until the Standalone function is displayed.
CL01 – Red
CL02 – Orange
CL03 – Yellow
CL04 – Green
CL05 – Cyan
CL06 – Blue
CL07 – Pink
CL08 – Magenta
CL09 – White
CL10 – Sound Control : Color
CL11 – Random Strobe/Color
CL12 – Color Chase Segments - Speed Control
CL13 – Color Fade Random - Speed Control
CL14 – Color Random - Speed Control
• Press <ENTER> to conrm your change.
The BAR 252 also has speed control for several of the Stand-
alone Control Modes.
• Press <MODE> to display the selected speed. There are 16
speeds, from fast to slow. SP01 is slow – SP16 is fast.
Master/Slave Mode
Up to 32 BAR 252s may be connected via the 3-pin DMX con-
nections and controlled simultaneously without a DMX control-
ler by using Master/Slave Mode. In this mode you can set one
xture in the line to act as the master controller – and up to 32
other xtures can be connected and will mirror the operation of
the Master.
To ensure your BAR 252 is in Slave Mode:
• Press <MODE> until the Control Mode is displayed.
( dnCo Auto SLAU )
• Press <+> or <-> and select SLAU.
• Press <ENTER> to conrm your change.
To set your BAR 252 in Master Mode, set it up just as you would
for a Standalone Control Mode.
• Press <MODE> until the Control Mode is displayed.
( dnCo Auto SLAU )
• Press <+> or <-> and select Auto.
• Press <ENTER> to conrm your change.
Then you can select the function on the Master xture and
watch the Slave xtures follow.
Page 14 Page 15BAR 252 User Manual rev. A ©2010 Bargeheights, Inc.
Technical Specications:
Model: BAR 252
LEDs: 252 x 10mm (108 Red, 72 Green, 72 Blue)
Voltage: 100-240v / 50-60Hz
Dimensions: 3.25in (h) x 2.5in (w) x 42in (l)
82.5mm (h) x 63.5mm (w) x 1066mm (l)
Weight: 5lbs (2.25Kg)
Power
Consumption: 50 watts
DMX Channels: 14 channels
Beam Spread: 35 degree approximate spread
Setup & Addressing: LED Menu display – no dip switches!
Photometric Data:
Throw Distance 1.0m
3.2’
2.0m
6.6’
3.0m
9.8’
5.0m
16.4’
Beam Width .75m
1.8’
1.2m
3.9’
2.2m
7.2’
2.75m
9.0’
Illuminance (lux) 1150 450 195 55
Photometric data taken with all channels at full. Due to varia-
tions in all LEDs, these values should be considered approxi-
mate. All LED sources experience a lowering of output and
some color shift over time. LED output varies with ambient
operating temperatures.
5. CARE/MAINTENANCE
Your BAR 252 is designed for long life with minimal upkeep.
Since there are no lamps to replace, maintenance is simple -
just keep your BAR 252 clean and dry. Especially if you are in a
dusty or haze-lled environment, there are some simple steps
you can take to ensure a long, happy life for your BAR 252.
Keeping the lens area clean will ensure maximum light output.
Use glass cleaner on a soft cloth to wipe down the lens area
and the outer enclosure of the BAR 252 whenever it gets dirty
or dusty.
Any other repair or maintenance should be performed by quali-
ed individuals only. There are no user-serviceable parts in the
BAR 252. If you nd your BAR 252 behaving strangely, please
feel free to contact us and we’ll help with troubleshooting.
Returns
While your BAR 252 was tested and working perfectly before it
left to join your family, sometimes things can happen. If there’s
a problem, and you need to return your BAR 252 - don’t worry!
It’s easy.
sue you an RA (Return Authorization) number. Carefully pack
your BAR 252 for shipping - using the original box and packing
material, if possible. Use a prepaid, trackable shipping method,
such as UPS, FedEx or USPS Priority Mail.
Please include the following information with your xture so we
can best help you!
1. Your contact information (Name, Address, Phone Number,
Email address)
2. The RA# issued to you
3. A brief description of the problem/symptoms
We will take a look at the xture, and at our discretion, repair
or replace the xture. Please note that we cannot be responsi-
ble for damage that takes place during shipping - so make sure
you pack the xture well!

Page 16 BAR 252 User Manual rev. A
Shipping Damage
Damage incurred in shipping is the responsibility of the
shipper, and must be reported to the shipping company
immediately upon receipt of the items. Claims must be
made within seven (7) days of receipt.
Contact Us
bargeheights inc
www.bargeheights.com
Support: www.bargeheightslighting.com/support
859-317-2878
Table of contents
Other Bargeheights Lighting Equipment manuals


Popular Lighting Equipment manuals by other brands


Intermatic
Intermatic T40000RT Series Installation, operation & service manual

Larson Electronics
Larson Electronics EPL-HB-50LED-RT-JB2-6-EPP instruction manual

KSIX
KSIX BXTILED35P user manual

Tupex
Tupex HYDROLINE 13-21 PERFORMANCE LED Assembly and operating instructions

Pyroistech
Pyroistech FJORD-X2-1330-1550 quick start guide

Genaray
Genaray LED-5700T user manual