Bargeheights LED PAR User manual
User Manual
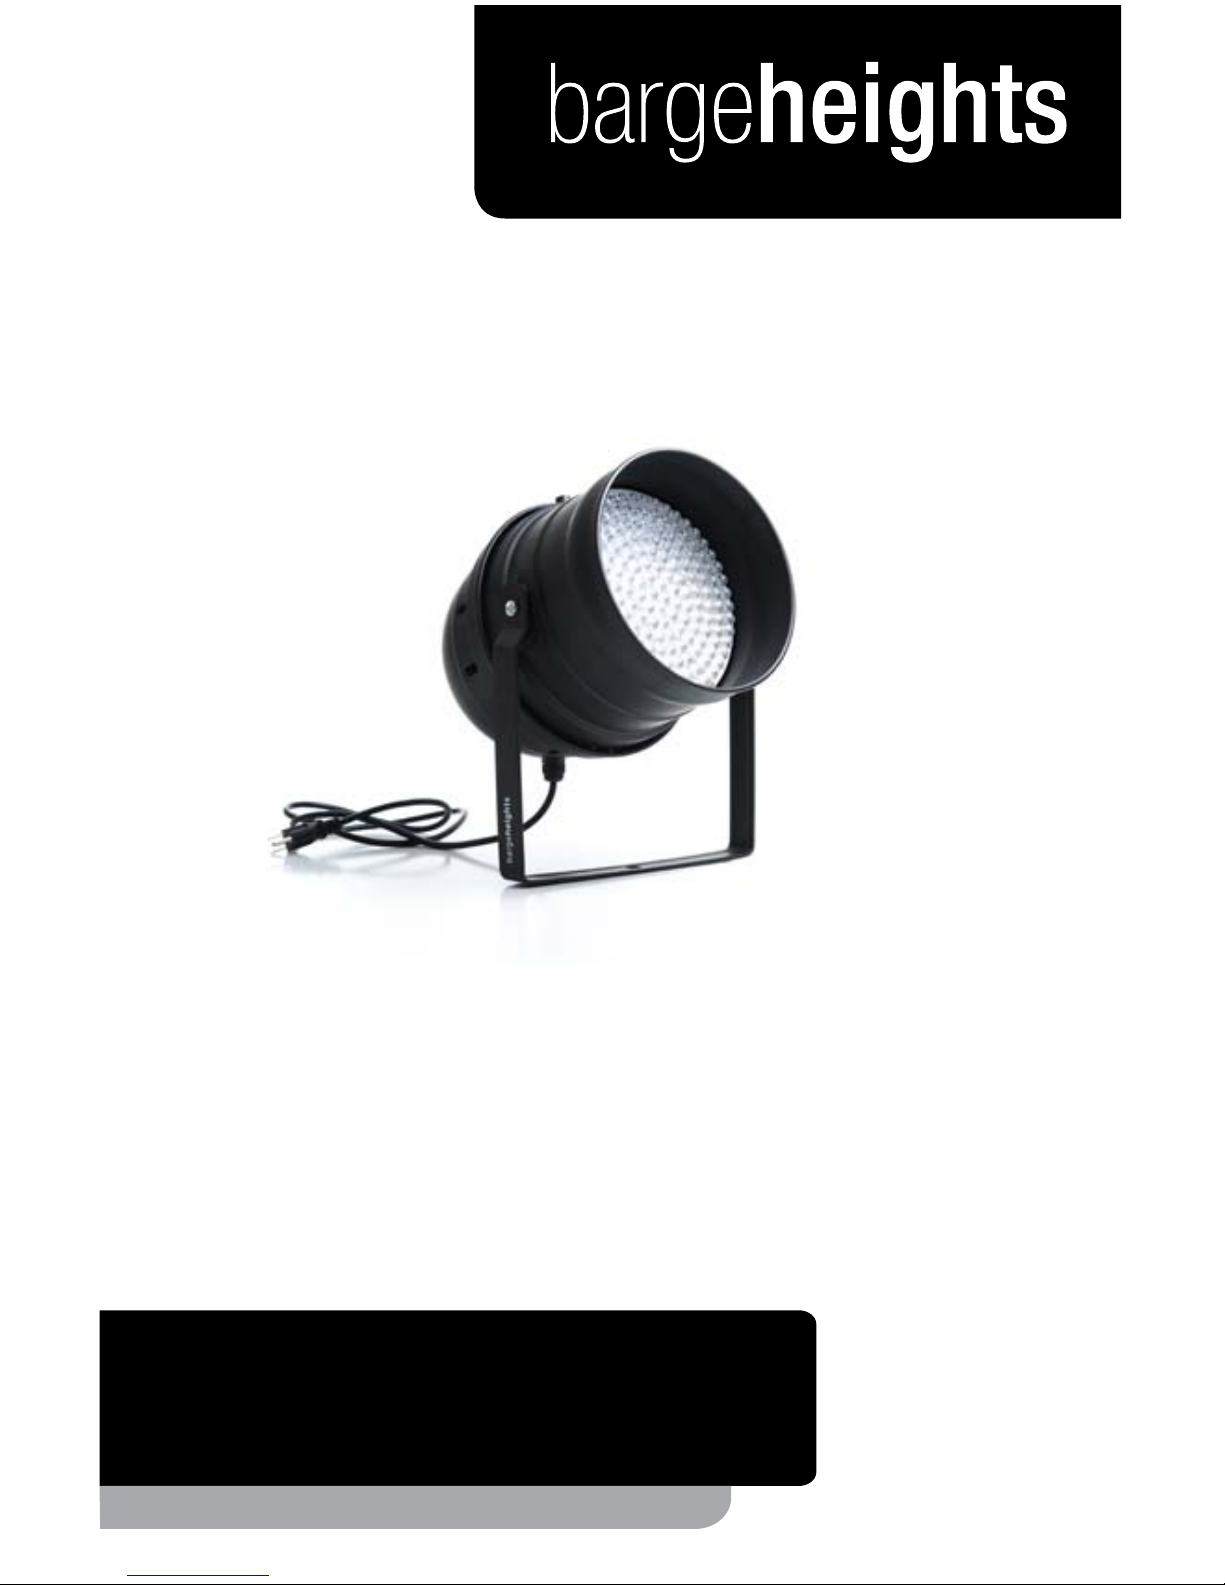
RGB Wash Luminaire
LED PAR

LED PAR User Manual rev. A
TABLEOFCONTENTS
1. The Beginning
Unpacking
Support
Introduction
DMX Quick Reference
2. Safety Information
3. Setup
DMX Cabling
DMX Termination
3-pin vs. 5-pin
Master/Slave Mode
4. Operation/Conguration
Menu Structure
DMX Control Mode
1 Channel Mode
2 Channel Mode
3, 4, 5 Channel Modes
6, 7 Channel Modes
Standalone Control Modes
Master/Slave Mode
RGB Balance Mode
LED Display
TechnicalSpecications
Photometric Data
5. Care/Maintenance
Returns
Shipping Damage
Contact Us
3
3
3
4
4
5
6
6
6
7
7
8
9
10
11
12
13
14
15
16
16
17
18
18
19
19
20
20

Page 3©2010 Bargeheights, Inc.
1. THEBEGINNING
Thanks!
Thank you for choosing the Bargeheights LED PAR! This versa-
tile PAR-style LED wash luminaire will provide reliable perfor-
mance day in and day out. To ensure long lasting performance,
please follow the guidelines in this manual. The instructions
here are important for your safety and the maintenance of this
xture.Enjoy!
Unpacking
All of our luminaires are thoroughly tested prior to being
shipped. While your LED PAR functioned perfectly when it left
us, it may have been bumped around during shipping. Please
inspect the carton and if you notice any damage, take a good
lookatthexture.Ifyouseeanydamage,itisimportantto
contactoursupportteamrightaway.And,ifyoundanypieces
necessary for operation are missing – let us know! We’ll make it
right as soon as possible.
Support
If something is not working properly, let us know! Grab a com-
puter or your favorite handheld device and head to
www.bargeheights.com/support for user manuals, DMX
channel lists and support information. You can also email us at
WARNING!
Toreducetheriskofreorelectricalshock,donotattemptto
usethisxturewithanycoversmissingorremoved.
The Bargeheights LED PAR carries a one-year (365 day) manu-
facturers’ limited warranty. Please contact Bargeheights for
warranty repair or returns. All returns require an SR (Service
Request)number.Ifyourxtureisstillunderwarranty,contact
us and we’ll walk you through the process.
Page 4 LED 36 User Manual rev. A
Introduction
•PAR-styleLEDWashLuminaire
•FullRGBcolormixingvia183LEDs
(60 Red, 63 Green, 60 Blue)
•Highoutput,lowpowerconsumption
•Variableelectronicstrobe
•Variableelectronicdimmer
•Master/Slavemodes
•Built-instandalonemodes-nocontrollerrequired!
•RGBcolormixingabilityinstandalonemode
•Upto7DMXcontrolchannels
•Ruggedaluminumchassis
•Passivecooling-nofan
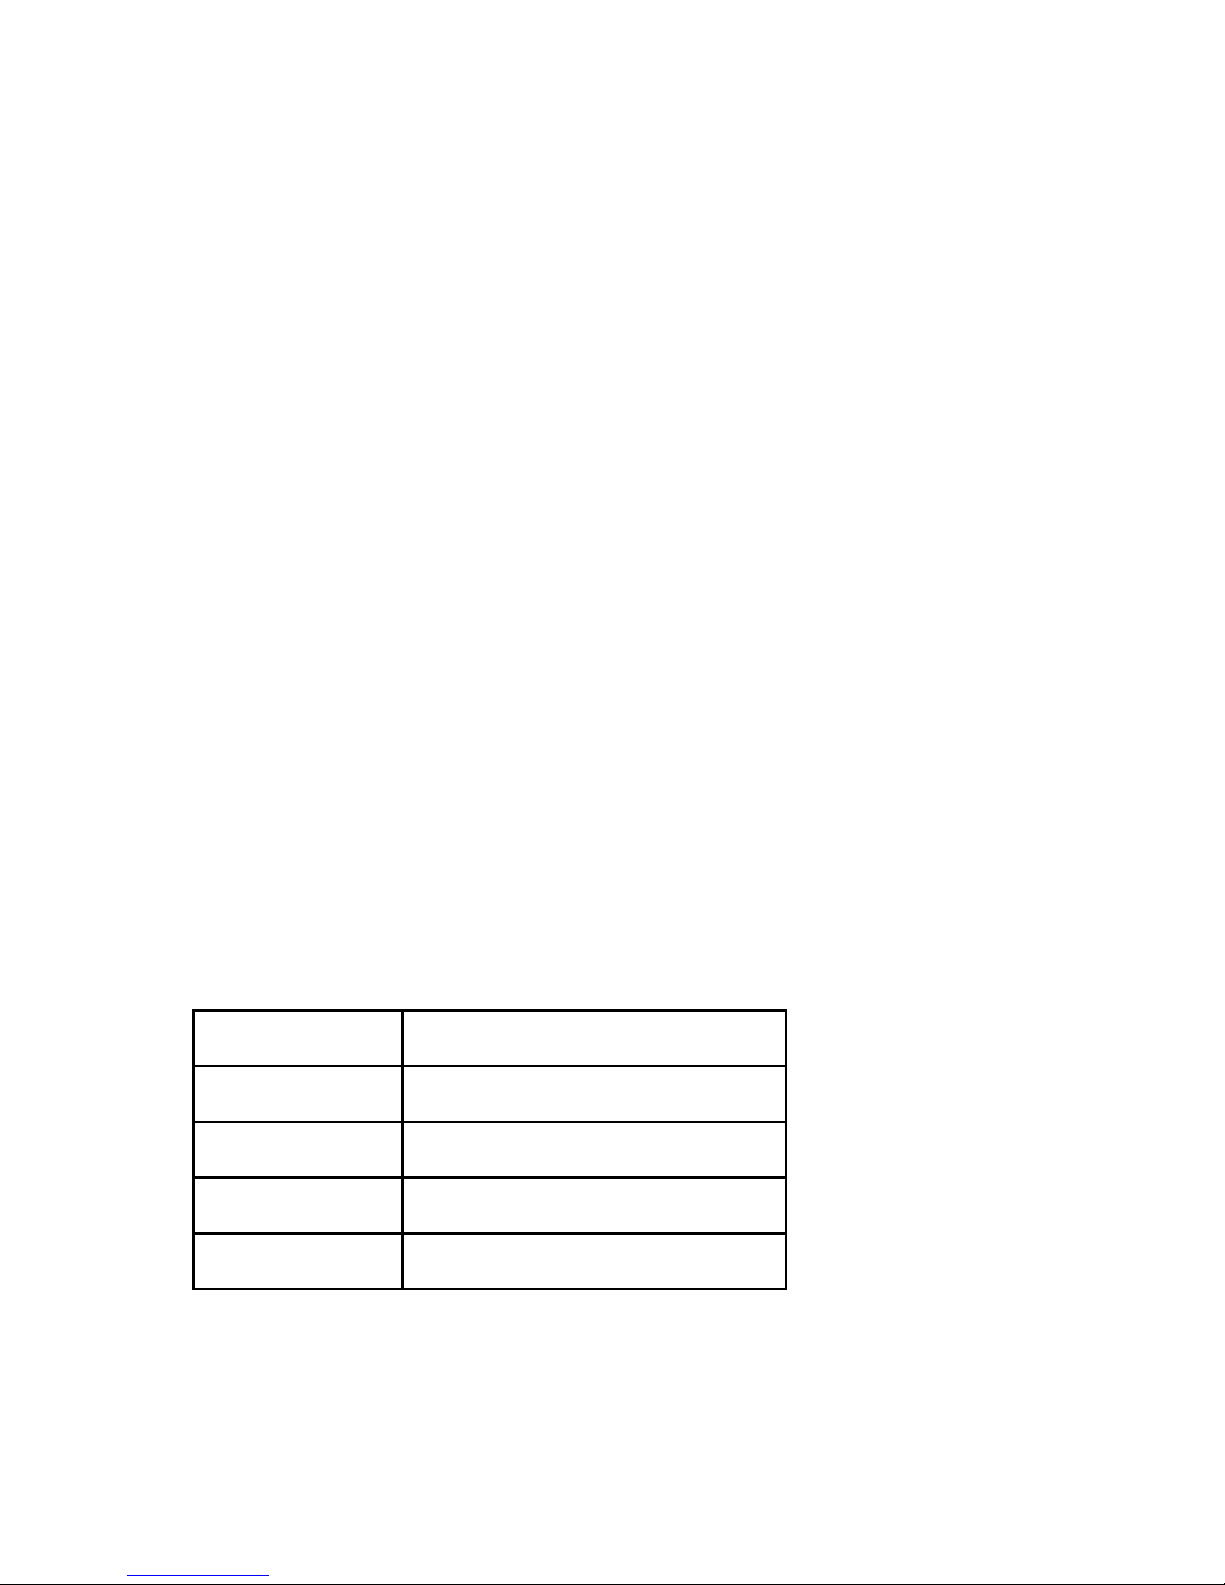
DMX Quick Reference - 4 Channel Mode
Channel Function
1 Red Intensity
2 Green Intensity
3 Blue Intensity
4 Overall Intensity

Page 5©2010 Bargeheights, Inc.
2. SAFETYINFORMATION
•DONOTconnectthextureintoadimmer.Useconstantlinevoltageonlyto
avoid damage.
•Makesureyouareconnectingthexturetolinevoltagethatisnothigher
thanthevoltagestatedontherearofthexture.
•TheLEDPARisforindooruseonly.Donotexposethexturetorain,or
other moisture. The LED PAR cannot be used as a buoy.
•Donotoperatethexturewithammableitemsnearby.NEVERlayanything
onthexturewhileitison.
•Giveitspace!TheLEDPARneedsatleast6in(15cm)fromothersurfaces
andobjects.Makesurethatnoneoftheventilationorfanslotsareblocked.
•ALWAYSdisconnectthexturefromitspowersourcebeforeservicingor
cleaning.
•ALWAYSsecureyourLEDPARusingasafetycable.NEVERhangorcarryit
by its cord. It has a yoke for a reason!
•DONOToperatewhentheambienttemperaturesarehigherthan104°F
(40°C).Ifit’stoohotforyou,it’stoohotforyourLEDPAR!
•IfyourLEDPARstopsworkingproperly,stopusingitimmediately.NEVER
trytorepairityourself.Attemptingrepairsintheeldcanresultindamageor
injury.Pleasecontactusforrepairsorreplacement.
•Makesurethepowercordisnotfrayedordamaged.
•Neverdisconnectthepowercordbypullingonthecord.Usetheplug!
•Avoiddirecteyeexposuretothelightsourcewhileitison.It’scoollooking,
and fun to watch, but staring into the light can damage your eyes!
Therearenouserserviceablepartsinsidethisxture.Donot
openthehousingorattemptanyrepairsyourself.Notonlyisit
a bad idea, it will void your warranty – which is a bummer when
you need a working light! If you do need service, please contact
Bargeheights.Damagessustainedasaresultofmodications
tothexture,ordisregardinginformationinthismanualwill
not be covered by your warranty. If something is wrong, let us
take a look at it. We’ll help you out!
!Caution!

Page 6 LED 36 User Manual rev. A
3. SETUP
DMX Cabling
The LED PAR has standard 3-pin XLR connectors for DMX con-
trol and daisy-chaining. Up to 32 devices can be daisy-chained
together on a single run. Standard microphone cables will
probably work OK, but DMX is a serial data transmission with
impedancespecicationsthataredifferentthananalogaudio.
CablesspecicallydesignedtotransmitDMXsignalswillalways
workbest.Asanexample,Belden©9841meetsthespecica-
tions for DMX-512 applications. The longer the cable distance,
the more important proper cable selection is.
DMX Termination
Sometimes, errors will crop up in your DMX line – especially if it
isalongrun.Whenthisisthecase,orifyoujustwanttomake
sure your DMX runs have the best chance at accurate transmis-
sion, you can use a terminator. A terminator is a 120 ohm ¼
watt resistor which is connected between pins 2 and 3 of a male
XLR connector (DATA + and DATA -). This connector is inserted
inthefemaleXLRconnectorofthelastxtureinyourdaisy
chain to terminate the line. Using a cable terminator will de-
crease the possibility of erratic behavior. Terminators are avail-
able on the internet and from lighting retailers. If you’re handy
with a soldering iron, they are simple to build yourself!
1
120 Ohm resistor
¼ watt
DMX Terminator
3-pin XLR Male connector
1
2
3
1
2
3
Shield
Data +
Data -
2
3

Page 7©2010 Bargeheights, Inc.
3-pin vs. 5-pin
Some manufacturers use 5-pin XLR connectors for DMX trans-
mission. Don’t worry! The two are still compatible. Adapters are
available on the internet and from lighting retailers. If you want
to build your own, here are the proper connections:
Cable Conductor 3-pin Female
(output)
5-pin Male
(input)
Shield (Ground) Pin 1 Pin 1
DMX Data + Pin 2 Pin 2
DMX Data - Pin 3 Pin 3
not connected - not connected
not connected - not connected
Master/Slave Mode
The LED PAR also has a Master/Slave mode. In this mode you
cansetonextureinthelinetoactasthemastercontroller–
andupto32otherxturescanbeconnectedandwillmirrorthe
operationoftherst.Inthisconguration,youdonotneeda
DMX controller.
Connectthexturesjustas
you would for DMX control.
See the OPERATION sec-
tion of this manual for more
information on how to set up
Master/Slave mode.
DMXIN DMX OUT
DMXIN DMX OUT
Master Fixture
Slave Fixture
to next xture
Page 8 LED 36 User Manual rev. A
4. OPERATION/CONFIGURATION
We here at Bargeheights don’t really care for DIP switches.
They are hard to see in the dark, and since most of us don’t
quickly think in binary, they are tricky to set properly. The
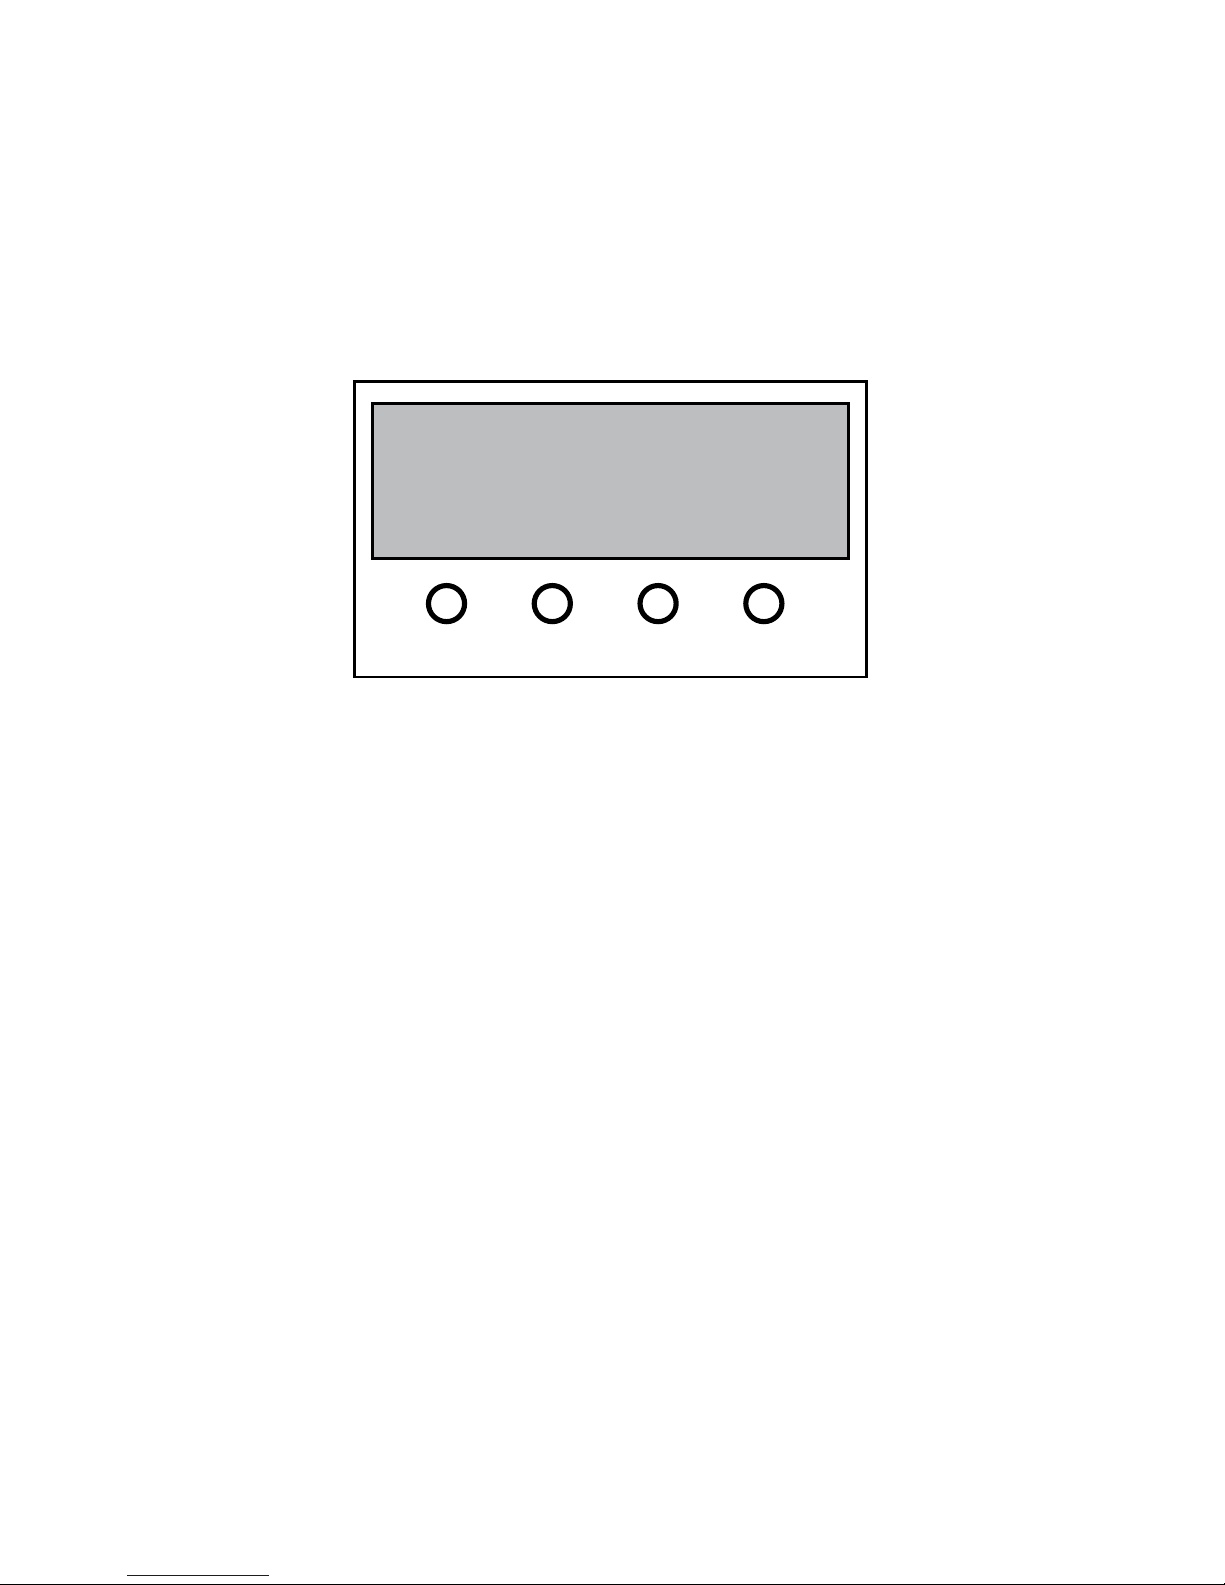
LED PAR has an LED display with a simple menu system. There
are four control buttons below the display that allow you to
navigate the control menus.
<MENU>–Goupalevelinthemenusystem;holdtoconrm
<DOWN>–Scrolltothenextlowernumberormenuselection
<UP>–Scrolltothenexthighernumberormenuselection
<ENTER> – Select the current number / menu selection
To access the main menu press the <MENU> button. Use the
<UP> or <DOWN> buttons to navigate through the menu
options. Press the <ENTER> button to select the option dis-
played, and use the <UP> or <DOWN> buttons to change the
settings. Once your changes are made press <ENTER> to ac-
cept the change. Hold <MENU> for three seconds to con-
rm the settings change.
If the LED PAR menu remains static for more than eight sec-
ondsitwillautomaticallyreturntoitslastsetting.Toexitthe
menu without making any changes press the <MENU> button.
8888
MENU DOWN UP ENTER

Page 9©2010 Bargeheights, Inc.
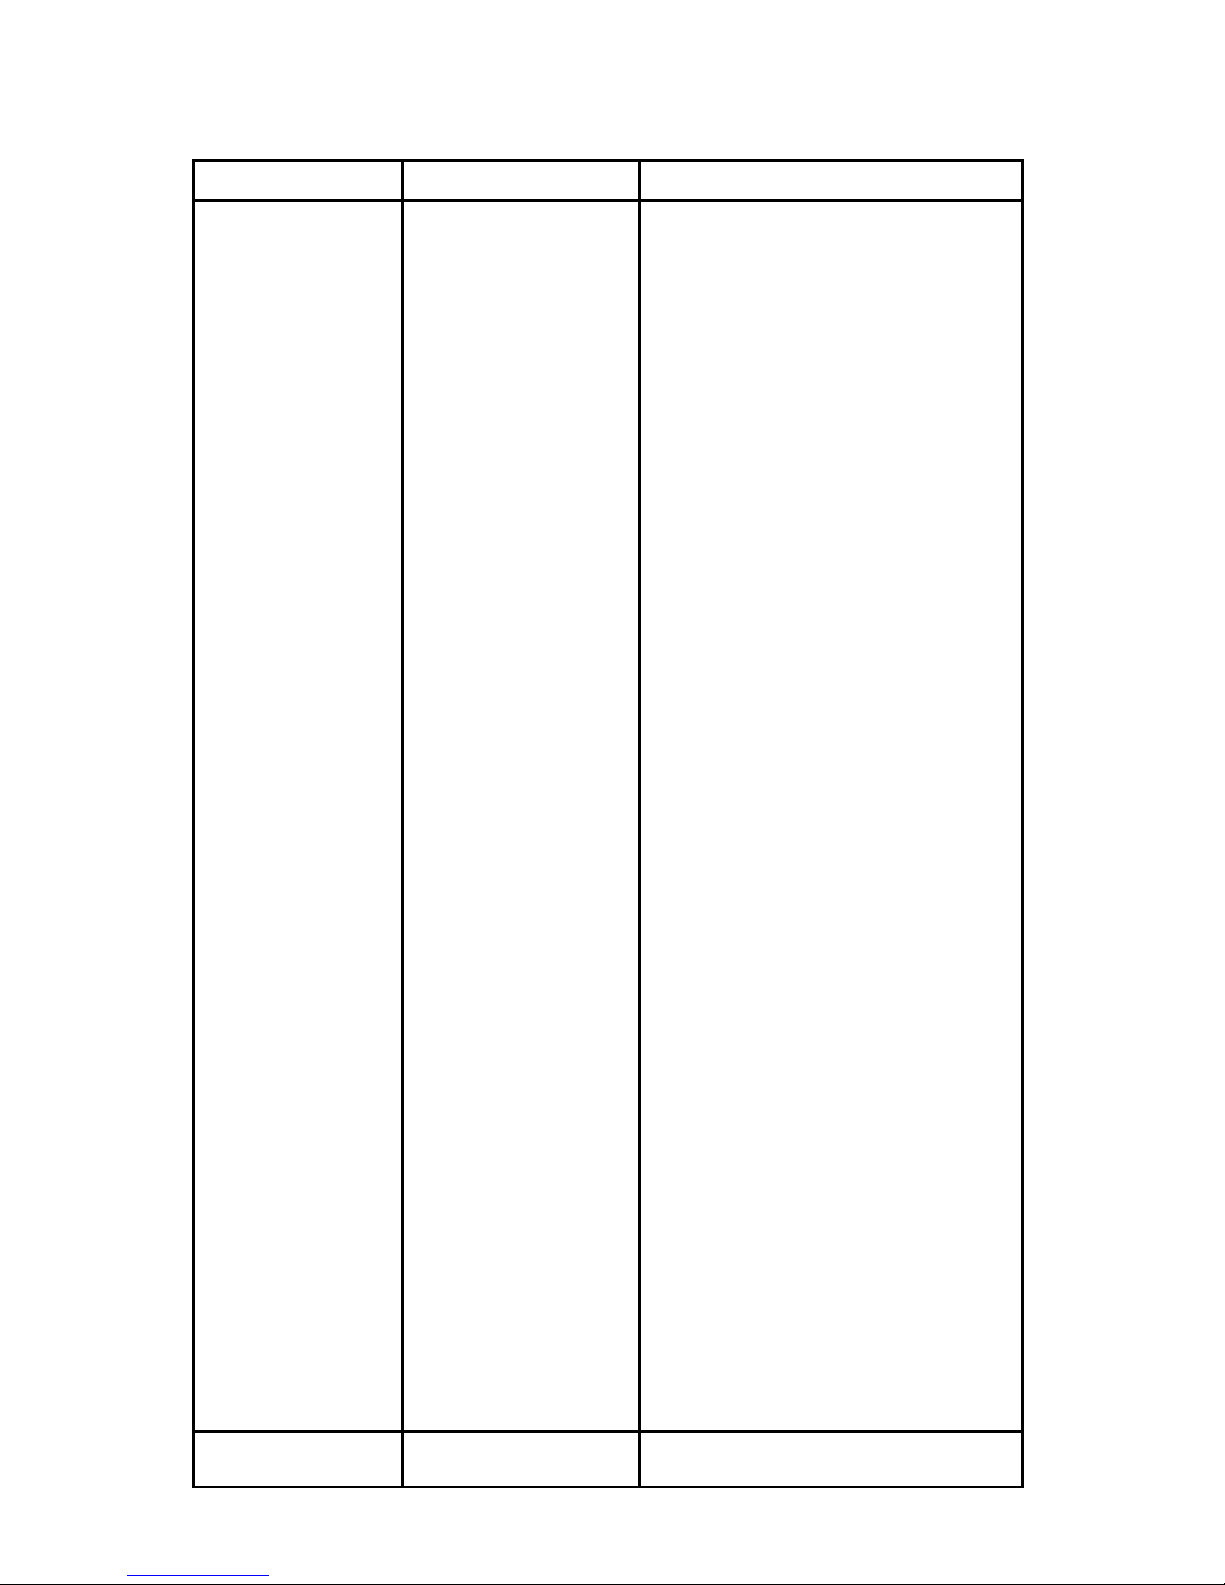
Menu Structure
Addr
ShNd
Led
Idsp
ChNd
sLNd
baLa
1-512
Soun
on
off
Fade
Nast
red 0-255
0-255
0-255
coLo
off
on
auto
Noff
Gree
1Ch-7Ch
SL 2
SL 1
bLue
DMX Address Setting
Sound Control Mode
Color Selection Mode
ColorFadeMode
Auto Operation Mode
DMX Channel Mode (1Ch - 7Ch)
Master Mode
ControlOFF
Slave Mode 2
Slave Mode 1
Rear LED Display On
Rear LED Display Off
RearLEDDisplayNormal
RearLEDDisplayFlip
RGB Balance Mode -
Red Level
RGB Balance Mode -
Green Level
RGB Balance Mode -
Blue Level

Page 10 LED 36 User Manual rev. A
DMX Control Mode
To change the DMX starting address:
•Press<MENU> until Addr is displayed.
•Press<ENTER> to display the channel number, and press
<UP> or <DOWN> to select your starting address. (1-512)
•Press<ENTER> to assign your selection, then press and hold
<MENU>forthree(3)secondstoconrmthechange.
NOTE:IfavalidDMXsignalisnotpresent,thexturewillau-
tomatically go into the selected standalone mode. See Stand-
alone Control Modes for more information.
To change the DMX mode (1, 2, 3, 4, 5, 6, or 7 channels):
•Press<MENU> until ChNd is displayed.
•Press<ENTER> to display the mode, and press <UP> or
<DOWN> to select the DMX mode. (1CH - 7CH)
•Press<ENTER> to assign your selection, then press and hold
<MENU>forthree(3)secondstoconrmthechange.

Page 11©2010 Bargeheights, Inc.
1 Channel DMX Mode
Channel Channel Value Function
1
0
1-7
8-15
16-23
24-31
32-39
40-47
48-55
56-63
64-71
72-79
80-87
88-95
96-103
104-111
112-119
120-127
128-135
136-143
144-151
152-159
160-167
168-175
176-183
184-191
192-199
200-207
208-215
216-223
224-231
232-239
240-247
248-255
Off
Red
Green
Blue
Yellow
Magenta
Cyan
White
Lime Green
Lavender
Light Steel Blue
Amber
Light Cyan
Light Pink
Pink
Turquoise
Cool White
Lilac
Chartreuse
Light Lavender
Daylight Blue
Purple
Light Lilac
Lime Green
Warm Lavender
Light Lime Green
Electric Blue
Light Teal
Lavender Tint
Light Lavender
Medium Lavender
Cool White 2
NeutralWhite
Page 12 LED 36 User Manual rev. A
2 Channel DMX Mode
Channel Channel Value Function
1
0
1-7
8-15
16-23
24-31
32-39
40-47
48-55
56-63
64-71
72-79
80-87
88-95
96-103
104-111
112-119
120-127
128-135
136-143
144-151
152-159
160-167
168-175
176-183
184-191
192-199
200-207
208-215
216-223
224-231
232-239
240-247
248-255
Off
Red
Green
Blue
Yellow
Magenta
Cyan
White
Lime Green
Lavender
Light Steel Blue
Amber
Light Cyan
Light Pink
Pink
Turquoise
Cool White
Lilac
Chartreuse
Light Lavender
Daylight Blue
Purple
Light Lilac
Lime Green
Warm Lavender
Light Lime Green
Electric Blue
Light Teal
Lavender Tint
Light Lavender
Medium Lavender
Cool White 2
NeutralWhite
2 0-255 Intensity
Page 13©2010 Bargeheights, Inc.
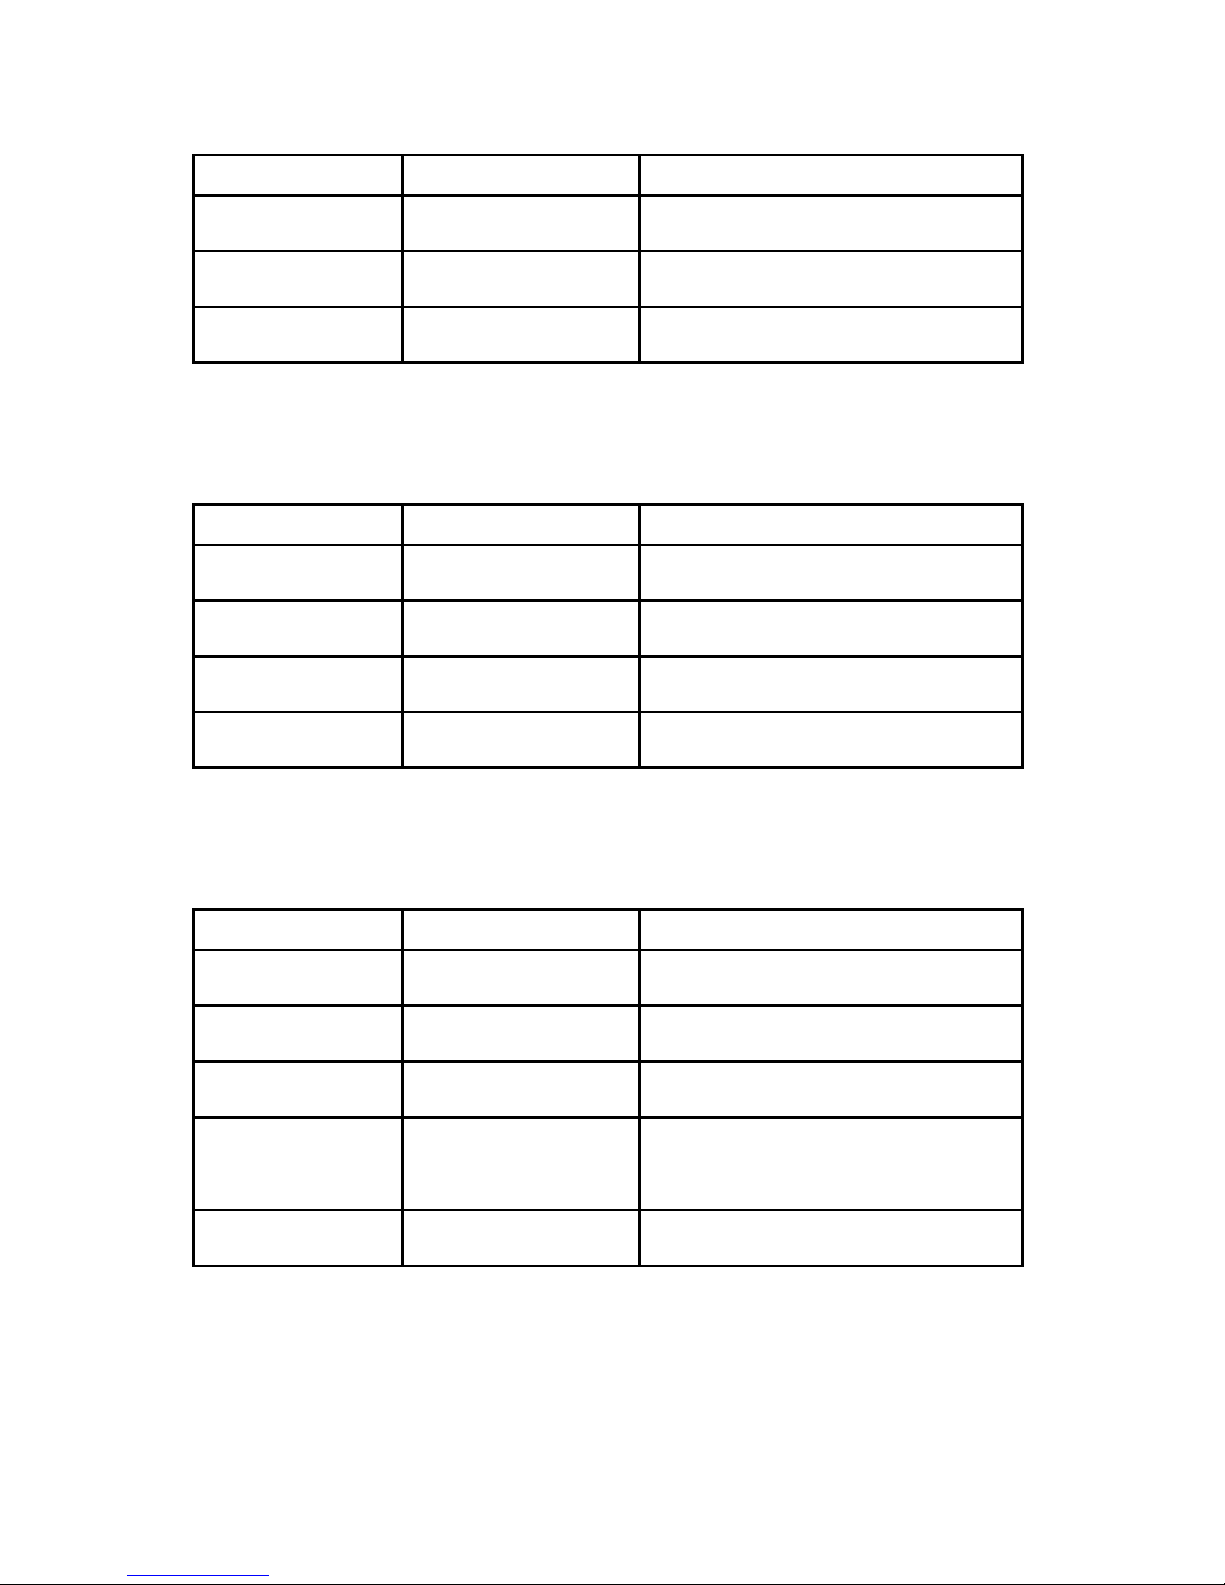
3 Channel DMX Mode
Channel Channel Value Function
1 0-255 Red Intensity
2 0-255 Green Intensity
3 0-255 Blue Intensity
4 Channel DMX Mode
Channel Channel Value Function
1 0-255 Red Intensity
2 0-255 Green Intensity
3 0-255 Blue Intensity
4 0-255 Overall Intensity
5 Channel DMX Mode
Channel Channel Value Function
1 0-255 Red Intensity
2 0-255 Green Intensity
3 0-255 Blue Intensity
40-7
8-255
NoStrobe
StrobeSlow->Fast
5 0-255 Overall Intensity
Page 14 LED 36 User Manual rev. A
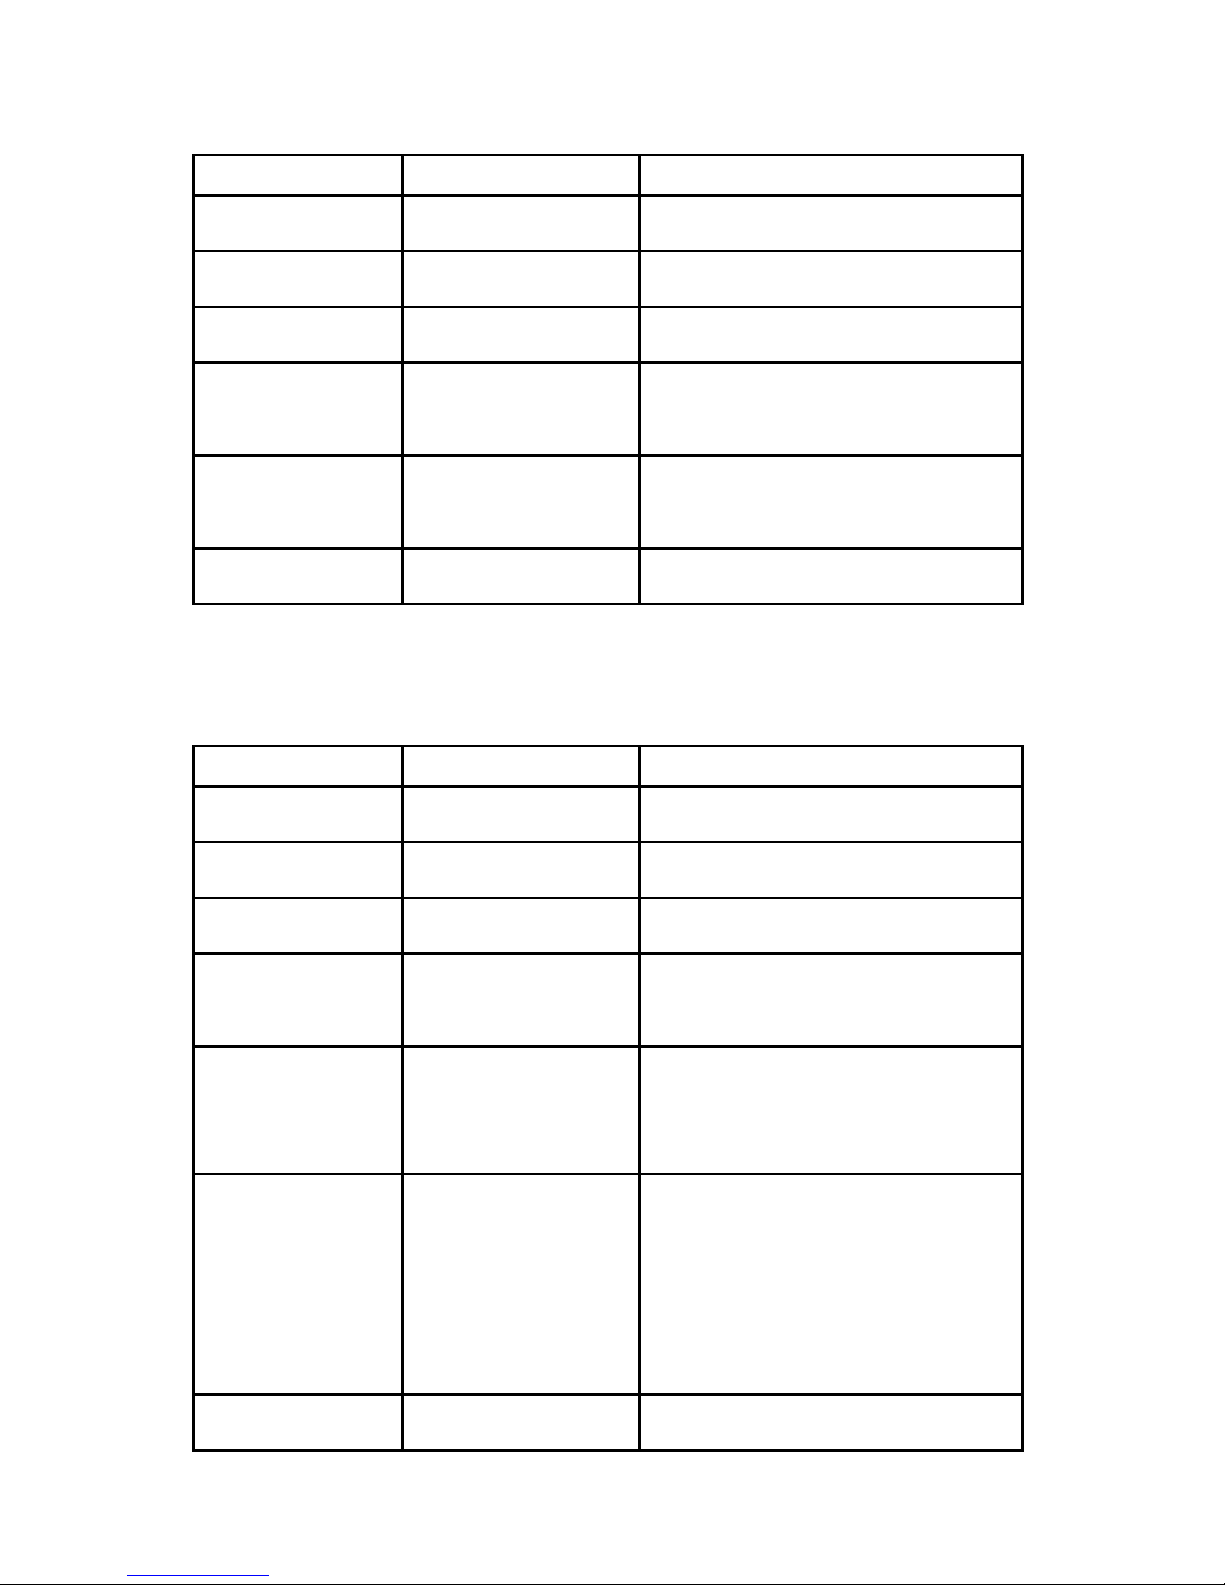
6 Channel DMX Mode
Channel Channel Value Function
1 0-255 Red Intensity
2 0-255 Green Intensity
3 0-255 Blue Intensity
4 0-255 Colors 1-32
(See 1 Channel Mode)
50-7
8-255
NoStrobe
StrobeSlow->Fast
6 0-255 Overall Intensity
7 Channel DMX Mode
Channel Channel Value Function
1 0-255 Red Intensity
2 0-255 Green Intensity
3 0-255 Blue Intensity
4 0-255 Colors 1-32
(See 1 Channel Mode)
5
0-7
8-255
NoStrobe
Strobe/FadeSpeed
Slow->Fast
6
0-127
128-159
160-191
192-223
224-255
NoAutoFade
ColorFade
Color Chase R, G, B
Color Chase
R, G, B, Y, M, C, White
Sound Control Mode
7 0-255 Overall Intensity

Page 15©2010 Bargeheights, Inc.
Standalone Control Modes
The LED PAR has several standalone control modes that do not
require a DMX control signal.
•Press<MENU> until SHNd is displayed.
•Press<ENTER> to select, and press <UP> or <DOWN> to
select your desired standalone mode.
Soun is Sound Control Mode. The LED PAR will respond by
changing color to music or sounds via its onboard microphone.
coLo is Color Selection Mode. The LED PAR will stay on one of
the seven (7) preset colors. The colors are:
coL1 – Red
coL2 – Green
coL3 – Blue
coL4 – Yellow
coL5 – Magenta
coL6 – Cyan
coL7 – White
FadeisColorFadeMode.TheLEDPARwillfadethroughmany
different colors. There are 7 speeds, from fast to slow. Fad1 is
fast – Fad7 is slow.
Auto is Auto Operation Mode. The LED PAR will cycle through
many different colors automatically.
•WithallStandaloneModes,press<ENTER> to assign your
selection, then press and hold <MENU> for three (3) seconds
toconrmthechange.

Page 16 LED 36 User Manual rev. A
Master/Slave Mode
Up to 32 LED PARs may be connected via the 3-pin DMX con-
nections and controlled simultaneously without a DMX control-
ler by using Master/Slave Mode. In this mode you can set one
xtureinthelinetoactasthemastercontroller.
•Press<MENU> until SLNd is displayed.
•Press<ENTER> to select, and press <UP> or <DOWN> to
select your desired mode.
NAStsetstheLEDPARastheMaster.OtherLEDPARxtures
connected to this one and set as slave will be controlled by this
xture.
Noff turns off control of the LED PAR.
SL 2 sets the LED PAR in Slave Mode 2. If this LED PAR is con-
nected to another set in Master Mode, it will be controlled by
theMasterxture.
SL 1 sets the LED PAR in Slave Mode 1. If this LED PAR is con-
nected to another set in Master Mode, it will be controlled by
theMasterxture.
•Press<ENTER> to assign your Master/Slave selection, then
press and hold <MENU>forthree(3)secondstoconrmthe
change.
RGB Balance Mode
RGBBalanceModeadjuststhemaximumLEDleveloutputfor
every mode. If you change this setting, you will affect the
colors output for every preset mode. Make sure this is what
you want before changing these settings!
•Press<MENU> until baLa is displayed.
•Press<ENTER> to select. All Red, Green, and Blue LEDs will
be on at full.
•Press <UP> or <DOWN> to select the color you wish to
adjust.(red Gree blue)
•Colorlevelsadjustablefrom0-255.
•Press<ENTER> to assign selection.
•ToconrmyourchangesandexitRGBBalanceMode,hold
<MENU> for three (3) seconds.

Page 17©2010 Bargeheights, Inc.
LED Display
The rear facing LED menu display can be set to hide when it is
not in use.
•Press<MENU> until Led is displayed.
•Press<ENTER> to select. The current choice will be shown
( on or off )
•Press <UP> or <DOWN> to select the display status.
•Press<ENTER> to assign selection, then press and hold
<MENU>forthree(3)secondstoconrmthechange.
•After20-30secondsofmenuinactivity,theLEDdisplaywill
turn off, and remain off until you press <MENU> again.
TheLEDmenudisplaycanalsobeipped.IftheLEDPARisina
position where you need to read it upside down, use this menu
option.
•Press<MENU> until Idsp is displayed.
•Press<ENTER> to select. The current choice will be shown
( on or off )
•Press <UP> or <DOWN>toipthedisplay.onisipped.
off is standard.
•Pressandhold<MENU>forthree(3)secondstoconrmthe
change.

Page 18 LED 36 User Manual rev. A
Technical Specications:
Model: LED PAR
LEDs: 183x10mm(60Red,63Green,60Blue)
Voltage: 100-250v/50-60Hz
Dimensions: 9in(h)x9in(w)x12in(l)
230mm(h)x230mm(w)x310mm(l)
Weight: 3.5lbs (1.6Kg)
Power
Consumption: 25 watts
DMX Channels: 1, 2, 3, 4, 5, 6, or 7 channels
Beam Spread: 25 degrees
Setup & Addressing: LED Menu display – no dip switches!
Photometric Data:
Throw Distance 1.0m
3.2’
3.0m
9.8’
5.0m
16.4’
7.0m
23.0’
Beam Diameter .54m
1.8’
1.2m
3.9’
1.66m
5.4’
1.95m
6.4’
Illuminance(lux) 990 520 230 132
Photometric data taken with all channels at full. Due to varia-
tionsinallLEDs,thesevaluesshouldbeconsideredapproxi-
mate.AllLEDsourcesexperiencealoweringofoutputand
some color shift over time. LED output varies with ambient
operating temperatures.

Page 19©2010 Bargeheights, Inc.
5. CARE/MAINTENANCE
Your LED PAR is designed for long life with minimal upkeep.
Since there are no lamps to replace, maintenance is simple -
justkeepyourLEDPARcleananddry.Especiallyifyouareina
dustyorhaze-lledenvironment,therearesomesimplesteps
you can take to ensure a long, happy life for your LED PAR.
Keepingthelensareacleanwillensuremaximumlightoutput.
Use glass cleaner on a soft cloth to wipe down the lens area
and the outer enclosure of the LED PAR whenever it gets dirty
or dusty. Always make sure the vent holes are kept clear.
Any other repair or maintenance should be performed by quali-
edindividualsonly.Therearenouser-serviceablepartsinthe
LEDPAR.IfyoundyourLEDPARbehavingstrangely,please
feel free to contact us and we’ll help with troubleshooting.
Returns
While your LED PAR was tested and working perfectly before it
lefttojoinyourfamily,sometimesthingscanhappen.Ifthere’s
a problem, and you need to return your LED PAR - don’t worry!
It’s easy.
you an SR (Service Request) number. Carefully pack your LED
PARforshipping-usingtheoriginalboxandpackingmaterial,
if possible. Use a prepaid, trackable shipping method, such as
UPS,FedExorUSPSPriorityMail.
Pleaseincludethefollowinginformationwithyourxturesowe
can best help you!
1.Yourcontactinformation(Name,Address,PhoneNumber,
Email address)
2. The SR# issued to you
3. A brief description of the problem/symptoms
Wewilltakealookatthexture,andatourdiscretion,repair
orreplacethexture.Pleasenotethatwecannotberesponsi-
ble for damage that takes place during shipping - so make sure
youpackthexturewell!

Page 20 LED 36 User Manual rev. A
Shipping Damage
Damage incurred in shipping is the responsibility of the
shipper, and must be reported to the shipping company
immediately upon receipt of the items. Claims must be
made within seven (7) days of receipt.
Contact Us
bargeheights inc
www.bargeheights.com
Support: www.bargeheights.com/support
859.904.9444
Other manuals for LED PAR
1
Table of contents
Other Bargeheights Lighting Equipment manuals


