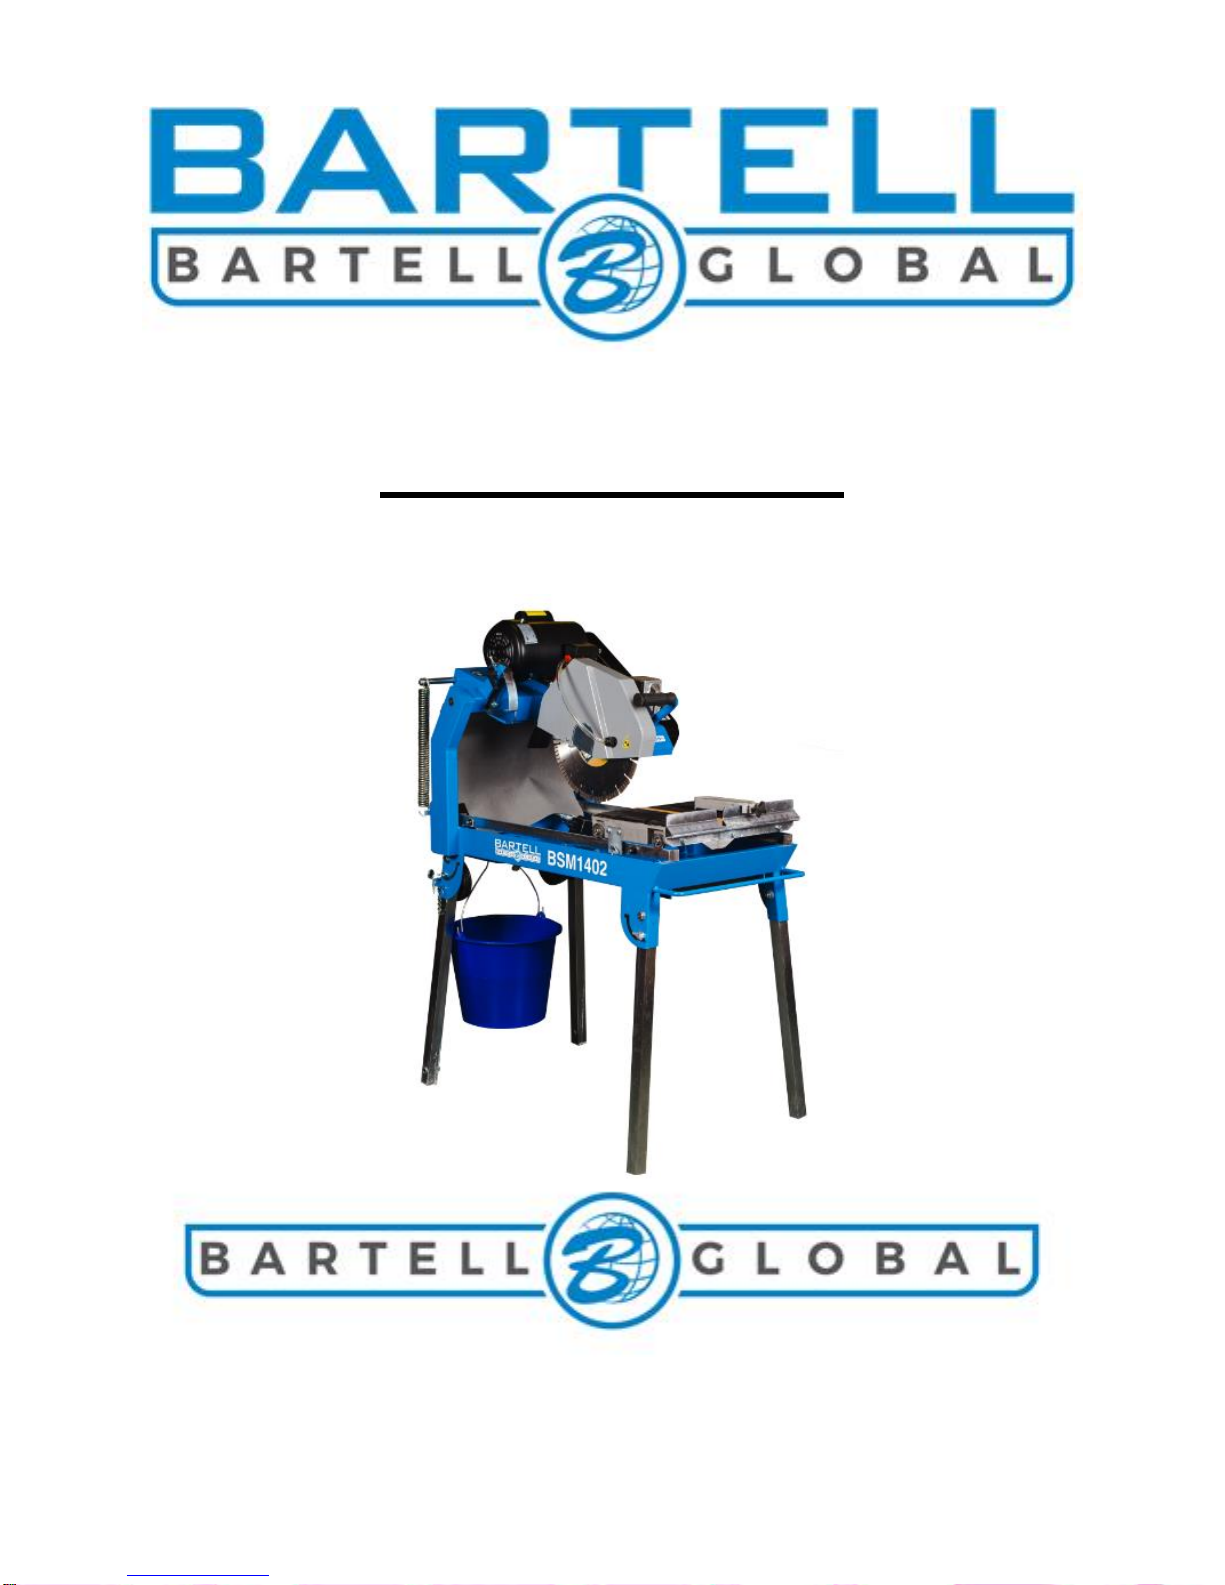
BSM1402MASONRY SAW OI –B19042
OWNER’S MANUAL
WARRANTY INFORMATION
All products soldbyBartell MorrisonInc. and Bartell Morrison (USA) LLC (the “Company”)are
warrantedagainstdefects in materialsand/orworkmanship foraperiod of 12 months;excluding
the normalwearonwearingcomponents andcomponentscoveredbya separateoriginal
manufacturer’s warranty.The warranty is to the originalend userpurchaserprovided that
certainconditions havebeenmet.
Conditions:
1. The equipmentserialnumberhas beenregisteredwiththe Companyorits approved
dealers,distributors,andrepresentatives oragents.
2. The equipmenthas been operatedinan appropriatemannerbyqualifiedindividuals.
3. The equipmenthas been properlymaintainedas perthe instructions includedin the
Owner’s Manual.
4. All claims forwarrantymustbefiledon properforms andinclude theserialnumberofthe
equipmentalong withproofof purchase.
Any evidenceof failureto meettheseconditions mayresultina denialofthe warranty claim.
Considerationofwarrantyclaims willbeatthe solediscretion ofthe Company,or its authorized
dealers,distributors,representatives oragents.
The Companymay,at its discretion,requestthatthe equipmenttobe consideredforwarranty
be returnedat the owner’s expensetoan authorized repairfacility for inspection.
Underthis warranty, wemay, at our discretion,replacethe defective portion of the equipment
anda reasonable(as determinedbythe Company)amountof labourto conductthe repairor
replacement.
Underno circumstances shalltheCompanybe liablefor anyadditionalorexceptionalcosts
beyond the costto repairor replacethe defective portion of the equipment.TheCompanyshall
not be heldaccountablefor;costs associatedwithtravel to inspector repairdefective
equipment,costfortransportingequipmentatanyfacility other than oneauthorizedby the
Companyor ancillarydamagecausedbyor as a resultof defective equipment.
Underno circumstances shallequipmentbereturnedto the Companyor its authorized dealers,
distributors,representatives,oragents withoutthe approvalof the Companyas evidenceby a
ReturnedGoods Number.Toobtaina Returned Goods Numbercontactthe factory or your au-
thorized dealer,distributor,representativeoragent.
This warrantyis for the solebenefitof the originalend userpurchaserandis nottransferrableto
any othercompanyor person.