C2 - 2
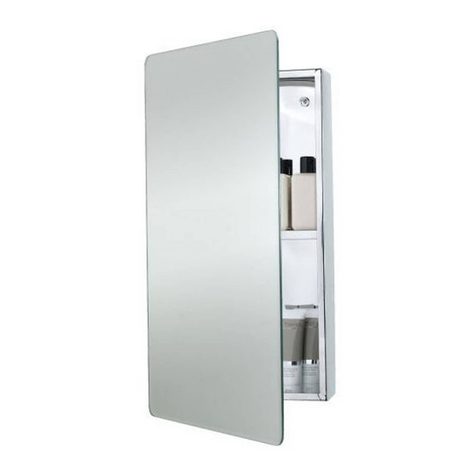
ILLUMINATED CABINET INSTALLATION INSTRUCTIONS
Any Queries Call : 08000 23 23 23
1
.Open the carton and make sure all the parts
listed below are present
2
.Mark a desired height of the mirror and draw a horizontal
line on the wall which
corresponds with the height of the cabinet hangers. Drill the required holes
and insert the wall plugs. Note: Wall plugs supplied are only suitable for solid
stone/brick walls. Then screw the brackets to the all using the screws provided.
Please ensure the screws are fully tight.
FLOOR
FROM
HEIGHT
DESIRED
CHOOSE
CENTERS OF BRACKETS
DISTANCE
A
BETWEEN
4
.Make the electrical connections ensuring first that the electrical supply has been turned off.
This cabinet is a class 1 product and requires an earth connection.It should be installed in
accordance with the latest IEE regulations.
5
.Hang the cabinet on the wall bracket. The claws on the
cabinet hangers must be securely
located on the wall brackets. Open internal top cover and using a spirit level as a guide
adjust the angle of the cabinet by turningthe screw A with a cross head screwdriver.
When the angle is properly adjusted, tighting the screw B on both hanges. Then secure
the base of the cabinet to the wall with provided screw and cover-cap.
6
.Close and secure the top internal electrical cover with the small screws removed earlier and switch on the electrical supply.
Test the function of the lamp and the shaver socket.
7
. Insert the shelf supports in the desired positions starting with the top shelf. The two door cabinet will require one of the doors
removing to fit the glass shelves.
Please make sure to tighten the plastic screw at the bottom of the shelf support to
prevent the shelves becoming loose. Rubber plugs provided can be used to cover unused shelf holes.
and C on hinges for 3 directions adjustment, see below diagram.
8
.If the doors are out of alignment, please first remove the soft-close buffer (from bottom hinges), then adjust the screws A, B
Waste Electrical & Electronic Equipment Regulations (WEEE) requires that any of our products showing this mark
(left) must not be disposed of with other household or commercial waste. Bathstore does not levy any WEEE disposal charges
to its customers for affected WEEE related products. To prevent possible harm to the environment or human health from
uncontrolled waste disposal, please separate any such product from other waste types and recycle it responsibly at your local
facilities. Check with your Local Authority, Recycling Center or retailer for recycling advice.
This product is guaranteed in the UK for a period of 2 year from the date of purchase. The guarantee is invalid in the case of
improper use, installation or tampering. Should this product fail during the guarantee period it will be replaced free of charge,
subject to correct installation and return of the faulty unit. Bathstore does not accept responsibility for any installation costs
associated with the replacement of this product. Your statutory rights are not affected. Bathstore reserve the right to alter
specifications without prior notice.
1.
2.
3.
4.
3
. Fix the light kit on the top of cabinet with provided screw,and connect the fast -connector
A
9
.Put the rubber pad on the bottom of cabinet.
INSTALLATION PROCEDURE
GUARANTEE


