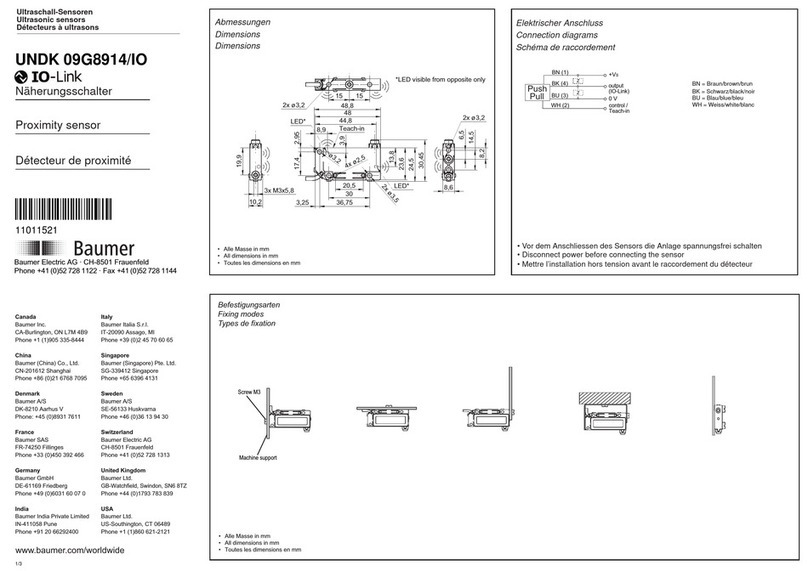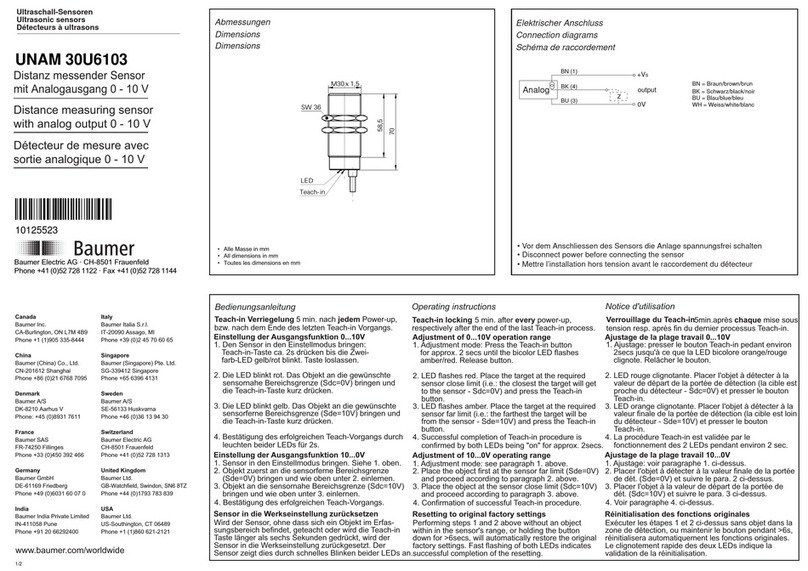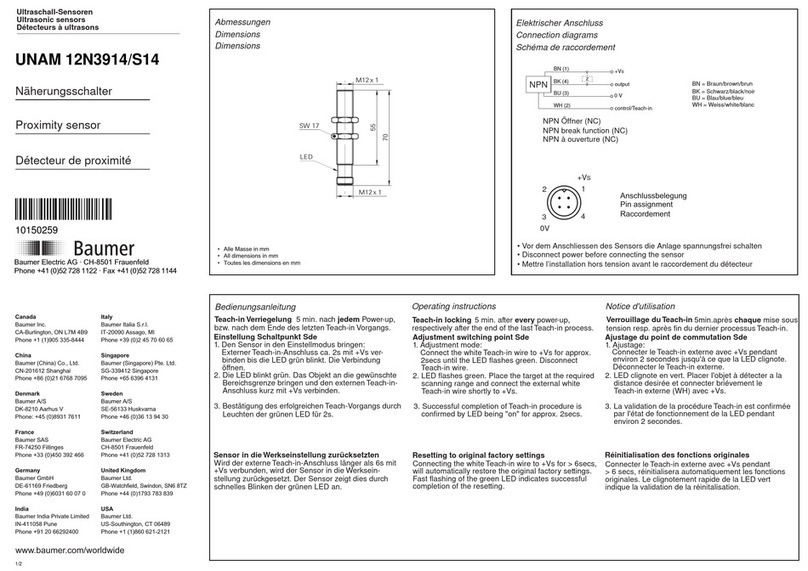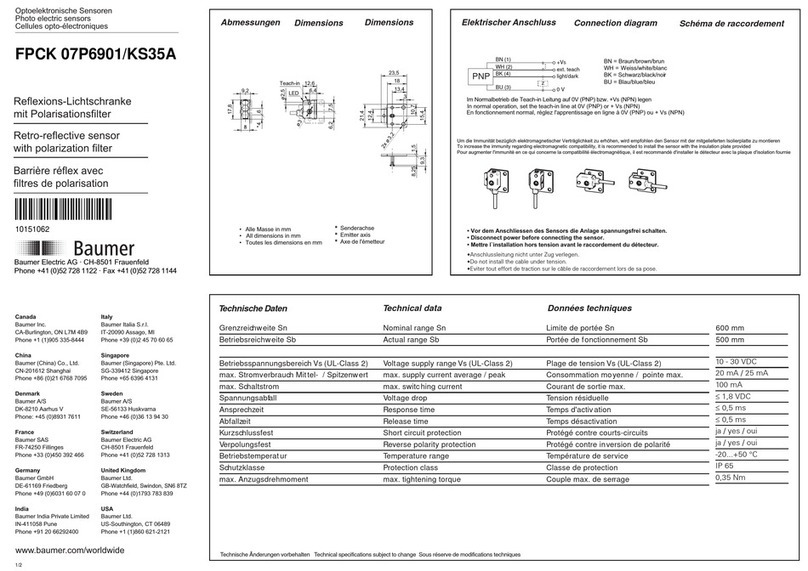
6.1 GIM500R - 1-dimensional/Unidirectionnelle/1 asse/1-dimensión
6.1.1 CANopen®/ SAE J1939 – M12, 5-polig/5-pins/5 points
5
A-codiert/A-coded/
Codage A
1 CAN_GND
2 +Vs
3 GND
4 CAN_H
5 CAN_L
6.1.2 CANopen®/ SAE J1939 – 2xM12, 5-polig/5-pins/5 points
5
5
A-codiert/A-coded/
Codage A
1 CAN_GND
2 +Vs
3 GND
4 CAN_H
5 CAN_L
Klemmen mit gleicher Bezeichnung sind intern verbunden und funktionsidentisch.
Diese internen Klemmverbindungen +Vs-+Vs / GND-GND dürfen mit max. je 1 A be-
lastet werden.
Terminals of the same signicance are internally connected and identical in their functions.
Max. load on the internal terminal connections +Vs-+Vs and GND-GND is 1 A each.
Les bornes de même fonction sont reliées entre elles dans le boîtier bus. Courant
max. 1 A pour les bornes d´alimentation codeur +Vs et GND.
I morsetti con la stessa denominazione sono collegati internamente e identici nella
funzione. Questi giunti di accoppiamento interni +Vs-+Vs / GND-GND possono esse-
re sollecitati ciascuno con max. 1 A.
Los bornes con la misma designación están conectados a nivel interno y su función
es idéntica. Esas conexiones internas +Vs-+Vs / GND-GND admiten una carga máxi-
ma de 1 A cada una.
6.1.3 CANopen®– Kabel/Cable/Câble
Farbe/Color/Couleur
Weiss/white (wh) +Vs
Braun/brown (bn) GND
Grün/green (gn) d.u.
Gelb/yellow (ye) d.u.
Grau/grey (gy) d.u.
Rosa/pink (pk) CAN_H
Blau/blue (bu) CAN_L
Rot/red (rd) CAN_GND
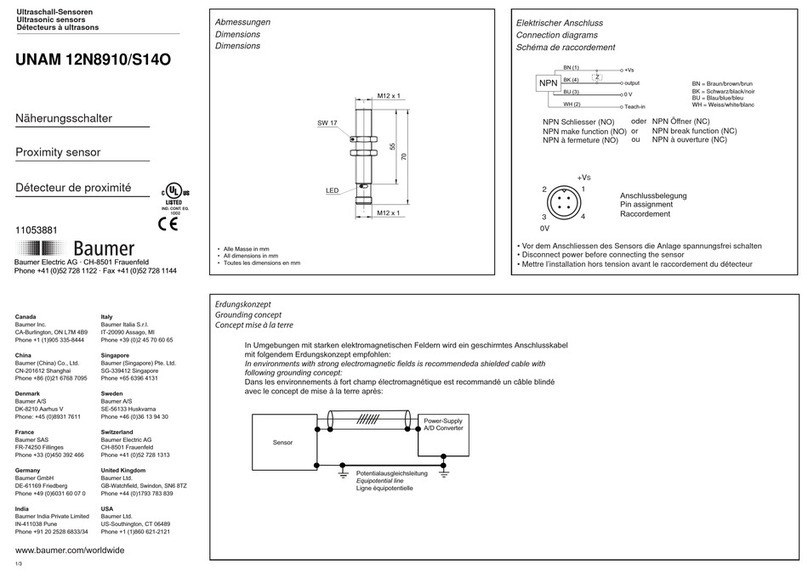
6.1.4 Analog/Analogique/Analogico/Analógica – M12, 8-polig/8-pins/8 points
5
7
83
A-codiert/A-coded/
Codage A
1 +Vs
2 GND
3 OUT
4 d.u.
5 Teach1)
6 d.u.
7 d.u.
8 A_GND
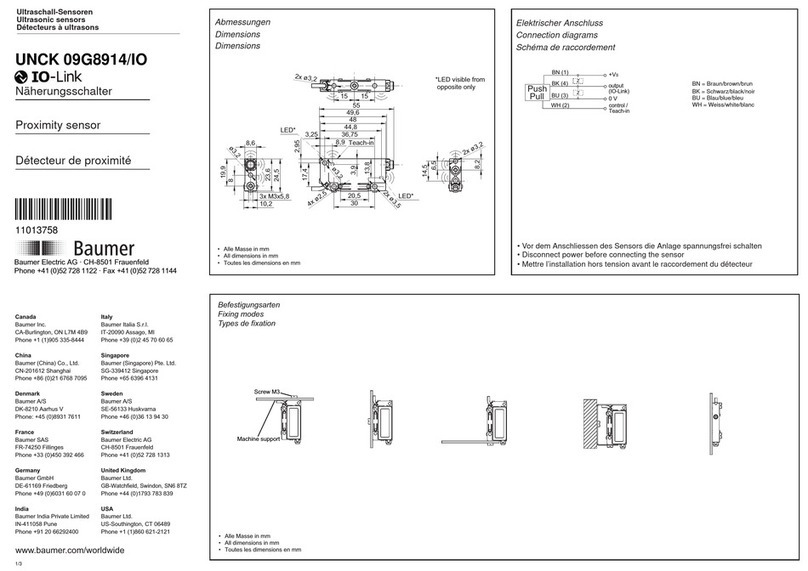
6.1.5 Analog/Analogique/Analogico/Analógica – Kabel/Cable/Câble
Farbe/Color/Couleur
Weiss/white (wh) +Vs
Braun/brown (bn) GND
Grün/green (gn) OUT
Gelb/yellow (ye) d.u.
Grau/grey (gy) Teach1)
Rosa/pink (pk) d.u.
Blau/blue (bu) d.u.
Rot/red (rd) A_GND
1) Funktion Nullsetzen/Function zero setting/Function Remise à zéro
Funzione azzeramento/Función poner a cero:
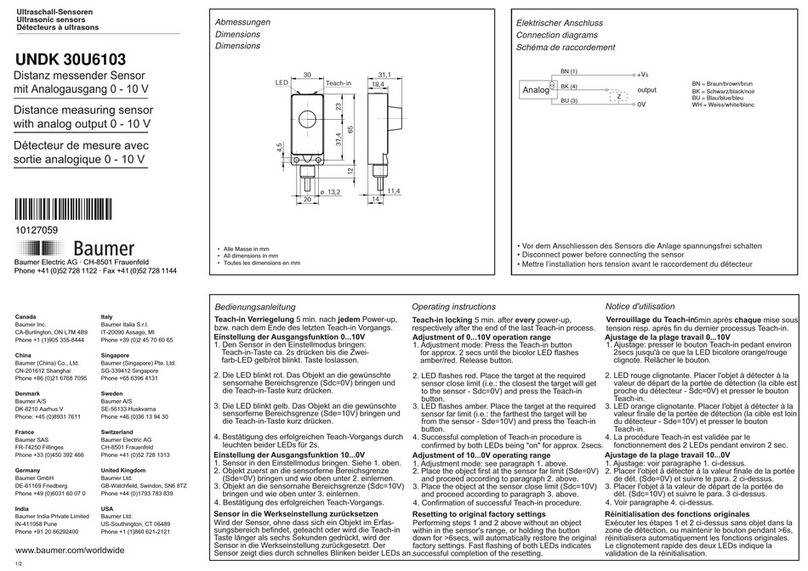
Teach-Eingang für >250 ms auf HIGH Pegel (≥0,7 * +Vs) setzen / Neigung = 0°
Set Teach input for >250 ms on HIGH level (≥0.7 * +Vs) / inclination = 0°
Mettre l‘entrée Teach pendant un temps >250 ms au niveau HIGH (≥0,7 * +Vs)
pour initialiser l‘angle sur 0°
Regolare ingresso teach per >250 ms su livello HIGH (≥0,7 * +Vs) / inclinazione = 0°
Cambiar la entrada de Teach durante > 250 ms al nivel HIGH (≥0,7 * +Vs) /
inclinación = 0°
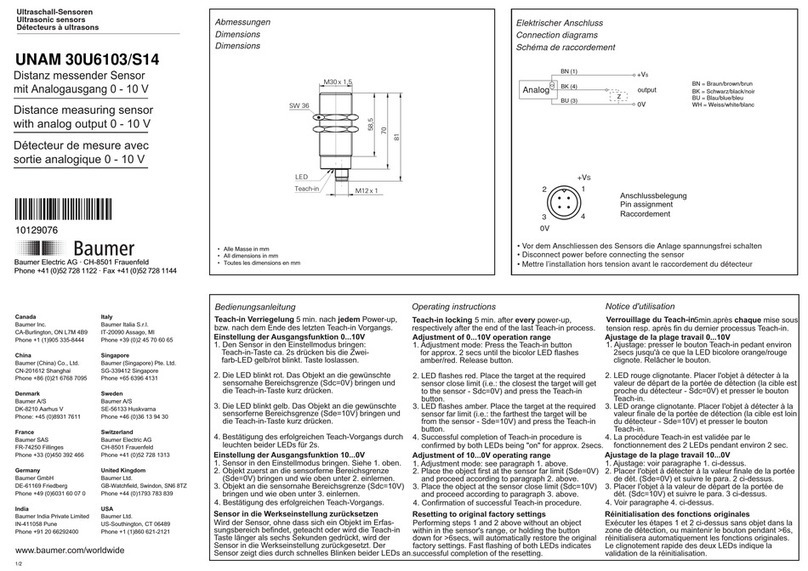
Funktion 2-Punkt-Teach/Function 2-Point-Teach/Fonction Apprentissage 2 points
Funzione teach a 2 punti/Función Teach 2 puntos:
Siehe Beschreibung Teach-Vorgang/See description Teach process
Voir la description Procédure Teach/Vedi descrizione processo teach
Ver descripción del proceso de programación (Teach)
8. Montage/Mounting/Montage/Montaggio/Montaje
8.1 1-dimensional/Unidirectionnelle/1 asse/1-dimensión
M4 x 25 DIN912
A 4.3 DIN125
8.2 Redundante Anwendung/Redundant practice (piggyback)/Appications
redondante/Applicazione ridondante/Aplicación redondante
3x M4 x 50 DIN912
(1.2 Nm)
A 4.3 DIN125
ø4.1 / ø8 mm
5 mm
6. Anschlussbelegung/Terminal assignment/Raccordement/Assegnazione dei
connettori/Patillaje del conector DE
7. 2-Punkt-Teach (Analog)
Aktivierung
Teach-Vorgang innerhalb von 5 Minuten nach dem Einschalten starten. Teach-Ein-
gang für >5 Sekunden auf HIGH-Pegel (≥0,7 * Vs) setzen.
DUO-LED: Oszilliert nach 5 Sekunden orange.
Position 1
Neigungssensor auf die Position drehen, an der min. Spannung / Strom ausgegeben
werden soll. Teach-Eingang für >0,1 Sekunden auf HIGH setzen.
DUO-LED: Leuchtet 3 Sekunden orange und oszilliert anschliessend.
Position 2
Neigungssensor in die Position drehen, an der max. Spannung / Strom ausgegeben
werden soll. (Drehrichtung Teach-Vorgang entspricht applikativen Drehrichtung).
Teach-Eingang für >0,1 Sekunden auf HIGH-Pegel setzen.
DUO-LED: Leuchtet 3 Sekunden orange und oszilliert anschliessend 3 x grün.
Falls der Messbereich nicht eingehalten wird bzw. die Grenzen zu dicht beieinander
sind (mindestens 5° Unterschied), ist der Teach-Vorgang nicht erfolgreich (LED leuch-
tet 3 x rot) und muss wiederholt werden.
Setzen/Wiederherstellen der Werkseinstellung
Teach-Eingang für >15 Sekunden auf HIGH-Pegel setzen. DUO-LED: Oszilliert nach
5 Sekunden orange und leuchtet nach 15 Sekunden, 3 Sekunden orange.
EN
7. 2-Point-Teach (Analog)
Activate
Start teach process within 5 minutes after power on. Set teach input for >5 seconds
on HIGH level (≥0.7 * Vs).
DUO-LED: Oscillates after 5 seconds orange.
Position 1
Get inclination sensor on position intended for min. voltage output / current output.
Set teach input for >0.1 seconds on HIGH.
DUO-LED: Lights for 3 seconds orange and afterwards oscillates.
Position 2
Get encoder on position intended for max. voltage output / current output. (Direction
of rotation Teach process corresponds to application direction of rotation).
Set teach input for >0.1 seconds on HIGH.
DUO-LED: Lights for 3 seconds orange and afterwards oscillates 3 x green. If measu-
ring range is exceeded or the limits are too close to each other (min. 5° difference),
the teaching process was not successful (LED lights 3 x red) and has to be repeated.
Default
Set teach input for >15 seconds on HIGH.
DUO-LED: Oscillates after 5 seconds orange and lights after 15 seconds, 3 seconds
orange.
FR
7. Apprentissage 2 points (Analogique)
Activation de la procédure Teach
Démarrer la procédure Teach dans les 5 min après la mise sous tension. Mettre
l‘entrée Teach pendant un temps >5 secondes au niveau HIGH (≥0,7 * +Vs).
La LED clignote orange au bout de 5 secondes.
Position 1
Tourner l‘inclinomètre sur la position 1 pour laquelle la tension / le courant mini doit
être appliqué(e). Mettre l‘entrée Teach pendant un temps >0,1 seconde au niveau
HIGH. La LED s´allume pendant 3 secondes en orange puis se met à clignoter.
Position 2
Tourner l‘inclinomètre sur la position 2 pour laquelle la tension / le courant maxi doit
être appliqué(e). Mettre l‘entrée Teach pendant un temps >0,1 seconde au niveau
HIGH.
La LED s´allume pendant 3 secondes en orange puis se met à clignoter. Si la plage
de mesure n‘est pas respectée ou si les limites sont trop rapprochées l‘une de l‘autre
(au minimum 5° de différence) la procédure d‘apprentissage échouera et devra être
répétée (la LED clignote 3x en rouge).
Réglage usine
Mettre l’entrée Teach pendant un temps >15 secondes au niveau HIGH. La LED
clignote au bout de 5 secondes en orange et s‘allume après 15 secondes pendant 3
secondes en orange.
IT
7. Teach a 2 punti (analogico)
Attivazione
Avviare il processo teach entro 5 minuti dopo l‘accensione. Regolare l’ingresso teach
per >5 secondi sul livello HIGH (≥0,7 * Vs).
DUO-LED: lampeggia dopo 5 secondi in arancione.
Posizione 1
Ruotare il sensore d’inclinazione sulla posizione in cui deve essere emesso il valore
minimo di tensione / corrente. Regolare Ingresso teach per > 0,1 secondi su HIGH.
DUO-LED: si illumina in arancione per 3 secondi e poi lampeggia.
Posizione 2
Ruotare il sensore d’inclinazione sulla posizione in cui deve essere emesso il valore
massimo di tensione / corrente. (Direzione di rotazione processo teach corrisponde
alla direzione di rotazione applicativa).
Regolare ingresso teach per >0,1 secondi su livello HIGH. DUO-LED: si illumina in
arancione per 3 secondi e poi lampeggia 3 volte in verde. Qualora il campo di misu-
razione non sia rispettato o i limiti siano troppo ravvicinati (almeno 5° di differenza), il
processo teach non è effettuato correttamente (LED lampeggia 3 volte in rosso) e va
ripetuto.
Impostare/Ripristinare le impostazioni di fabbrica
Regolare ingresso teach per >15 secondi su livello HIGH. DUO-LED: lampeggia dopo
5 secondi in arancione e dopo 15 secondi si illumina per 3 secondi in arancione.
ES
7. Teach de 2 puntos (analógica)
Activación
Iniciar el proceso Teach dentro de los 5 minutos siguientes al encendido. Cambiar la
entrada de Teach durante > 5 seg. al nivel HIGH (≥0,7 * +Vs).
LED DUO: oscilante naranja tras 5 segundos.
Posición 1
Girar el sensor de inclinación a la posición en la que se deba emitir la tensión / corri-
ente mín. Cambiar la entrada de Teach durante >0,1 segundos a HIGH.
LED DUO: luz naranja 3 segundos y luego oscilante.
Posición 2
Girar el sensor de inclinación a la posición en la que se deba emitir la tensión / corri-
ente máx. (El sentido de rotación del proceso Teach equivale al sentido de rotación
en la aplicación).
Cambiar la entrada de Teach durante >0,1 segundos al nivel HIGH. LED DUO: luz
naranja 3 segundos y luego oscilante 3 veces verde. El proceso de programación
(Teach) no será correcto cuando no se pueda respetar el rango de medición o los
límites estén demasiado próximos (mínimo 5° de diferencia). En ese caso (LED 3
veces rojo), hay que repetir la programación.
Aplicar o restablecer la conguración de fábrica
Cambiar la entrada de Teach durante >15 segundos al nivel HIGH. LED DUO:
oscilante naranja tras 5 segundos y luz permanente a los 15 segundos, naranja 3
segundos.
