Bavaria BHP 1435 User manual

BHP 1435
31011:.rN-.I78.404.14:.rN-.trA
7
GB
Original operating instructions
High Pressure Cleaner
Anl_BT_HP_1435_SPK1.indb 1 31.07.12 14:39

- 2 -
1
2
3
4 9
5
2
10 1
A
18
a b 14
11
8 6
2
16
17
2.
1.
Anl_BT_HP_1435_SPK1.indb 2Anl_BT_HP_1435_SPK1.indb 2 31.07.12 14:3931.07.12 14:39

- 3 -
3 4
5 6
7 8
9
a
b14
18
1.
2.
4
18
9
1718
6
16
Anl_BT_HP_1435_SPK1.indb 3Anl_BT_HP_1435_SPK1.indb 3 31.07.12 14:3931.07.12 14:39

- 4 -
9 10
16 A
Anl_BT_HP_1435_SPK1.indb 4Anl_BT_HP_1435_SPK1.indb 4 31.07.12 14:3931.07.12 14:39

GB
- 5 -
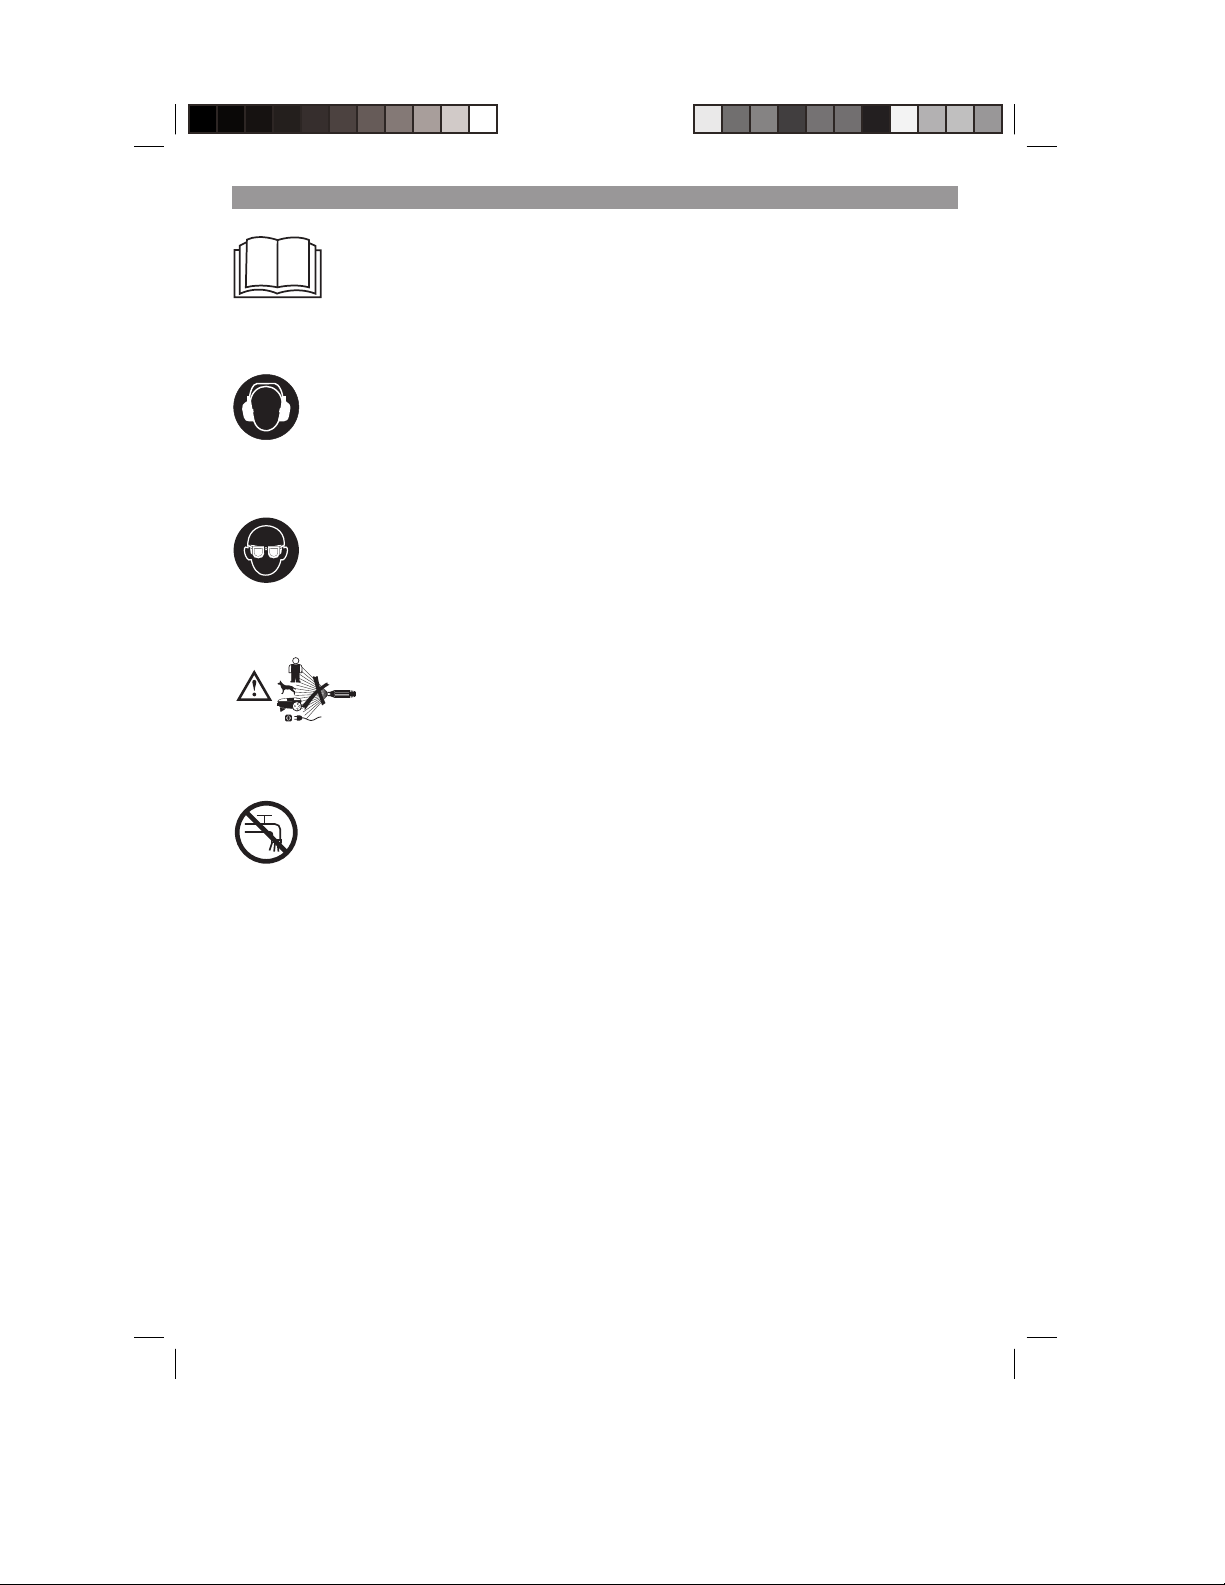
Wear ear-muffs. The impact of noise can cause damage to hearing.
Wear safety goggles. Sparks generated during working or splinters, chips and dust emitted by the de-
vice can cause loss of sight.
Please read these instructions carefully before installing and operating the equipment!
Warning! High-pressure jets can be dangerous if not used properly. Do not direct the jet at persons, ani-
mals, live electrical equipment or the pressure cleaner itself.
This machine is not suitable for connecting to the drinking water network (see 5.2.2).
Anl_BT_HP_1435_SPK1.indb 17 31.07.12 14:39

GB
- 6 -
Important!
-erpytefaswefa,tnempiuqeehtgnisunehW
cautions must be observed to avoid injuries and
damage. Please read the complete operating
instructions and safety regulations with due care.
Keep this manual in a safe place, so that the in-
formation is available at all times. If you give the
equipment to any other person, hand over these
operating instructions and safety regulations as
well.We cannot accept any liability for damage
or accidents which arise due to a failure to follow
these instructions and the safety instructions.
1. Safety regulations
The corresponding safety information can be
found in the enclosed booklet.
Caution!
Read all safety regulations and instructions.
Any errors made in following the safety regula-
tions and instructions may result in an electric
shock, fire and/or serious injury.
Keep all safety regulations and instructions
in a safe place for future use.
2. Layout and items supplied
2.1 Layout (Fig. 1-2)
1. Handle
2. Accessory mount
3. On/Offswitch
4. Water inlet connector
5. Pressure cleaner
6. Power cable
7. Seal
8. Power plug
9. Connector for high-pressure hose
10. Cleaning agent tank
11. Transport wheels
12. Gun
13. Solid cone/flat fan lance
14. Lance with rotating nozzle
15. High-pressure hose
A. Wire
2.2 Items supplied
Please check that the article is complete as spe-
cifi
ed in the scope of delivery. If parts are missing,
please contact our service center or the nearest
branch of the DIY store where you made your
purchase at the latest within 5 work days after
purchasing the article and upon presentation of
a valid bill of purchase. Also, refer to the warranty
table in the warranty provisions at the end of the
operating instructions.
• -piuqeehttuoekatdnagnigakcapehtnepO
ment with care.
• ynadnalairetamgnigakcapehtevomeR
packaging and/or transportation braces (if
available).
• .deilppuserasmetillafieesotkcehC
• rofseirosseccadnatnempiuqeehttcepsnI
transport damage.
• litnugnigakcapehtpeekesaelp,elbissopfI
the end of the guarantee period.
Important!
The equipment and packaging material are
not toys. Do not let children play with plastic
bags, foils or small parts. There is a danger of
swallowing or suffocating!
• Original operating instructions
• snoitcurtsniytefaS
3. Proper use
The pressure cleaner is designed to clean ve-
hicles, machines, buildings, facades, etc. in the
private sector.
The equipment is to be used only for its prescri-
bed purpose. Any other use is deemed to be a
case of misuse.The user / operator and not the
manufacturer will be liable for any damage or inju-
ries of any kind caused as a result of this.
Please note that our equipment has not been de-
signed for use in commercial, trade or industrial
applications. Our warranty will be voided if the
machine is used in commercial, trade or industrial
businesses or for equivalent purposes.
snosrepybesurofdednetnitonsiecnailppasihT
(including children) with reduced physical, sen-
sory or mental capabilities, or lack of experience
and knowledge, unless they have been given
supervision or instruction concerning use of the
Anl_BT_HP_1435_SPK1.indb 18 31.07.12 14:40

GB
- 7 -
appliance by a person responsible for their safety.
Children should be supervised to ensure that they
do not play with the appliance.
4. Technical data
Mains voltage: ............................... 230 V ~ 50 Hz
Power input: ............................................ 2000 W
Rated pressure: .........................9.5 MPa (95 bar)
Permissible pressure: ...... max. 14 MPa (140 bar)
Delivery rate: .............................................6 l/min
Max. water inlet pressure: ...........0.6 MPa (6 bar)
Totally insulated: ...........................................II /
Weight: ....................................................... 6.7 kg
Sound and vibration
Sound and vibration values were measured in
accordance with EN 60335-1.
LpA sound pressure level ........................ 77 dB(A)
KpA uncertainty ............................................. 3 dB
LWA sound power level .......................... 94 dB(A)
KWA uncertainty ............................................. 3 dB
Wear ear-muffs.
The impact of noise can cause damage to hea-
ring.
Total vibration values (vector sum of three direc-
tions) determined in accordance with
EN 60335-1.
Vibration emission value ah≤2.5 m/s2
K uncertainty = 1.5 m/s2
Warning!
The specifi
ed vibration value was established in
accordance with a standardized testing method. It
may change according to how the electric equip-
ment is used and may exceed the specified value
in exceptional circumstances.
The specifi
ed vibration value can be used to
compare the equipment with other electric power
tools.
The specified vibration value can be used for initi-
al assessment of a harmful effect.
Keep the noise emissions and vibrations to a
minimum.
• -rowtcefrepnierahcihwsecnailppaesuylnO
king order.
• .ylralugerecnailppaehtnaelcdnaecivreS
• .ecnailppaehttiusotelytsgnikrowruoytpadA
• .ecnailppaehtdaolrevotonoD
• -enrevenehwdecivresecnailppaehtevaH
cessary.
• .esunitonsitinehwffoecnailppaehthctiwS
• .sevolgevitcetorpraeW
Residual risks
Even if you use this electric power tool in
accordance with instructions, certain resi-
dual risks cannot be rules out. The following
hazards may arise in connection with the
equipment’s construction and layout:
1. Lung damage if no suitable protective dust
mask is used.
2. Damage to hearing if no suitable ear protec-
tion is used.
3. Health damage caused by hand-arm vib-
rations if the equipment is used over a pro-
longed period or is not properly guided and
maintained.
5. Before starting the equipment
5.1 Using the equipment correctly
• -elanodootsebtsumrenaelcerusserpehT
vel, stable surface.
• tcerrocehttpodauoytahtdednemmocersitI
operating position every time you use the
equipment, with one hand on the gun and the
other on the lance.
• rosenillacirtceletatejretawehttceridreveN
the equipment itself.
• egamadynareffustonseodpmupehttahtoS
when it is not in use, a small amount of leaka-
ge from the pump is normal.
• -isolpxeyllaitnetopnienihcamehtesureveN
ve areas under any circumstances!
• neewtebebtsumerutarepmetgnitarepoehT
+5 and + 60°C.
• yarpsehtroecnalehtyfidomrorevoctonoD
nozzles in any way.
• desuebotdengisedsirenaelcerusserpehT
with cold or lukewarm water (max. 40 °C); hig-
her temperatures can damage the pump.
• -nocroyttirg,ytridsitahtretawesutonoD
tains any chemical products, as these could
impair operation and shorten the life of the
Anl_BT_HP_1435_SPK1.indb 19 31.07.12 14:40

GB
- 8 -
equipment.
Caution: Risk of explosion
Do not spray flammable liquids.
Warning
Water that has passed through the non-return
valve is not drinkable.
Warning
If cleaning agent gets into contact with your skin
or into your eye, rinse immediately with lots of
clean water. Then consult a doctor or follow the
steps described on the safety data sheet or provi-
ded by the manufacturer of the cleaning agent.
5.2 Assembly
5.2.1 Assembling the equipment
Assemble the pressure cleaner as shown in Fi-
gure 2-6.
5.2.2 Water inlet connector (Fig. 1/4)
The connection for the water inlet (4) is equipped
with a connector for standard hose coupling sys-
tems. Plug the hose coupling on the supply hose
(min. Ø 1/2“) to the water inlet connector (4).
A backflow preventer must be installed between
the drinking water and the pressure cleaner! Ask
your local plumber about this.
5.2.3 Connecting the high-pressure hose
(Fig. 1-3; 5-6)
Remove the transport brace as shown in Figure 5
from the high-pressure hose connector (9). Con-
nect the high-pressure hose (18) to the connector
on the pressure cleaner (9) and to the connector
on the spray gun (14).
5.2.4 Fitting the gun attachments
You can attach either the normal lance or the
lance with rotating nozzle (Fig. 2) before the pres-
sure cleaner is used.
Solid cone / flat fan lance (16)
The shape of the water jet can be changed from
solid cone to flat fan by turning the nozzle (Fig. 8).
Lance with rotating nozzle (17)
To remove particularly stubborn dirt, use the lance
with the rotating nozzle (17).
5.2.5 Electrical connections (Fig. 1)
• Before you connect the equipment to the
power supply make sure that the data on the
rating plate are identical to the supply voltage.
• erusekam,selbacnoisnetxeynaesuuoyfI
that they are suitable for outdoor use and
have large enough wires:
1 – 10 m: 1.5 mm²
10-30m: 2.5 mm²
• elbacrewopehtno)8(gulprewopehttresnI
(6) into the socket outlet.
6. Operation
The equipment consists of an assembly with a
pump, which is encased in a shock absorbing
housing. For an optimal working position the
equipment comes with a lance and a non-slip
gun, whose shape and configuration comply with
the applicable regulations.
6.1 Using for the first time
Once you have completely assembled the pres-
sure cleaner and made all the connections, pro-
ceed as follows:
Open the water inlet. Press safety pin „a“ (Fig. 2)
on the spray gun and pull back trigger lever „b“
(Fig. 2) in order to bleed the trapped air out of the
equipment.
Turn on the equipment by switching the On/Off
switch (Fig. 1/3) to “ON”.
To turn off, release the trigger lever (b). The
equipment will then go into standby. As soon as
you press the trigger lever (b) again, the pressure
cleaner will restart.
To turn offthe pressure cleaner completely, set
the On/Offswitch (Fig. 1/3) to “OFF”.
6.2 Using detergent
• elbatiusahtiw)01(knattnegretedehtlliF
cleaning agent.
• niyllacitamotuadeddaeblliwtnegretedehT
low-pressure mode.
• ehthtiwrehtegotylnodesuebyamtnegreteD
following accessories.
Anl_BT_HP_1435_SPK1.indb 20 31.07.12 14:40

GB
- 9 -
6.2.1 Using detergent with the solid cone /
flat fan lance
Set the solid cone / flat fan lance (Fig. 10) to low-
pressure mode (n).
6.3 Holder for the gun/accessories (Fig. 7)
To save space when not in use, the gun and ac-
cessories can be kept in the holder provided.
Caution! Before using the pressure cleaner,
make sure that the high-pressure hose is comple-
tely unwound.
7. Replacing the power cable
If the power cable for this equipment is damaged,
it must be replaced by the manufacturer or its
after-sales service or similarly trained personnel
to avoid danger.
8. Cleaning, maintenance and
ordering of spare parts
Always pull out the mains power plug before star-
ting any cleaning work.
8.1 Cleaning
• ehtdnastnevria,secivedytefasllapeeK
motor housing free of dirt and dust as far as
possible.Wipe the equipment with a clean
cloth or blow it with compressed air at low
pressure.
• ecivedehtnaelcuoytahtdnemmocereW
immediately each time you have finished
using it.
• tsiomahtiwylralugertnempiuqeehtnaelC
cloth and some soft soap. Do not use
cleaning agents or solvents; these could
attack the plastic parts of the equipment. En-
sure that no water can seep into the device.
8.2 Maintenance
8.2.1 Testing the water intake filter
Periodically check the intake filter in order to pre-
vent clogging, which could jeopardize operation
of the pump.
To do this, unscrew the coupling for the water inlet
hose from the device and clean the exposed inlet
sieve under running water.
8.2.2 Long periods of nonuse (electric pump)
If the equipment is going to be stored for longer
periods of time (i.e. over three months) in a room
where the temperature could drop below freezing
point, it is recommended that the equipment be
filled with an antifreeze solution (similar to the an-
tifreeze solutions used for vehicles).
If the device is not used for an extended period
of time, lime deposits will begin to form in the
electric pump, which in turn can lead to starting
difficulties.
8.2.3 Cleaning the nozzle (Fig. 9)
Use the supplied wire (A) to clean clogged nozz-
les.
8.3 Ordering replacement parts:
Please quote the following data when ordering
replacement parts:
• enihcamfoepyT
• enihcamehtforebmunelcitrA
• enihcamehtforebmunnoitacifitnedI
• deriuqertrapehtforebmuntraptnemecalpeR
Please call 1300 922 271 for any enquiries.
9. Transport
Before transporting the equipment to a different
location, remove all connections. The equipment
is then free for transport.
10. Disposal and recycling
The unit is supplied in packaging to prevent its
being damaged in transit.This packaging is raw
material and can therefore be reused or can be
returned to the raw material system.
The unit and its accessories are made of various
types of material, such as metal and plastic. De-
fective components must be disposed of as spe-
cial waste. Ask your dealer or your local council.
11. Storage
Store the equipment and accessories out of
children’s reach in a dark and dry place at above
freezing temperature. The ideal storage tempe-
rature is between 5 and 30 °C. Store the electric
tool in its original packaging.
Anl_BT_HP_1435_SPK1.indb 21 31.07.12 14:40

GB
- 10 -
12. Possible causes of failure
ydemeResuaCtluaF
The equipment
does not work
- No electrical voltage at the equip-
ment
- The cross section of the extension
cable is not large enough and/or
the extension cable is too long
- The mains voltage is lower than
that specified
- The pump is frozen
- Check the fuse, power cable and
power plug and have them replaced
by qualified personnel if necessary
- Use extension cables with larger
cross sections and/or use shorter
extension cables
- Contact the power supply company
if necessary
- Check and thaw if necessary
The motor starts but
there is no pressure
build-up
- The water intake filter is clogged
- Air intake in the water inlet
- The discharge nozzle is too large
- Clean the water intake filter (see
8.2.1)
- Check the supply hose and hose
connectors and replace if necessa-
ry
- Check and replace if necessary
The operating pres-
sure is irregular
- Air intake in the water inlet - Check the supply hose and hose
connectors and replace if necessa-
ry
Anl_BT_HP_1435_SPK1.indb 22 31.07.12 14:40

GB
Anl_TE_AG_125_750_SPK1.indb 24 14.09.12 12:19
The guarantee provided in this Guarantee Certificate is given by Einhell Australia Pty Limited
ACN 134 632 858 of 6/166 Wellington Street, Collingwood, Victoria (Telephone number 1300 922 271)
GUARANTEE
CERTIFICATE
EINHELL AUSTRALIA PTY LTD
6/166 Wellington Street
Collingwood VIC 3066
Australia
Phone: 1300 922 271
Dear
Customer,
All of our products undergo strict quality checks. In the unlikely event that your device develops a fault, please
contact our service department at the address shown on this guarantee certificate. Of course, if you would
prefer to call us then we are also happy to offer our assistance under the service number printed below.
Please note the following terms under which claims under the Einhell Express Guarantee can be made:
1. The benefits conferred by the Einhell Express Guarantee are in addition to all rights and remedies which
you may be entitled to under the Australian Consumer Law, and any other statutory rights you may have
under other applicable laws. This Einhell Express Guarantee does not exclude, restrict or modify any
We do not charge you for the Einhell Express Guarantee.
2. Our goods come with guarantees that cannot be excluded under the Australian Consumer Law. You are
entitled to a replacement or refund for a major failure and for compensation for any other reasonably
foreseeable loss or damage. You are also entitled to have the goods repaired or replaced if the goods
fail to be of acceptable quality and the failure does not amount to a major failure.
3. The Einhell Express Guarantee only covers problems caused by material or manufacturing defects, and
our liability under the Einhell Express Guarantee is limited, at our discretion, to the rectification of these
defects or replacement of the product. Please note that the product has not been designed for use in
commercial, trade or industrial applications. Consequently, the Einhell Express Guarantee will not apply
if the product is used in commercial, trade or industrial applications or for other equivalent activities.
4. The following are also excluded from the Einhell Express Guarantee: compensation for transport
damage, damage caused by failure to comply with the installation/assembly instructions or damage
caused by unprofessional installation, failure to comply with the operating instructions (e.g. connection to
the wrong mains voltage or current type), misuse or inappropriate use (such as overloading of the
product or use of non-approved tools or accessories), failure to comply with the maintenance and safety
regulations, ingress of foreign bodies into the product (e.g. sand, stones or dust), effects of force or
external influences (e.g. damage caused by the product being dropped) and normal wear resulting from
proper operation of the product. The Einhell Express Guarantee will also not apply if any attempt is made
5. The Einhell Express Guarantee is valid for a period of 2 years starting from the purchase date of the
product. Claims made under the Einhell Express Guarantee should be submitted before the end of this
guarantee period and within two weeks of the defect being noticed. No claims under the Einhell Express
Guarantee will be accepted if submitted after the end of this guarantee period. The original guarantee
period remains applicable to the device even if repairs are carried out or parts are replaced. In such
cases, the work performed or parts fitted will not result in an extension of the guarantee period for the
Einhell Express Guarantee, and the Einhell Express Guarantee will not apply for the work performed or
6. To make a claim under the Einhell Express Guarantee, please send the relevant product postage-free to
the address shown below and enclose either the original or a copy of your sales receipt or another dated
proof of purchase. It would help us if you could describe the nature of the problem in as much detail as
possible. If the defect is covered by the Einhell Express Guarantee, your product will be repaired
immediately and returned to you, or we will send you a new device (at our election).
Any costs incurred by you in making a claim under this Einhell Express Guarantee, unless specified
otherwise in this guarantee certificate, must be borne by you.
Of course, we are also happy to offer a chargeable repair service for any defects which are not covered by the
scope of the Einhell Express Guarantee or for products which are no longer covered by the Einhell Express
Guarantee. To take advantage of this service, please send the product to our service address.
such rights or remedies.
to tamper with the product.
parts fitted. This also applies when an on-site service is used.
(Einhell Express Guarantee).

GB
Anl_TE_AG_125_750_SPK1.indb 24 14.09.12 12:19
EH 05/2013(01)
This manual suits for next models
1
Table of contents
Other Bavaria Pressure Washer manuals
Popular Pressure Washer manuals by other brands

SNOWJOE
SNOWJOE SUNJOE SPX4800-RM Operator's manual

Kärcher
Kärcher K 2.250 instructions

Craftsman
Craftsman 580.751651 owner's manual

Scheppach
Scheppach HCE2000 Translation of original instruction manual

DeWalt
DeWalt DXPW series instruction manual

Annovi Reverberi
Annovi Reverberi HOT 2015 INOX Translation of the original instructions