BCF Technology Easi-Scan User manual
Your animal imaging partner
Instruction manual
Smart Display Manual 2013 v.2.indd 1 25/03/2015 15:45
2
Smart Display Manual 2013 v.2.indd 2 25/03/2015 15:45

3
Contents
Introduction 4
System features 5
Operator safety 5
1 Operating instructions 6
1.1 Power 6
1.2 Normal scanning 6
1.3 Freeze mode operation 11
1.4 Meat science operation 16
1.5 Battery indicator and auto power down 18
1.6 Image review mode 18
2 Care & maintenance 19
Appendix 1: Docking with the Easi-Scan 20
Appendix 2: Meat science modes 21
Appendix 3: Body condition scoring 22
Appendix 4: Measurement modes 23
Appendix 5: Image and video storage 24
Technical specification 25
Service centres 26
Smart Display Manual 2013 v.2.indd 3 25/03/2015 15:45

4
Introduction
Since 1983 BCF Technology Ltd has been developing, manufacturing and distributing worldwide
animal husbandry equipment becoming market leader in the development and production of real
time ultrasound pregnancy scanners for most animal species.
Using modern touchscreen technology we have developed an entirely new way to use, view and control
your Easi-Scan ultrasound scanner.
The Easi-Scan is designed and manufactured in Scotland at:
BCF Technology Ltd
Imaging House, Phoenix Crescent
Strathclyde Business Park
Bellshill, ML4 3NJ
Scotland, UK
T +44 (0) 1506 460 023
service@bcftechnology.com
www.bcftechnology.com
As specialists in providing ultrasound imaging equipment for veterinary and animal husbandry
applications, we realise the importance of equipment reliability and speed of response should service
assistance be required. Our engineers and their appointed agents are available to provide rapid service
assistance to ensure optimum performance of BCF systems.
The Smart Display meets all essential and safety requirements of all current relevant European
Directives. The CE mark on the rear label is a symbol of this conformance. If you require any further
information regarding these directives please contact us directly. This product is classed as electronic
equipment. At the end of its useful life it should not be disposed of with general waste,it should be
taken to a recycling point for electrical/electronic equipment. The crossed-out wheelie bin symbol is
placed on the front label as a reminder and in conformance with the European WEEE Directive.
Note: All BCF Technology products are to be used for animal applications only.
Smart Display Manual 2013 v.2.indd 4 25/03/2015 15:45

5
System features
Smart display is designed to enhance the features of your Easi-Scan, providing a large display and
a new, touchscreen, interface.
• Integrated VGA touchscreen display, providing simple, intuitive access to the additional
features.
• New modes designed specifically for first-pass tendon work, existing modes revised for viewing
on Smart Display.
• Foetal ageing measurements for cattle, trunk diameter and crown rump length.
• Calculate cross-sectional area as you trace on screen, calculate damaged area as a
percentage of total.
• Annotate frozen images, add notes & caliper measurements.
• Store images and ten second video clips on internal memory (sufficient for 2500 images,
or 300 ten second video clips).
• Powered via Easi-Scan, no additional batteries required, runs 3 hours continuously from a
single battery (longer with standby mode enabled).
• Meat quality modes, allowing the measurement of fat thickness and meat depth on cattle,
pigs and sheep.
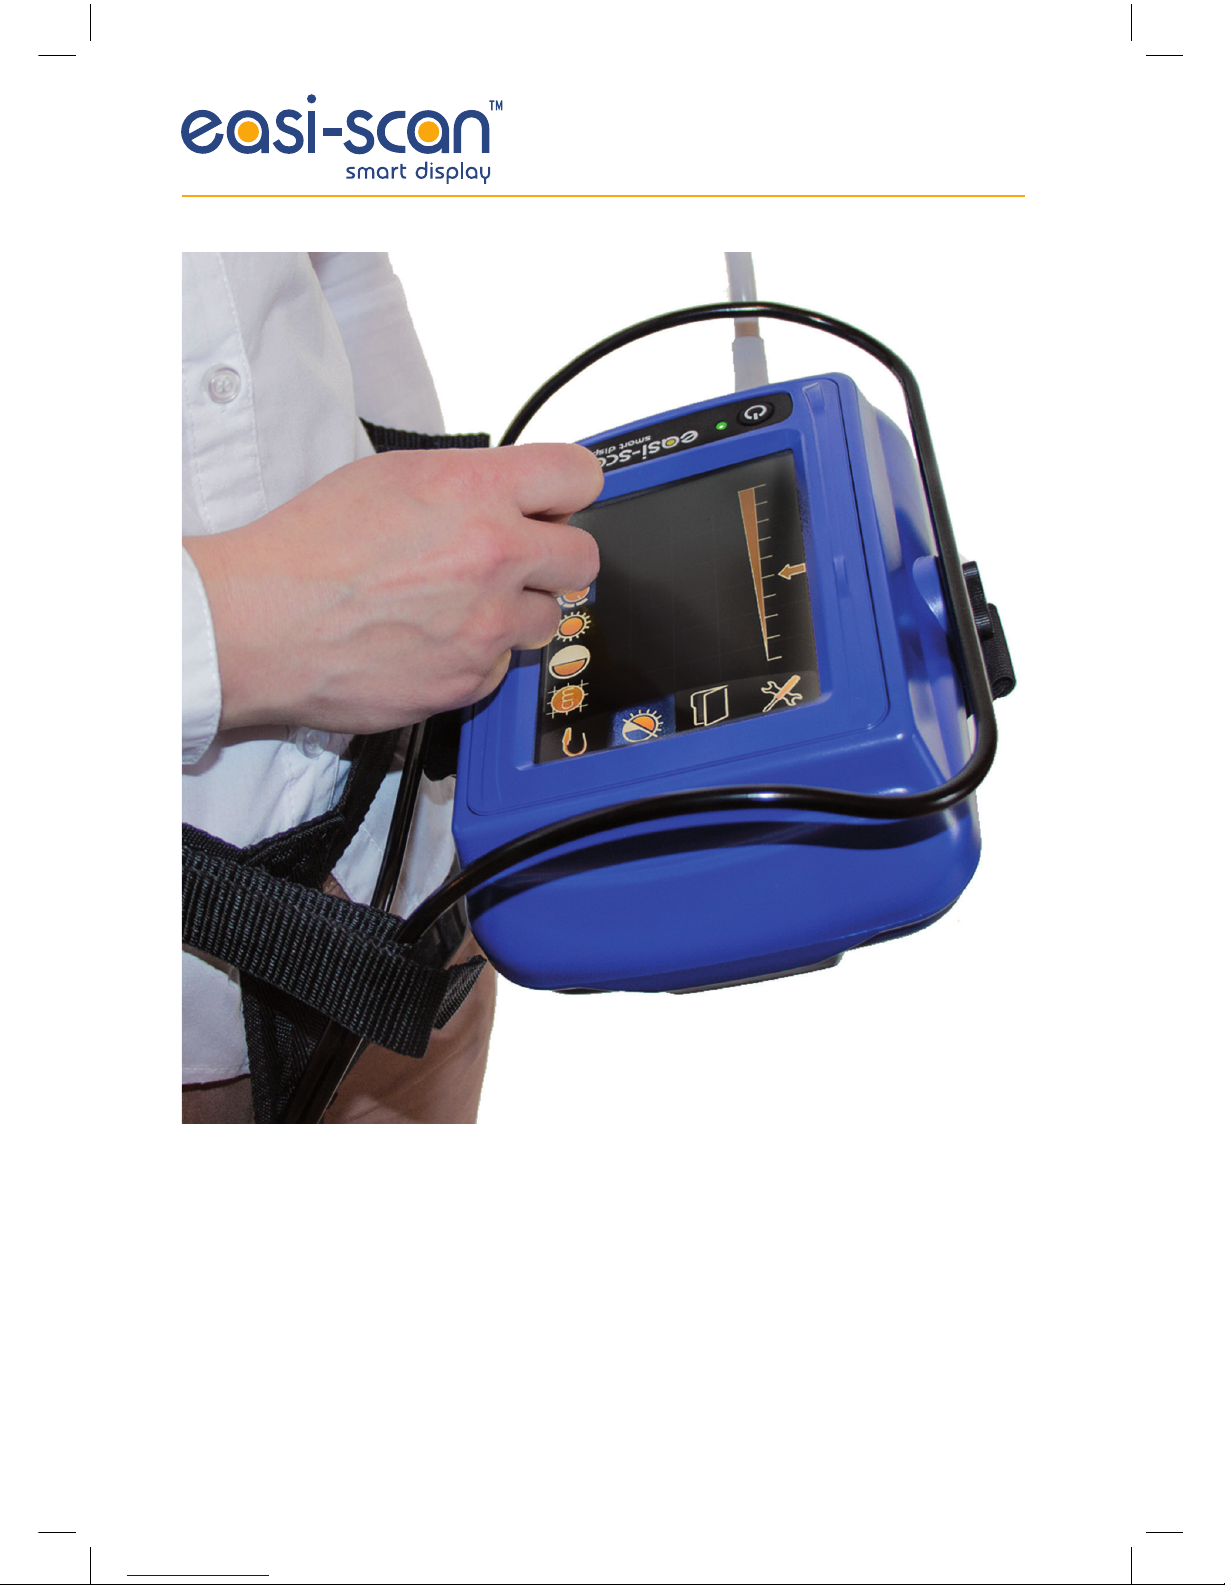
• Can also be used body mounted in landscape format.
Operator safety
Smart Display is designed to be powered via an Easi-Scan with its associated battery.
The batteries must be charged using only the BCF Standalone charger, battery charger or integrated
carry case powered from the car power outlet (12 V DC) or the BCF mains power supply. The carry case
must not be closed during charging. If the unit must be charged using the mains adapter, use only in
dry conditions.
Smart Display Manual 2013 v.2.indd 5 25/03/2015 15:45

6
1 Operating instructions
1.1 Power
Connect the Easi-Scan to the back of the Smart Display, (See Appendix 1 for docking procedure)
making sure it is securely clipped in, then attach the battery and switch on the system by pressing the
power button on the Smart Display and holding until the BCF logo is displayed on the Smart Display
and the Easi-Scan beeps.
To switch the system off, press and hold the power button until the scanner beeps.
Note: The system will power on with the same settings it had when last switched off.
1.2 Normal scanning
The Smart Display loads the user’s preferences at start up, setting the correct mode, gain level,
brightness, contrast etc. No menu is displayed on screen during normal scanning, to display the menu,
touch anywhere on the screen. To freeze the image, briefly press the power button .
1.2.1 Main menu
The main menu is as shown below, touching on any of the icons will bring up the associated sub menu.
Mode Display Load image Settings
Smart Display Manual 2013 v.2.indd 6 25/03/2015 15:45

7
1.2.2 Mode selection
For Easi-Scan, touching on the ‘Mode’ Icon in the main menu will display the mode menu as follows:
4 cm Detail Mode, optimised for
extremely close imaging and focus
with a wide dynamic range for
structures close to the surface such
as tendons
6 cm Detail Mode, similar to 4 cm
Detail in terms of dynamic range and
frequency, but with a deeper focus
and penetration
8 cm Ovary/Early pregnancy Mode, is
optimised for ovarian study and early
pregnancy scanning
Foetal Sexing, similar to Ovary/
Early with an image optimised for
detection of external genetalia in
foetal development, range 8 cm
Late Mode, lowest frequency,
optimised for deeper penetration up
to 12 cm
Meat Science Mode, provides access
to the various meat science modes
(see section 1.4)
For Easi-Scan Curve, touching on the ‘Mode’ Icon in the main menu will display the mode menu
as follows:
For Easi-Scan Micro-convex, touching on the ‘Mode’ Icon in the main menu will display the mode menu
as follows:
8cm Mode, optimised for close
study of early pregnancy with a
high frequency and close focus for
improved detail
12cm Mode, optimised for later
pregnancy up to 12 weeks
16cm Mode, optimised for late
pregnancy up to 17 weeks
24cm Mode, optimised for very late
pregnancies or abdominal scanning
OPU Mode, designed specifically for
Ovum Pickup in cattle, high frequency
and close focus for maximum detail
with on-screen needle guide
Near Mode, 6cm
Mid Mode, 8cm
Far Mode, 12cm
Smart Display Manual 2013 v.2.indd 7 25/03/2015 15:45
8
1.2.3 Display menu
Touching on the ‘Display’ Icon in the main menu will show the display menu as follows:
1.2.4 Load image
Touching on the ‘Load File’ image in the main menu will bring up the file browser (see section 1.3.6).
1.2.5 Settings
Touching on the ‘Settings’ icon in the main menu will bring up the settings menu as follows:
Opens the User settings menu where
you can change the grid, change the
probe orientation, battery settings,
menu timer, standby timer and cine
length (see section 1.2.5.1).
Opens the System settings sub
menu where you can re-calibrate
the touchscreen, reset the scanner
to factory default and alter other
system settings (see section 1.2.5.2).
If an Easi-Scan Micro-convex is connected then the following option is available:
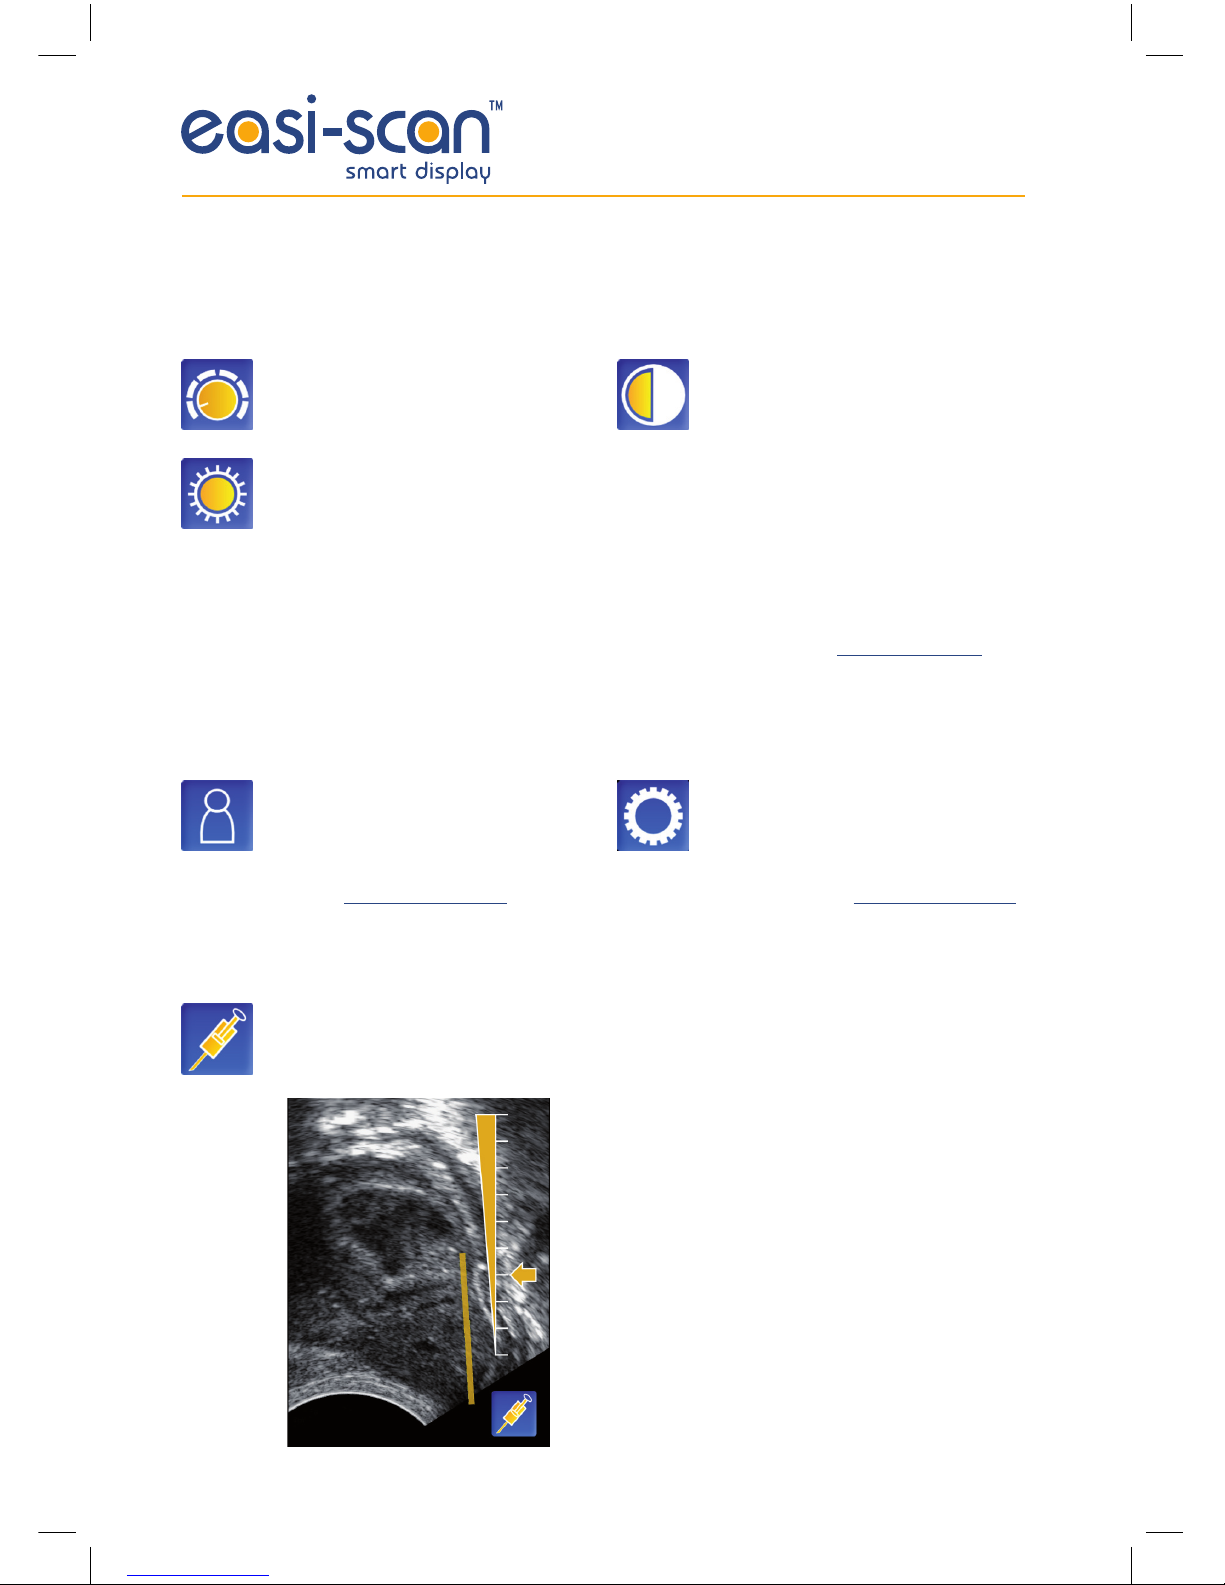
Opens the Needle guide settings sub menu where you can adjust the position and visibility
of the needle guide.
Using the slider you can adjust transparency of the
Needle guide. The Needle icon switches the guide on
and off. To move the Needle guide touch the screen at
either end of the Needle guide and drag to move.
Gain, touching this icon brings up a
slider control to adjust the scanner
gain.
Brightness, touching this icon brings
up a slider control to adjust the
screen brightness.
Contrast, touching this icon brings
up a slider control to adjust the
screen contrast.
Smart Display Manual 2013 v.2.indd 8 25/03/2015 15:45
9
1.2.5.1 User settings
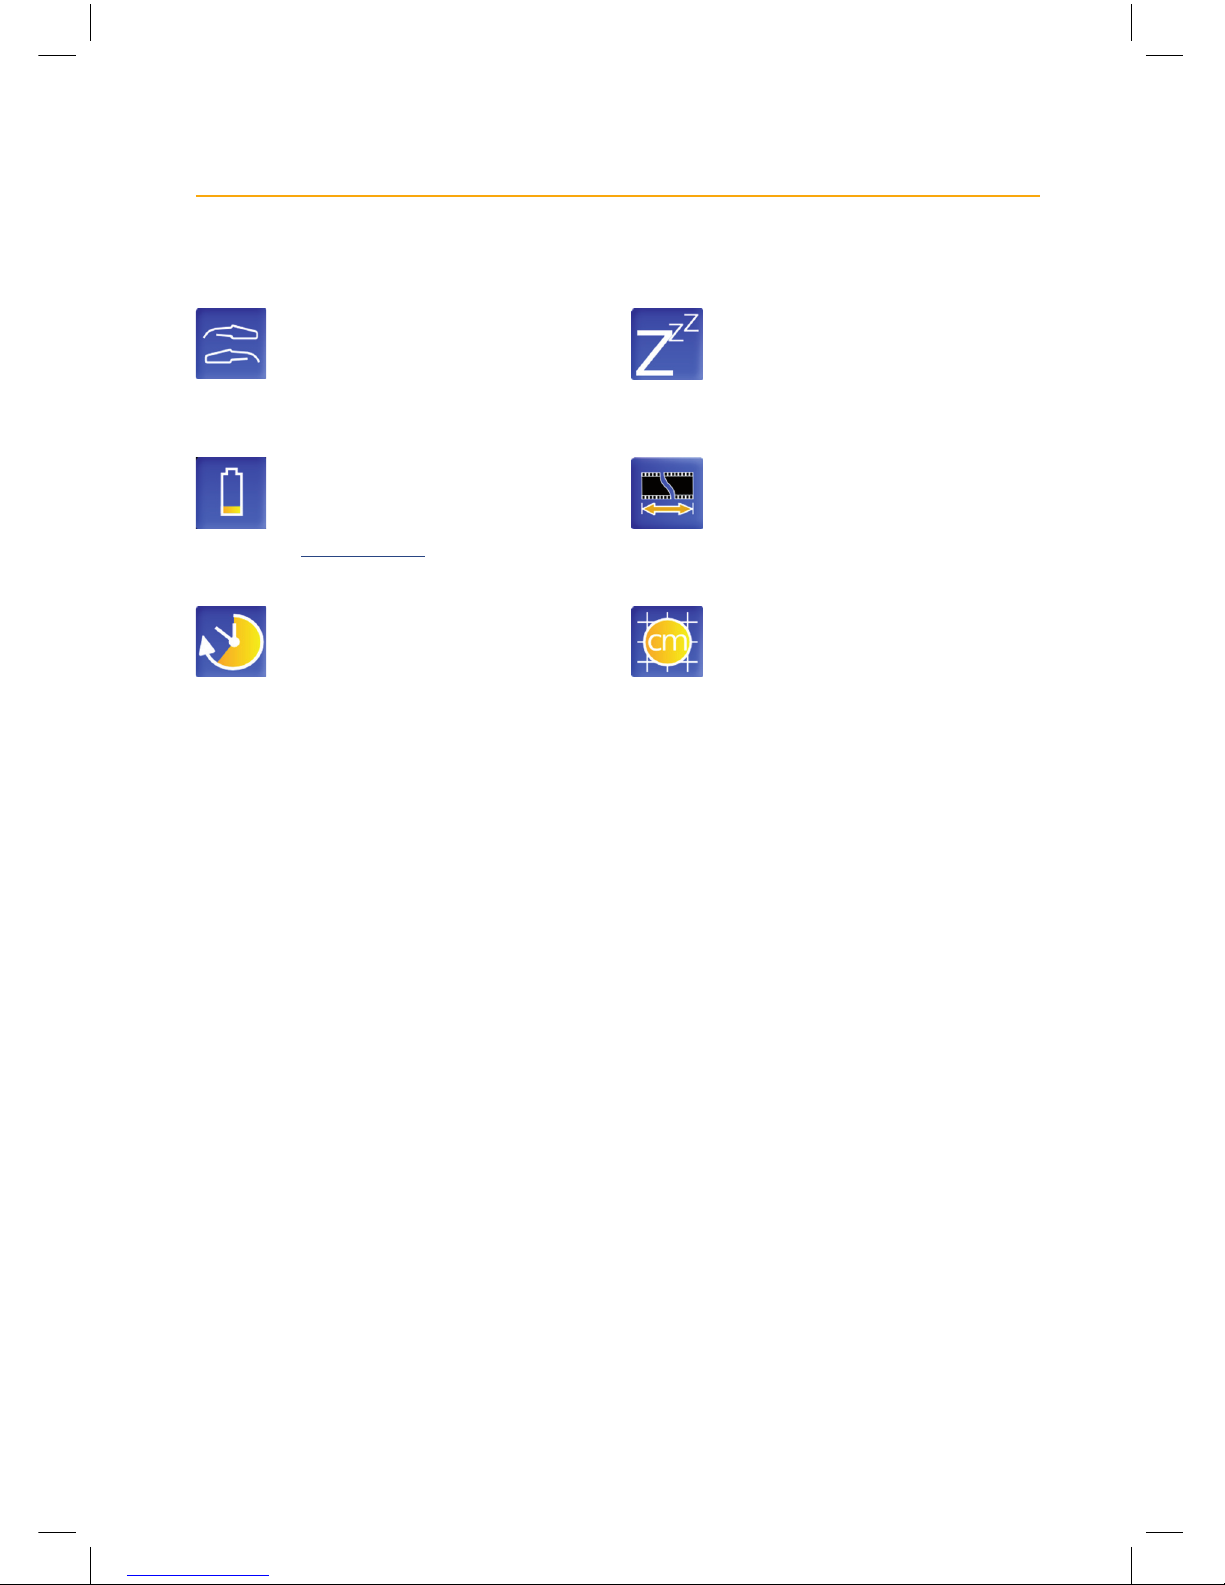
Opens the Probe Orientation sub
menu where you can select the
on-screen probe orientation, tip of
the probe to the left or right of the
screen.
Opens the Battery sub menu
where you can choose if you
want the battery level displayed.
See section 1.5 for information on
the battery indicator.
Opens the Menu Timer sub menu
where you can select how long
the menu is displayed before
automatically blanking, choose
from long or short.
Opens the Standby sub menu where
you can choose the idle time before
the Smart Display goes into standby
mode, choose ‘Off’, 2, 5 or 10
seconds.
Opens the Cine Length sub
menu where you can choose how
long the saved cine loops are,
short (approx 5 seconds) or long
(approx 10 seconds).
Note: Cine loop saving takes some time, for a short loop, the user interface will halt for
approximately 5 seconds before returning to user control, file saving continues in the
background, taking approximately 1 minute to complete.
For a long loop, the user interface halts for approximately 1 minute before returning to
user control with background file saving requiring a further 2 minutes.
While background saving is ongoing, a disk icon is displayed on screen, during this time,
no further saving is possible. Do not power off or remove the battery at this time.
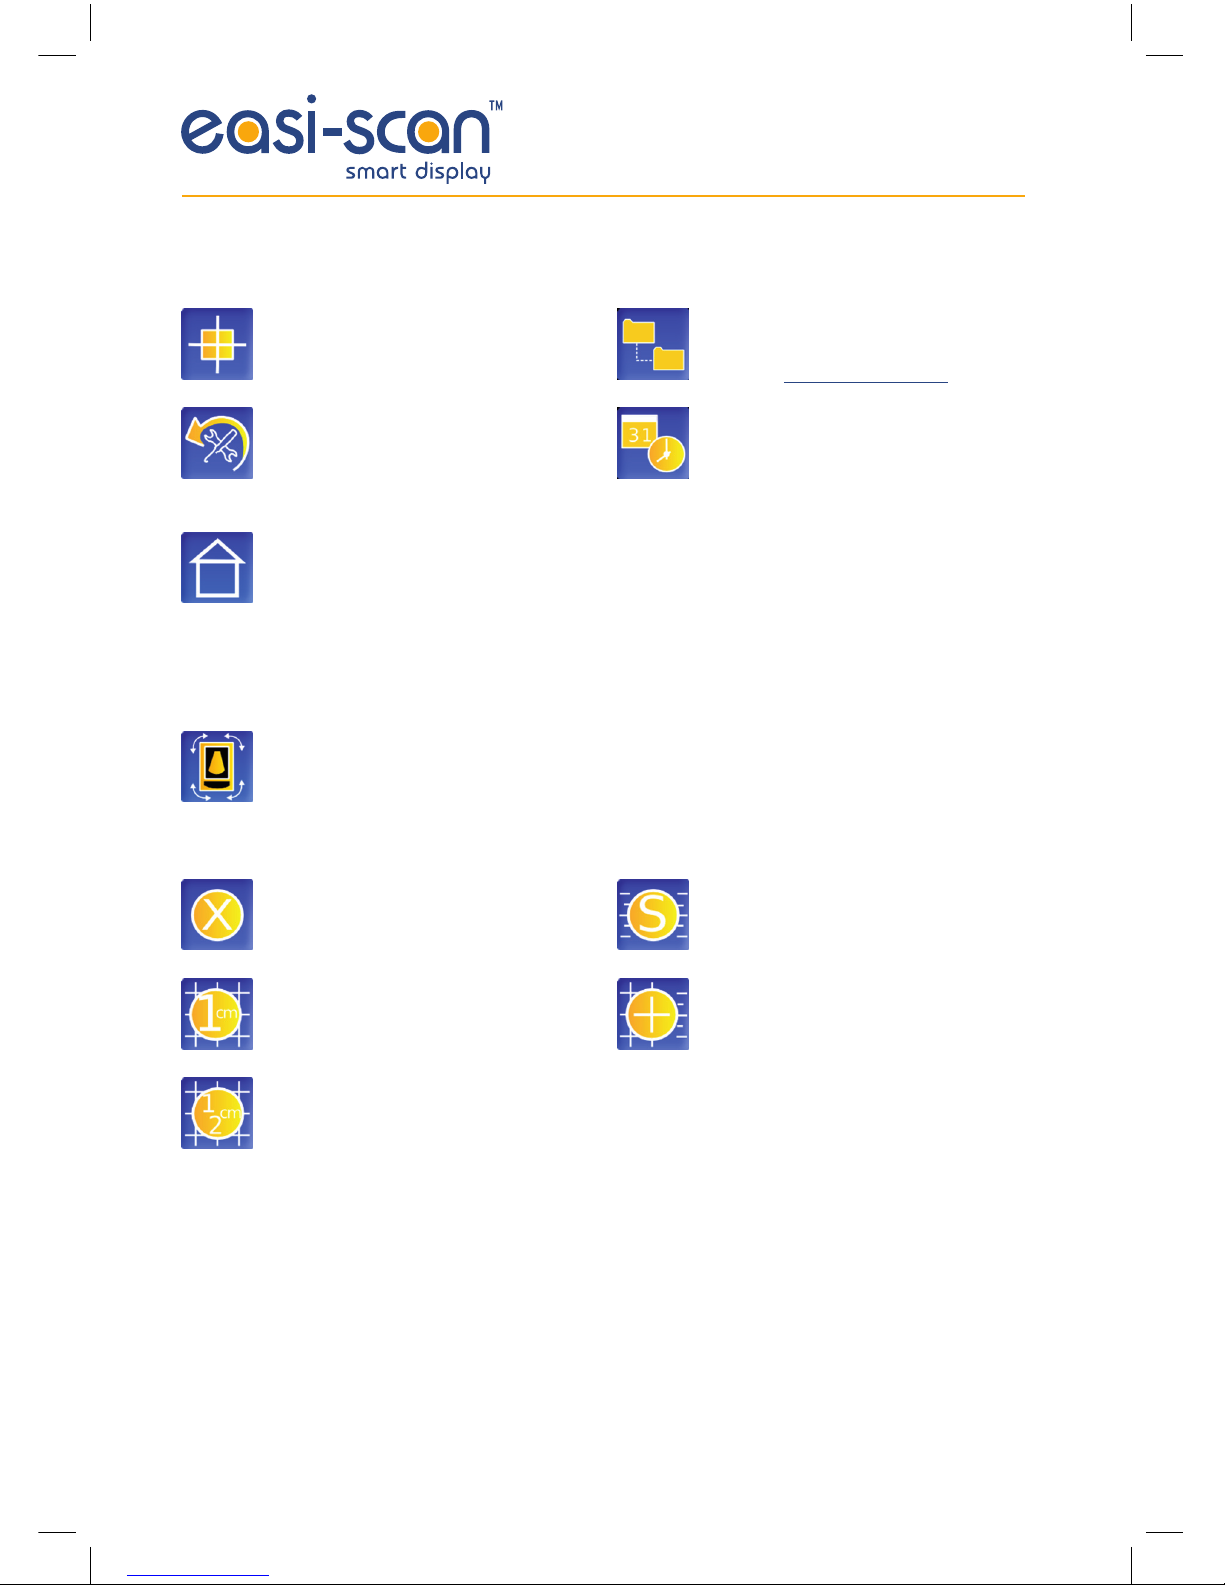
Grid and Scale, touching this icon
brings up the grid and scale sub
menu.
Smart Display Manual 2013 v.2.indd 9 25/03/2015 15:45
10
1.2.5.2 Information settings sub menu
Screen Calibration, selecting this
allows you to re-calibrate the
touchscreen.
Factory Reset, selecting this will
delete all your preferences and
return the scanner to the factory
standard settings.
User Information, selecting this
allows you to enter your practice
name and contact number. The
Practice name will be displayed on
all frozen images.
File Information, selecting this
allows you to enter information into
3 fields (See section 1.3.3.1)
Time and date, selecting this allows
you to adjust the system date and
time.
If the Smart Display is the harness type then the following icon is visible:
Rotate Display: To rotate the display,
select this icon, this will force a
restart and screen calibration.
1.2.5.3 Grid & scale sub menu
Grid off, switches off all grid and
scale markers.
1 cm, displays a 1 cm grid on screen.
½ cm, displays a ½ cm grid on
screen.
Displays scale markings at ½ cm
intervals on screen.
Displays a 1 cm grid with ½ cm scale
markers.
Smart Display Manual 2013 v.2.indd 10 25/03/2015 15:45
11
1.3 Freeze mode operation
Once the image is frozen, touching the screen will bring up the Freeze Menu, pressing the power
button again will return to normal scanning mode.
1.3.1 Freeze menu
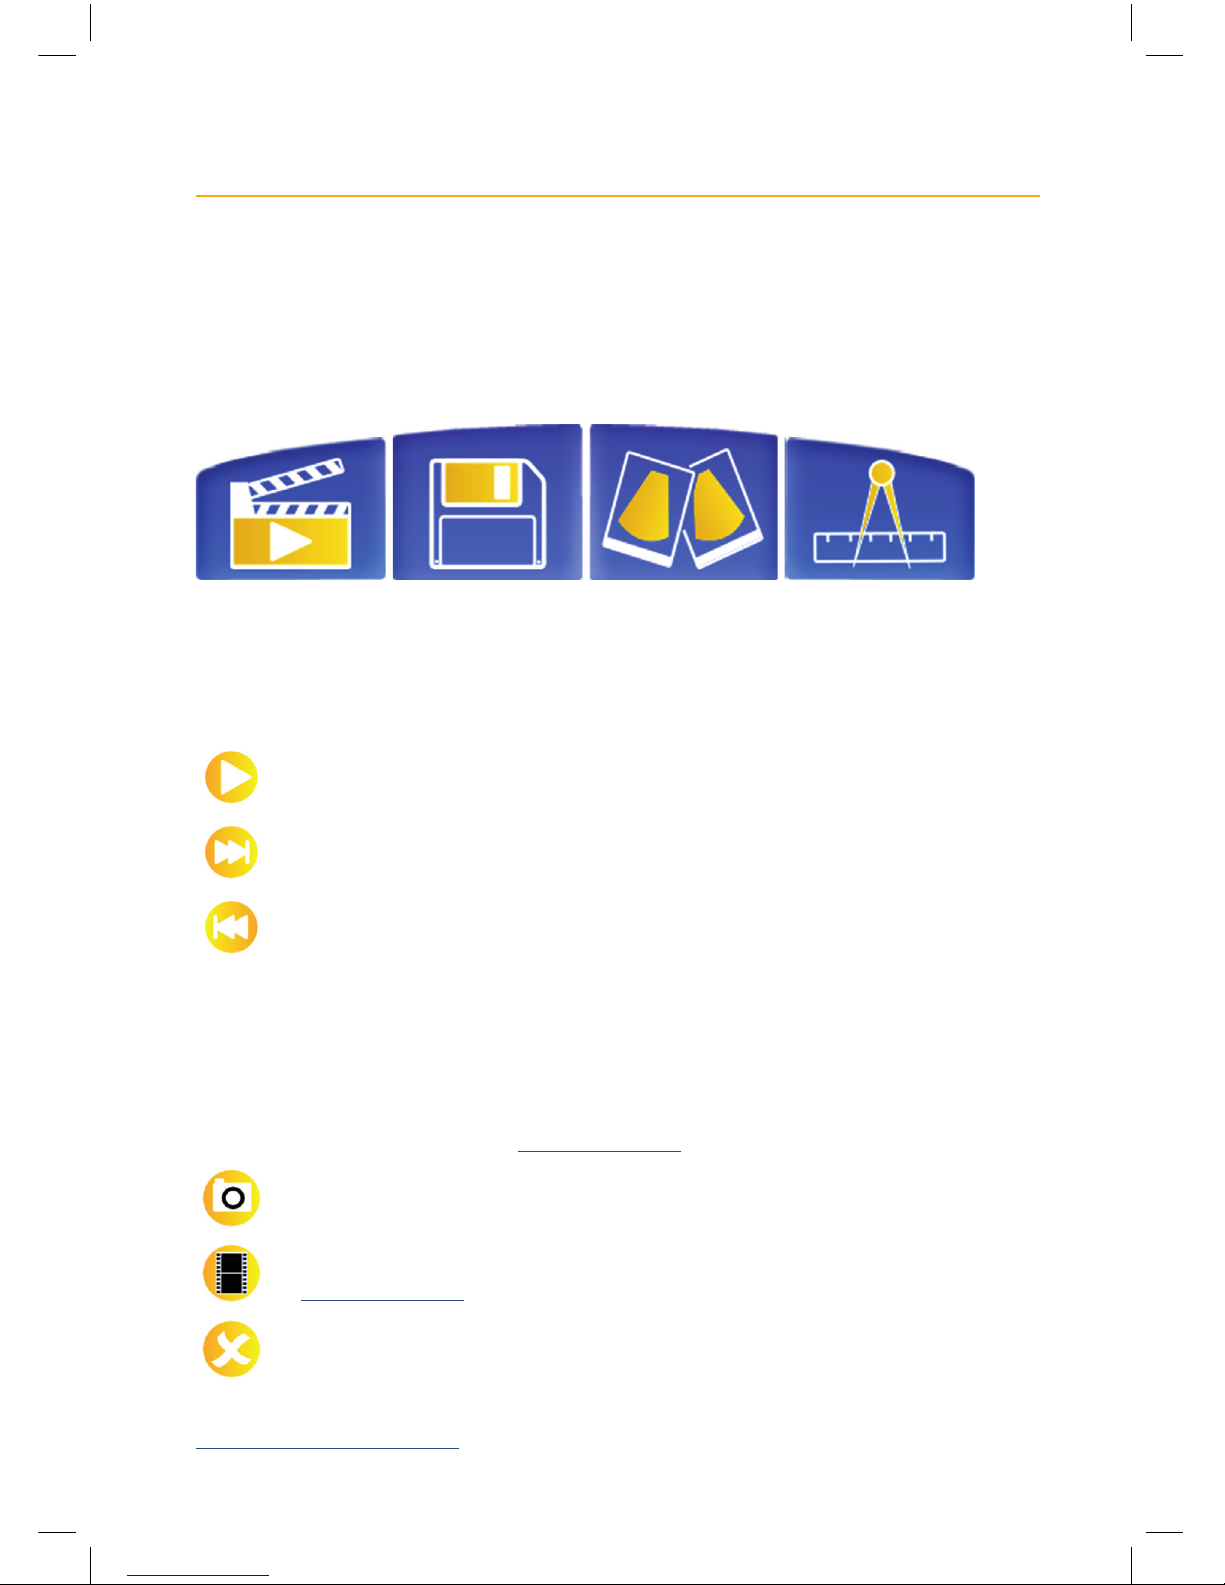
1.3.2 Cine menu
Touching the ‘Cine Menu’ icon brings up the Cine menu:
Play – Play the stored cine loop
Forward – Advance forward one frame in the cine loop
Back – Go back one frame in the cine loop.
When the cine loop is playing, touching anywhere on the screen or on any of the icons will pause
playback.
1.3.3 Save menu
Touching the ‘Save Menu’ icon, when not in Meat Quality mode, brings up the Save Menu, which
consists of the File Information entries (see section 1.3.3.1) and the following icons:
Save current frame as an image, complete with any annotations, caliper values, ageing
values etc
Save current cine loop as a video file, length determined by the Cine Length setting
(see section 1.2.5.1).
Cancel, exit without saving.
Touching the “Save Menu” icon when in Meat Quality mode brings up the Body Condition save menu
(see Appendix 3 for information).
Cine menu Save menu Compare Measurements
Smart Display Manual 2013 v.2.indd 11 25/03/2015 15:45

12
1.3.3.1 File information settings
The File Information Settings allows you to enter the default names that will be used for filing your
stored images and videos, three entry fields are available:
Main Directory: Normally the Farm name or Customer name
Sub Directory: Normally animal name or ID
Filename, will be appended to the name of the saved file.
E.g. Main Directory = Racing Stables
Sub Directory = Dobbin
Filename = Left Leg
File will be named IMG XXXX “Date” Left Leg.bmp. Located in “Racing Stables/Dobbin/”.
The XXXX part is automatically increased every time you save an image or video.
1.3.4 Compare menu
Touching the ‘Compare’ button on the Freeze Menu brings up the compare menu.
Open file requester to load image for
comparison (see section 1.3.6)
Copy current frame to memory for
comparison.
Once an image is loaded for comparison, the comparison icon is displayed, touching this icon switches
between the current, frozen, frame and the comparison image.
If the currently displayed image is the frozen frame, the icon looks like this,
with the right side semi transparent.
If the currently displayed image is the comparison image, the icon looks like this,
with the left side semi-transparent.
Smart Display Manual 2013 v.2.indd 12 25/03/2015 15:45
13
1.3.5 Measurements menu
The measurements menu will depend upon the scanner type being used, for all scanners, the
following options are available:
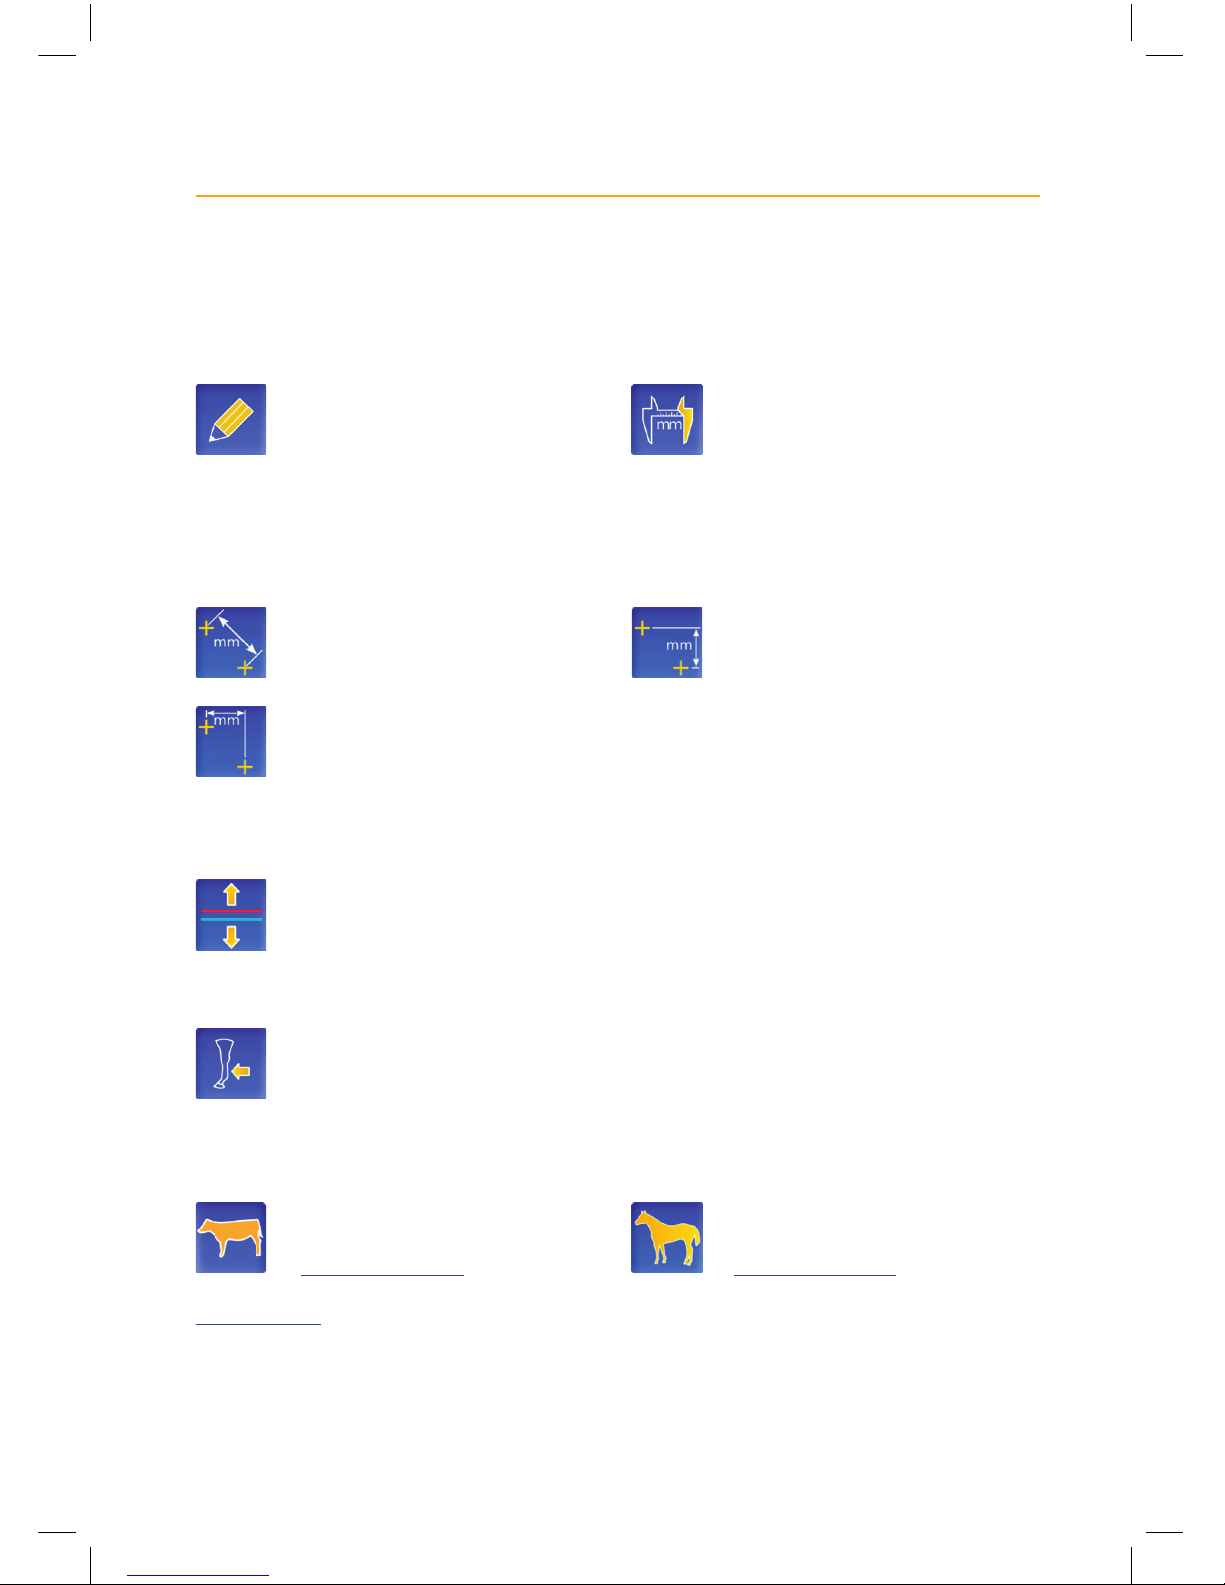
Annotate: allows you to write on
screen, draw around areas of
interest etc.
Calipers: gives you 4 pairs of calipers
with which to measure on screen.
Press on the caliper to select and then
drag to move, the distance between
each pair is automatically updated.
Selecting Calipers while in meat quality mode will allow you to select one of the following
measurement options:
Normal measurement: Measures the
distance between the 2 cursors
Horizontal measurement: Measures
the horizontal distance between the
2 cursors
Vertical measurements:
Measures the vertical distance
between the 2 cursors.
When in one of the Meat Quality modes (only available when using an Easi-Scan), the following option
is available:
Line adjust: Selecting this allows you to adjust the position of the fat and meat lines on
screen, red and blue arrows will appear, allowing you to adjust the fat and meat lines
respectively.
For the Easi-Scan Micro-convex, the following option is available:
Cross-sectional area: Two measurements, selected by touching the coloured blocks in the
top left. Draw around the complete tendon or ligament with one colour, select the other
colour and draw around the damaged area. The cross sectional area of both measurements
is displayed and the damaged area is calculated as a percentage of total area.
For the Easi-Scan and Easi-Scan Curve, the following options are available:
Cattle measurements: opens up
the cattle measurements sub menu
(see section 1.3.5.1).
Equine measurements: opens the
equine measurements sub menu
(see section 1.3.5.2).
See Appendix 4 for screenshots of the different measurement modes in use.
Smart Display Manual 2013 v.2.indd 13 25/03/2015 15:45
14
In all measurement modes, the following icons are visible:
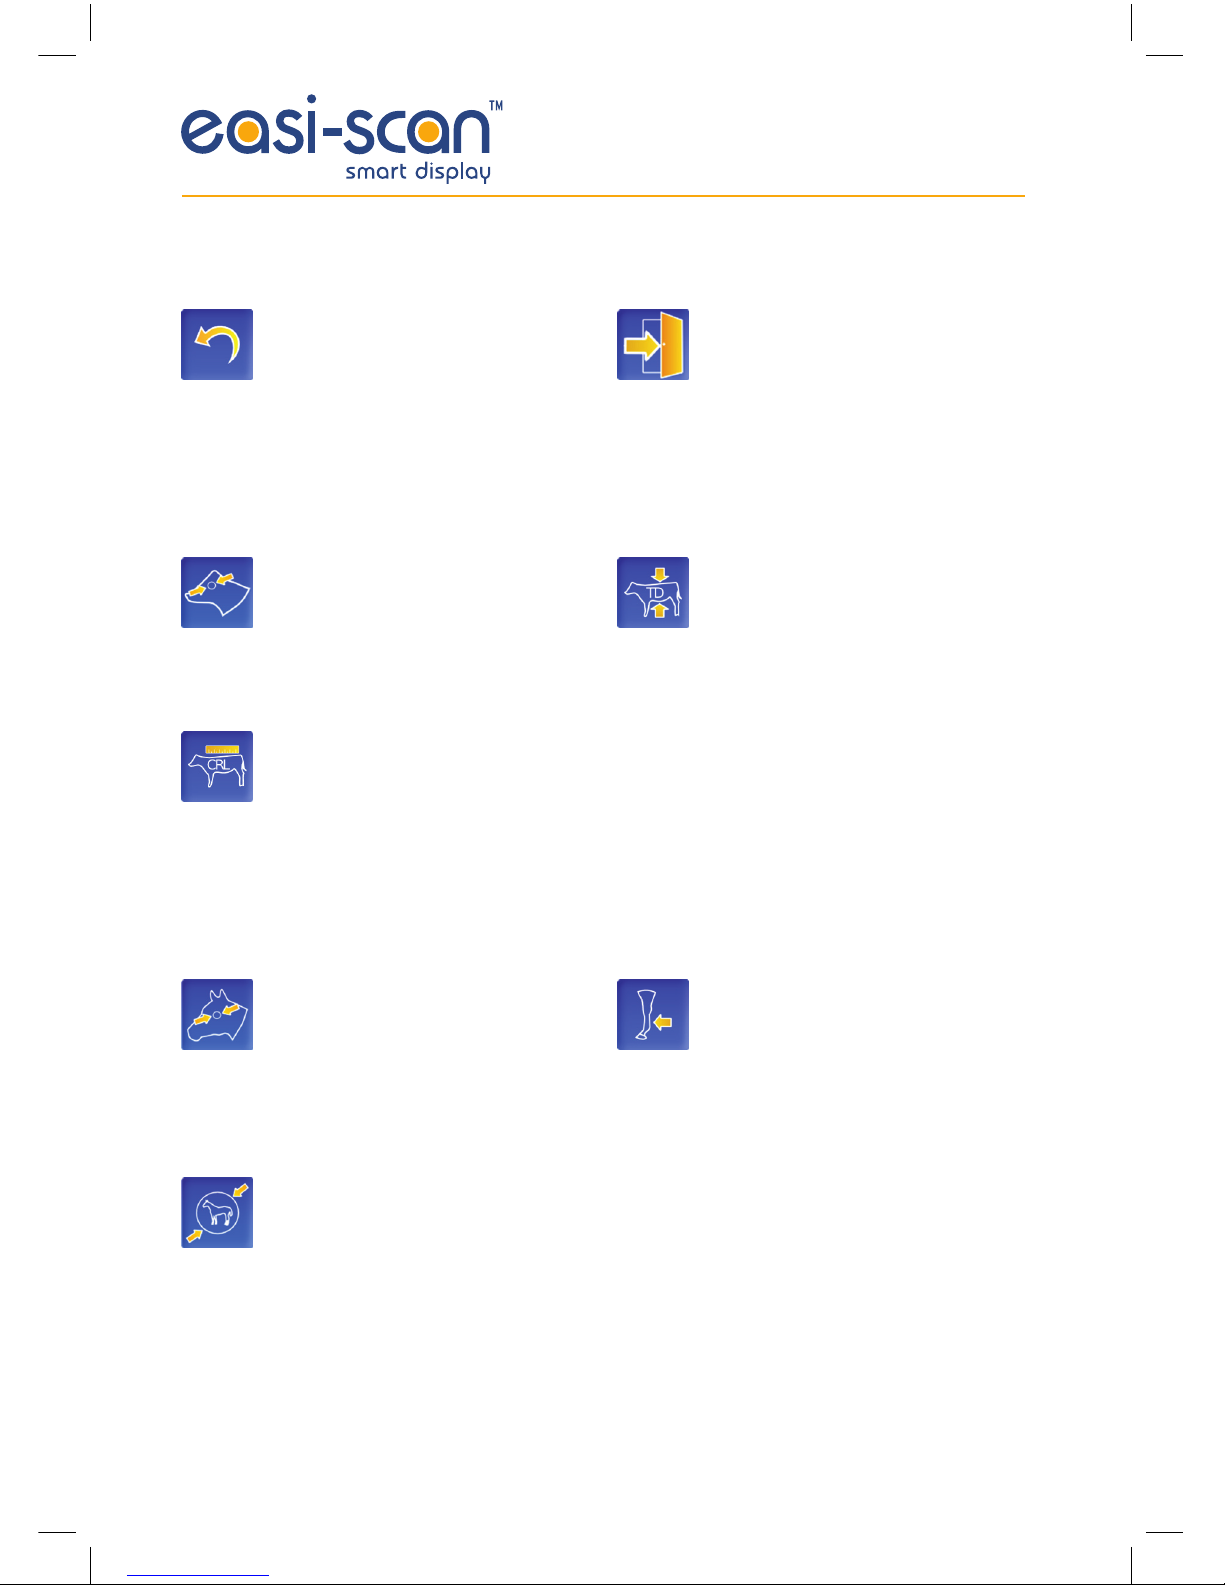
Reset: In annotate mode, this will
clear all annotations, in Caliper,
Trunk Diameter, Crown Rump
Length, C.E.D, F.E.L & E.C.D modes
this resets all measurements, in
Cross-sectional mode, it resets the
currently selected measurement.
Exit, this returns to the Freeze Menu.
1.3.5.1 Cattle measurements
Cattle Eye Diameter: 1 pair of
calipers used to measure the foetal
eye diameter, the distance between
the calipers is displayed in mm, the
approximate age of the foetus in days
and weeks is also displayed.
Crown Rump Length: 1 pair of
calipers used to measure Crown
Rump Length in Cattle the distance
between the calipers is displayed
in mm, the approximate age of the
foetus in days and weeks is also
displayed.
Trunk Diameter: 1 pair of calipers
used to measure Trunk Diameter
in Cattle the distance between the
calipers is displayed in mm, the
approximate age of the foetus in days
and weeks is also displayed.
1.3.5.2 Equine measurements
Foetal Eye Length: 1 pair of calipers
used to measure the foetal eye
length, the distance between the
calipers is displayed in mm, the
approximate age of the foetus in days
and weeks is also displayed. As is
the estimated parturition date.
Equine Conceptus Diameter: 1 pair
of calipers used to measure the
Equine Conceptus Diameter, the
distance between the calipers is
displayed in mm, the approximate
age of the foetus in days and weeks
is also displayed. As is the estimated
parturition date.
Cross-sectional area: Two
measurements, selected by touching
the coloured blocks in the top left.
Draw around the complete tendon or
ligament with one colour, select the
other colour and draw around the
damaged area. The cross sectional
area of both measurements is
displayed and the damaged area
is calculated as a percentage of
total area.
Smart Display Manual 2013 v.2.indd 14 25/03/2015 15:45

15
1.3.6 File browser
The file browser allows you to load a previously
saved image for comparison or review
purposes. Selecting a directory will open that
directory, selecting a saved image will load it
and switch the Smart Display into review mode
(see section 1.6).
Once an image is loaded, it remains in memory,
for comparison, until replaced, if there is an
image in memory then the comparison icon will
appear in the upper right when in freeze mode
(see section 1.3.4).
The large up arrow icon moves back up to the
parent directory, the exit icon exits the file
browser and returns to the previous mode.
If there is more than one page of files or folders
small down and up arrow icons appear to allow
scrolling to the next/previous page.
Current directory
List of files and directories
Directories in blue
Files in black
Smart Display Manual 2013 v.2.indd 15 25/03/2015 15:45

16
1.4 Meat science operation
Note: Meat science modes are only available when using an Easi-Scan, not Easi-Scan Curve or
Easi-Scan Micro-convex
In Meat science mode, the live ultrasound image is overlaid with information relating to the specific
mode you’ve selected. See Appendix 2 for details on the Meat science modes
1.4.1 Meat science menu
1.4.2 Meat science mode menu
Touching the ‘Mode’ button from the Meat science menu brings up the Modes menu.
Cattle mode: Measures fat thickness
and meat depth with settings
optimised for cattle.
Pig mode: Measures fat thickness
and meat depth with settings
optimised for pigs.
Sheep mode: Measures fat thickness
and meat depth with settings
optimised for sheep.
Body condition scoring: Provides
the ability to perform multiple fat
scans on a single animal and store
the information for each scan in a
spreadsheet (See Appendix 3 for
more information).
Exit: Return to normal scanning
mode.
Pig mode has 2 options for the meat depth:
This option scans top down using the
whole width of the screen and draws
the line at the top of the ribs.
This option scans from the bottom
up using a narrow section of the
display (indicated by the vertical,
purple lines) and draws a line at the
interstitial tissue between the ribs.
Mode Display Meat science settings Settings
Smart Display Manual 2013 v.2.indd 16 25/03/2015 15:45

17
1.4.3 Meat science display menu
Touching on the ‘Display’ Icon in the Meat Science menu will show the display menu as follows:
Fat Threshold setting: Used to adjust
the sensitivity of the fat detection, a
high value needs a very bright line
to detect it, a low value will detect a
very faint line.
Meat Threshold setting: Used to
adjust the sensitivity of the fat
detection, a high value needs a very
bright line to detect it, a low value
will detect a very faint line.
Gain, touching this icon brings up a
slider control to adjust the scanner
gain.
Brightness, touching this icon brings
up a slider control to adjust the
screen brightness.
Contrast, touching this icon brings
up a slider control to adjust the
screen contrast.
1.4.4 Meat science settings menu
Touching on the ‘Meat Science Settings’ Icon in the Meat Science menu will show the Meat Science
settings menu as follows:
Auto ID: Automatically increments
the ID number, giving each scan a
unique Identifier.
Select whether to save an image for
each scan. Yes will save an image
and data, no will store only the data
to file.
Delete the last group of animal data
in Body Conditioning mode, delete
the last scan in other Meat Quality
Modes.
Select the number of scans you wish
to perform on each animal in Body
Conditioning Mode
Start New session in Body Condition
Mode, closes current data file and
creates new folder and file with new
session ID.
1.4.5 Settings menu
As per Section 1.2.5.
Smart Display Manual 2013 v.2.indd 17 25/03/2015 15:45

18
1.5 Battery indicator and auto power down
The Smart Display is designed to automatically switch off once the battery is exhausted. In order to
assist monitoring, the battery indicator may be enabled (see section 1.2.5).
The charge level is indicated by the bar within the battery symbol, the bigger the bar, the more charge
is left, in addition, the bar will change colour as the battery discharges: Green for a charge level above
66%, Orange for a charge level between 33% and 66% and Red for less than 33%. When the charge
level is down to the last 4%, the bar will blink on and off as a warning.
1.6 Image review mode
Image review mode is entered when you select an image from the File Browser while in Normal
Scanning Mode.
The Smart Display loads the image and automatically displays it, with the filename displayed in the top
left corner, touching on the screen will bring up the following menu:
Next Image: If there are more images in this directory,
load and display the next one
Previous Image: if there are previous images in this directory,
load and display the previous one.
Re-Open the file requester to select a new file
or change directory.
Exit: Return to Normal Scanning Mode.
Smart Display Manual 2013 v.2.indd 18 25/03/2015 15:45

19
2 Care & maintenance
The Smart Display is designed for reliability in the veterinary and animal husbandry marketplace.
Our engineers and their appointed agents are available to provide rapid service assistance to ensure
optimum performance of BCF systems. However there is no substitute for careful usage. We state
that the Smart Display is splashproof, indeed it is sealed to IP65, but you should note the following
important points:
1. The unit is not sealed against jets of water. Water will penetrate your scanner if it is hosed down
or rinsed under a fast flowing tap
2. The unit is NOT corrosion proof and thus it should not be left wet
Cleaning
• Antibacterial wet wipes are particularly effective for Smart Display, and reduce the need for
drying. This prevents problems related to corrosion following washdown
• Sponging down or even brief, shallow submersion is less aggressive than rinsing or
hosing down
• Thoroughly dry the Smart Display before storage or charging.
• Your equipment should be returned periodically to a BCF qualified service engineer. The service
agent will use special test equipment to thoroughly check the instrument and advise of any
work that appears to be necessary. Any other service problems should be referred to our
qualified service engineers
Smart Display Manual 2013 v.2.indd 19 25/03/2015 15:45
20
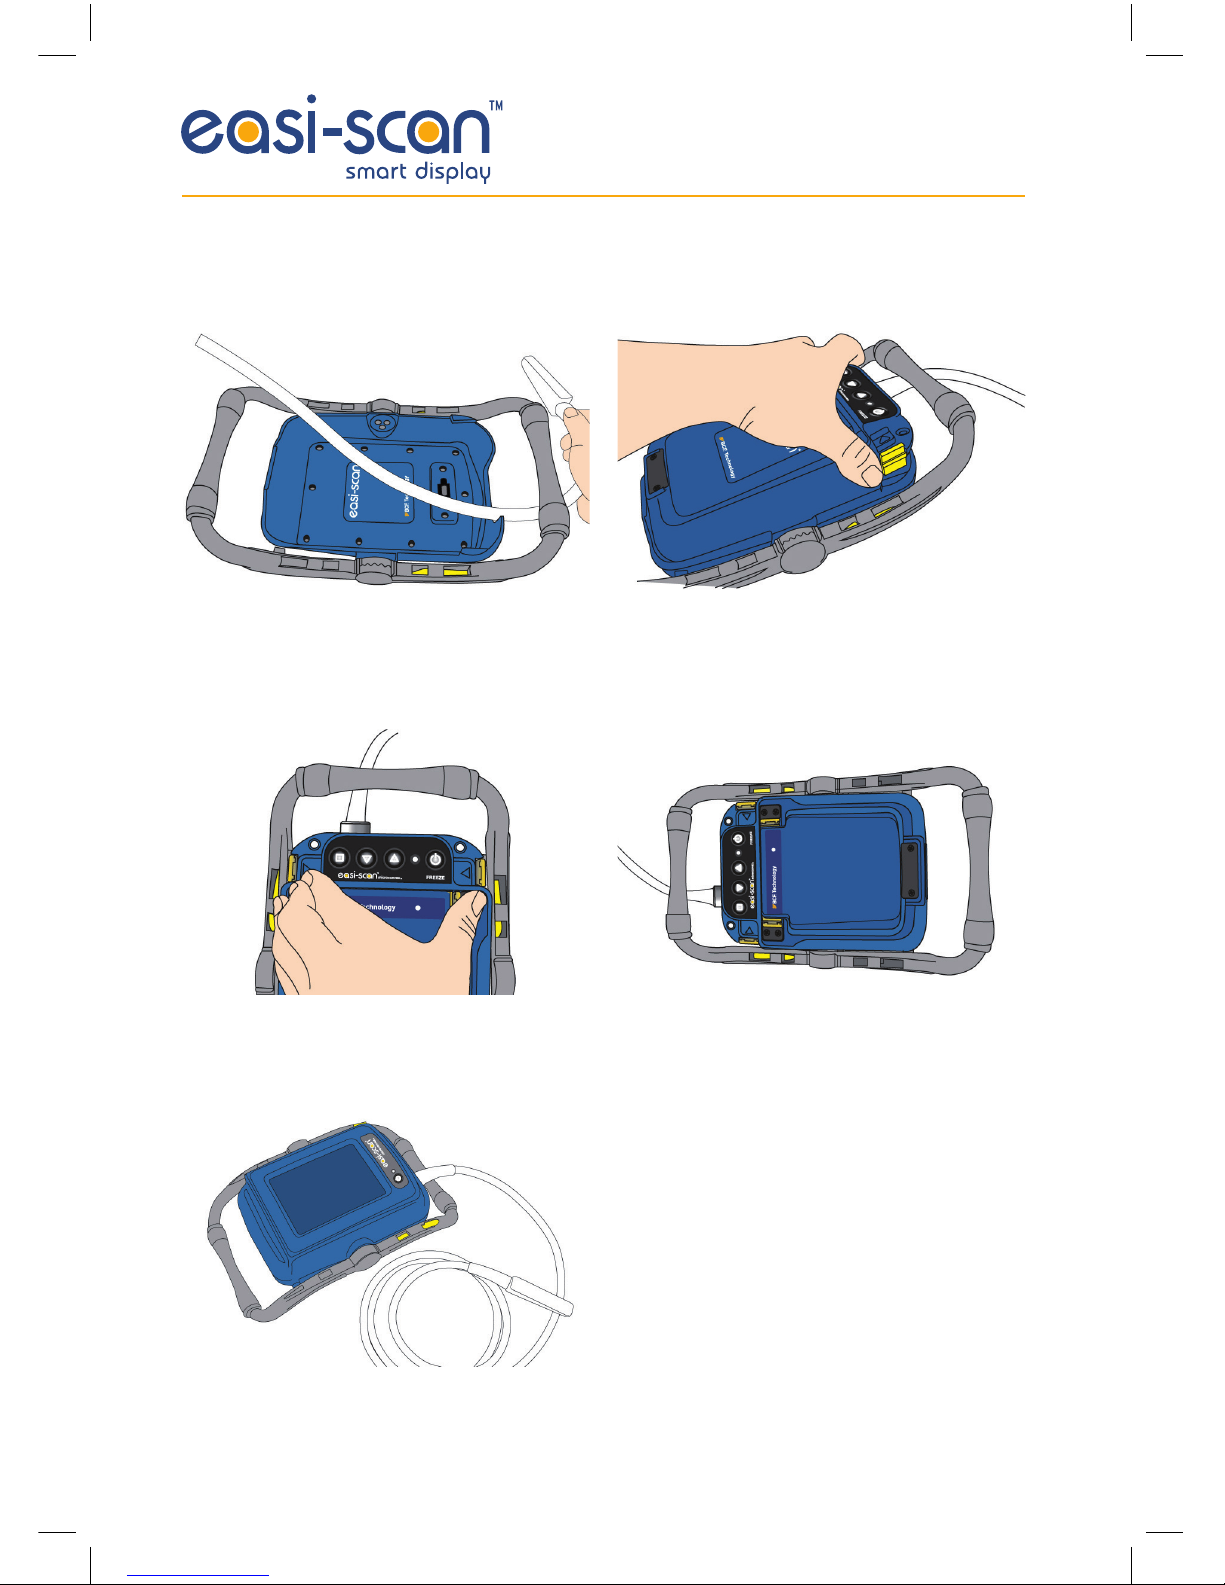
Appendix 1: Docking with the Easi-Scan
Feed the Easi-Scan probe cable through the
lower handle of the Smart Display.
Press the Easi-Scan firmly into place. Make sure
that the clips are fully engaged.
Your Scanner ready to use.
Locate the rear of the Easi-Scan under the lip
at the rear of the Smart Display and press the
scanner down.
Fit the battery to the Easi-Scan.
Smart Display Manual 2013 v.2.indd 20 25/03/2015 15:45
Other manuals for Easi-Scan
1
Table of contents
Other BCF Technology Pet Care Product manuals


