BEA Institut für Bioenergie GmbH TUMBLER 1000 PLUS User manual

User manual
Version 5.2
Bioenergy TUMBLER 1000+
Pellets durability tester acc. EN ISO 17831-1

User manual TUMBLER 1000+ 1
Index
1PICTORIAL DESCRIPTION ..............................................................................................................2
2WARNINGS..........................................................................................................................................5
3UNPACKING / INSTALLATION / FIRST OPERATION................................................................6
3.1 UNPACKING........................................................................................................................................6
3.2 INSTALLATION.....................................................................................................................................6
3.3 FIRST OPERATION..............................................................................................................................6
4OPERATING INSTRUCTIONS .........................................................................................................7
4.1 GUIDELINES FOR CLEANING...............................................................................................................9
5GUIDELINES FOR TESTING.......................................................................................................... 10
6PRINCIPLE ........................................................................................................................................10
7CALIBRATION / CHECKING.......................................................................................................... 10
8FAULT FINDING................................................................................................................................ 11
9TECHNICAL SPECIFICATIONS..................................................................................................... 12
10 WIRING DIAGRAM...........................................................................................................................13
11 DECLARATION OF CONFORMITY............................................................................................... 14
12 BILL OF MATERIALS ...................................................................................................................... 15
13 CONTACTS........................................................................................................................................ 16

User manual TUMBLER 1000+ 2
1 Pictorial description
1. Main switch ON/OFF
2. START/STOP Buttons
3. Emergency stop switch
4. Indicator light
5. Apparatus door
6. Level adjusting screw
7. Display
1
2
3
4
5
6
7

User manual TUMBLER 1000+ 3
1. Tumblerbox
2. Locking latch (adjustable)
3. Door contact switch
4. Switch box
5. Dust bin
5
3
3
2
4
1
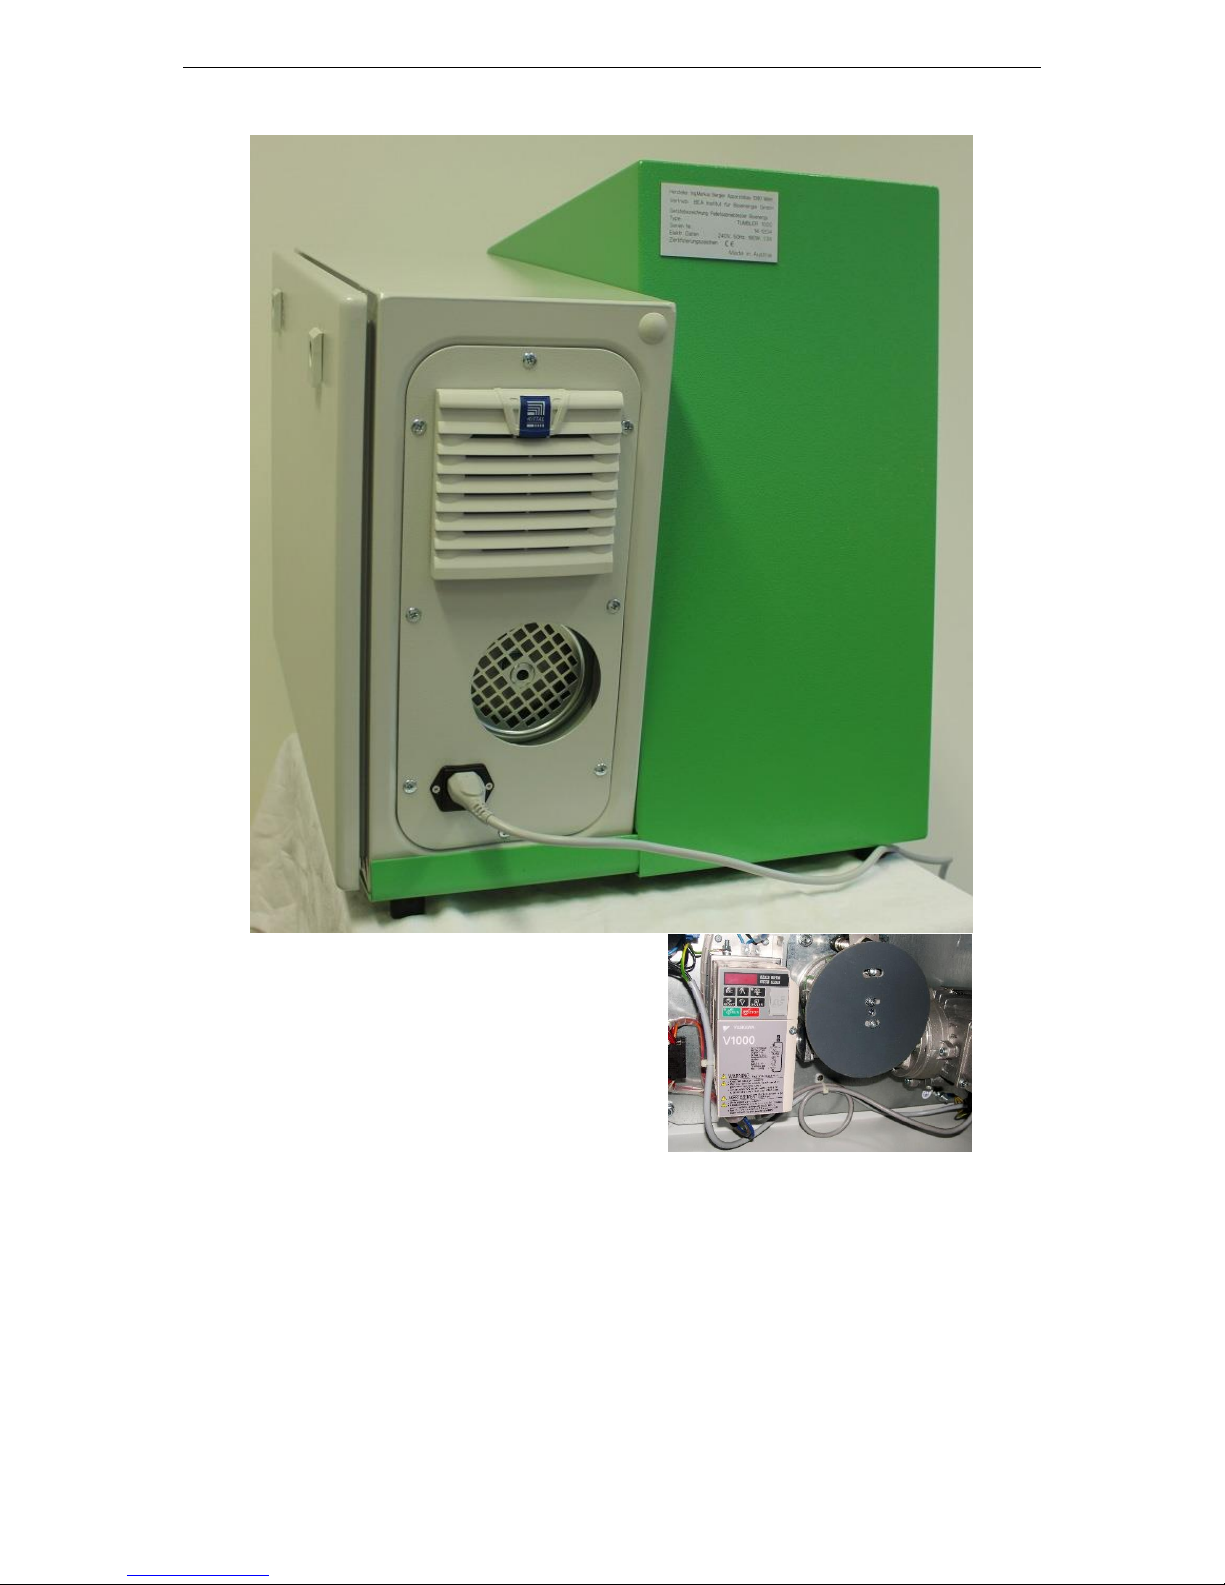
User manual TUMBLER 1000+ 4
1. Specification plate
2. Main body
3. Switch box
4. Stand
5. Air vent grid
6. Drive vent grid
7. Power plug incl. fuse
8. Plate for electronic sensor (inside switch box)
8
1
4
2
5
3
6
7

User manual TUMBLER 1000+ 5
2 Warnings
Please carefully read these warnings before operating this
apparatus!
Technical staff which is not familiar with this user manual is not allowed to
operate the apparatus!
Ensure that this user manual is always available at the operation location!
Children and people below the age of 16 are not allowed to operate the apparatus
and should be kept away from the connected apparatus!
The working area has to be secured in an appropriate way and must meet the
local operating safety regulations!
Do not operate the apparatus in wet or damp atmosphere!
Do not operate the apparatus without the assembled dust bin!
Ear and eye protection is recommended during any testing!
Do not open the apparatus door during operation!
Before any cleaning or servicing disconnect the power plug!
Any maintenance and repairing has to be performed / conducted by an after
sales service technician or on his recommendation by a qualified technical staff!

User manual TUMBLER 1000+ 6
3 Unpacking / Installation / First operation
3.1 Unpacking
Before using the apparatus for the first time check the delivery for damages and
completeness on the following components:
Main body
Tumbler-Box
Dust bin
Mains lead
Adjusting screw
Switch box key
Damages caused by transport have to be cleared with the freight company
immediately. Later complaints cannot be approved.
3.2 Installation
Unpack the apparatus and place it on a firm level surface (e.g. laboratory table). If
necessary, adjust the adjusting screw on the right side of the apparatus so that all 4
stands have secure contact with the surface. Connect the mains lead to a suitable
electricity supply.
3.3 First operation
Ensure that the tumblerbox is positioned in a correct manner in the apparatus and
secured with the locking latch. The locking latch can be adjusted by screwing, if
necessary. Ensure that the dust bin is placed under the tumblerbox and the apparatus
door is closed properly. Switch on the On/Off switch and pull out the emergency stop
switch until the “click” (yellow ring is visible). The tumbler starts an adjusting sequence
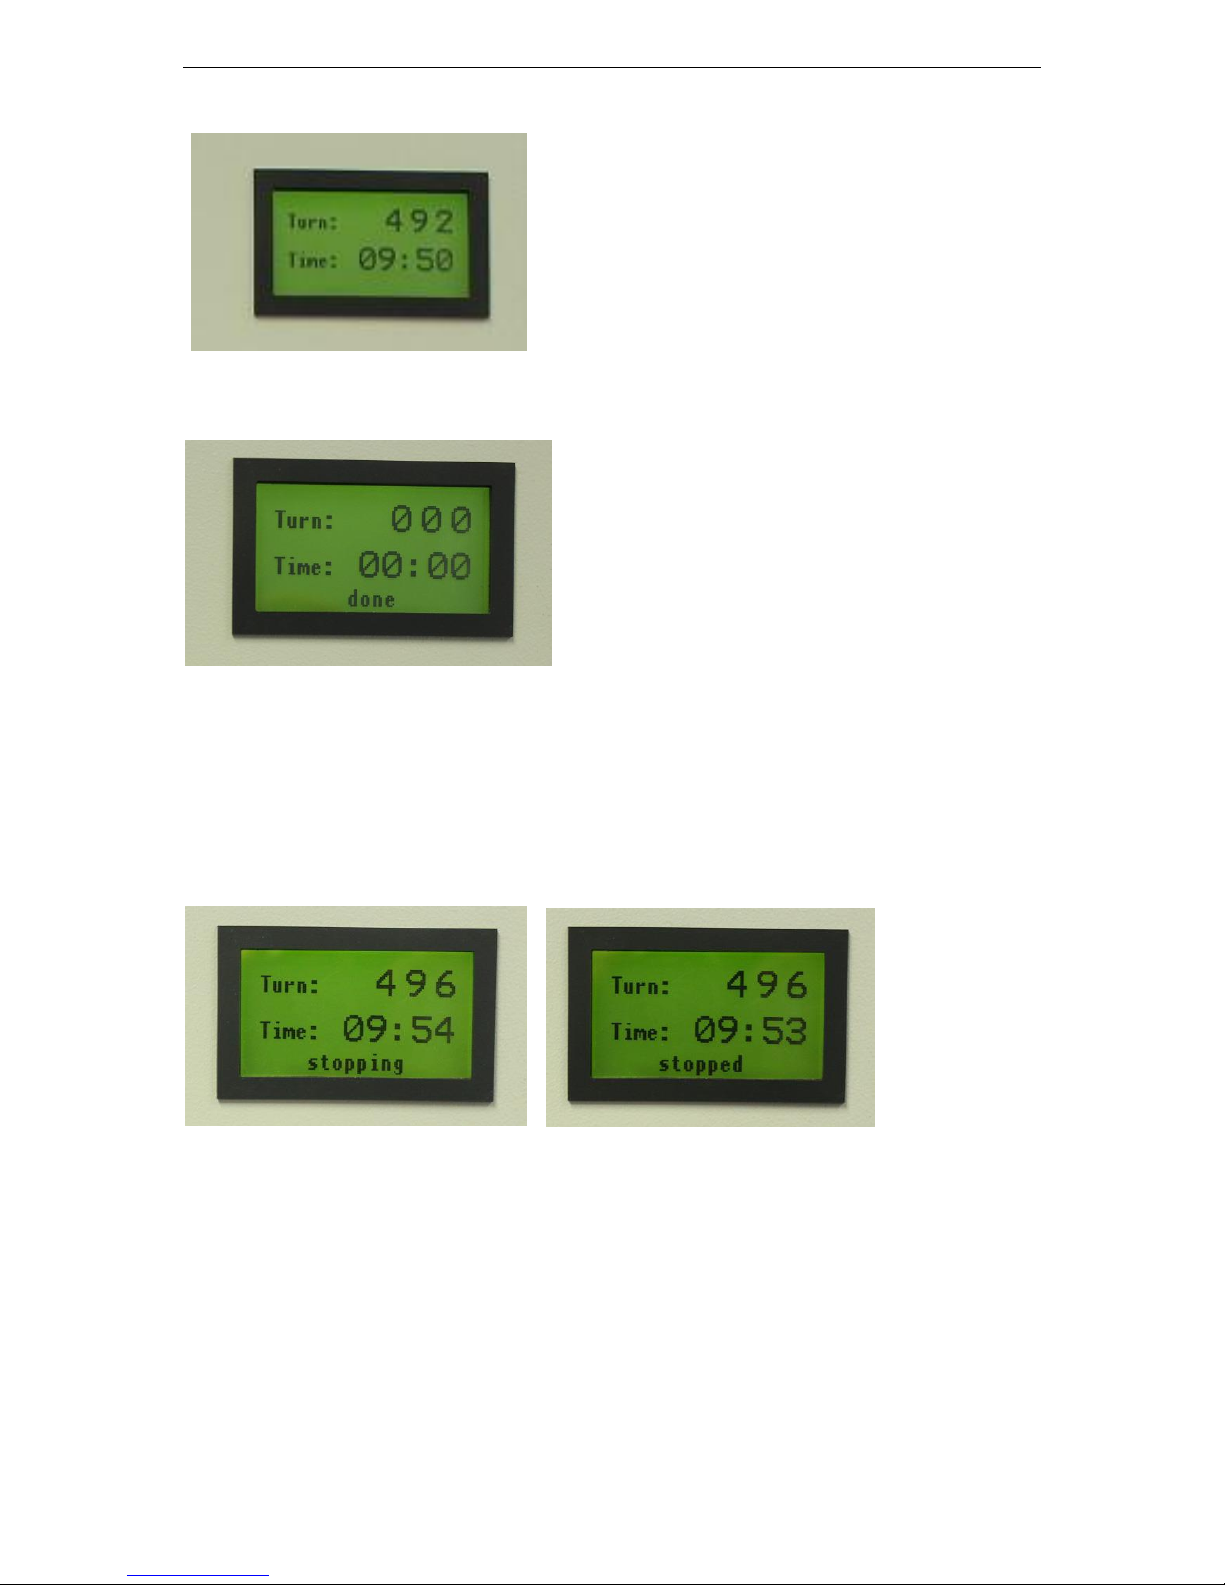
and stops automatically afterwards. The indicator light will be on and the display will
show the amount of turns and time remaining before starting the test. Then push the
green Start button. The tumbler starts the sequence and stops automatically after 500
rotations and 10 minutes (also shown on the display). The test cycle can be interrupted
by pressing the red Stop button or the emergency stop switch. The tumbler also stops
if the apparatus door is opened during operation. Check all these functions (check also
chapter 6).
After carrying out these tests the tumbler is ready for operation.
If the apparatus fails to operate, please go to the chapter 7 fault finding.

User manual TUMBLER 1000+ 7
4 Operating instructions
Connect the power plug to a suitable electricity supply and switch on the main switch
(„On“). The tumbler starts an adjusting sequence (display shows “Adjusting”) and stops
automatically afterwards.
The indicator light will be on and the display will show the amount of turns and time
remaining before starting the test.
Open the apparatus door, unlock the locking latch of the tumblerbox and take it out to
the front.
As soon as the door is open the display shows “Door Open”.
If the tumblerbox is not in home position so that you are unable to open the locking
latch or take out the box, close the apparatus door and switch off the main switch and
on again. The tumbler starts an adjusting sequence and stops automatically in home
position so that the box can be taken out.
Fill the tumblerbox with 500 ± 10g pellets, which where sieved before with a round hole
sieve according ISO 3310-2 with a diameter of 3,15mm. Then put the box back into
the apparatus. Lock the locking latch and close the apparatus door. Push the start
button. The tumbler starts the test sequence.
User manual TUMBLER 1000+ 8
The display will show the remaining turns and time. The tumbler will stop automatically
after 500 rotations and 10 minutes.
Then the display shows “done”.
Do not open the apparatus door before the tumbler fully stopped. Unlock the locking
latch of the tumblerbox and remove it to the front. The mechanical stress is finished.
According to normative requirements the pellets sample has to be sieved and weighed.
The difference between initial weight and output weight is the abrasion.
If the measurement is stopped by the “Stop button” the display first shows “stopping”
and the “stopped”.
Do not open the apparatus door before the tumbler fully stopped. After opening the
door, the display switches to the initial position and will again show the amount of turns
and time remaining before starting the test.
To safeguard the apparatus against unauthorized use the main switch should be
locked with a commercial padlock.
The switch box should be opened only by the service technician or on his
recommendation from a qualified staff!

User manual TUMBLER 1000+ 9
4.1 Guidelines for cleaning
Before any cleaning or servicing disconnect the power plug!
The dust bin should be discharged periodically according to the frequency of usage.
Therefore you should take out the tumblerbox first for easier handling.
On the back side of the apparatus is a small blue lever on the air vent grid (see page
4 pos. 5), which has to be switched up to be able to change the filter. The filter has to
be controlled periodically respectively changed as needed.

User manual TUMBLER 1000+ 10
5 Guidelines for testing
The determination of the durability of pellets is accurately described in the standard
ISO 17831-1. If you conduct a formal test according to the standard, follow all
instructions precisely.
6 Principle
The instrument is exactly designed according the requirements of the ISO 17831-1
chapter 5.1 and the controller (function principle) ensures the requirements of the ISO
17831-1 chapter 7.1.
7 Calibration / Checking
The apparatus is delivered in a calibrated condition.
A further calibration is not necessary.
Due to a frequency converter it is ensured that the measurement is independent of any
fluctuation in power frequency. The tumbler will always turn 500 rotations and 10
minutes and stop automatically afterwards.
However a periodic check (e.g. once a year) of the specified functions is
recommended. Therefore you have to open the switch box with the switch box key.
Then the tumbler has to be started.With an appropriate stop watch it has tobe checked
that the tumbler rotates accurately 50 2 times and stops after 500 rotations or after
10 minutes, respectively. You can check the motor shaft speed clearly by the plate for
the electronic sensor (mounted on the motor shaft), see page 4 pos. 8.
If all these requirements are met, the apparatus is still calibrated. If there are any
deviations the electronic control has to be recoded. Please contact the after sales
service (contact see page 16).

User manual TUMBLER 1000+ 11
8 Fault finding
Problem
Possible cause
Corrective action
Tumbler will not function
Power plug not connected
Main switch in “Off” position
Apparatus door open
Emergency stop switch pushed
Fuse is damaged
Door contact switch damaged or
adjusted inadequately
Defect control
Connect apparatus
Switch main switch to “On”
Close door
Pull the emergency stop switch
Change fuse
Turn the tumblerbox by hand
and start the tumbler with the
apparatus door open. The
tumbler turns with creep speed
into home position => Adjust
door contact switch or contact
the service technician
Contact the service technician
Tumbler not in home position
Apparatus door opened too early
Push the start button, the
tumbler turns with creep speed
into home position
Extreme dust formation
Cleaning interval too long
Defect sealings
Clean the tumbler in shorter
intervals. Blow out / exhaust the
dust bin
Change sealings
Tumbler does not stop
automatically
Defect control
Contact the service technician
Tumbler does not stop within the
specified time (shorter or longer
than required)
Defect control
Contact the service technician
Tumbler does not stop in home
position
Apparatus door opened too early
Push the start button, the
tumbler turns with creep speed
into home position
Apparatus door cannot be
opened
Locking latch not locked properly
/ Box not assembled properly
Contact the service technician
If the listed actions do not show a corrective effect please contact the service
technician (contact see page 16)!

User manual TUMBLER 1000+ 12
9 Technical Specifications
Apparatus data
Height: 530 mm
Length: 600 mm
Width: 460 mm
Weight: 42.4 kg
Colour: RAL 6018 (yellow green) / 7035 (light grey)
Sound level: 78 dB(A) (measured with 500g wood pellets 6mm)
Power supply
Voltage: 240 V
Frequency: 50 Hz
Power: 180 W
Fuse rating: 1,5 A
Note: It is recommended to wear ear protection.
Dimensions of the stressed pellets
The maximum dimensions of the pellets tested within the tumbler are:
diameter 12 mm, length 6 cm
maximum load in the box: 750g

User manual TUMBLER 1000+ 13
10Wiring Diagram
User manual TUMBLER 1000+ 14
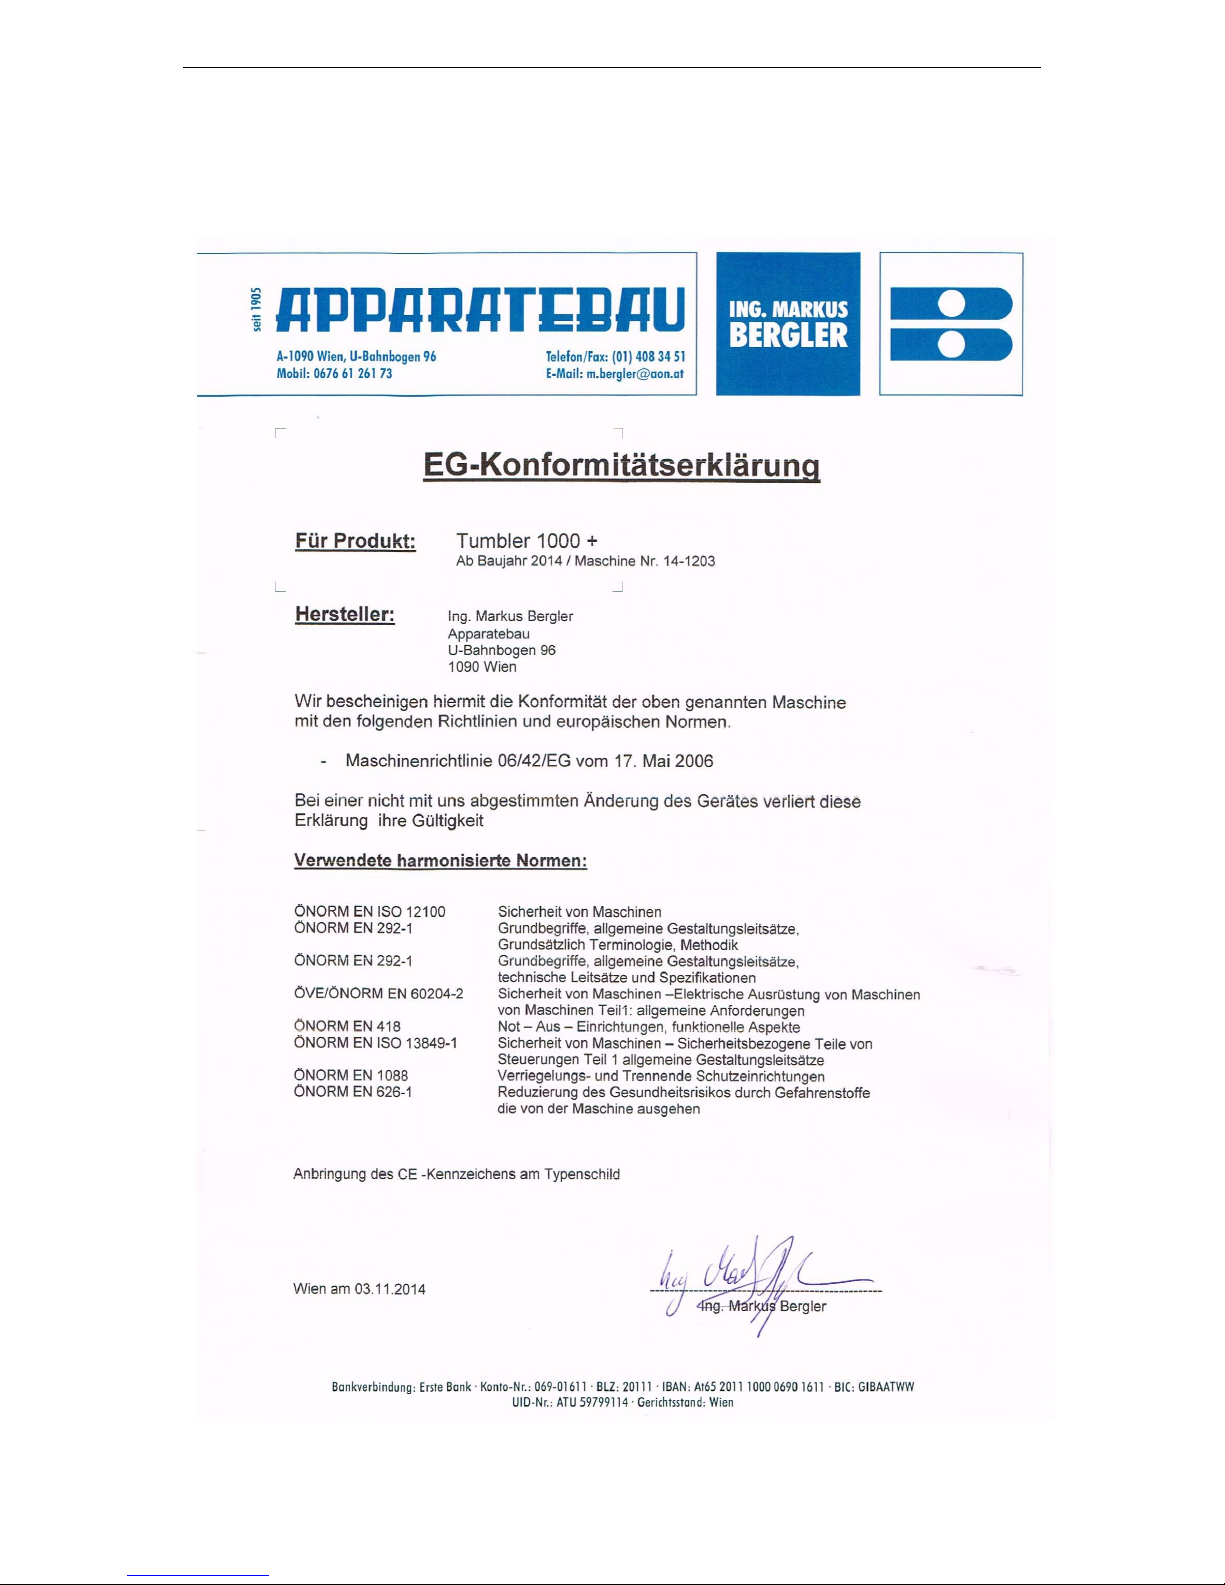
11Declaration of Conformity

User manual TUMBLER 1000+ 15
12Bill of Materials
Bezeichnung Hersteller / Lieferant Typ Bestell- Artikelnummer
Doppeldrucktaster "Start/Stop" Möller / Schrack MM216702
Befestigungsadapter Front Möller / Schrack MM216374
Schliesser-Kontakt Front Möller / Schrack MM216376
Öffner-Kontakt Front Möller / Schrack MM216378
LED weiss Front Möller / Schrack MM216557
NOT-AUS Möller / Schrack MM900011
Not-Halt-Schild RS Components Ges.m.b.H. 3994201
Hauptschalter Kraus & Naimer / Schrack KG10A T202/04 FT2 D436
Frequenzumrichter Yaskawa / Spörk GmbH J1000 220V CIMR-JCBA0002BAA
Netzfilter Spörk GmbH J/V 0001-0003 FS23638-10-07
Näherungsschalter RS Components Ges.m.b.H. CCCN 85364900 2897783
Betätigungsmagnet RS Components Ges.m.b.H. CCCN 85051990 2897812
Chassisstecker IEC C14 RS Components Ges.m.b.H. CCCN 85366990 489122
Isolierhülle IEC Gerätestecker RS Components Ges.m.b.H. CCCN 85472000 801932
Feinsicherung 5x20 RS Components Ges.m.b.H. 1,6Aträge 563728
Kompaktschaltschrank Rittal GmbH AE 1045, RAL7035 AE 1045500
Austrittsfilter Rittal GmbH SK 3237200
Gebotschild "Netzstecker ziehen" Kroschke Ges.m.b.H. N 23088
Spannverschluß rostfrei Peter Ofner GmbH 2.41.02.30/6
Rastscharnier, schwarz Peter Ofner GmbH 218-9213
Türgriff -- 128mm Lochabstand
Schneckengetriebemotor Bergler IP55 / 0,18 kW SFK040P030-N
Sensorscheibe Bergler Sensorscheibe für Tumbler
Bei 110V Geräten
Transformator Ringkern RS Components Ges.m.b.H. CCCN 85043180 3616406
Feinsicherung 5x20 RS Components Ges.m.b.H. 3,15 Aträge 563621
länderspezifische Netzkabel
Netzkabel Kaltgerätestecker RS Components Ges.m.b.H. 3-polig C13 6266616
KabelsatzUS 3-Pin RS Components Ges.m.b.H. C13 2m 10A 7316163
Geräteleitung UK- Stecker RS Components Ges.m.b.H. 2m 2621160

User manual TUMBLER 1000+ 16
13Contacts
Production / Service
Ing. Markus Bergler Apparatebau
U-Bahnbogen 96
1090 Vienna
Austria
Tel.: +43 676 61 261 73
Fax: +43 1 4083451
E-Mail: [email protected]
Sales Service
BEA Institut für Bioenergie GmbH
Avedikstrasse 21
1150 Vienna
Austria
Tel.: +43 1 890 93 91
Fax: +43 1 890 93 92
E-Mail: [email protected]
Web: www.bioenergy.co.at
www.bioenergy.institute
This manual suits for next models
1
Table of contents
Popular Test Equipment manuals by other brands


Redtech
Redtech TRAILERteck T05 user manual

Venmar
Venmar AVS Constructo 1.0 HRV user guide

Test Instrument Solutions
Test Instrument Solutions SafetyPAT operating manual

Hanna Instruments
Hanna Instruments HI 38078 instruction manual

Kistler
Kistler 5495C Series instruction manual

Waygate Technologies
Waygate Technologies DM5E Basic quick start guide

StoneL
StoneL DeviceNet CK464002A manual

Seica
Seica RAPID 220 Site preparation guide

Kingfisher
Kingfisher KI7400 Series Training manual

Kurth Electronic
Kurth Electronic CCTS-03 operating manual

SMART
SMART KANAAD SBT XTREME 3G Series user manual

Agilent Technologies
Agilent Technologies BERT Serial Getting started