manuals.online logo
Brands
  1. Home
  2. •
  3. Brands
  4. •
  5. BeaconMedaes
  6. •
  7. Security Sensor
  8. •
  9. BeaconMedaes DiamondCare User manual

BeaconMedaes DiamondCare User manual

DiamondCare
®
Recessed Wall Slide
Accessories
Installation Instructions
Part No. 9100-1000-113 Rev. A Pg. 1
Tools required: Hand-held power drill
5/16" drill bit
#2 phillips head screwdriver
Introduction
DiamondCare®Recessed Wall Outlet Slide Accessories support trap bottles and other
vacuum equipment. If you have questions about these instructions, contact BeaconMedæs
Technical Support at 888-4MEDGAS (463-3427).
Recessed Wall Slide Finish Assembly (6803-8030-263)
Recessed wall slide finish assembly requires rough-in assembly (6803-8030-269) to be
installed and finished wall to be completed before installation.
1. Install recessed wall slide rough-in assembly (B) as you would install a medical gas
wall outlet rough-in assembly.
NOTE:
Refer to DiamondCare®Medical Gas Wall Outlet Rough-in Assembly Installation
Instructions (9100-1000-111) for complete instructions on installing wall slide rough-
in assembly.
Recessed Wall Slide Assemblies
2. After finished wall is completed, install recessed wall slide finish assembly (A) on
recessed wall slide rough-in assembly (B).
3. Install two screws (C) (provided) to secure finish assembly (A) to rough-in assembly
(B).
Corporate Headquarters:
BeaconMedæs
PO Box 7064
13325A Carowinds Boulevard
Charlotte, NC 28241
Phone (704) 588-0854
Fax (704) 588-4949
For technical support or to
place an order call:
1 888 4 MEDGAS
(1-888-463-3427)
Fax (866) 635-3296
www.beaconmedaes.com
©2004 BeaconMedæs. All rights reserved.
Part No. 9100-1000-113 Rev. A Pg. 2
Wall Mounted Slide Finish Assembly with Anchors (6803-8030-268)
Wall-mounted slide finish assembly mounts directly to wall and does not utilize a rough-in
assembly for installation.
1. Use wall-mounted slide finish assembly (A) as a guide and mark two mounting holes
on wall.
Wall Mounted Slide Finish Assembly with Anchors
2. Drill two 5/16” mounting holes into drywall.
3. Install two anchors (D) into holes and tighten screws (not shown) supplied with
anchors (D).
4. Remove and discard screws supplied with anchors (D).
5. Install two screws (C) (provided) to secure wall-mounted slide finish assembly (A) to
wall.
Corporate Headquarters
BeaconMedaes
1800 Overview Drive
Rock Hill, SC 29730
Phone (803) 817-5600
Fax (803) 817-5750
For technical support or
to place an order call:
1-800-756-2590
Fax (803) 817-5750
www.beaconmedaes.com

Popular Security Sensor manuals by other brands

Bosch D-tect 150 SV Professional Original instructions

Bosch

Bosch D-tect 150 SV Professional Original instructions

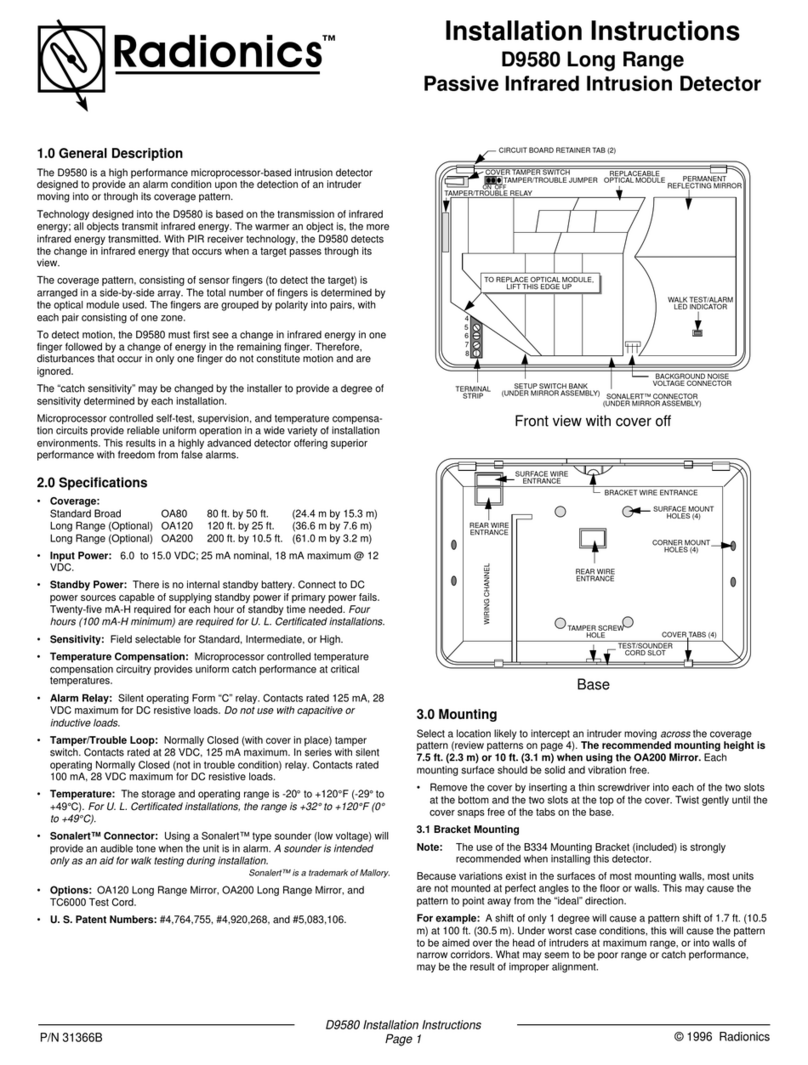
Radionics D9580 installation instructions

Radionics

Radionics D9580 installation instructions

Franke FAID0003 Installation and operating instructions

Franke

Franke FAID0003 Installation and operating instructions

Halma SENSITRON SMART3H-FM LITE manual

Halma

Halma SENSITRON SMART3H-FM LITE manual

olympia electronics BS-405/A manual

olympia electronics

olympia electronics BS-405/A manual

Potter PAD100-PD quick start guide

Potter

Potter PAD100-PD quick start guide

Motorola HMDS1040 - Xanboo Home Monitoring quick start guide

Motorola

Motorola HMDS1040 - Xanboo Home Monitoring quick start guide

Niko Servodan 350-20079 user manual

Niko

Niko Servodan 350-20079 user manual

BFT RME R Series installation manual

BFT

BFT RME R Series installation manual

Digital Monitoring Products 1128 installation guide

Digital Monitoring Products

Digital Monitoring Products 1128 installation guide

DSC LC-103PIMSK user manual

DSC

DSC LC-103PIMSK user manual

SICK deTem2 Core Mounting instructions

SICK

SICK deTem2 Core Mounting instructions

Det-Tronics Eagle Quantum EQ2200UVHT installation guide

Det-Tronics

Det-Tronics Eagle Quantum EQ2200UVHT installation guide

ELRO HA2000PP instruction manual

ELRO

ELRO HA2000PP instruction manual

Braun A5S0 Series manual

Braun

Braun A5S0 Series manual

MUELLER CO. 107 Series instructions

MUELLER CO.

MUELLER CO. 107 Series instructions

Hama 00186425 operating instructions

Hama

Hama 00186425 operating instructions

CWSI 360 user manual

CWSI

CWSI 360 user manual

manuals.online logo
manuals.online logoBrands
  • About & Mission
  • Contact us
  • Privacy Policy
  • Terms and Conditions

Copyright 2025 Manuals.Online. All Rights Reserved.