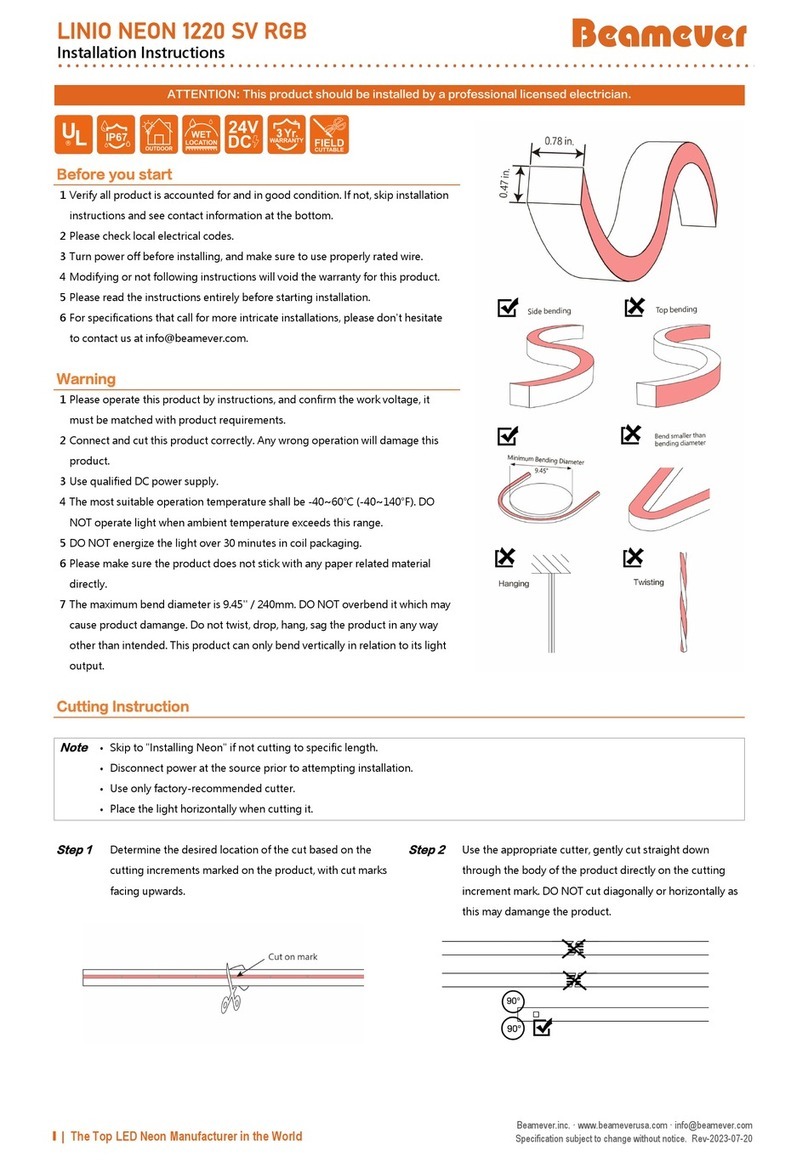
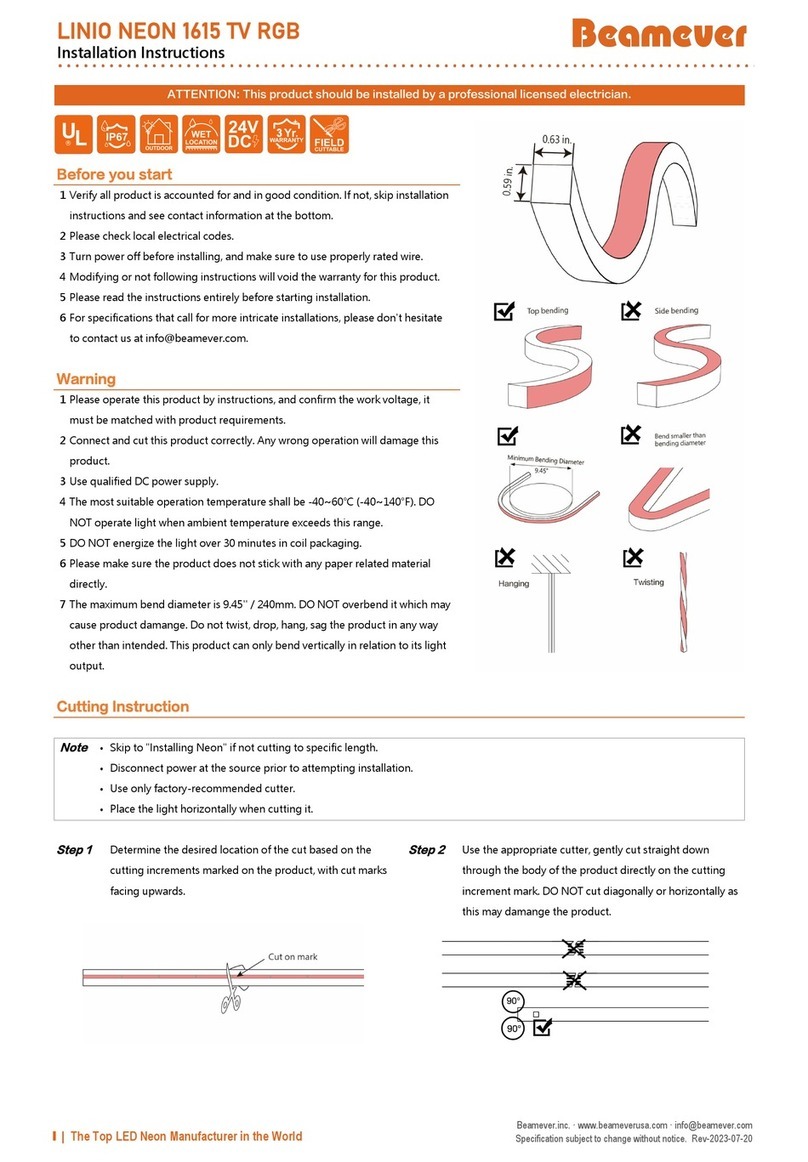
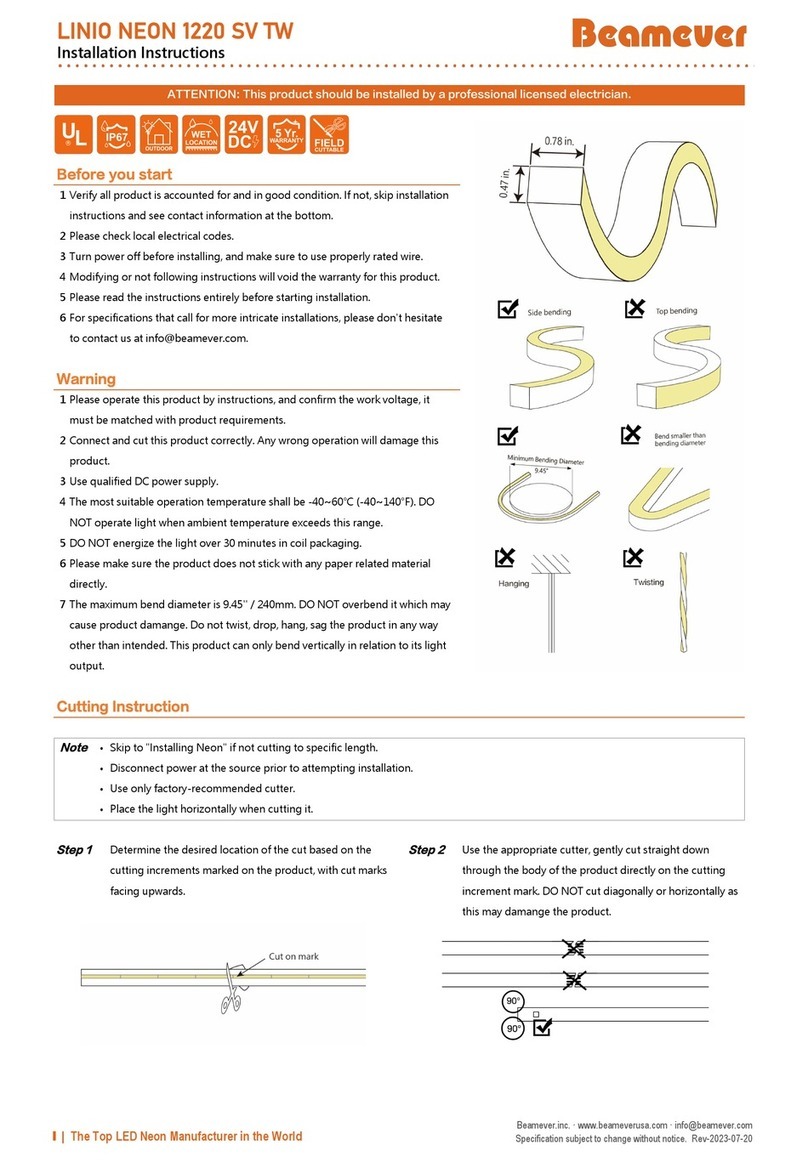
Beamever LINIO NEON 1615 TV PIXEL RGBW User manual

LINIO NEON 1615 TV PIXEL RGBW
Installation Instructions
ATTENTION: This product should be installed by a professional licensed electrician.
Before you start
1Verify all product is accounted for and in good condition. If not, skip installation
instructions and see contact information at the bottom.
2Please check local electrical codes.
3Turn power off before installing, and make sure to use properly rated wire.
4Modifying or not following instructions will void the warranty for this product.
5Please read the instructions entirely before starting installation.
6For specifications that call for more intricate installations, please don't hesitate
to contact us at info@beamever.com.
Warning
1Please operate this product by instructions, and confirm the work voltage, it
must be matched with product requirements.
2Connect and cut this product correctly. Any wrong operation will damage this
product.
3Use qualified DC power supply.
4The most suitable operation temperature shall be -40~60℃ (-40~140°F). DO
NOT operate light when ambient temperature exceeds this range.
5DO NOT energize the light over 30 minutes in coil packaging.
6Please make sure the product does not stick with any paper related material
directly.
7The maximum bend diameter is 9.45'' / 240mm. DO NOT overbend it which may
cause product damange. Do not twist, drop, hang, sag the product in any way
other than intended. This product can only bend vertically in relation to its light
output.
Cutting Instruction
Note
•Skip to "Installing Neon" if not cutting to specific length.
•Disconnect power at the source prior to attempting installation.
•Use only factory-recommended cutter.
•Place the light horizontally when cutting it.
Step 1
Determine the desired location of the cut based on the
Step 2
Use the appropriate cutter, gently cut straight down
cutting increments marked on the product, with cut marks through the body of the product directly on the cutting
facing upwards. increment mark. DO NOT cut diagonally or horizontally as
this may damange the product.
1 | The Top LED Neon Manufacturer in the World
Beamever.inc. · www.beameverusa.com · [email protected]
Specification subject to change without notice. Rev-2023-07-20

LINIO NEON 1615 TV PIXEL RGBW
Installation Instructions
Installing End Cap
Note
•Disconnect power at the source prior to attempting installation.
•All end caps must be connected correctly to achieve corresponding IP rating.
•Always select the correct end caps for the end of the light.
•NEVER wet the assembly units or assemble with wet hands.
01 Silicone End Cap
Note
•Applicable for front, side, bottom and closed silicone end cap, with or without cable.
Step 1
Solder cable to the neon with solder iron. Make sure the
"+" polarity is connected to the "+" polarity of the PCB.
Step 3
Perform a quick light-up test. Proceed to the next step
Step 4
Apply silicone glue to the neon.
ONLY after the neon is lit up.
Step 5
Seal the neon with silicone end cap and push until seated.
Apply silicone glue to the gap between neon and silicone
end cap to tighten it.
02 Mechanical End Cap (G1)
Note
•Applicable for front, side, bottom and closed mechanical end cap (G1), with or without cable.
Step 1
Insert U-shape silicone gasket above the PCB board of
neon.
2 | The Top LED Neon Manufacturer in the World
Beamever.inc. · www.beameverusa.com · [email protected]
Specification subject to change without notice. Rev-2023-07-20

LINIO NEON 1615 TV PIXEL RGBW
Installation Instructions
Step 2
Insert clear acrylic sleeve over the neon and push till seated.
Step 3
Lock the locking sleeve into the clear acrylic sleeve tightly.
Step 4
Put the waterproof gasket onto the cable.
Step 5
Carefully insert the cable from Step 4 between the PCB
board and the transparent board of the neon.
Step 6
Perform a quick light-up test. Proceed to the next step
Step 7
Close the neon with metal cap and screws.
ONLY after the neon is lit up.
03 Mechanical End Cap with Cable (G2, Screw-free)
Note
•Applicable for front mechanical end cap (G2, screw-free) with cable.
Step 1
Insert U-shape silicone gasket above the PCB board of
the neon.
Step 2
Put the waterproof gasket and cable together.
Step 3
Thread the cable through the clear acrylic sleeve.
Step 4
Carefully insert the clear acrylic sleeve from Step 3 into the
Step 5
Lock the transparent locking into the clear acrylic
neon and push it until seated. sleeve tightly.
3 | The Top LED Neon Manufacturer in the World
Beamever.inc. · www.beameverusa.com · [email protected]
Specification subject to change without notice. Rev-2023-07-20

LINIO NEON 1615 TV PIXEL RGBW
Installation Instructions
Step 6
Lock the orange locker into the clear acrylic sleeve tightly.
04 Mechanical Closed End Cap (G2, Screw-free)
Note
•Applicable for closed mechanical end cap (G2, screw-free).
Step 1
Insert U-shape silicone gasket above the PCB board of
the neon.
Step 2
Attach waterproof gasket to the neon.
Step 3
Put the end cap plug into clear acrylic sleeve.
Step 4
Carefully insert the clear acrylic sleeve from Step 3 into the
Step 5
Lock the transparent locking into the clear acrylic sleeve
neon and push it until seated. tightly.
Step 6
Lock the orange locker into the clear acrylic sleeve tightly.
4 | The Top LED Neon Manufacturer in the World
Beamever.inc. · www.beameverusa.com · [email protected]
Specification subject to change without notice. Rev-2023-07-20

LINIO NEON 1615 TV PIXEL RGBW
Installation Instructions
Installing Neon
Note
•It is recommended that installation is performed by at least 2 persons to ensure proper handling of the product and prevent damage
to the internal and external construction.
•Please make sure to install the product into profile carefully and correctly. Taking out the product and re-assembling will most likely
damage the product.
•Only use hands to install fixture into mounting clips or channels.
•Install the neon from one direction to avoid choking in the middle.
•Press the neon into the profile gently with palm instead of fingers.
01 Installing with Mounting Clips
Step 1
Determine the desired location and lengths of neon to be
Step 2
Determine the locations and quantity of the mounting
clips
installed. Leave enough distance for power cable to reach based on the information from Step 1. It is recommended
the power supplies. to use ONE mounting clip for 1 ft of the neon.
Step 3
Install the mounting clips into position with screws. Make
Step 4
Gently push the neon into the mounting clips from one
sure the head is flush or lower the base of the channels. DO direction with palm instead of finger.
NOT screw at an angle.
Step 5
Make sure that the neon does not sag and does not bend
less that the maximum bend diameter at any point.
5 | The Top LED Neon Manufacturer in the World
Beamever.inc. · www.beameverusa.com · [email protected]
Specification subject to change without notice. Rev-2023-07-20

LINIO NEON 1615 TV PIXEL RGBW
Installation Instructions
02 Installing with Straight / Bendable Channel
Step 1
Determine the desired location and lengths of neon to be
Step 2
Measure and cut the channel into desired length. Make
installed. Leave enough distance for power cable to reach sure the cross section of the channel is smooth without
the power supplies. any burrs.
Step 3
Install the channel into position with screws. Make sure the
Step 4
Gently push the neon into the channel at the beginning of
screw head is flush or lower the base of the channels. DO the run with palm instead of fingers and moving down the
NOT screw at an angle. line towards the end.
Step 5
Make sure that the neon does not sag and does not bend
less that the maximum bend diameter at any point.
03 Care and maintenance
•Use soft, dry or damp cloth to clean the neon.
•DO NOT apply harsh chemicals or abrasives onto the neon.
Wiring Diagram
Note
•Disconnect power at the source prior to attempting installation.
•Use this product with appropriate 24V DC power supply only. Any other power supply may damage the product.
•Always observe proper polarity.
•Ensure to add 20% buffer when sizing power supply.
•Ensure that the power cable carried current is no greater than 80% of its capacity.
•To minimize the voltage drop and keep light consistency, position power supply nearest to the power feed end of the fixture and
keep the power line as short as possible.
•Prior to installing 24V DC power supply, refer to the power supply installation instruction for more information.
6 | The Top LED Neon Manufacturer in the World
Beamever.inc. · www.beameverusa.com · [email protected]
Specification subject to change without notice. Rev-2023-07-20

LINIO NEON 1615 TV PIXEL RGBW
Installation Instructions
Dimmable
Trouble Shooting
01 The whole fixture doesn't work.
•Check whether the power supply is plugged in, switched on and receiving power.
•Check whether the fixture, decoders, controllers are connected to the power supply correctly.
•Check whether the polarity of all wire connections are connectd correctly.
•Make sure power supply output voltage is 24V DC.
•Check whether the connector and end caps are inserted behind the PCB properly.
02 Light emitting appear dim or dull at one end.
•Check whether the output voltage of the power supply is lower than that of the fixture.
•Adjust the dimming level to the maximum.
•Try to power the fixture from both ends or shorten lighting length to prevent voltage drop.
•Check whether the fixture is too far away from the power supply leading to voltage drop.
03 Light emitting appear excessive brightness.
•Check whether the output voltage of power supply is higher than that of the fixture.
•Check whether the power grid is stable.
04 The first segment of the fixture doesn't work.
•Check whether the fixture is NOT cut on indicated cutting mark in a straight line.
•Cut out and remove the first segment.
•Check whether the first LED is damage when inserting the cable connector/end cap. Cut out and remove the first segment and properly
assemble again.
•Check whether there is water ingress due to poor connector/end cap assembling, leading to short circuit of first segment. Replace the length
with a new one.
•Check whether there is external impact damage inside LEDs. Replace the length with a new one.
7 | The Top LED Neon Manufacturer in the World
Beamever.inc. · www.beameverusa.com · [email protected]
Specification subject to change without notice. Rev-2023-07-20

LINIO NEON 1615 TV PIXEL RGBW
Installation Instructions
05 Fixture is flashing on and off.
•Check whether the sizing of the power supply supports the length of the fixture.
•Select the appropriate strength or install additional power supply.
•Check whether power supply output voltage is stable.
•Check whether the connector/end cap is properly installed with good contact with the copper PCB.
•Check whether proper controller is connected for light working.
8 | The Top LED Neon Manufacturer in the World
Beamever.inc. · www.beameverusa.com · [email protected]
Specification subject to change without notice. Rev-2023-07-20
This manual suits for next models
1
Table of contents
Other Beamever Lighting Equipment manuals
Beamever
Beamever HELA FLEX WHT User manual
Beamever
Beamever VALEA GRAZE WHT User manual
Beamever
Beamever LINIO NEON 1220 SV PIXEL RGBW User manual
Beamever
Beamever LINIO NEON 1615 TV User manual
Beamever
Beamever LINIO NEON 0408 SV Datasheet
Beamever
Beamever LINIO NEON 1615 TV HE User manual
Beamever
Beamever LINIO NEON 1212 TV RGB User manual
Beamever
Beamever LINIO NEON 1220 SV BLACK User manual
Beamever
Beamever LINIO NEON EOS TV PIXEL RGB User manual
Beamever
Beamever LINIO NEON 1212 TV TW User manual
