manuals.online logo
Brands
  1. Home
  2. •
  3. Brands
  4. •
  5. Becker
  6. •
  7. Car Stereo System
  8. •
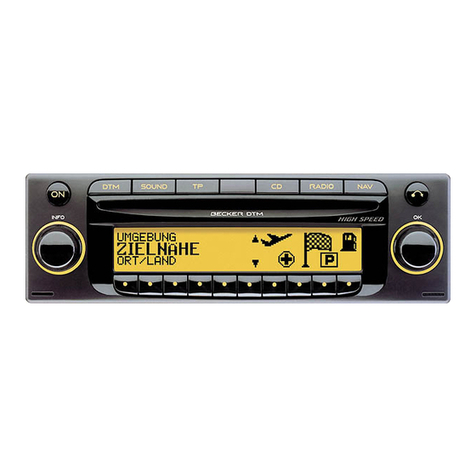
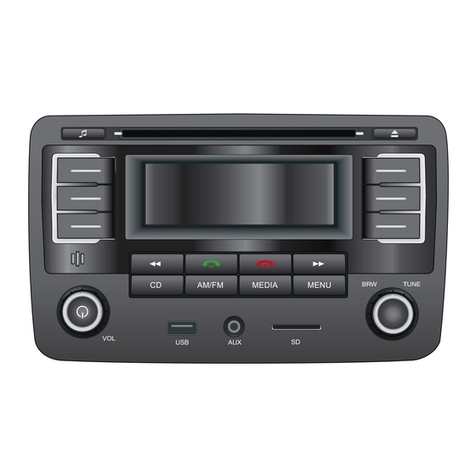
  9. Becker DTM User manual

Becker DTM User manual

Other manuals for DTM

1

Other Becker Car Stereo System manuals
Becker Online Pro 7800 User manual

Becker

Becker Online Pro 7800 User manual

Becker Mexico 7948 User manual

Becker

Becker Mexico 7948 User manual

Becker Traffic Pro 4720 User manual

Becker

Becker Traffic Pro 4720 User manual

Becker CASCADE PRO User manual

Becker

Becker CASCADE PRO User manual

Becker Mexico Pro 7930 User manual

Becker

Becker Mexico Pro 7930 User manual

Becker Mexico 7948 User manual

Becker

Becker Mexico 7948 User manual

Becker Cascade User manual

Becker

Becker Cascade User manual

Becker Indianapolis Pro 7950 User manual

Becker

Becker Indianapolis Pro 7950 User manual

Becker IP-BKR2 Instruction Manual

Becker

Becker IP-BKR2 Instruction Manual

Becker Traffic Pro 7949 User manual

Becker

Becker Traffic Pro 7949 User manual

Becker Audio 30 Export 3301 User manual

Becker

Becker Audio 30 Export 3301 User manual

Becker Mexico Pro CC4527 User manual

Becker

Becker Mexico Pro CC4527 User manual

Becker INDIANAPOLIS PRO User manual

Becker

Becker INDIANAPOLIS PRO User manual
Becker Indianapolis 7920 User manual

Becker

Becker Indianapolis 7920 User manual
Becker Grand Prix User manual

Becker

Becker Grand Prix User manual

Becker USB-BKR Instruction Manual

Becker

Becker USB-BKR Instruction Manual

Becker Online Pro 7800 Technical manual

Becker

Becker Online Pro 7800 Technical manual

Becker Cascade User manual

Becker

Becker Cascade User manual

Becker Indianapolis 7920 User manual

Becker

Becker Indianapolis 7920 User manual

Becker Traffic Pro 4720 User manual

Becker

Becker Traffic Pro 4720 User manual

Becker Grand Prix 7990 User manual

Becker

Becker Grand Prix 7990 User manual

Becker DTM High Speed 7910 User manual
Becker

Becker DTM High Speed 7910 User manual
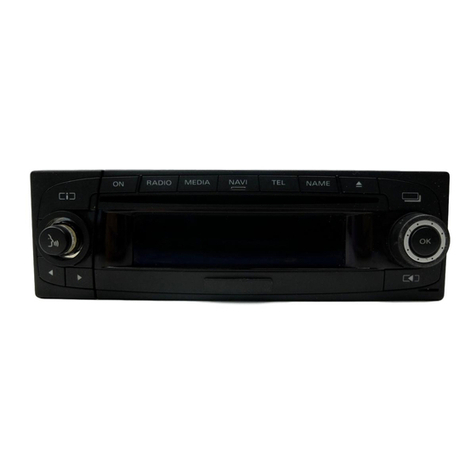
Becker DTM High Speed 7910 User manual
Becker

Becker DTM High Speed 7910 User manual

Becker DTM High Speed 7910 User manual

Becker

Becker DTM High Speed 7910 User manual

Popular Car Stereo System manuals by other brands

Sony CDXM60UI - Marine CD Receiver MP3/WMA/AAC... Features

Sony

Sony CDXM60UI - Marine CD Receiver MP3/WMA/AAC... Features

Philips CED780/98 quick start guide

Philips

Philips CED780/98 quick start guide

JVC KD-LH810 instructions

JVC

JVC KD-LH810 instructions

Clarion PU-9836A Service manual

Clarion

Clarion PU-9836A Service manual

Sony RM-X7BT reference guide

Sony

Sony RM-X7BT reference guide

Mitsubishi Electric AR0M manual

Mitsubishi Electric

Mitsubishi Electric AR0M manual

Insignia NS-HD5113 user guide

Insignia

Insignia NS-HD5113 user guide

Clarion BTD3341 user manual

Clarion

Clarion BTD3341 user manual

USA SPECS PA11-VW6 owner's manual

USA SPECS

USA SPECS PA11-VW6 owner's manual

Sony MEX-N4380BT operating instructions

Sony

Sony MEX-N4380BT operating instructions

Kenwood KCD-BT6544U/UY Service manual

Kenwood

Kenwood KCD-BT6544U/UY Service manual

JVC KD-DB912BT instruction manual

JVC

JVC KD-DB912BT instruction manual

Philips CSQ405/98 user manual

Philips

Philips CSQ405/98 user manual

Alpine TDM-7544 Specifications

Alpine

Alpine TDM-7544 Specifications

JL Audio Stealthbox SB-CAN-G2MVX3D/10TW3 installation guide

JL Audio

JL Audio Stealthbox SB-CAN-G2MVX3D/10TW3 installation guide

Denso TEN FT0108A user manual

Denso TEN

Denso TEN FT0108A user manual

Pyle PLD57MU owner's manual

Pyle

Pyle PLD57MU owner's manual

Harman Chrysler Radio Navigation System RB4 user manual

Harman

Harman Chrysler Radio Navigation System RB4 user manual

manuals.online logo
manuals.online logoBrands
  • About & Mission
  • Contact us
  • Privacy Policy
  • Terms and Conditions

Copyright 2025 Manuals.Online. All Rights Reserved.

Subject to correction and technical modifications 25 Copyright by Becker GmbH, D-76303 Karlsbad
,QVWDOODWLRQJXLGH
1. ”Symbols used in the installation guide” on page 25
2. ”Connection diagram for the navigation system” on page 26
3. ”Installation of the GPS antenna” on page 27
4. ”Connecting the reverse signal” on page 29
5. ”Connecting the speed signal (GAL) for the speedometer / speedometer
cable” on page 29
6. ”Installing and commissioning DTM” on page 34
7. ”Using GPS for the first time, and sensors” on page 34
8. ”Installation of the Navigation Software” on page 36
9. ”Calibration” on page 37
10.”Service Mode” on page 39
11.”Connections” on page 47
 6\PEROVXVHGLQWKHLQVWDOODWLRQJXLGH
Gdenotes instructions which are important for your safety and the safety of others.
denotes instructions which are important for the installation and function of the unit.
 6DIHW\DQGLQVWDOODWLRQLQVWUXFWLRQV
The installation of DTM should only be carried out by a specialist.
• Disconnect the vehicle battery before installation of the unit.
Subject to correction and technical modifications 26 Copyright by Becker GmbH, D-76303 Karlsbad
,QVWDOODWLRQJXLGH
GNote the safety instructions of the vehicle manufacturer (airbags, immobilisers etc.).
• When routing the cables, ensure that they cannot become jammed, kinked or ripped out.
• Before installation, park the vehicle in a safe and level place and remove the ignition key.
• If using branch connections, it is important to note the relevant cable section.
 &RQQHFWLRQGLDJUDPIRUWKHQDYLJDWLRQV\VWHP
Note: The various connection options are described in detail on page 47.
Radio aerial
Speedometer / speedometer cable signal
GPS antenna
Power supply
Reverse signal
'70
Sound system /
loudspeaker
Subject to correction and technical modifications 27 Copyright by Becker GmbH, D-76303 Karlsbad
,QVWDOODWLRQJXLGH
 ,QVWDOODWLRQRIWKH 36DQWHQQD
GPeople with pacemakers should avoid physical contact with the magnetic antenna and should not carry the antenna
on their person, as this may affect the function of the pacemaker.
Keep the magnetic antenna away from data storage media (disks, credit cards, magnetic cards etc.) and electronic and
precision engineering equipment, as this may cause data to be deleted.
Do not use the antenna in areas at risk of explosion.
It is important to secure the antenna so that it cannot become detached in a collision or sudden brake manoeuvre.
3RVVLEOHLQVWDOODWLRQSRVLWLRQV
 2XWVLGHWKHYHKLFOH
a. Attach the antenna to a flat, pre-washed metal surface.
b. Then guide the antenna cable into the vehicle interior.
GThe maximum vehicle speed for the antenna if magnetically attached is 180 km/h. The antenna must be removed or
specially secured at higher speeds.
The antenna is not suitable for car-wash facilities.
 ,QVLGHWKHYHKLFOH
)The antenna can only be installed on a non-metallised windscreen.
)When selecting the installation position, ensure that the antenna has a clear view of all directions, and that it
is not covered by the windscreen wipers. Obstructions caused by the bonnet, window crossbeams and roof
should be avoided as far as possible.
Subject to correction and technical modifications 28 Copyright by Becker GmbH, D-76303 Karlsbad
,QVWDOODWLRQJXLGH
a. Secure the antenna to the base plate (1) with magnets.
b. Remove protective strip from top of adhesive tape (2) and stick to the centre of the base plate underside.
c. Remove protective strip from bottom of adhesive tape (2) and stick the antenna and base plate onto the vehicle
console beneath the windscreen at the installation position.
)GPS reception can be affected by screens with screen antenna, windscreen heating or thermally insulated
screens. Some thermally insulated screens are coated with titanium or silver oxide. Installation of the GPS
antenna in the vehicle interior can considerably impair the function of the navigation system.
Subject to correction and technical modifications 29 Copyright by Becker GmbH, D-76303 Karlsbad
,QVWDOODWLRQJXLGH
 &RQQHFWLQJWKHUHYHUVHVLJQDO
,IWKHVZLWFKRQWKHJHDUER[RUVKLIWOLQNDJHLVDFFHVVLEOH
• Connect a separate lead to the activated contact.
Connect the lead to socket A pin 2.
/RZOHYHO HDUWKKLJKOHYHO99
,IWKHVZLWFKLVQRWDFFHVVLEOH
• Check which lead is routed to the reversing lamp. Then, if neces-
sary, remove the inner cover for the reversing light.
Connect a separate lead to the activated lead of the reversing lamp
and connect to socket A pin 2.
 &RQQHFWLQJWKHVSHHGVLJQDO $/IRUWKHVSHHGRPHWHUVSHHGRPHWHUFDEOH
(OHFWURQLFVSHHGRPHWHU
• Remove the signal from the speedometer, extend and connect to
socket A pin 1.
)Depending on the vehicle equipment, the lead for the GAL
signal is usually connected to the DIN - ISO plug of the car
radio. The assignment of the DIN - ISO plug may vary de-
pending on the vehicle type.
• Minimum requirement for the signal:
+]N+]VTXDUHZDYHVLJQDOQRLQGXFWLYHVHQVRU
/RZOHYHO9KLJKOHYHO99
)If you do not know the exact installation position / location
of the speed signal, please consult the vehicle manufacturer.
5HYHUVH
VLJQDO
$
$/VLJQDO
$
Subject to correction and technical modifications 30 Copyright by Becker GmbH, D-76303 Karlsbad
,QVWDOODWLRQJXLGH
0HFKDQLFDOVSHHGRPHWHUZLWKLQWHJUDWHGVSHHGVHQVRULQWKHVSHHGRPHWHUFDEOH
• Remove the signal from the speed sensor, extend and connect to
socket A pin 1.
• Minimum requirement for the signal:
+]N+]VTXDUHZDYHVLJQDOQRLQGXFWLYHVHQVRU
/RZOHYHO9KLJKOHYHO99
)If you do not know the exact installation position / location
of the speed signal, please consult the vehicle manufactur-
er.
0HFKDQLFDOVSHHGRPHWHUZLWKRXWVSHHGVHQVRULQWKHVSHHGRPHWHUFDEOH
A speed sensor which generates a digital, speed-dependent signal must
be installed in the speedometer cable.
The VDO adapter 2152.30300000 or a vehicle-specific adapter which
satisfies the minimum requirements can be used. The VDO speed sen-
sor is suitable for direct installation on the gearbox (no further installa-
tion parts required) or in the speedometer cable (in conjunction with
additional universal installation parts).
)If the sealed speedometer cable is released, a correct dis-
play cannot be guaranteed. Incorrect installation leads to
improper functioning of the navigation system or of the
speedometer.
$/VLJQDO
$
Subject to correction and technical modifications 31 Copyright by Becker GmbH, D-76303 Karlsbad
,QVWDOODWLRQJXLGH
,QVWDOOLQJWKHVSHHGVHQVRUGLUHFWO\RQWKHJHDUER[
• Release the speedometer cable and screw speed sensor onto gear-
box. Screw released speedometer cable onto the speed sensor and
connect the wires.
:LUHFRQQHFWLRQVIRUWKHVSHHGVHQVRU
Brown - earth (terminal 31)
Black - power supply (terminal 15), 9 - 16V, 30 mA
Blue/red - signal for socket A pin 1
,QVWDOOLQJWKHVSHHGVHQVRULQWKHVSHHGRPHWHUFDEOH
In order to install the speed sensor, the speedometer drive cable must be
cut in one even piece for insertion of the speed sensor. When removing
the speedometer cable from the vehicle, ensure that the location of the
evenly running piece is established and marked accordingly.
Installation is illustrated without reference to any specific vehicle. In
addition to the sensor, the following VDO universal parts are required:
1 x connecting piece 1040 1300 025 (VDO part number)
2 x knurled nuts1 040 1000 003 (VDO part number)
2 x hose sleeves 1040 1000 031 (VDO part number)
2 x dogs 1 040 1000 049 (VDO part number)
2 x friction washers 1040 0900 003 300 (VDO part number)
2 x fuel washers 4.0 KN07.0570.18 (VDO part number)
2 x washers KN11.1904.122 (VDO part number)
An appropriate, complete kit from VDO (part number X 39397106191)
can also be used.
$/VLJQDO
$
)LJXUH
Subject to correction and technical modifications 32 Copyright by Becker GmbH, D-76303 Karlsbad
,QVWDOODWLRQJXLGH
Recommended tool: Cable installation tool for speedometer cables
from VDO, order number: 1999.10.13.000.110
If you require vehicle-specific parts, please consult the vehicle manu-
facturer or your nearest VDO branch.
• Using a metal saw, saw into the cable approx. 1 mm at right angles
to the profile and break off (Figure 3).
• Then cut the cable in the centre with side-cutting pliers
(Figure 4).
)For protective hoses with wire netting, the hose and flex ca-
ble can be cut directly with the side-cutting pliers.
• Shorten the protective hose again at both ends up to the plastic
sheathing. Check whether the ends of the flex cable still engage in
the speedometer and the gearbox.
• Shorten the inner cable to a projection of 13 mm (Figure 5).
• Connect the union nut and hose sleeve (Figure 6) and push onto the
hose ends (Figure 7).
• Connect friction washer to dog (Figure 8).
• Remove grease from flex cable and connect dog to flex cable. Us-
ing a suitable installation tool, press the dog onto the flex cable
(Figure 9).
)LJXUH
)LJXUH
)LJXUH
)LJXUH
)LJXUH
)LJXUH)LJXUH
Subject to correction and technical modifications 33 Copyright by Becker GmbH, D-76303 Karlsbad
,QVWDOODWLRQJXLGH
)When pressing in, ensure that the dog is securely positioned
and that it runs smoothly.
• Pull the hose sleeve and nut as far as possible in the direction of the
dog, to achieve approx. 1-2 mm play (Figure 10).
Slightly squeeze the hose sleeve with pliers. Wrap with isolating
tape to secure (Figure 11).
• Screw the connecting piece and the speed sensor into the cable
(Figure 12).
• Connect speed sensor using the extension cable from VDO (part
number: 2152.90 30 0100).
:LUHFRQQHFWLRQVIRUWKHVSHHGVHQVRU
Brown - earth (terminal 31)
Black - power supply (terminal 15), 9 - 16V, 30 mA
Blue/red - signal for socket A pin 1
)LJXUH
)LJXUH
)LJXUH
)LJXUH
Subject to correction and technical modifications 34 Copyright by Becker GmbH, D-76303 Karlsbad
,QVWDOODWLRQJXLGH
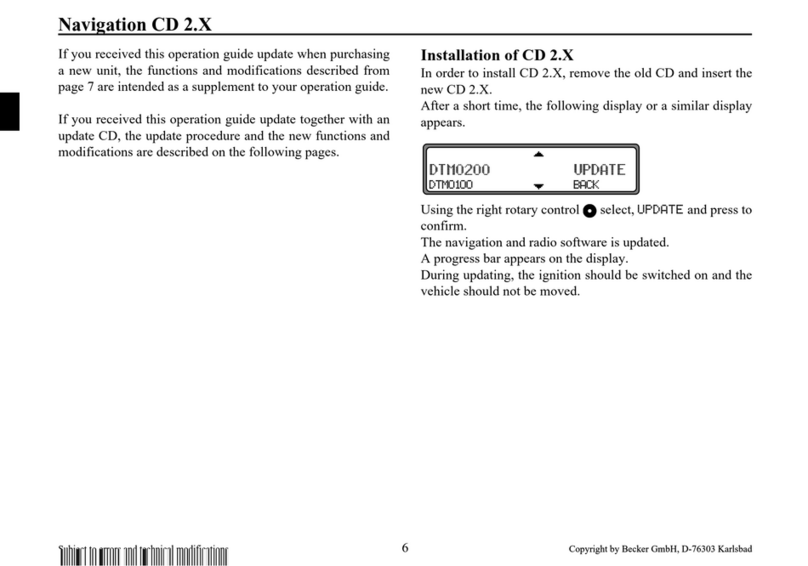
 ,QVWDOOLQJDQGFRPPLVVLRQLQJ'70
• This navigation system has an integrated universal bracket for DIN installation slots. An installation frame is not
required. The unit is inserted into the installation slot and secured with the slides supplied.
Further information is given in the operation guide in the chapter, "Installation and removal instructions".
)7KHLQVWDOODWLRQDQJOHRIWKHXQLWPXVWQRWH[FHHGWRYHUWLFDO
• Connect the battery.
 8VLQJ 36IRUWKHILUVWWLPHDQGVHQVRUV
• Switch on the vehicle ignition to start using GPS for the first time
and for the sensor test. Switch on DTM.
Enter code (see the operation guide for a detailed description).
• Press the multifunction button and the multifunction
button simultaneously.
• This calls up the menu for the initial GPS start-up and for the sen-
sor test.
• Move the vehicle several metres forwards or backwards for the
speed signal function test.
)The number under 7,,+ must change (even at a low
speed).
The number under 7,,+ should not increase when idling
or pressing the accelerator when the vehicle is parked.
PY
5;+; ,. 79 >9 SM
 $!
P P
P

7,,+ 09,*;065
VVV
 $!
P P
P
7,,+ 09,*;065
VMN
 $!
P P
P