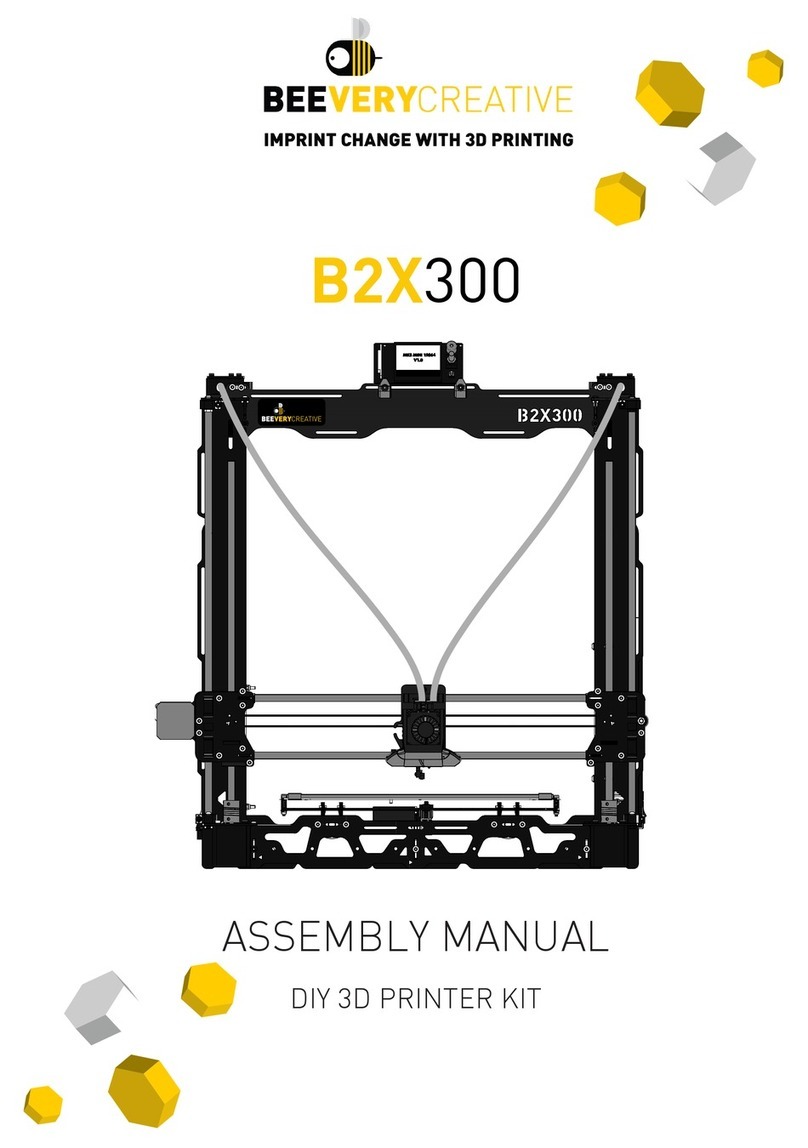
Beeverycreative Hello BEE Prusa User manual

ASSEMBLY MANUAL


V3.310815

Before you start to build your helloBEEprusa, check if you have the necessary tools to do it.
You will need the following:
NEEDED TOOLS
SET OF HEX KEYS
BOX CUTTER
CUTTER PLIERS
SPOOL HOLDER
REGULAR PLIERS
MARKER
FLATHEAD SCREWDRIVER
You will need a set of hex key for the assembly.
There is a 1.5mm hex key supplied with the kit.
You will need it towards the end. Always a helpful tool. You might need it to take out
the Structure Parts.
You will also need to remove some strands
from the printed parts with a cutter.
Take great care not to cut yourself
when doing this.
You need a marker to write on the
labels, for better guidance
while building helloBEEprusa.
Yes, there is a Spool Holder
included in the Structure frame,
which doubles as a spanner during assembly.
Sometimes you might need to use some
extra strengh assembling the printer.
Some of the structure’s metal components
might need some filing where the paint is thick,
or where there might be small fragments left over
from the manufacturing process.
SOFT FACE HAMMER FILE

To make recognizing each type of component easier, we’ve assigned a shape and colour to each type.
Structure parts Mechanics Printed parts Electronics
WHAT COMES WITH THE PACKAGE
BOX 1
Inside this box you have
almost all the Electronic
components, as well as the glass
and heated bed, and you
have the Printed Parts too.
BOX 3
All the motors needed
are inside this box.
BOX 4
Behold the Motherboard
MKS Gen V1.2 with 5 drv8825
and stepper driver.
BOX 5
All the Mechanic Parts
you need are right here.
BOX 2
In this box you have
the Power Supply
BOX 0
Main Metal Frame
of your helloBEEprusa,
guides and Threaded Rods.
BOX 1
BOX 2 BOX 5
BOX 4
BOX 3
This way, we tried to divide all the components in boxes, just to make it easy for you.
BOX 0

We have divided the manual into 6 chapters, from A to F, with each chapter describing a part of
the assembly process. Within each one, we’ve numbered every step.
This way, we will have the following chapters:
A– Assembling the structure
B– Assembling the build plate structure
C– Assembling the extruder
D– Assembling the X-Axis
E– How the 3 axes and all their components come together
F– Assembling the Electronics
We aim to make it simple for you, so we have created areas in this manual to help you build your
helloBEEprusa as well and as easily as you can.
HOW TO READ THIS MANUAL
B.3
NYLOC NUT DIN985 M3
PLAIN WASHER DIN125 M3
BED SPRING ø0.8X2.5
CYL. HEAD SCREW DIN912 M3X20
PCB HEATED BED MK2B 214X214MM
Δ H-Bed
ΔBed Sensor
This letter and number
will help to guide your
building process.
There is a letter for each
set of steps of the assembly,
and a number for each step.
Here you will know
what tools you might need
to use.
This area will tell you
how to build each step
Space for some tips.
What your assembly should look like
after each step.
Which kit materials you will use
for each step.

TECHNICAL SPECIFICATIONS
LAYER RESOLUTION 20 - 300 microns (user defined)
PRINT TECHNOLOGY FFF
PRINTING MATERIAL PLA, ABS, PVA, PLA-PHA, Nylon, Wood Composits,
Metal Composits, HIPLA, ABS-PC,
HIPS, Carbon Composits (ø1.75mm)
MAX. BUILD VOLUME (up to) 185 x 200 x 190mm (7.28 x 7.87 x 7.48 in)
HEATED BUILD PLATE Yes - MK2b (with 3mm removable glass surface)
HEATED BUILD PLATE MAX TEMPERATURE 50ºC (122ºF) – 110ºC (230ºF)
DUAL EXTRUDER Yes
NOZZLE DIAMETER 0.4mm | 0.4mm
EXTRUDERS MAX TEMPERATURE 300ºC (572ºF)
STRUCTURE MATERIALS High-quality powder-coated steel frame
Steel guides | Removable glass build plate
Full metal dual extruder
PRINTER SIZE 509 x 325 x 448mm (20.04 x 12.80 x 17.64 in)
WEIGHT 8kg (17.6 lb)
AMBIENT OPERATING TEMPERATURE 15-30ºC (59º - 86º F)
STORAGE TEMPERATURE 0-30ºC (32º - 86º F)
AC INPUT 100-240VAC | 50-60Hz
POWER CONSUMPTION 360 W
CONNECTIVITY USB Cable | SD Card
INCLUDED ACCESSORIES Region-specific power cable | USB cablelder
SUPPORTED FILE TYPES .gcode
CALIBRATION Semi-automatic w/ Software support
FIRMWARE Marlin based
ELECTRONICS MKS Gen V1.2
RECOMMENDED 3D PRINTING/ SLICING SOFTWARE Cura | Slic3r | Repetier | Simplify 3D | Pronterface

SAFETY INFORMATION
Even though the helloBEEprusa 3D printer was designed to be as safe as possible,
we would like to remind you it was conceived to be used by adults.
Still, there are safety concerns you must keep in mind:
Other information you need to know
After assembling your helloBEEprusa, don’t drop/knock/damage it and don’t connect it to anything
that hasn’t been previously validated by BEEVERYCREATIVE.
Make sure gases, explosive and other flammable materials aren’t kept, stored or transported
with your helloBEEprusa 3D printer or its parts.
ADULT SUPERVISION
COOL AND WELL-VENTILATED
ENVIRONMENT
MOVING PARTS
HIGH TEMPERATURES
For better results with helloBEEprusa,
it is recommended you maintain an acceptable level
of air quality around the printer.
Environments with some ventilation are also recommended
so as to renew the air if you choose to print
with materials that release odors.
Because we can’t stress this enough,
helloBEEprusa was developed to be used by adults.
Should you wish that children also use it,
you must supervise them at all times while they do so.
You must also take great care with small printed objects,
because children might try to swallow them,
which poses a danger of them choking.
Whenever helloBEEprusa is functioning,
some mechanical parts can reach high temperatures,
which can cause serious burns if touched.
For that reason you must always be careful
not to touch it.
Whenever it’s functioning,
helloBEEprusa has moving parts.
For that reason, you should always keep a safe distance
from the printer while it’s operating.

WARRANTY INFORMATION
helloBEEprusa is a DIY 3D printer assembled by the user.
Its warranty is assured for the components that are included with the KIT.
Warranty will be voided:
- If inappropriate handling during assembly takes place.
- If the user makes incorrect connections, breaks or damages parts during assembly.
Before assembling your helloBEEprusa you must read thoroughly the Terms and Conditions
of the BEEVERYCREATIVE Standard Warranty on our website:
www.beeverycreative.com.

A
ASSEMBLING THE STRUCTURE

A.1
STRUCTURE

A.2
BUTTON HEAD SCREW DIN7380 M4X10
SERRATED LOCK WASHER DIN6798J M4
HEX. THIN NUT 1 DIN439 M4
STRUCTURE

A.3
BUTTON HEAD SCREW DIN7380 M4X10
SERRATED LOCK WASHER DIN6798J M4
HEX. THIN NUT 1 DIN439 M4
STRUCTURE

BUTTON HEAD SCREW DIN7380 M4X10
SERRATED LOCK WASHER DIN6798J M4
HEX. THIN NUT 1 DIN439 M4
A.4

A.5
BUTTON HEAD SCREW DIN7380 M4X10
SERRATED LOCK WASHER DIN6798J M4
HEX. THIN NUT 1 DIN439 M4
STRUCTURE

A.6
BUTTON HEAD SCREW DIN7380 M4X10
SERRATED LOCK WASHER DIN6798J M4
HEX. THIN NUT 1 DIN439 M4
STRUCTURE

BUTTON HEAD SCREW DIN7380 M4X10
SERRATED LOCK WASHER DIN6798J M4
HEX. THIN NUT 1 DIN439 M4
A.7

A.8
BUTTON HEAD SCREW DIN7380 M4X10
SERRATED LOCK WASHER DIN6798J M4
HEX. THIN NUT 1 DIN439 M4
STRUCTURE

A.9
Y AXIS NEMA17 STEPPER MOTOR
Z AXIS NEMA17 STEPPER MOTORS
ΔY-AXIS
ΔY-AXIS
ΔZ-AXIS
PLAIN WASHER DIN125 M3
CYL. HEAD SCREW DIN912 M3X8
ΔZ-AXIS

A.10
FLEX COUPLING 5MM
You will need the hex key
supplied with the kit to screw
on the flex coupling
Table of contents
Other Beeverycreative 3D Printer manuals

